
Is your laundry equipment showing signs of dirt, mold, or odd smells? You’re not alone. Many homeowners put off cleaning these machines until problems start.
In this article, I’ll show you fast, effective methods to clean your washer and dryer thoroughly. You’ll learn simple steps that take just minutes but make a big difference in how your machines work.
As someone who’s fixed hundreds of appliances, I know what works and what doesn’t. The techniques I share are the same ones professionals use, no fancy products needed, just basic supplies you likely have at home.
By the end, you’ll have clean, fresh-smelling machines that run better and last longer. Let’s get started with these simple cleaning tips.
Gather Your Cleaning Supplies
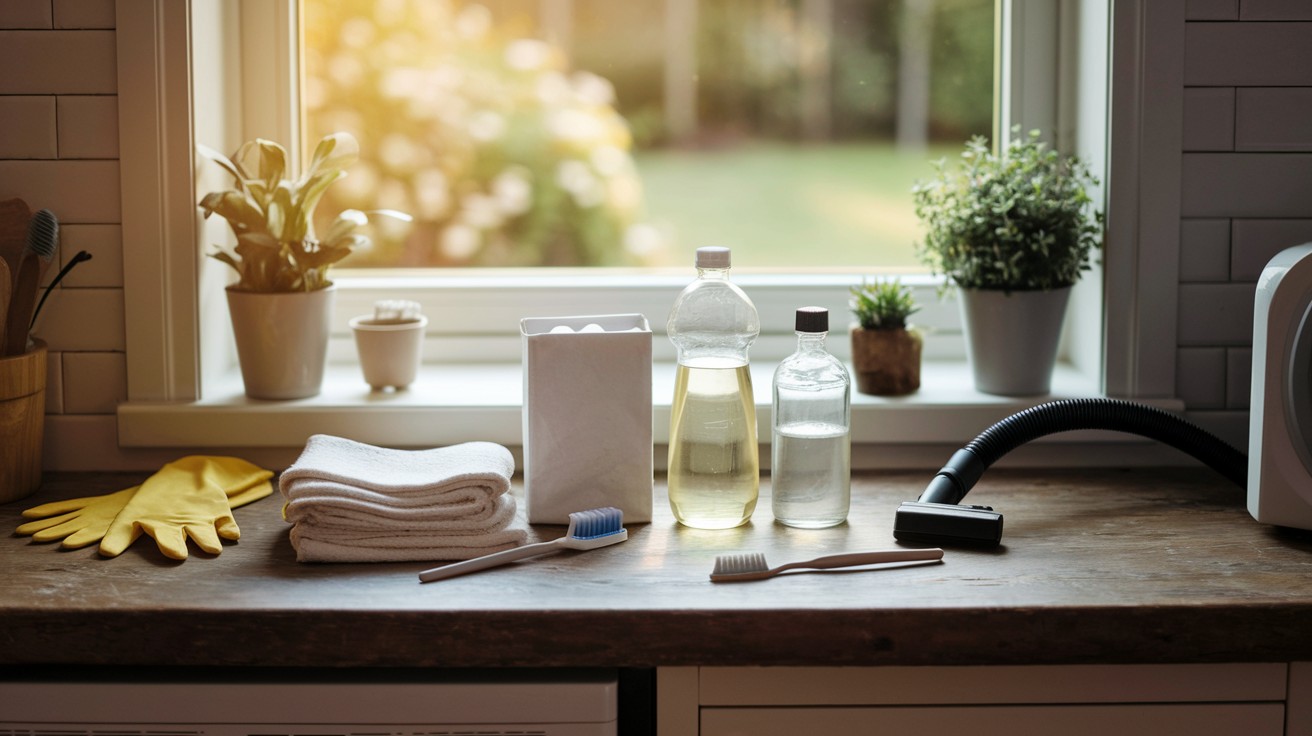
Before I start cleaning my washing machine, I make sure to get everything I need.
You’ll want these basic items ready:
- White vinegar
- Baking soda
- Microfiber cloths
- Old toothbrush
- Vacuum with attachment
- Mild detergent
A toothbrush works great for scrubbing those tight corners where gunk builds up.
Some extras that help but aren’t must-haves:
- Rubber gloves to keep your hands protected
- Appliance-safe cleaner
- Dryer vent brush for deep cleaning
I’ve found that regular household items work just as well as fancy cleaners. The vinegar cuts through soap scum while baking soda tackles odors.
Keep these supplies in a bucket or caddy. This makes the job quicker since everything stays within reach while you clean.
How to Clean a Washing Machine
1. Drum

I pour 2 cups of white vinegar directly into the empty drum. This breaks down soap buildup and mineral deposits.
For tough odors, I add 1/2 cup of baking soda. The fizzing action helps clean hidden areas.
You can also use commercial washing machine tablets. Just follow the package instructions.
2. Gasket (Front Load)
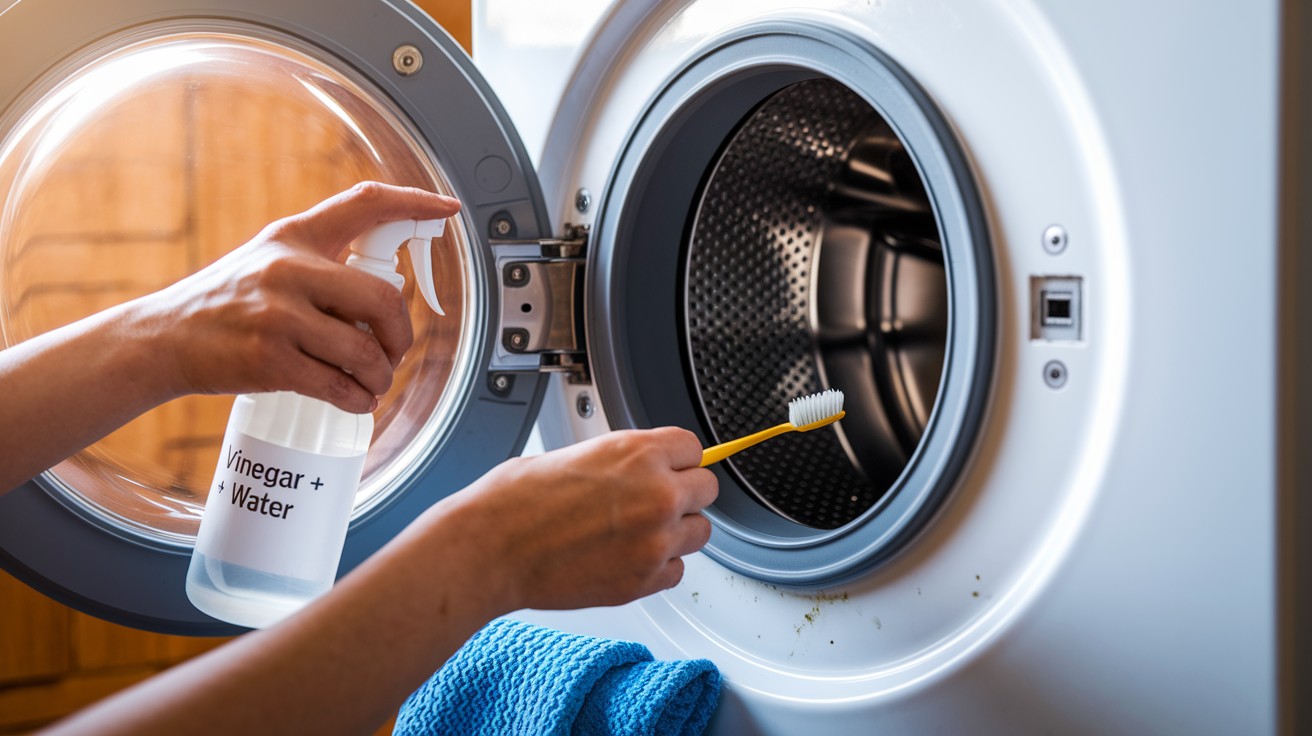
This rubber seal collects the most grime. I pull it back gently and wipe it with a cloth.
For visible mold, I mix equal parts water and vinegar in a spray bottle. After spraying, I scrub with an old toothbrush.
Don’t forget to dry the gasket after cleaning! Leaving it wet leads to more mold growth.
3. Dispenser Drawer
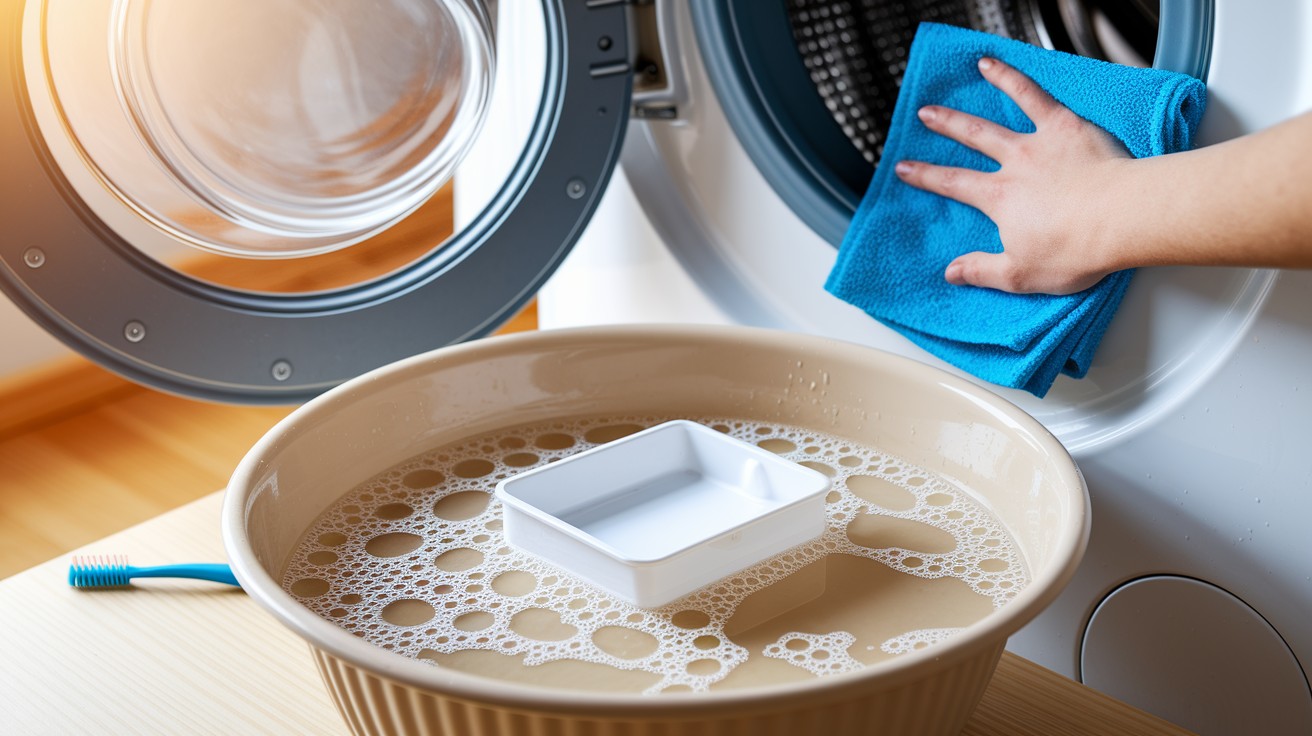
I remove the drawer completely – most pull out with a tab or button release.
Soak it in warm water with mild dish soap for 20 minutes. Stubborn buildup comes off easily with a toothbrush.
Before putting it back, I wipe inside the drawer cavity with a damp cloth.
4. Exterior

Dust and detergent splashes make the outside look dingy. I wipe everything down with a damp microfiber cloth.
For the control panel, I use a barely damp cloth to avoid water damage to electronics.
Clear any lint from the back vents using a vacuum attachment.
5. Run a Cleaning Cycle
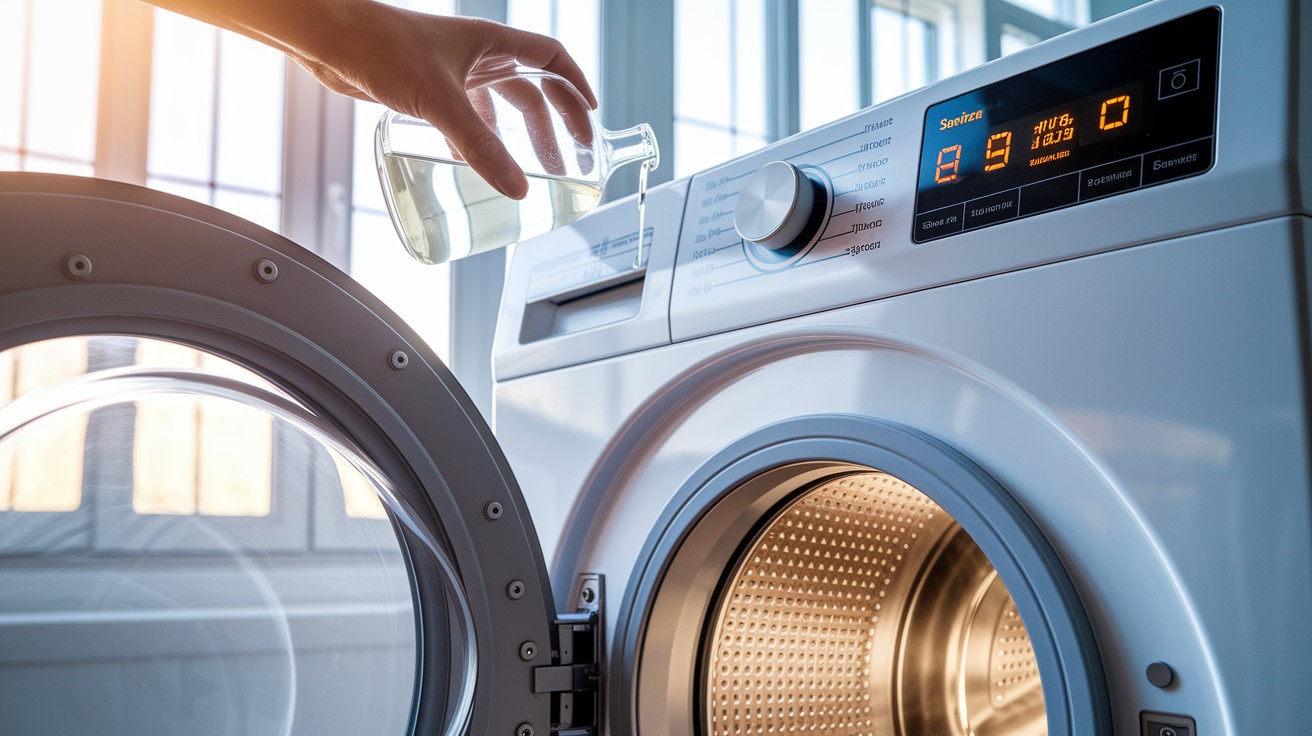
After adding vinegar or cleaning tablets, I run the machine on the hottest water setting with the longest cycle.
Some washers have a specific “Clean” or “Sanitize” cycle – check your manual.
For maintenance, do this monthly. Machines with heavy use might need cleaning every two weeks.
Between deep cleanings, leave the door open after each wash to let the drum dry completely.
How to Clean a Dryer
1. Lint Trap
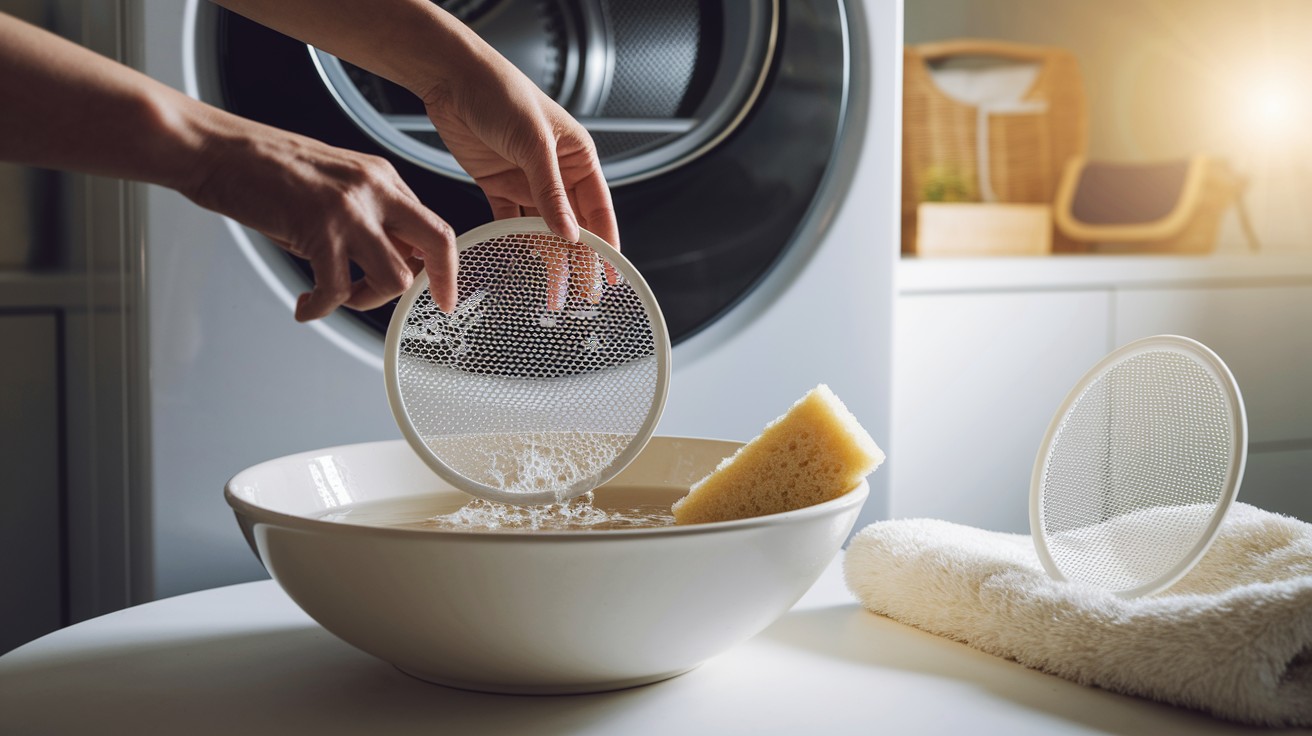
I clean the lint screen after each load. This simple habit prevents fire risks and keeps the dryer working well.
Once a month, I wash the screen with warm, soapy water. This removes invisible fabric softener buildup that blocks airflow.
Let the screen dry completely before putting it back. Wet lint sticks more easily and clogs faster.
2. Drum
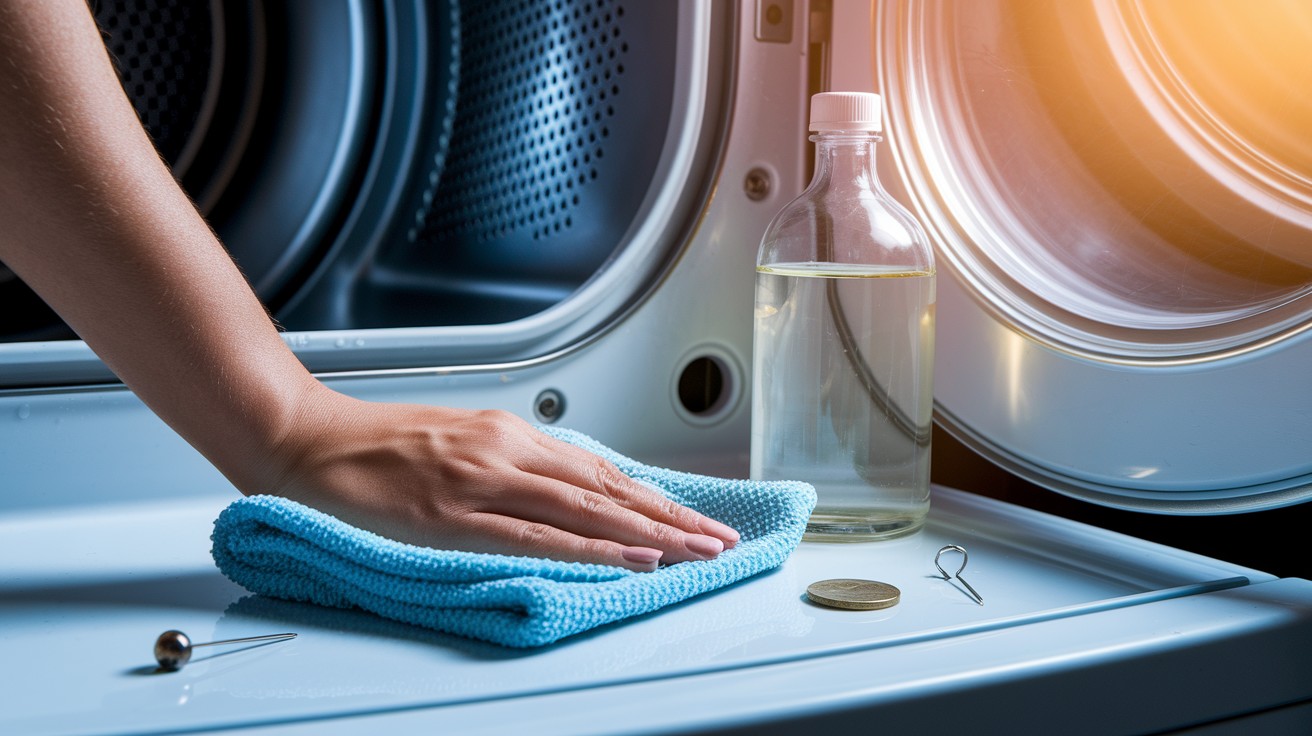
I unplug the dryer first for safety. Then, I wipe the inside drum with a damp microfiber cloth.
For sticky spots from melted candy or crayon, I use a cloth with white vinegar. The acid cuts through the residue without harsh chemicals.
Check the drum for items stuck in small holes or crevices. Bobby pins and coins can scratch clothes in future loads.
3. Vent Hose & Duct
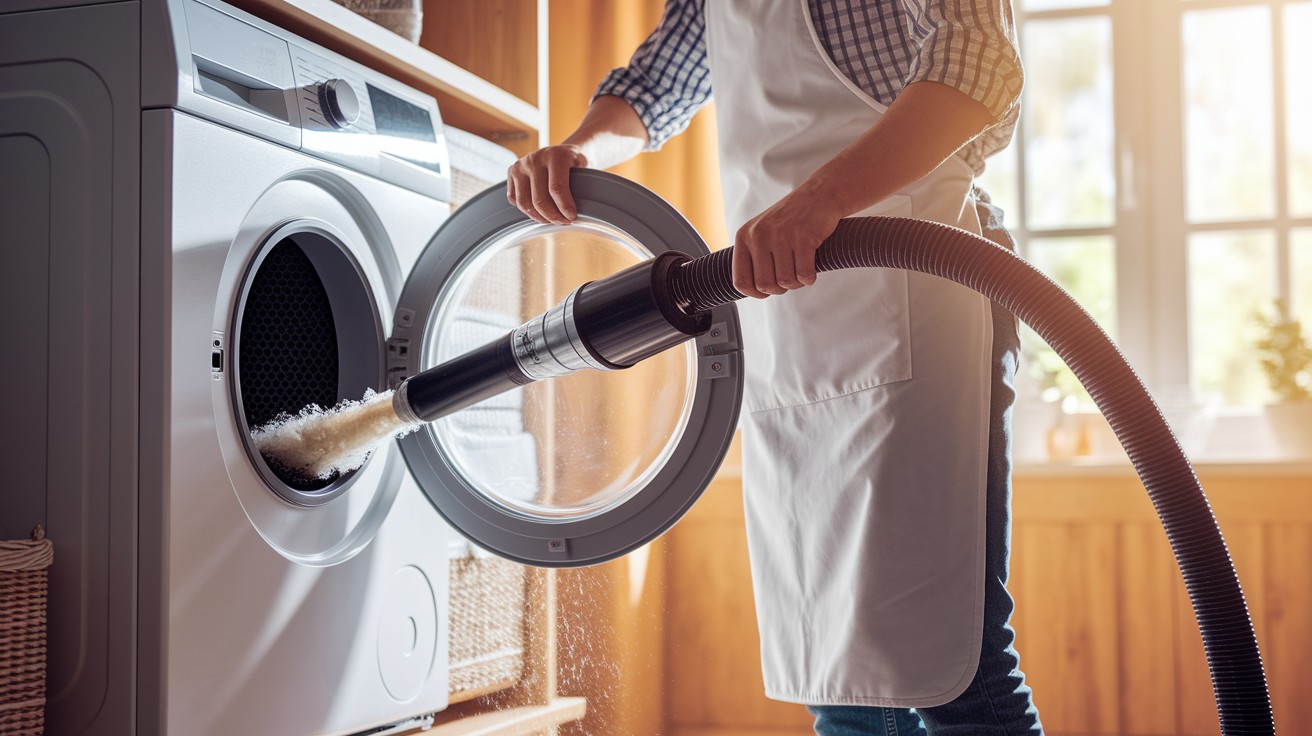
This is the most important part! I disconnect the vent hose from both the dryer and the wall.
A vacuum with a long attachment helps pull out lint from both the dryer and the wall openings.
For deeper cleaning, a dryer vent brush works best. These long, flexible brushes reach far into ducts to pull out lint.
Professional cleaning might be needed yearly if your vent system is long or has many turns.
4. Exterior
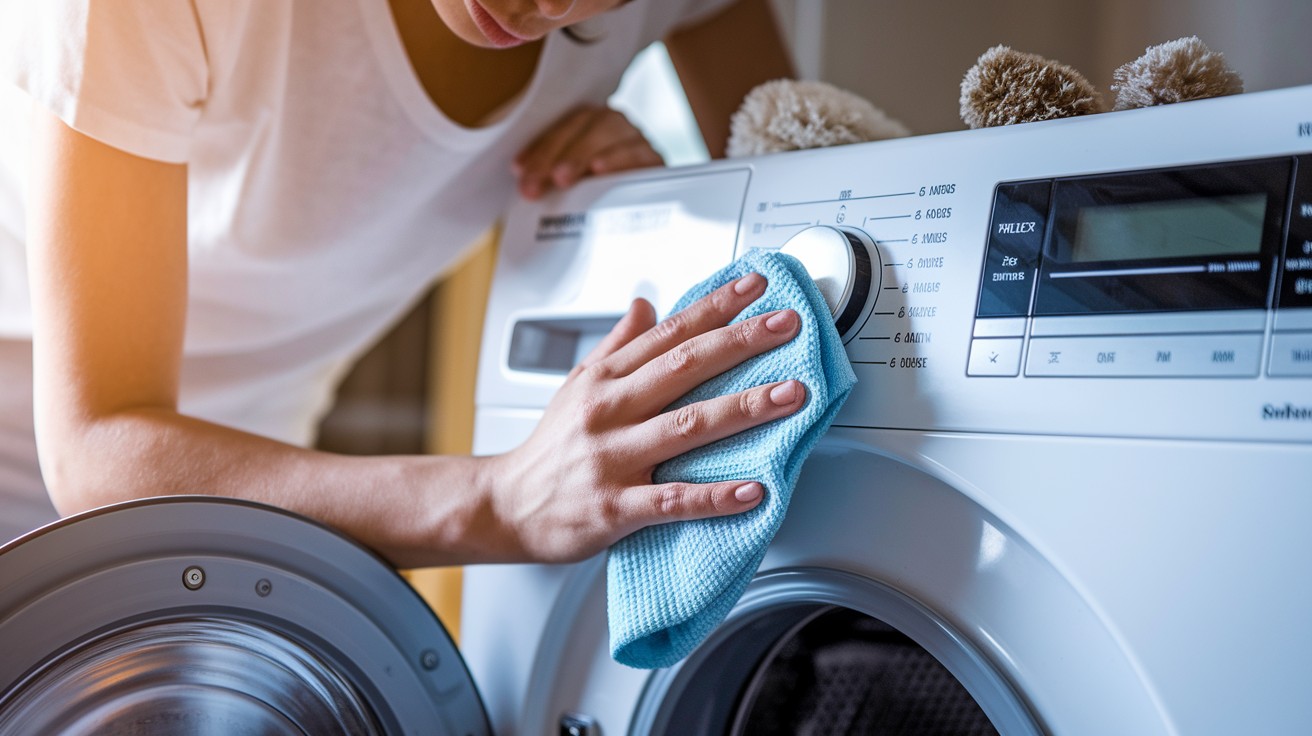
I wipe all surfaces with a damp cloth and mild cleaner. Pay extra attention to the top, where dust collects.
For electronic controls, I use a barely damp cloth to prevent water damage.
Don’t forget to clean behind and under the dryer where dust bunnies gather.
Pro Tips to Keep Them Clean Longer
- Leave the washer door open after use
- Use the correct detergent amount (not too much)
- Clean lint trap before each dryer load
- Wipe the washer gasket weekly
- Run a monthly cleaning cycle with vinegar
- Empty pockets before washing
- Don’t overload machines
- Remove finished loads promptly
- Clean dryer vents every 6 months
- Use HE detergent only in HE washers
Time-Saving Hacks
- Use multi-tasking products like vinegar for both machines.
- Set reminders on your phone or calendar.
- Quick 5-minute post-laundry wipe-down habit.
- Keep cleaning supplies in a caddy near the laundry area.
- Run cleaning cycles while you sleep or are out.
- Use mesh bags for small items to prevent them from getting stuck.
- Clean both the washer and dryer on the same day to maintain a routine.
Conclusion
Regular cleaning makes a big difference in how well your washer and dryer work. Clean machines give you fresher-smelling clothes while using less energy to do the job.
Taking care of these appliances isn’t just about cleanliness; it’s about saving money. Well-maintained machines last years longer than neglected ones.
The simple steps in this guide don’t take much time but offer major benefits. Most cleaning tasks need just a few minutes of attention.
Your tips might help others solve similar problems. Share what works for you in the comments below.
Remember, a little maintenance today prevents bigger headaches tomorrow. Your future self will thank you!
Frequently Asked Questions
What is the difference between front-load and top-load washing machines?
Front load washers use less water and energy, are gentler on clothes, and can be stacked with a dryer to save space. Top load machines are typically less expensive, easier to load without bending, and less prone to mold issues. Front loaders require more maintenance with gasket cleaning, while top loaders have simpler cleaning needs but may be rougher on delicate fabrics.
How often should I clean my washing machine?
Run a cleaning cycle once a month for regular maintenance. If you notice odors or residue, clean it immediately. Families with heavy laundry needs might need cleaning every two weeks.
Can I use bleach to clean my washing machine?
Yes, you can use bleach instead of vinegar for cleaning cycles. Use 1/2 cup of bleach in an empty hot water cycle. However, never mix bleach with vinegar as this creates toxic gas. Make sure to run an extra rinse cycle after using bleach.
Why does my front-loading washer smell bad?
Front-loaders develop odors when moisture gets trapped in the gasket and door seal. Prevent this by wiping the gasket after use and leaving the door open between loads. Regular cleaning cycles with vinegar help eliminate existing odors.
Is it normal for my dryer to take longer to dry clothes?
No, increased drying time usually indicates a clogged lint trap or vent system. If clothes take longer to dry after cleaning the lint trap, your vent duct likely needs cleaning. This is both an efficiency and a safety issue that should be addressed promptly.