
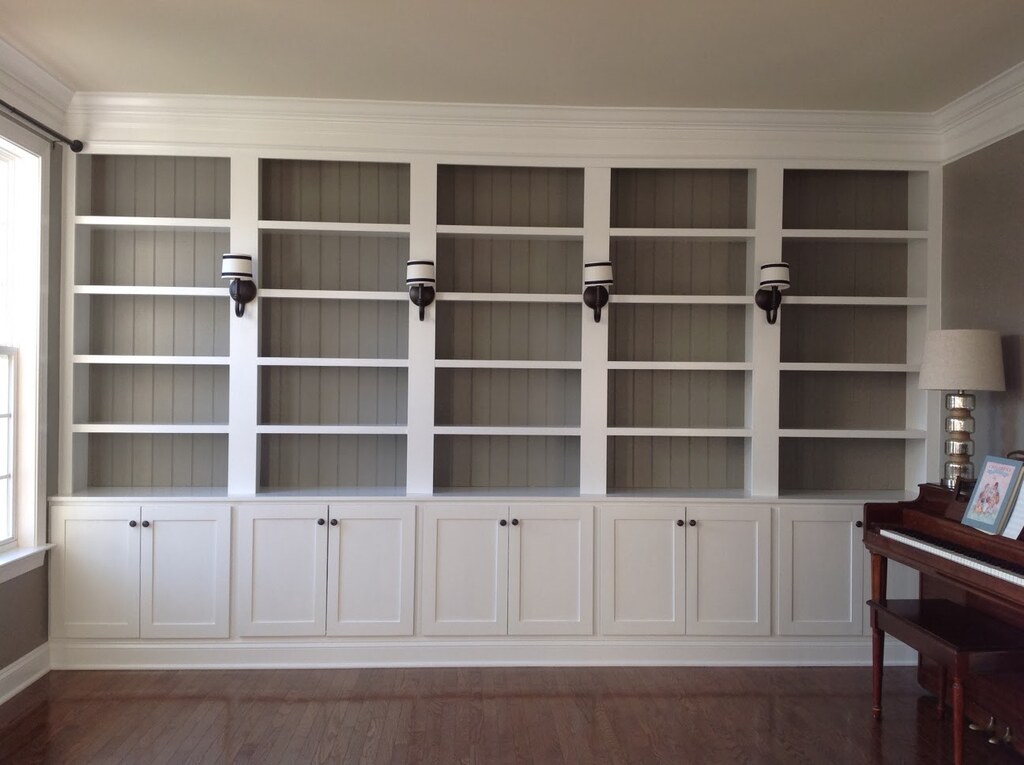
There’s something magical about transforming bare walls into gorgeous built-in shelving. As an avid reader with a deep appreciation for art and design, I craved a statement piece in my home functional beauty that would stand the test of time.
My personal library shelves became one of my most fulfilling DIY projects ever. Began as a vision turned into a weekend adventure with my family. We shared laughter, navigated a few hiccups, and learned countless lessons along the way. It was more than just home improvement; it was creating a legacy.
If you’ve been dreaming of custom built-ins but feel intimidated by the process, don’t worry. I’ll guide you through each step to bring your vision to life, just as I did mine.
Materials and Tools Required
Everything went into gathering the stuff beforehand so we could enjoy the fun parts of building this wall. Here’s exactly what I used:
Materials
- Plywood (3/4-inch, 18mm): I used this for the shelves and cabinet boxes. For my 10-foot-wide and 8-foot-tall wall, I bought 6 sheets (each 4 ft x 8 ft or 122 cm x 244 cm). Each shelf was 12 inches (30 cm) deep.
- MDF boards (1/2 inch, 12mm): Used for trim and face frames. Used around 3 sheets.
- 2×4 lumber: For the base frame, use 10 pieces 96 inches long. I cut these into shorter lengths as required.
- Wood screws: shelves, 1 1/4-inch (3.1 cm). Frames to the wall, 2 1/2-inch (6.35 cm).
- Wood filler and caulk: Fill in gaps and nail holes.
- Soft-close hinges and pre-made cabinet doors: Bought 6 shaker-style doors (16 inches wide and 30 inches tall each).
- Paint and primer: one gallon of white primer and two gallons of semi-gloss white paint. I chose white to make the space feel airy.
- Crown molding (4-inch height): About 30 feet of molding for a polished look.
- Shelf brackets (optional): For added stability if you’re planning on heavy items.
Tools
- Circular saw and jigsaw: cutting large plywood sheets, curved cuts, or detailed cuts.
- Drill with a countersink bit: Screw holes are clean.
- Pocket hole jig: Join wood invisibly.
- Miter saw: Angled cuts are needed for trim and crown molding.
- Level: All parts must be straight.
- Stud finder: To locate wall studs.
- Nail gun and brad nails: To attach trim and molding very quickly.
- Clamps: To keep panels steady while gluing or screwing.
- Measuring tape and speed square: To take accurate measurements.
Plan and Design the Built-in Shelf
This is where the fun begins! My family and I took out our graph paper and pencils and planned everything by the inch.
Measurements
The wall we designed was 120 inches wide (10 ft) and 96 inches tall (8 ft). I divided the wall into three equal sections:
- Every base cabinet: 36 inches wide x 30 inches tall x 12 inches deep (91 cm x 76 cm x 30 cm).
- Above: Spaced 14-16 inches apart to provide book room and decor.
- Vertical: installed every 36 inches, providing support for shelves as well as structure.
Create your design
I drew a rough plan on paper, marking where the outlets and light switches were. At this point, my children suggested that we add task lighting above each section for a cozy, inviting look. This became a personal touch to the design and made the whole process truly collaborative.
Build the Bases
The base frame is the foundation of your built-in shelves and ensures the entire structure is sturdy, level, and long-lasting. To start, I measured the wall space and cut 2×4 lumber into the necessary lengths: 36 inches for the depth and 12 inches for the width.
These cuts would form three rectangular boxes to span the entire 120-inch length of the wall. Precision is crucial here, so I double-checked each measurement before cutting.
Once the pieces were ready, I assembled the rectangles using screws and a drill, creating a solid frame. After joining the three rectangles together, we positioned the base against the wall. Since our floors weren’t perfectly even, we used shims to adjust and level the frame.
Once leveled, we secured it to the wall studs using 2 1/2-inch screws, ensuring it was tightly anchored and wouldn’t budge under the weight of the shelves and cabinets.
This step was a true family effort! Watching the sturdy base take shape gave us a great sense of accomplishment and set the stage for the rest of the project.
Assembling Cabinet Boxes
We proceeded to install the cabinets, which support the shelves and give us enclosed storage. First, cut the panels. Using a circular saw, I cut the plywood into pieces as follows:
- 36 inches x 12 inches for sides (2 per cabinet)
- 12 inches x 12 inches for top and bottom (2 per cabinet)
- 36 inches x 30 inches for the back panel.
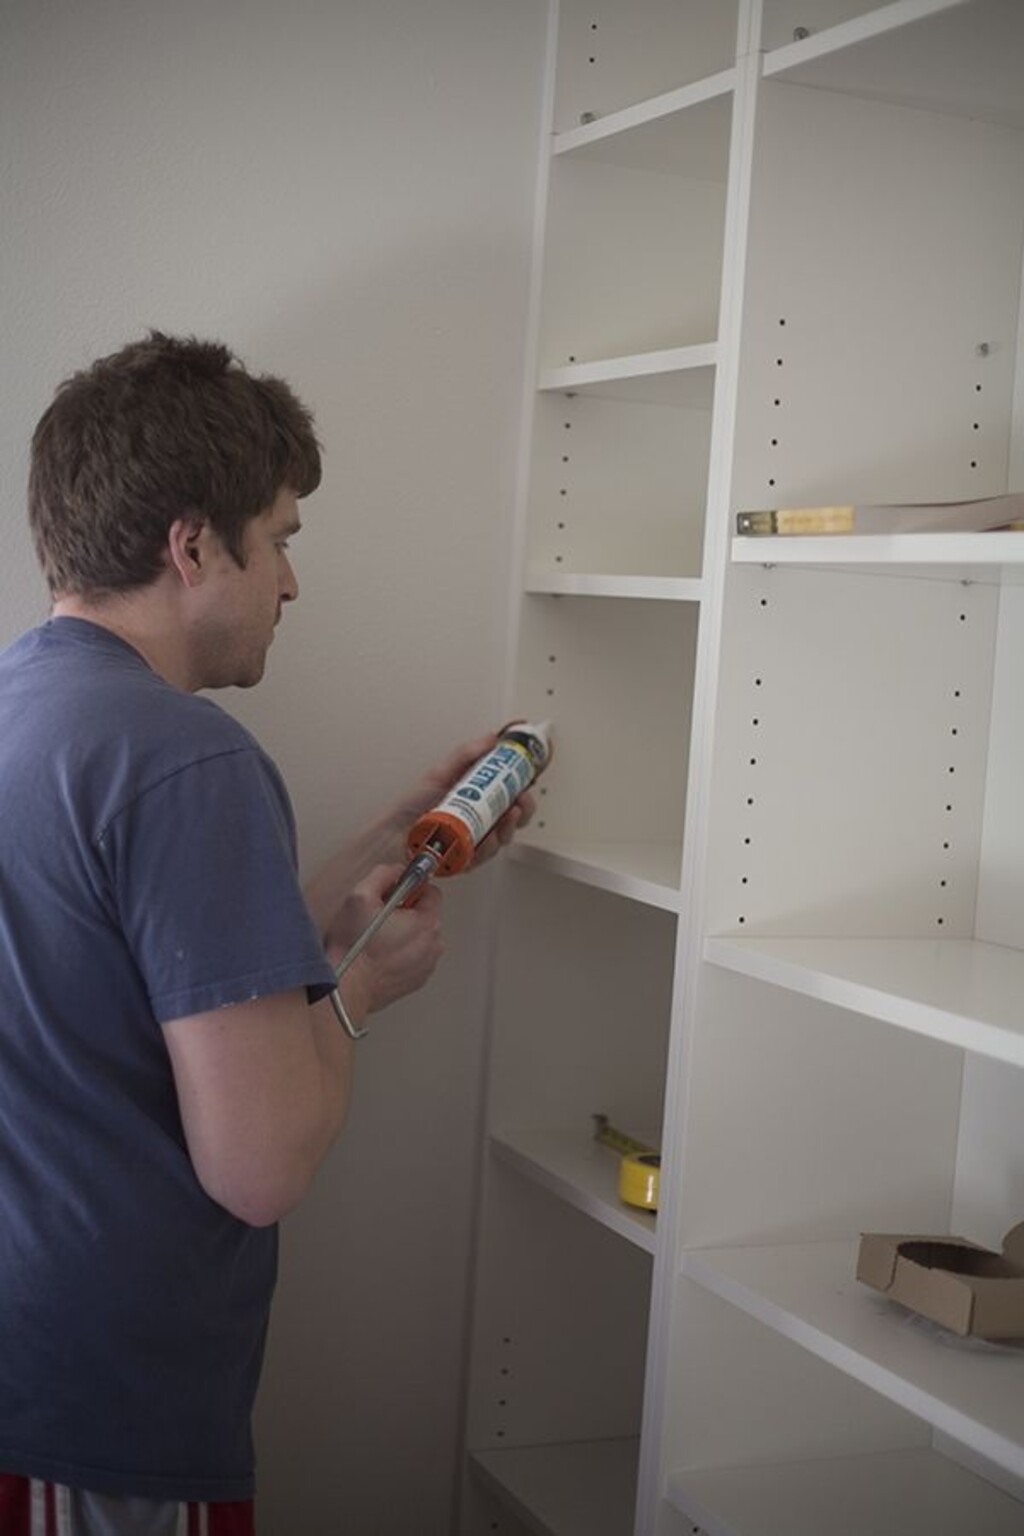
To build the cabinet boxes, I started by applying some wood glue to the plywood edges and then screwing them together very carefully. Building them using a pocket hole jig saved a lot of labor while producing clean, invisible joints on these cabinets.
I double-checked the corners with a square to ensure that they were square right angles before proceeding. I placed the boxes onto the base frame once they were assembled and dried.
Using a level, I ensured that every cabinet was flush with the wall and perfectly aligned. We secured the cabinets to the wall studs with long screws and also attached them for added stability.
This extra effort ensured the entire structure was solid and ready to support the weight of the shelves and anything we’d store inside. Seeing the cabinets in place felt incredibly rewarding, as they truly began to define the space.
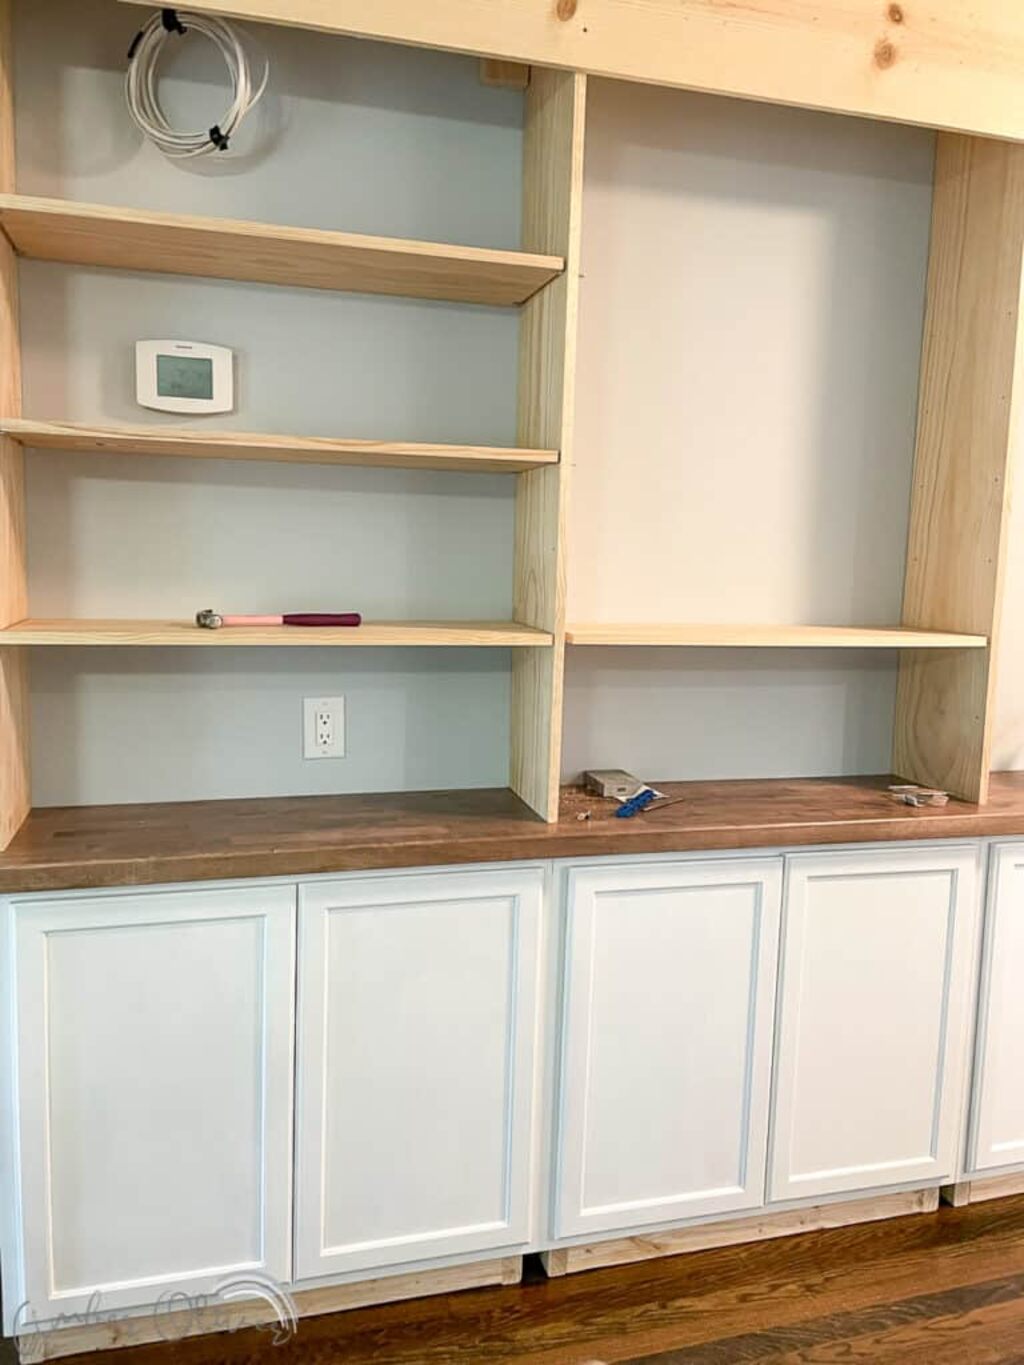
Installing Shelving Units

We first prepared the vertical dividers out of plywood, 12 inches deep and 96 inches high.
I spaced them 36 inches apart and ensured that everything was aligned properly by attaching them securely at the top of the cabinets with wood glue and screws. Pre-drilled holes for the screws would prevent any plywood from splitting.
Then I cut the shelves to 36 inches long and 12 inches deep. I drilled holes in the vertical dividers for shelf pins, so the shelves could be moved up or down as desired.
Then we put the shelves on top and leveled them. By this time, my family and I could see the design coming to life.
It was incredibly rewarding to step back and admire how everything was shaping up. Our teamwork was paying off, and we could already imagine how much more functional the space would be once finished.
Trimming and Finishing Edges
Here’s where the shelves transitioned from “good” to “great.”
Steps
First, I cut the MDF boards into 2-inch-wide strips and attached them to the front edges of the plywood with a nail gun.
This step hid the raw edges of the plywood and added an elegant, finished look to the shelves. Then, I cut the crown molding at a 45-degree angle using my miter saw and nailed it along the top edge of the cabinets.
My family made the job easier and more enjoyable by helping me by holding the pieces in place as I worked on it.
Prep
I also filled the cracks and holes with wood filler to smooth them out completely with no seams at all. With the filler completely dry, then I used 120-grit sandpaper to sand everything so smoothly.
As an ultimate touch, I and my wife applied a prime coat, then two semi-gloss white coats on small rollers, so quickly covering a flat surface.
Installing Cabinet Doors
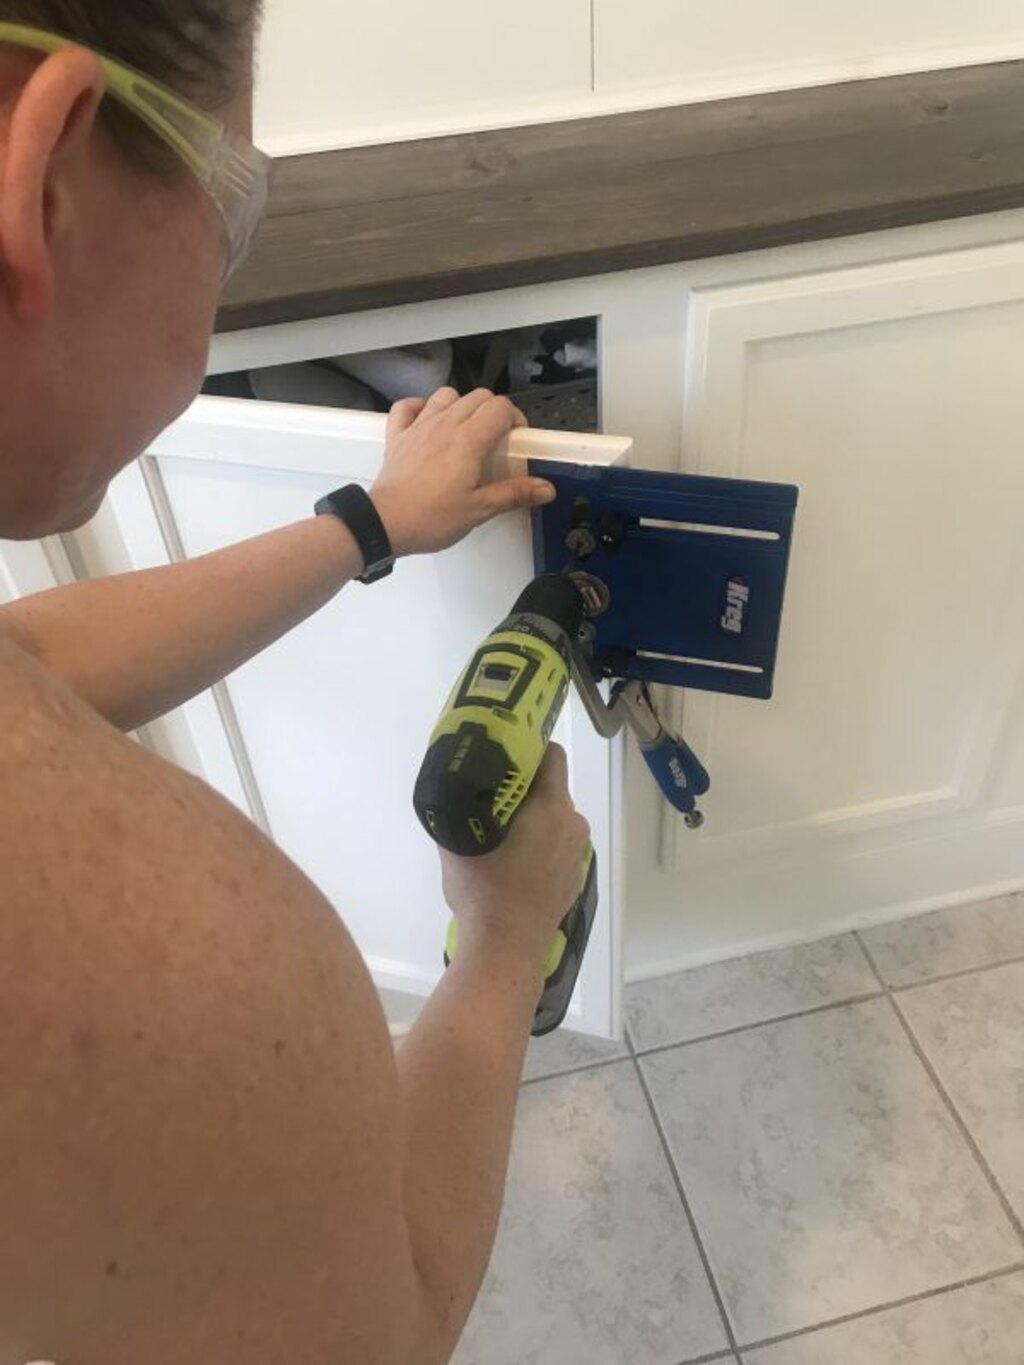
I pre-made the cabinet doors in advance because of the time it saves and uniformity. I fitted the soft-close hinges to the doors first and then aligned them with the frames of the cabinets carefully.
Then I adjusted the hinges so everything was straight so that the doors hung evenly and opened with a smooth motion. When the doors were properly in place, I screwed them on.
The soft-close feature was a great addition, giving the doors a sleek, quiet closing action.
Decorating Built-In Shelves
Finally, it was time to dress up the shelves! I decided to paint the inside of the cabinets beige to create a soft, welcoming contrast against the white exterior.
Once everything was dry, I started arranging the books on the shelves, grouping them by color and size to create a visually appealing display. For the under-cabinet storage, I stored important documents and office supplies, keeping everything neat and organized.
To add a touch of warmth, I placed some artificial plants and vintage vases on the top shelves. Small decorative pieces like family photos and trinkets added personality and a sense of homeliness to the space.
I also installed task lamps above each section, casting a warm glow over the books and decor. This brought the whole library together, making it not just functional but also a cozy, inviting space for reading and relaxing.
Conclusion
As much as this project was the one of creating shelves, it acted as a bonding experience for my family and me. The laughter, learning, and teamwork that went into building those shelves made the end product even more special.
If you are thinking of taking on a similar project, do not hesitate! With proper planning and a little patience, you will be able to create something wonderful and unique for your home.
And, trust me, every time you look at those shelves, you’ll smile knowing you built them with your own two hands.