
Want to build a bathroom vanity but don’t know where to start? You’re in the right place. Some were masterpieces. Others taught me hard lessons.
Here’s what you’ll learn today:
- Step-by-step building instructions
- Exact tools and materials needed
- Common mistakes that ruin projects
- Pro tips for a perfect finish
This guide solves your biggest problem: getting professional results without professional experience. I’ll walk you through every cut, every screw, and every finish coat. No confusing jargon. No skipped steps.
Why trust me? I’ve made every mistake possible. Fixed hundreds of vanity problems. Taught dozens of homeowners to build their own.
By the end of this article, you’ll have the confidence to build a beautiful vanity. One that fits your space perfectly and costs half the price of store-bought options.
Ready to upgrade your bathroom? Let’s start building.
Tools & Materials You’ll Need
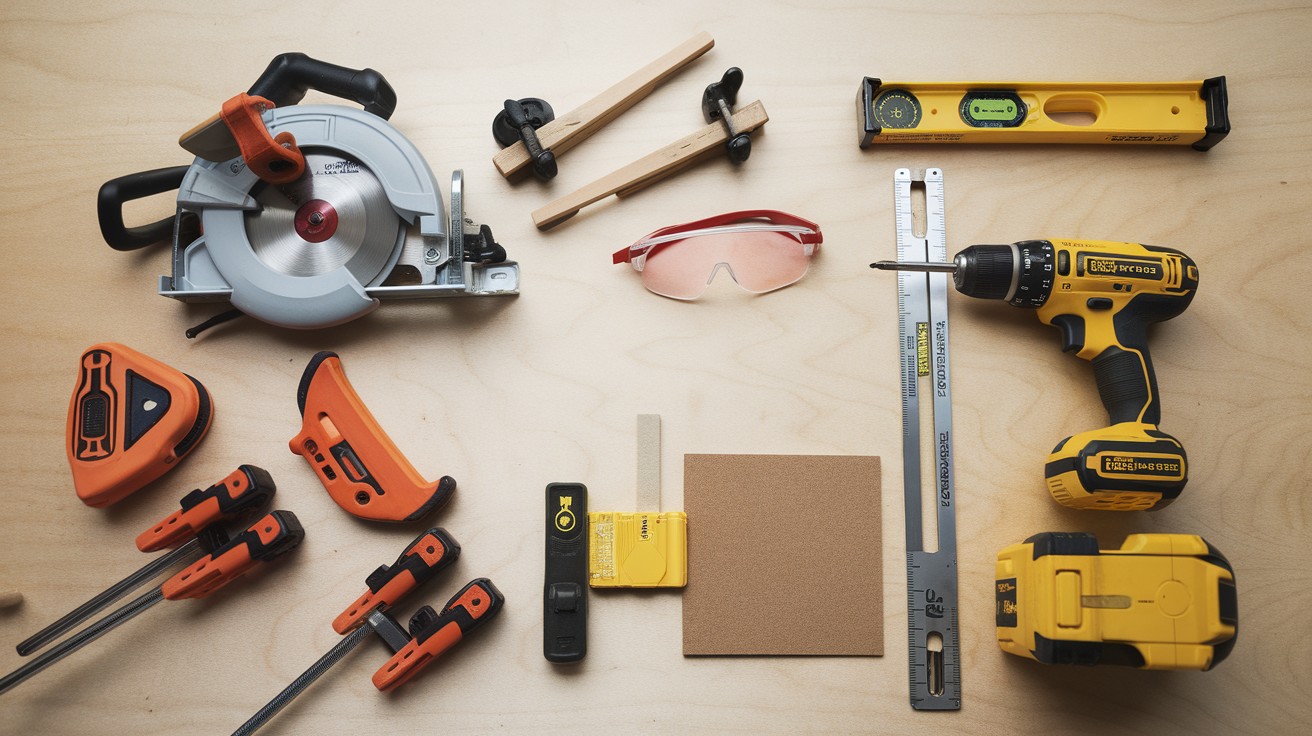
Basic Tools:
- Circular saw or miter saw
- Drill with bits
- Measuring tape
- Level
- Clamps
- Sandpaper (120 and 220 grit)
- Safety glasses
Materials:
- 3/4″ plywood or solid wood boards
- 1×2″ lumber for face frame
- Wood screws (1 1/4″ and 2 1/2″)
- Wood glue
- Hinges for doors
- Drawer slides
- Cabinet handles
- Wood stain or paint
- Polyurethane finish
Here’s the thing: You don’t need every tool on day one. Start with basics and add as you go.
How to Build a Bathroom Vanity (Step-by-Step Guide)
Step 1: Plan Your Vanity Design
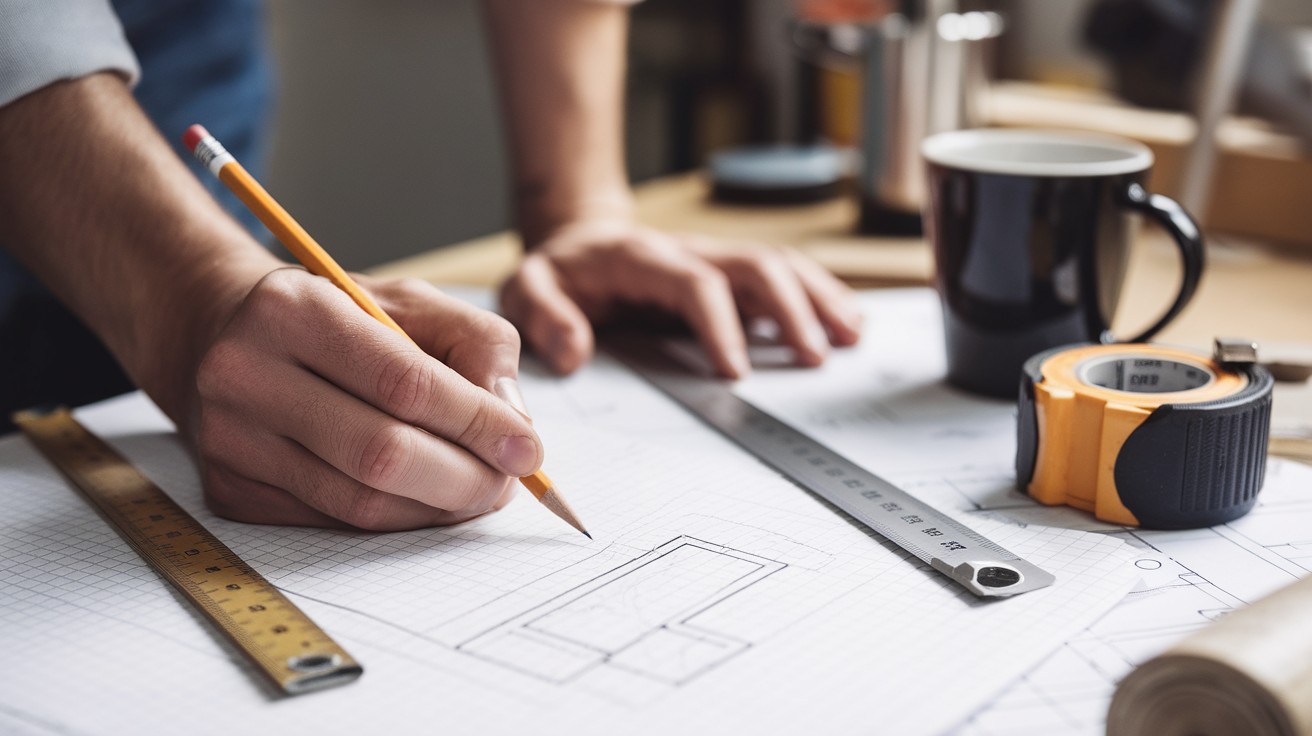
First, measure your space. Twice.
Write down:
- Width
- Height
- Depth
- Plumbing locations
I always draw my design on paper first. It saves headaches later.
Pro tip: Standard vanity height is 32-34 inches. But make yours fit your needs.
Step 2: Cut Your Wood Pieces

Time to cut wood. This is where precision matters.
You’ll need:
- 2 side panels
- 1 bottom panel
- 1 back panel
- 1 top (if not using stone)
- Face frame pieces
- Shelves or drawer boxes
Cut slowly. Measure twice, cut once. Trust me on this. Double-check each piece before moving to the next cut.
Step 3: Assemble the Frame
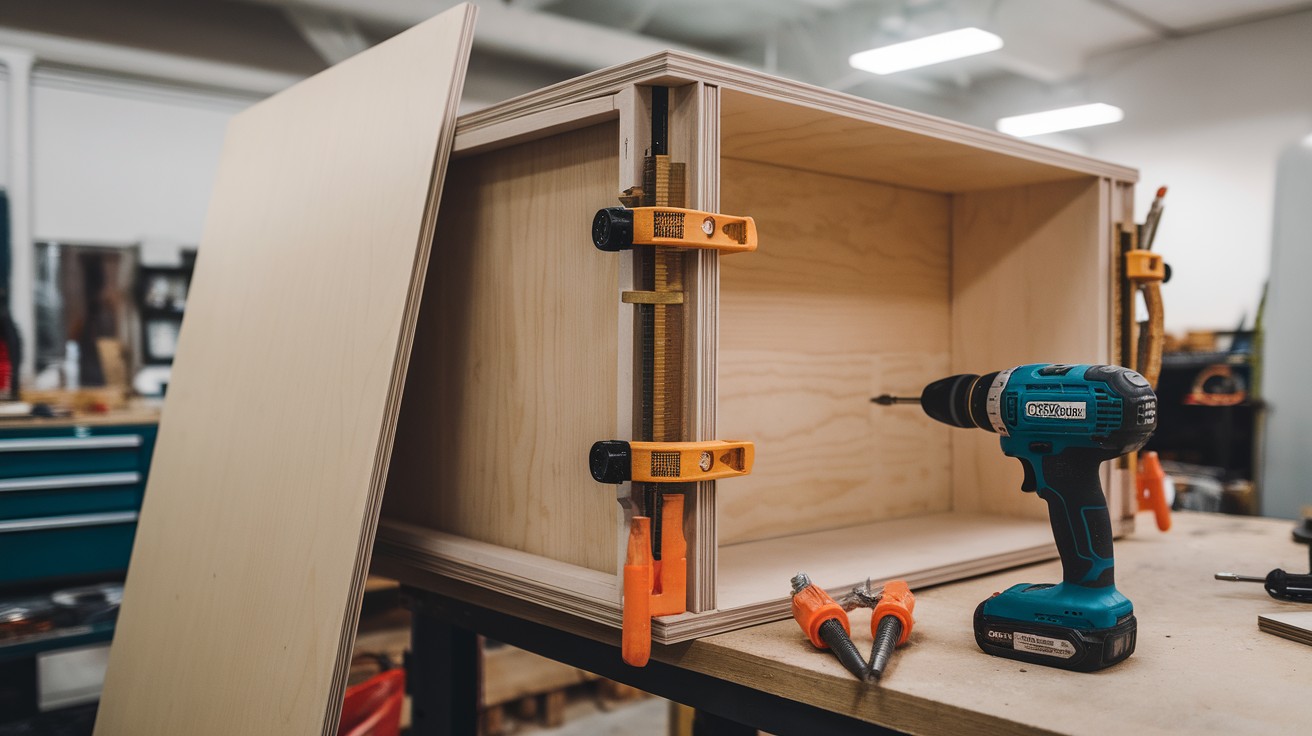
Start with the basic box.
Here’s my process:
- Attach sides to bottom panel
- Add back panel for stability
- Clamp everything square
- Pre-drill holes to prevent splitting
- Drive screws home
The back panel is crucial. It keeps everything square and sturdy. Don’t skip this step. Your vanity will wobble without proper backing.
Step 4: Add Face Frame or Trim (Optional)

Face frames hide plywood edges. They make your vanity look built-in.
Here’s my face frame process:
- Cut 1×2″ pieces to exact measurements
- Sand all joints smooth before assembly
- Apply wood glue to connecting surfaces
- Clamp pieces together tightly
- Check for square using a speed square
- Let glue dry completely before removing clamps
Assembly options:
- Pocket screws for strongest joints
- Wood glue and clamps for budget builds
- Finish nails for quick assembly
The face frame should overhang slightly. This creates a professional look and hides any imperfections.
Step 5: Install Drawers, Doors, or Shelves
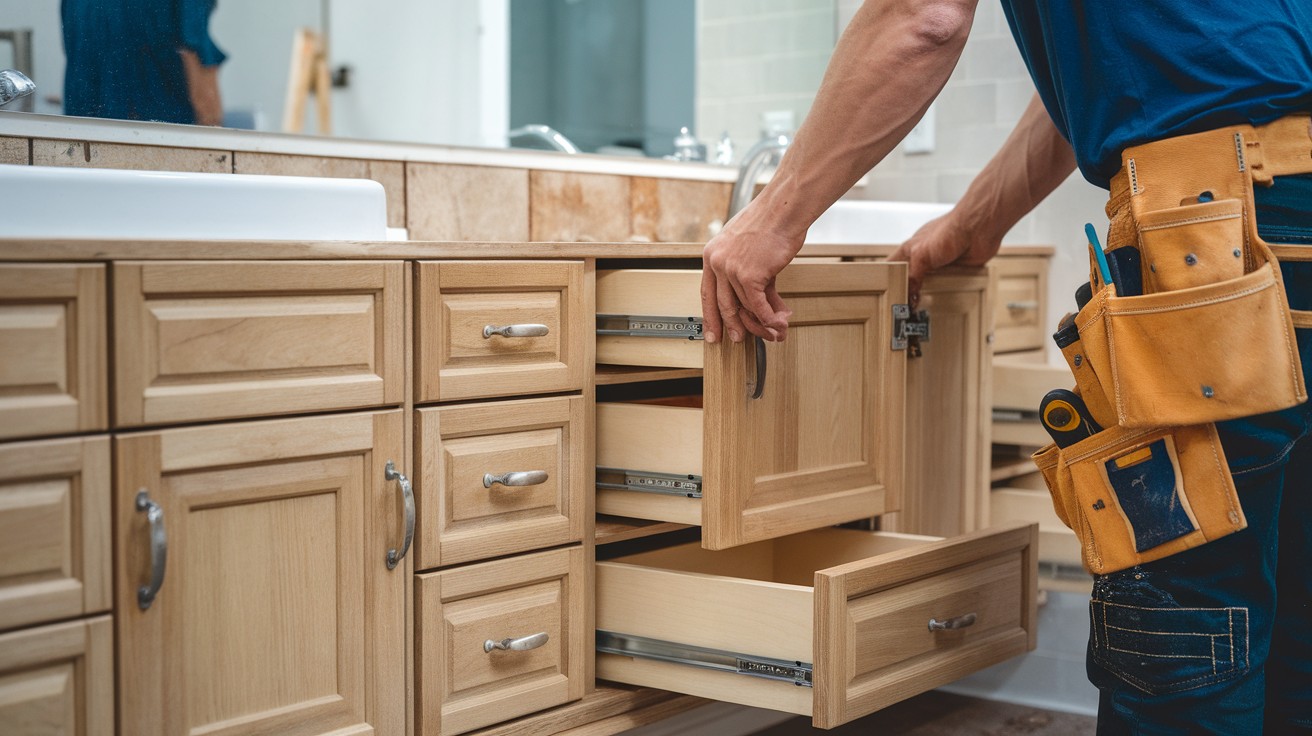
Now for the fun part. Adding storage.
For drawers:
- Build simple boxes with 1/2″ plywood
- Install drawer slides according to manufacturer specs
- Test fit everything before final installation
For doors:
- Cut to fit openings
- Install hinges carefully
- Adjust until doors hang straight
For shelves:
- Cut to fit snugly
- Use shelf pins for adjustability
Take your time here. Good hardware makes all the difference.
Step 6: Sand, Paint, and Finish
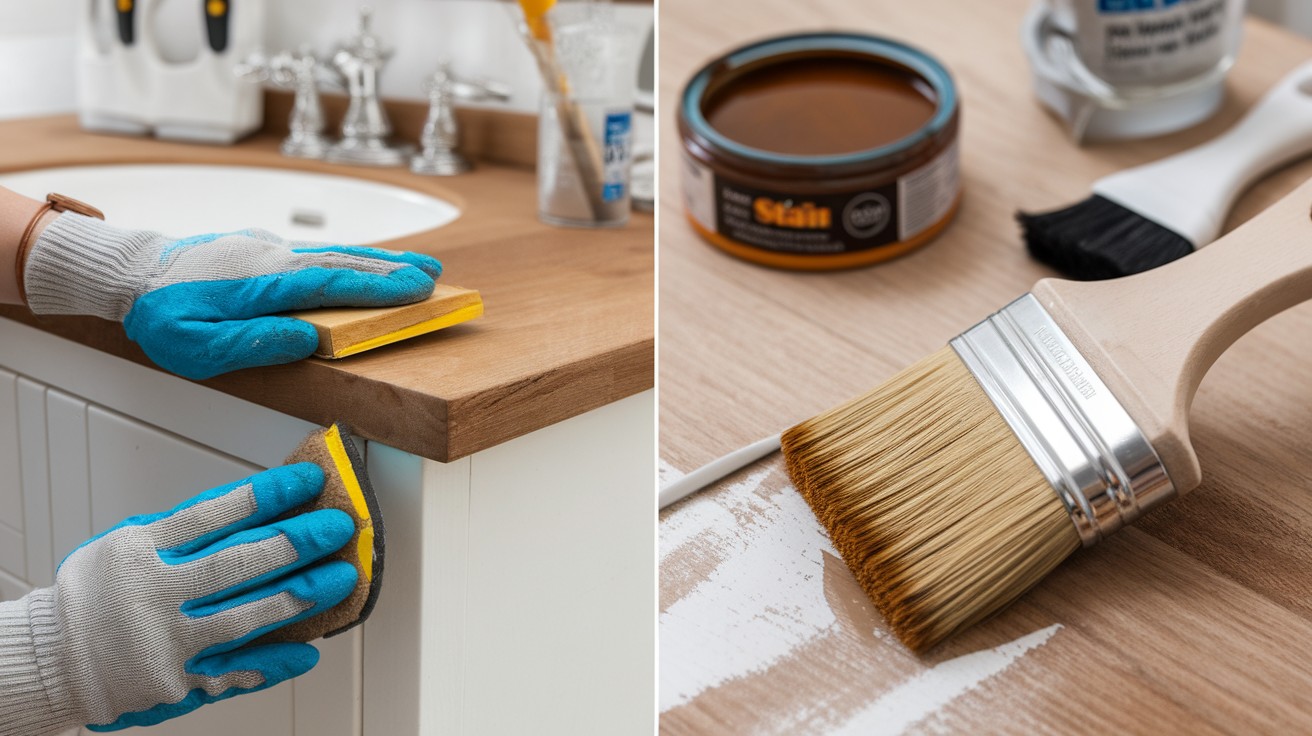
Sanding isn’t glamorous. But it’s essential.
My sanding process:
- Start with 120 grit
- Move to 220 grit
- Wipe clean with tack cloth
- Apply stain or primer
- Sand lightly between coats
Choose your finish wisely. Bathrooms are humid. Use polyurethane or marine-grade finish. Apply thin coats. Let each coat dry completely.
Step 7: Install Vanity Top and Sink
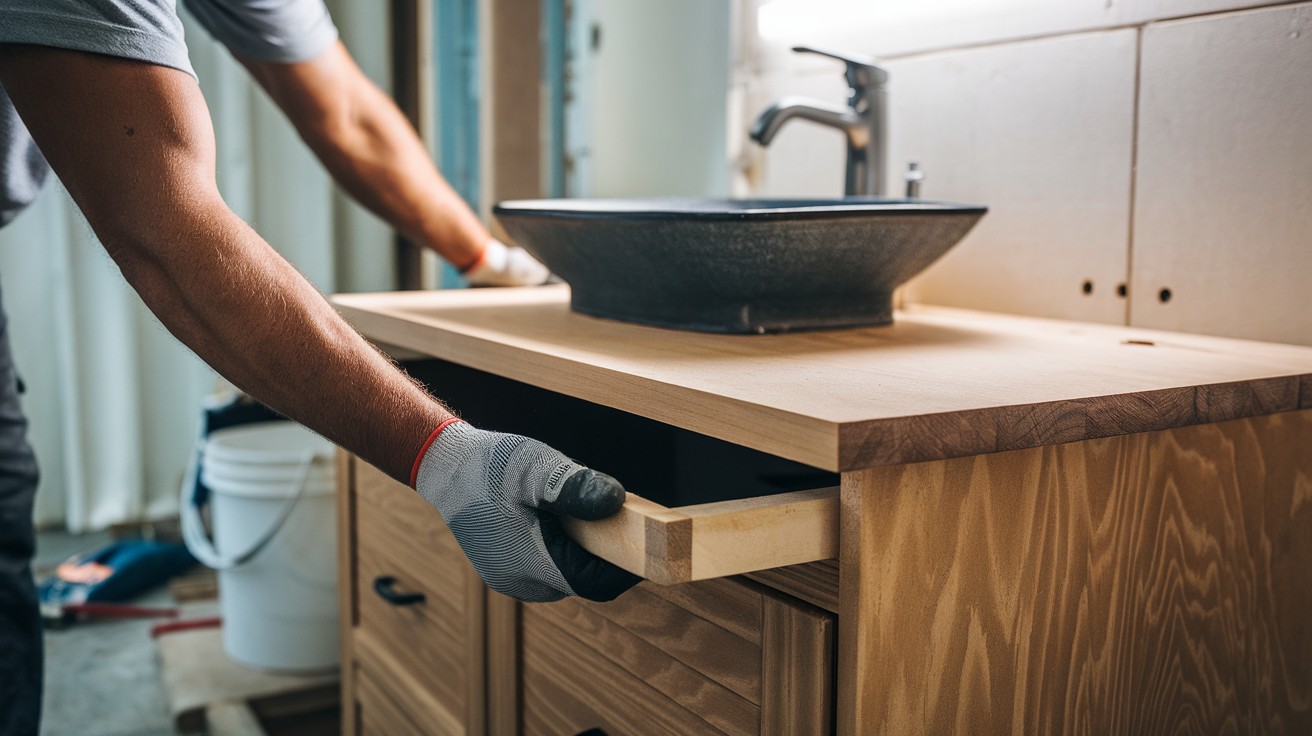
Almost there! Time for the countertop.
Options include:
- Butcher block
- Quartz
- Granite
- Laminate
I prefer solid wood for DIY builds. It’s forgiving and looks great.
Installation tips:
- Support heavy tops properly
- Seal wood tops thoroughly
- Follow manufacturer instructions for stone
Step 8: Set the Vanity in Place
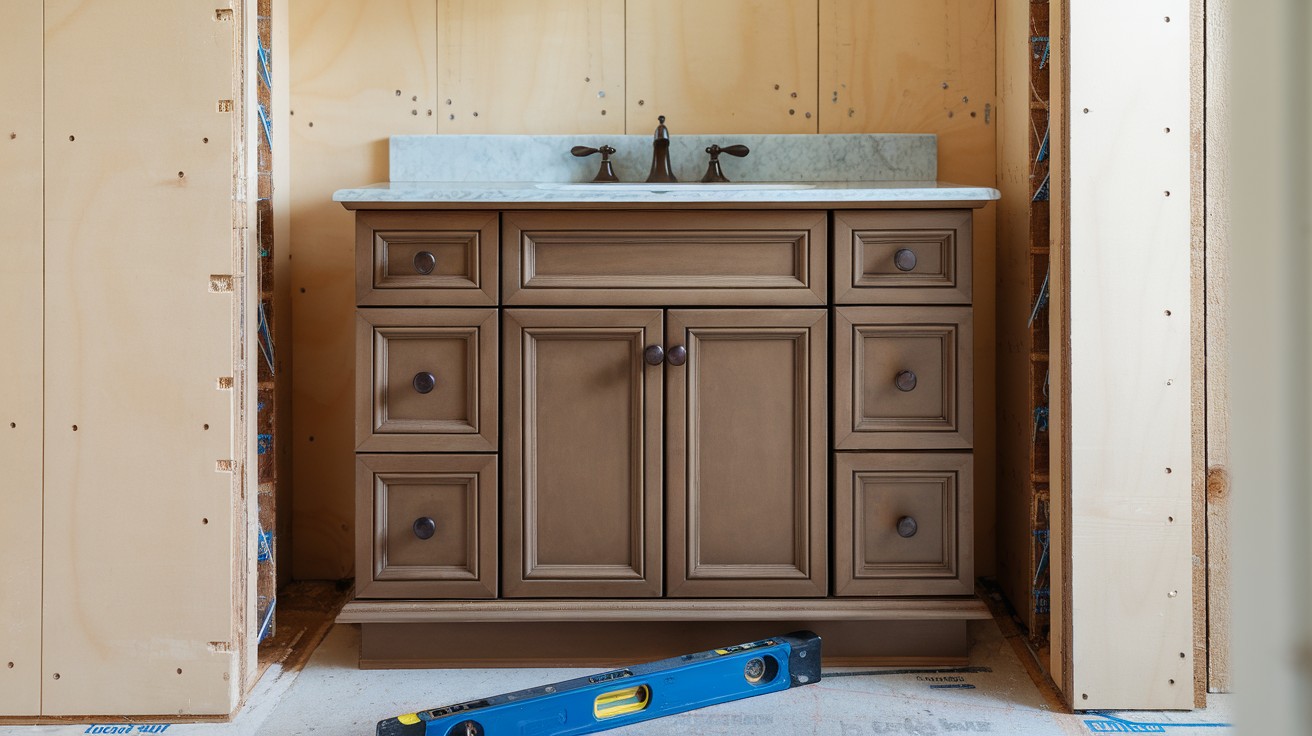
The final step. Moving day.
Here’s how I do it:
- Turn off water supply
- Position vanity carefully
- Level using shims
- Secure to wall studs
- Connect plumbing
- Test everything
Don’t rush this step. A wobbly vanity will drive you crazy.
Bonus Tips for Success
Measure your plumbing first. Nothing’s worse than discovering your pipes don’t fit. I learned this the hard way on my third vanity build.
Buy extra wood because you’ll make mistakes, I always do, even after 15 years. Pre-drill everything to prevent split wood that ruins projects fast. Take regular breaks since tired builders make bad cuts and costly errors.
Document your process with photos at each step. These pictures help tremendously if you build another vanity or need to troubleshoot problems later.
Common Mistakes to Avoid
- Skipping the back panel. Your vanity will rack and twist.
- Using cheap hardware. Good hinges and slides cost more upfront. They save frustration later.
- Forgetting about plumbing access. Leave room for pipes and shutoff valves.
- Rushing the finish. Take time here. It shows.
- Not accounting for tile. Wall tile affects your measurements.
Top DIY Bathroom Vanity Styles
Farmhouse style brings warmth with Shaker doors, distressed finishes, and open shelving that shows off your towels and decor. Add rustic hardware like barn door handles or vintage knobs to complete the look.
Modern minimalist focuses on clean lines and hidden hardware for a sleek appearance. These vanities often feature floating designs with neutral colors that make small bathrooms feel larger.
Traditional style never goes out of fashion with raised panel doors, crown molding details, and rich wood tones like cherry or mahogany. Classic handles in brass or brushed nickel add the perfect finishing touch.
Industrial style combines metal accents with raw wood for an urban feel. Try pipe legs instead of a standard base, and consider Edison bulb lighting above your new vanity.
Choose a style that fits your bathroom. Consistency matters.
Final Thoughts
You now have everything needed to build an amazing bathroom vanity. No more excuses. I’ve given you the exact steps, tools, and materials.
Here’s what happens next:
- Measure your space twice
- Buy your materials
- Start with the basic frame
- Take your time with each step
Building your own vanity saves serious money. Store vanities cost $500-2000. You’ll spend under $400. But money isn’t the only benefit. You’ll gain confidence. Learn valuable skills. Create something truly yours.
Most importantly? You’ll have a vanity that fits your bathroom perfectly. Start this weekend. Take photos of your progress. You’ve got this.
Your dream bathroom is just one project away.
Frequently Asked Questions
What size vanity fits best in a small bathroom?
A 24-30 inch vanity works well for small spaces. Measure your room first – you need at least 4 inches clearance on each side for comfortable use.
Can I build a vanity without advanced woodworking skills?
Absolutely! This project uses basic cuts and simple joints. Start with a basic design and add complexity as your confidence grows.
How do I make my DIY vanity look store-bought?
Focus on the details, and thoroughly, use quality hardware, and apply multiple thin finish coats. Professional-looking results come from patience, not expensive tools.
What’s the biggest mistake first-time builders make?
Skipping the planning phase and rushing measurements. Measure three times, cut once – it saves money and frustration later.
How long should I wait before using my new vanity?
Wait 24-48 hours after final finish application before heavy use. Your finish needs time to cure properly for maximum durability in humid bathroom conditions