
The buzz of wasps is often the interruption that could make or break enjoying your outdoor space.
We all strive for this; however, the said method isn’t always feasible, as many want to avoid using harmful chemicals, nor do most have an interest in destroying a friendly environment.
This is why I came up with the idea of a fake wasp nest, an incredibly simple and eco-friendly DIY solution. Not only does it keep wasps away, but it also protects these beneficial insects from harm and saves you money on chemical alternatives.
The basic idea is founded on the territorial nature of wasps. If they believe that another colony occupies a given space, they will avoid it. So, mimicking a real wasp nest, we can deceive them into believing that your space is off-limits.
And the best part? It’s an easy project you can do with materials probably already lying around the house! Let’s dive into how to make one and reclaim your outdoor space, stress-free.
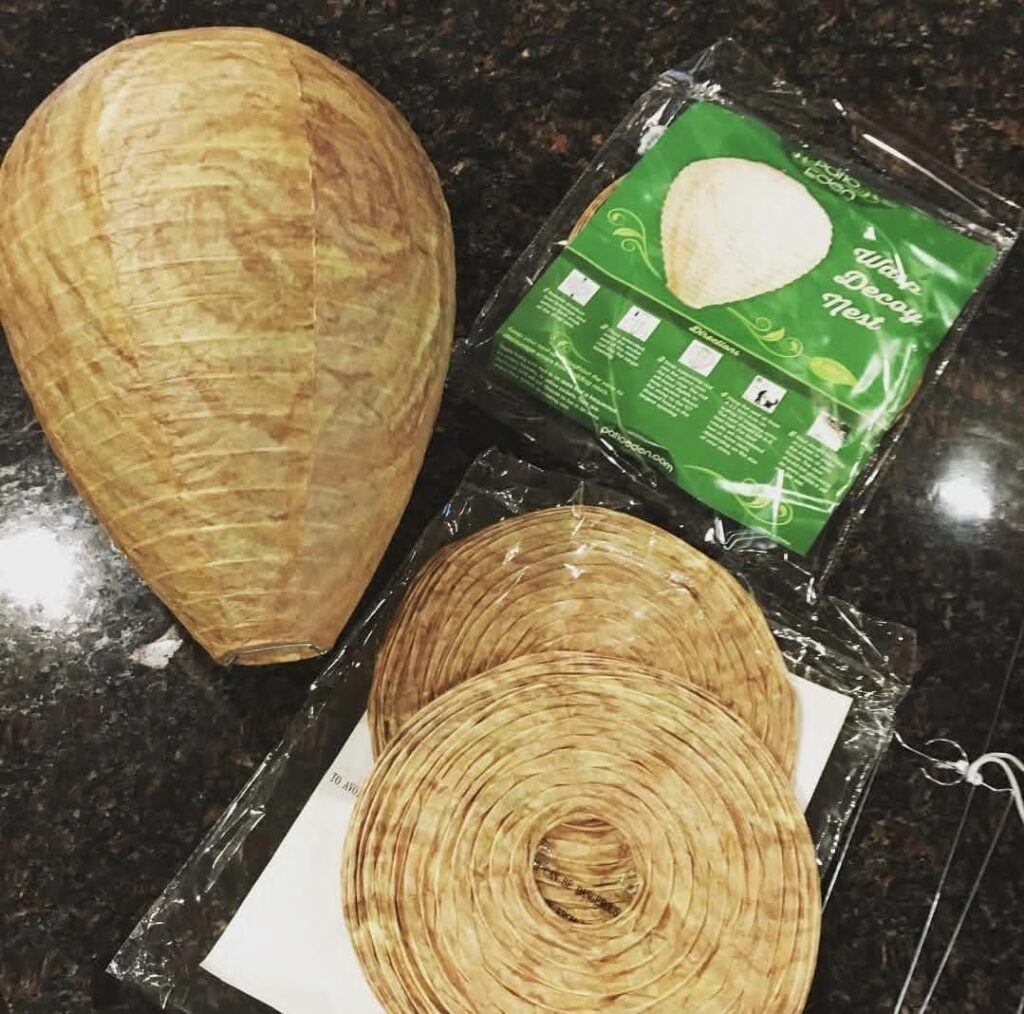
Materials You’ll Need to DIY a Fake Wasp Nest
To begin your fake wasp nest DIY, gather these materials:
- Brown paper bag or kraft paper: These give the natural look and color of a real wasp nest, thus not easily noticeable to wasps.
- Twine or string: To hang your fake nest in the right places with security.
- Cotton or crumpled newspaper: This serves as the filler to give the nest the appropriate shape and volume so that it can resemble a real nest.
- Adhesive tape or glue: This keeps the structure together and strong, even in outdoor environments.
- Scissors: These are used to cut the materials into the desired sizes.
- Optional: Paint or markers: These can be used to add details to make your fake nest look more realistic and convincing.
These materials are easily found and cheap, thus making this project accessible to anyone who wants a simple waste deterrent.
Step-by-Step Instructions for a fake wasp nest diy
From the Base of the Nest
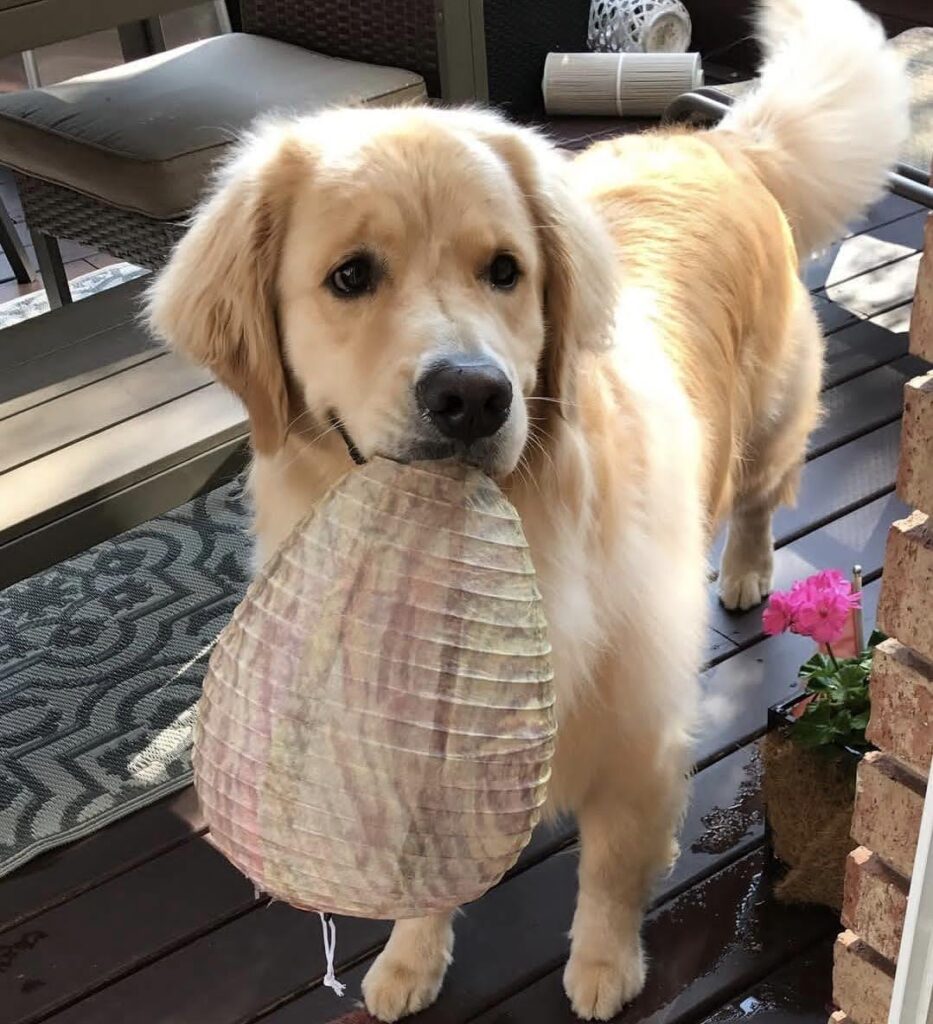
Begin with your crumpled brown paper bag or kraft paper to give it a natural, rounded shape. You can fill the inside of the paper bag with some cotton balls or crumpled newspaper.
That will make it look just right and give the correct texture to your nest. Make it about the size of a grapefruit for me.
To make it more realistic, I left some of the areas unevenly filledmost real wasp nests are irregular. The filler should not be packed too tightly because it has to be lightweight in structure, just like a real nest.
Secure the Shape
After the nest is filled and shaped, seal the edges with tape or glue. Secure the paper tightly around the filler material, so it will not come loose when handled.
If you are going to hang it outdoors, I recommend using waterproof tape so that it will not get wet during rainy days. For added stability, reinforce the seams with glue.
I used clear tape on the inner edges and added a drop of glue to the outer seams for extra security.
Add Realistic Details
To make the fake nest appear more realistic, paint or draw on it with the texture of a real wasp nest. I would advise using light gray, beige, or brown tones because these colors are the norm for wasp nests.
One technique that works well for dry-brushing is using a minimal amount of paint and sweeping it lightly on the surface so that it captures the weathered look that most wasp nests have.
You can also add swirl patterns with fine-tip markers, which represent the layered structure of a real nest. These tiny details will enhance the authenticity of your fake nest.
Make a Hanging Mechanism
Now, twist the twine or string at the top of the nest into a loop. The loop should be able to support the weight of the nest and is durable enough to withstand outdoor conditions.
Tie the string securely around the top of the nest and double-knot it for added strength. If you hang it in a place that is subject to wind, you can apply glue to reinforce the knot so that it won’t come undone.
I used good jute twine because it is strong and weather-resistant.
Test Durability and Hang
Before you hang your fake nest outside, test its durability. Hold the nest by the string and shake it lightly to ensure the structure holds up.
If it’s too flimsy or comes apart, then reinforce the edges with more glue or tape. You want it to look as natural as possible, but still withstand all types of weather.
Notice any areas you may need a little more filler or sturdier construction to make sure that it lasts.
Select the right location.
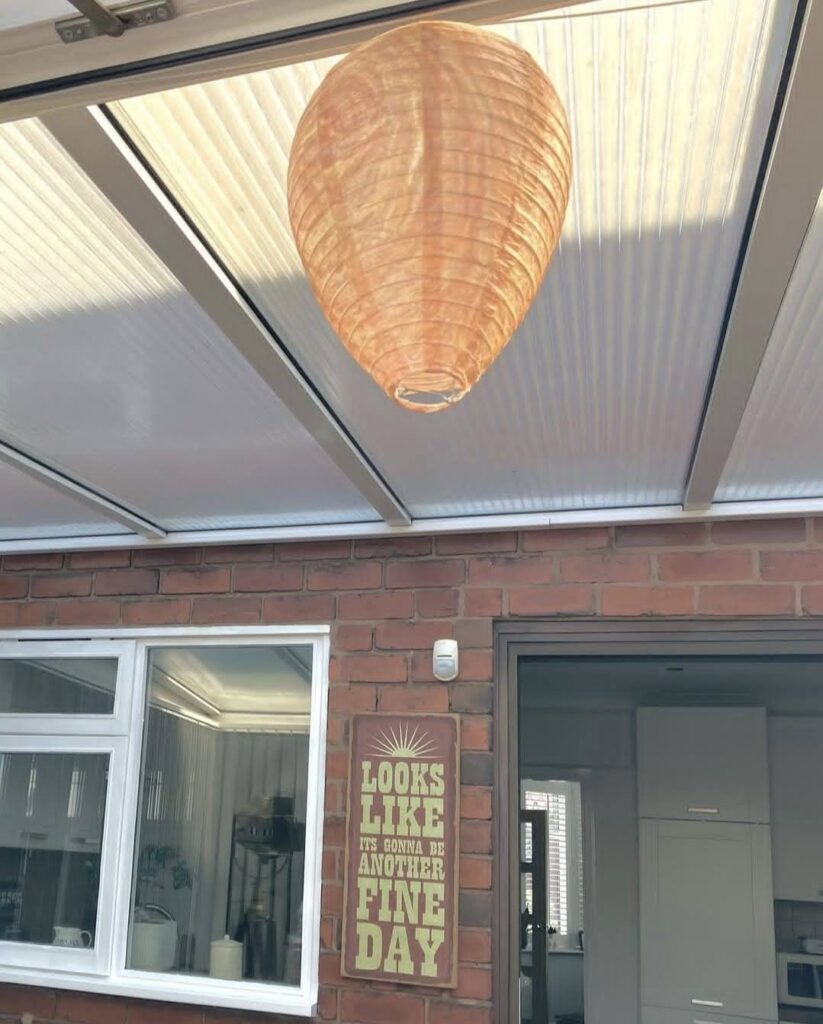
Since your fake nest is ready now, it’s time to choose its best place in your house for hanging. Always choose a more visible location; wasps can be territorial in nature and generally avoid areas that seem taken by another colony.
Hang this fake nest wherever wasps have a high propensity to enter, and these areas tend to be found near eaves, windows, or doors. In my case, I found that hanging the nest at eye level near the porch light kept the wasps away because they mistook it for a real nest.
Where to Hang Your Fake Wasp Nest
Placement is key for your fake wasp nest DIY to work effectively. Wasps avoid areas already claimed by other colonies, so they choose these spots strategically:
- Near entry points to your home: Hang the nest near doors or windows so that wasps cannot fly into your living spaces. For example, hang it near the top of a porch light or under a nearby eave to maximize visibility.
- Under eaves or roof overhangs: Wasps often nest in these sheltered spots. Hanging your fake nest here acts as a territorial deterrent. Use a ladder to safely reach these areas, and ensure the nest hangs freely without touching walls.
- In gardens or near patios: Hang the fake nest in a conspicuous place, such as a tree branch or pergola, to protect outdoor seating and dining areas. Make sure it is at eye level so that a wasp will notice it.
- Around outdoor sitting areas: Hang the nest within 10-15 feet of where you sit to keep the area wasp-free. A good location could be a fence post or the corner of a deck.
Position the fake nest to be exposed to fresh air but still protected from heavy rain. Mount it a little away from the walls to make it more conspicuous.
Advantages of a Homemade Fake Wasp Nest
Compared to conventional repellents, a homemade fake wasp nest offers the practical and novel advantages:
- This is eco-friendly and humane. Pesticides, in contrast, destroy wasps and the environment. Wasps help in pollination and act as a form of pest control. Therefore, discouraging them from your home without causing them any harm maintains the ecological balance.
- Chemical-free pest control: suitable for houses with children or pets because it minimizes exposure to possible chemical toxins. It is, therefore, safe for sensitive areas like playgrounds or pet enclosures.
- Cost-effective and sustainable: This method uses materials that can often be reused or repurposed, so it is budget-friendly and eco-friendly.
- Customizable and versatile: You can change the size, color, and placement of your fake nest according to your specific needs. It is a good choice for different environments.
- Quick and easy to replicate: If one nest wears out or you need multiple deterrents, creating replacements is simple and requires minimal effort.
Maintenance Tips for a fake wasp nest DIY
To keep your fake wasp nest DIY functional over time, regular care is essential. Inspect the nest periodically to ensure it remains intact and realistic.
Outdoor conditions like rain or strong winds may cause wear and tear, so replacing or reinforcing the nest might be necessary. You make sure the nest stays clean and clear of dirt debris for aesthetic reasons during the busiest times of the year, which are the spring and summer.
You can safely remove it in the fall, once their activities have drastically decreased, and store it in cool, dry places for the winter, ready for the next summer.
FAQs
Do fake wasp nests work?
Yes, fake wasp nests can be very effective. Wasps are territorial animals and avoid areas that seem to be taken by other colonies.
However, their effectiveness will depend on how realistic the design is, placed in the proper location, and the fake nest is visible to the wasps.
Can I place a fake wasp nest indoors?
While wasps are not as likely to enter indoors, a fake nest can still act as a deterrent around entry points, such as windows or doors.
Hang it in visible, well-lit areas to discourage wasps from trying to enter your home. This can also be used in enclosed patios or sunrooms.
How long do fake wasp nests last?
The durability of a fake wasp nest mainly depends on its material and external conditions.
Providing routine maintenance in terms of being rearranged and reinforced periodically, a nest may last well beyond a wasp season. A nest covered against heavy rains may last the longest.
Conclusion
This simple DIY fake wasp nest empowers you to reclaim your space without harming these important pollinators. No chemicals needed. No expensive solutions required. Just a bit of creativity and materials you likely already have at home.
With easily available materials, you can create a real wasp nest to ensure that your outdoor areas are peaceful and free of wasps. Whether you want to enjoy your garden or prevent wasp-related stress at your backyard party, this DIY trick gives you a natural solution that works.