
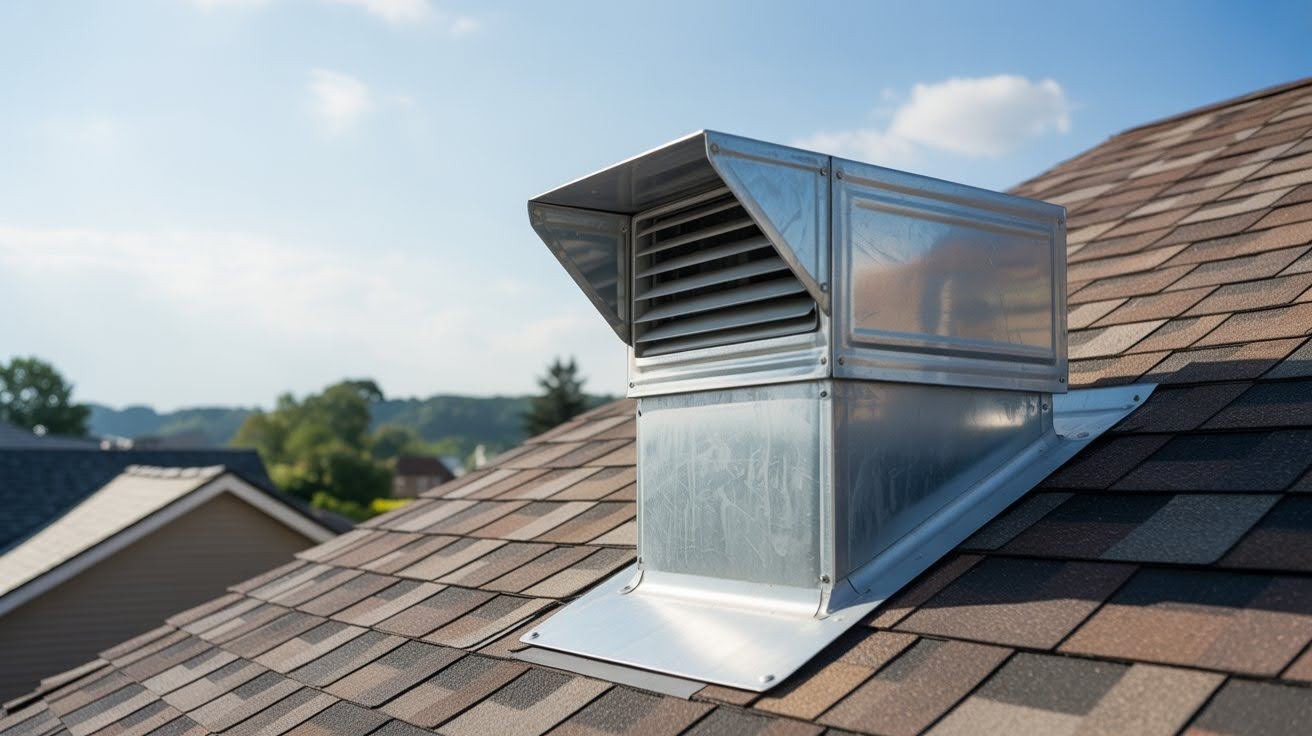
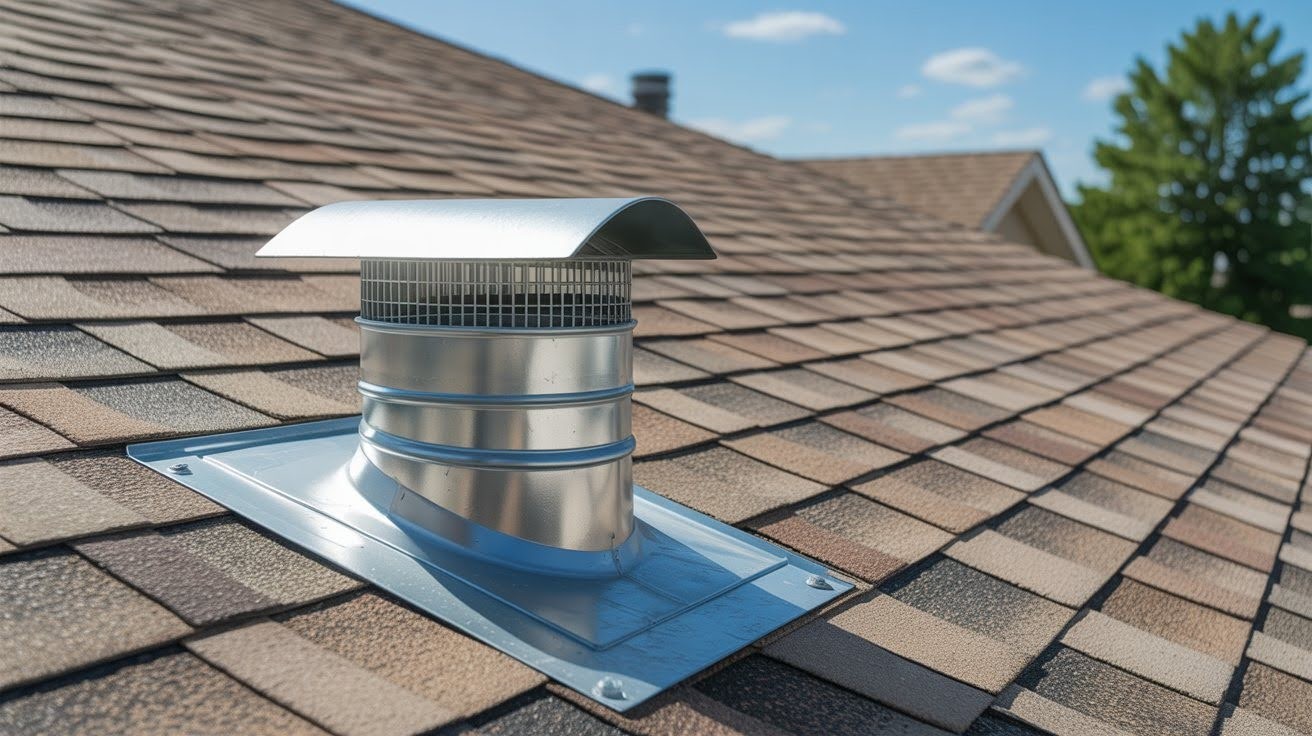
A roof dryer vent moves hot air and moisture from your dryer to the outside through your roof. It differs from wall vents that extend directly through an exterior wall.
Why does this matter? Your dryer needs proper ventilation to work safely and efficiently. Without it, lint builds up. Heat gets trapped. Fire risk increases.
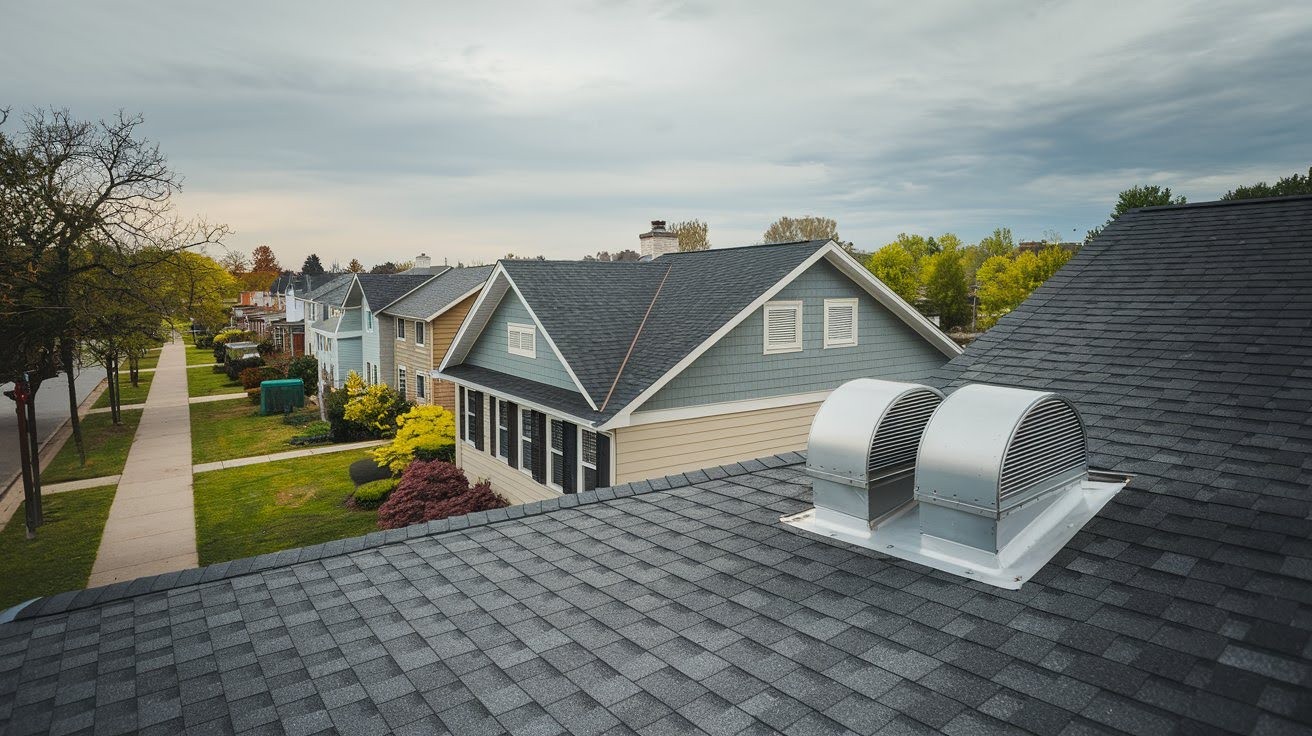
I see many homeowners struggle with roof vents. They’re harder to reach than wall vents. They need more maintenance. But they’re sometimes the only option.
Most people avoid roof vent maintenance until something goes wrong. That’s a mistake. Regular care prevents costly repairs and keeps your family safe.
This post covers everything you need to know. You’ll learn how to install one properly. I’ll show you cleaning techniques that work. Plus, I’ll help you solve common problems before they become expensive repairs.
Why Dryer Vents Are Installed on Roofs
Not every home can use a wall vent. Here’s when roof vents make sense:
Common Situations:
- Homes without direct exterior walls near the laundry room
- Slab homes where running ducts through walls is difficult
- Townhomes with shared walls
- Multistory buildings where the laundry room is on an upper floor
- Condos with limited exterior wall access
Benefits of Roof Vents:
- Saves valuable wall space for windows or other features
- Better curb appeal since the vent isn’t visible from the street
- Works well when the dryer is centrally located in the home
- Allows flexible laundry room placement
Downsides to Consider:
- Harder to clean and maintain
- Exposed to harsh weather conditions
- More difficult to inspect regularly
- Higher installation costs due to roof work
- Potential for roof leaks if not installed correctly
The key is understanding your home’s layout. Sometimes, a roof vent is your best option.
How to Install a Roof Dryer Vent
Tools and Materials Needed:
- Dryer vent roof cap with flashing
- Rigid or semi-rigid metal ducting
- Foil tape (never use screws on ducts)
- Electric drill with bits
- Jigsaw or reciprocating saw
- Roofing caulk and sealant
- Extension ladder
- Safety harness and non-slip shoes
- Measuring tape and marker
Step-by-Step Installation:
- Choose the Right Location: Pick a spot as close to your dryer as possible. Avoid areas near gutters or roof valleys where water collects. Make sure you can access it safely for future cleaning.
- Measure and Mark: From inside your attic, locate the exact spot where the vent will exit. Mark it. Double-check measurements before cutting.
- Cut the Roof Opening: Use a jigsaw to cut a hole slightly larger than your duct diameter. Cut from the outside if possible. Be careful not to damage the surrounding shingles.
- Install the Roof Cap: Place the vent cap over the hole. The flashing should slide under the shingles above and over the shingles below. Apply roofing sealant generously around all edges.
- Connect the Ductwork: Run rigid metal ducting from your dryer to the roof cap. Keep the path as straight as possible. Avoid unnecessary bends that restrict airflow.
- Secure All Connections: Use foil tape to seal all duct joints. Never use screws inside the duct – they catch lint. Make sure connections are tight but not crushed.
- Test the System: Run your dryer and check for proper airflow at the roof vent. Look for any air leaks around connections.
Installation Tips:
- Follow your local building codes
- Never use flexible vinyl or plastic ducts
- Keep total duct length under 25 feet when possible
- Add a booster fan for runs longer than 15 feet
- Consider professional installation if you’re not comfortable working on roofs
Cleaning a Roof Dryer Vent
Why Regular Cleaning Matters
Lint buildup is serious business. It blocks airflow and creates a fire risk. Your dryer works harder and uses more energy. Clothes take longer to dry.
The National Fire Protection Association reports that dryers cause thousands of house fires each year. Most could be prevented with proper cleaning.
Tools You’ll Need:
- Dryer vent cleaning brush kit with long flexible rods
- High-powered vacuum or leaf blower
- Ladder and roof safety equipment
- Screwdriver for removing the vent cap
- Flashlight or headlamp
- Drop cloths to protect the area below
Step-by-Step Cleaning Instructions:
- Safety First: Turn off the power to your dryer at the breaker box. Make sure the dryer is completely cool. Set up your ladder safely and wear non-slip shoes.
- Access the Roof Vent: Carefully climb to the vent location. Remove the exterior vent cap by unscrewing it. Set screws aside where they won’t fall off the roof.
- Initial Inspection: Look inside the vent opening with a flashlight. You’ll probably see lint buildup along the walls. Note how much accumulation there is.
- Brush Out the Lint: Connect your cleaning brush to the flexible rods. Push the brush down into the vent as far as it will go. Rotate and move it up and down to loosen lint.
Work slowly. You don’t want to push lint further down the duct.
- Vacuum the Debris: Use a powerful vacuum to remove loosened lint. A leaf blower can help push stubborn buildup toward the roof opening.
- Clean from Inside Too: Go inside and disconnect the dryer duct from the back of your machine. Clean this section with your brush kit, working toward the roof.
- Reassemble Everything: Reinstall the roof vent cap with fresh sealant if needed. Reconnect your dryer duct inside. Run a test cycle to ensure proper airflow.
Common Problems with Roof Dryer Vents
Lint Buildup: This is the biggest issue. Lint accumulates faster in roof vents because gravity works against the airflow. Signs include longer drying times and hot clothes at the end of cycles.
Animal and Pest Intrusion: Birds love to nest in warm dryer vents. Rodents can also get inside. You’ll hear scratching sounds or notice reduced airflow. Install a pest-proof vent cover with a spring-loaded damper.
Weather Damage: Rain, snow, and UV rays take a toll on roof vents. Plastic components crack and break. Metal parts rust. Check your vent cap annually for damage.
Improper Installation Issues: Crushed ducts reduce airflow dramatically. Sagging sections collect lint faster. Poor sealing leads to air leaks and energy loss. These problems often require professional repair.
Backdraft Problems: Cold air entering through the vent makes your dryer work harder. This happens when dampers break or get stuck open. You might feel cold air near your dryer or notice higher energy bills.
Ice Buildup in Winter: Moist air from your dryer can freeze at the roof exit in cold climates. Ice blocks the vent and backs up exhaust into your home. Proper insulation around the duct helps prevent this.
Roof Leaks: Poor flashing or deteriorated sealant allows water into your home. Look for water stains on ceilings or walls near the vent location.
Maintenance Tips for Roof Dryer Vents
- Inspect the roof vent cap annually for cracks, rust, or damage
- Use pest-proof vent covers with spring-loaded dampers
- Check for air leaks around ductwork connections in the attic
- Look for water stains or moisture damage near the vent area
- Install a booster fan if your duct run is longer than 15 feet
- Replace damaged roof caps or deteriorated seals immediately
- Clear debris like leaves or snow from the vent opening
- Test airflow monthly by feeling for strong air movement at the roof vent
- Keep the area around your indoor dryer clean and lint-free
- Schedule professional cleaning if you can’t safely access the roof
- Consider upgrading to a better quality vent cap if yours breaks frequently
- Insulate ductwork in cold climates to prevent condensation problems
Conclusion
Roof dryer vents require more attention than wall vents, but they’re manageable with the right approach. Proper installation prevents most problems before they start.
Regular cleaning keeps your system safe and efficient. I recommend checking your vent every few months and cleaning it at least twice a year.
Don’t ignore warning signs like longer drying times or hot clothes. These often mean your vent needs attention.
Safety comes first. If you’re not comfortable working on your roof, hire a professional. The cost of professional service is much less than dealing with a house fire or roof leak.
When did you last check your roof dryer vent? If it’s been over six months, now might be a good time for an inspection.
Frequently Asked Questions
How often should I clean my roof dryer vent?
Clean your roof dryer vent every 6-12 months. If you have a large family or use your dryer frequently, clean it every 6 months. Heavy use requires more frequent maintenance.
Can I install a roof dryer vent myself?
Yes, if you’re comfortable working on roofs and have the right tools. However, professional installation is recommended due to safety concerns and the need for proper waterproofing. Improper installation can lead to roof leaks.
Why is my dryer taking longer to dry clothes?
Long drying times usually indicate a blocked vent. Lint buildup restricts airflow, making your dryer work harder. Clean your roof vent and check for obstructions. Also, inspect the ductwork for damage or crushing.
What type of duct should I use for a roof dryer vent?
Always use rigid or semi-rigid metal ducting. Never use flexible vinyl or plastic ducts – they restrict airflow and are fire hazards. Galvanized steel or aluminum ducts work best for roof installations.
How do I know if animals are in my dryer vent?
Signs include scratching or chirping sounds, reduced airflow, strange smells, or visible nesting materials around the vent opening. Install a pest-proof vent cover with a spring-loaded damper to prevent animal intrusion.