Proper drip edge installation forms the foundation of effective roof protection, with overlap technique serving as the critical factor determining system success or failure.
Water damage ranks among the most costly and destructive forces threatening residential and commercial buildings, making precise drip edge overlap essential for long-term structural integrity.
The difference between adequate protection and costly repairs often comes down to understanding and implementing correct overlap methods, material selection, and installation sequences.
Building codes establish minimum 2-inch overlap requirements, but achieving optimal performance requires attention to direction, measurement consistency, and quality control throughout the installation process.
This comprehensive guide examines proven techniques for achieving reliable drip edge overlap that protects your investment and ensures code compliance for years to come.
Understanding Drip Edge and Its Overlap
A drip edge is a metal flashing that directs water away from roof edges, requiring proper overlap for effective moisture protection.
What Is a Drip Edge?
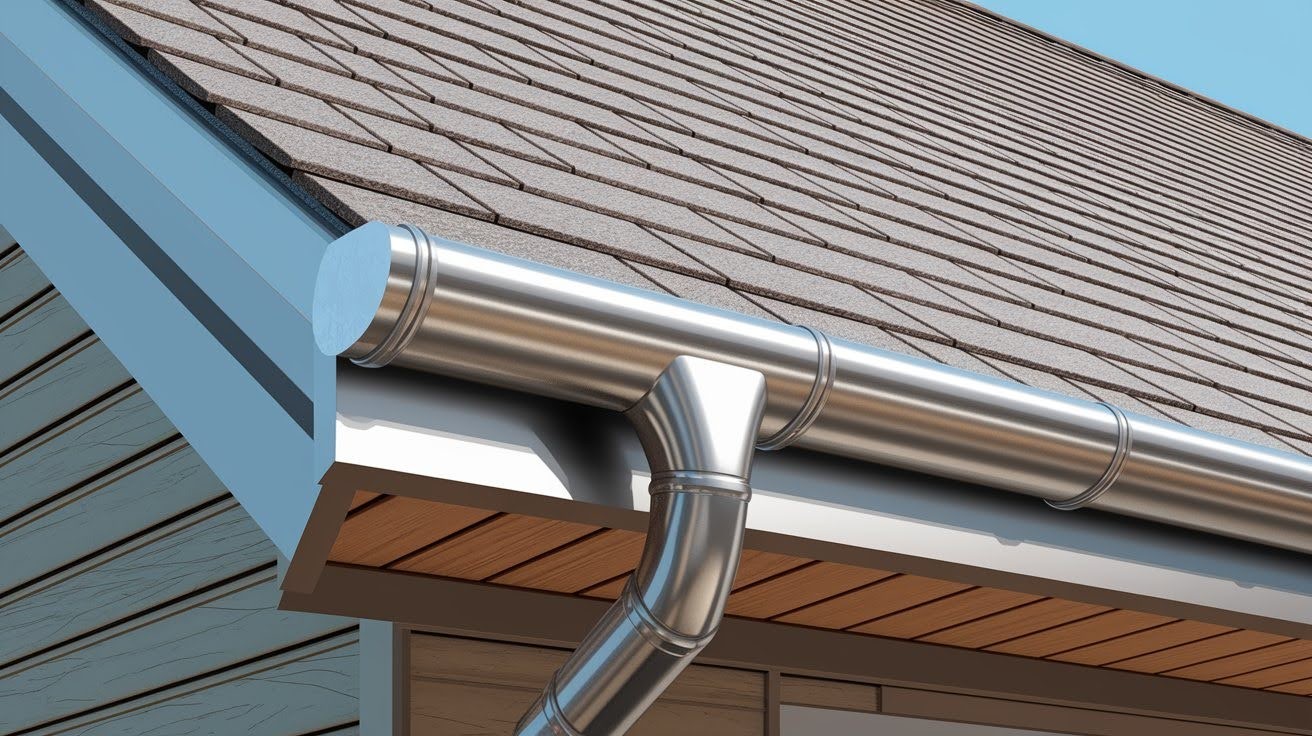
A drip edge is a metal flashing component installed along roof edges to direct water away from fascia boards and into gutters.
This L-shaped or T-shaped metal strip extends beyond the roof deck, creating a clear pathway for water runoff while preventing moisture from seeping back under roofing materials.
Made from aluminum, galvanized steel, or copper, drip edges serve multiple functions.
They protect fascia boards from water damage, prevent ice dam formation, reduce pest infiltration, and maintain proper water flow into gutters.
Why Overlap Matters in Roofing Systems
Proper overlap between drip edge sections creates a continuous barrier against water infiltration.
Without adequate overlap, gaps form that allow moisture to penetrate the roofing system, potentially causing rotted fascia boards, damaged roof decking, and compromised structural elements.
The overlap ensures water flows smoothly from one section to the next without interruption. This seamless transition prevents backup and alternative water pathways that could compromise the building.
Climate factors like heavy rainfall, snow loads, and freeze-thaw cycles make proper overlap even more critical.
Overlap design must also accommodate thermal expansion and contraction of metal components.
As temperatures change seasonally, inadequate overlap can result in separation between sections, creating gaps that reduce system effectiveness.
Building Code Requirements for Overlap (e.g., 2-inch minimum)
Most building codes specify minimum overlap requirements for drip edge installations.
The International Residential Code (IRC) typically requires a minimum 2-inch overlap between adjacent drip edge sections for both horizontal and vertical installations.
Local codes may impose stricter requirements based on regional climate conditions. Areas with severe weather or coastal exposure often mandate larger overlap dimensions for enhanced protection.
Many professionals recommend exceeding minimum requirements, with 3-inch overlaps offering better protection at minimal additional cost.
Code compliance includes proper fastening methods, material specifications, and installation sequences. Inspectors verify overlap requirements during rough and final inspections, making compliance essential for project approval.
Professional installers must stay current with local code revisions and maintain proper documentation showing overlap dimensions for inspector review.
Benefits of Proper Drip Edge Overlap
Prevents Water Infiltration and Fascia Rot
- Correct drip edge overlap creates an impenetrable barrier that stops water from finding entry points along roof edges, preventing moisture from penetrating between joints or accumulating behind fascia boards.
- Fascia rot develops when water consistently contacts wooden components, but overlapped drip edges form a continuous metal barrier that redirects all moisture away from vulnerable wood surfaces.
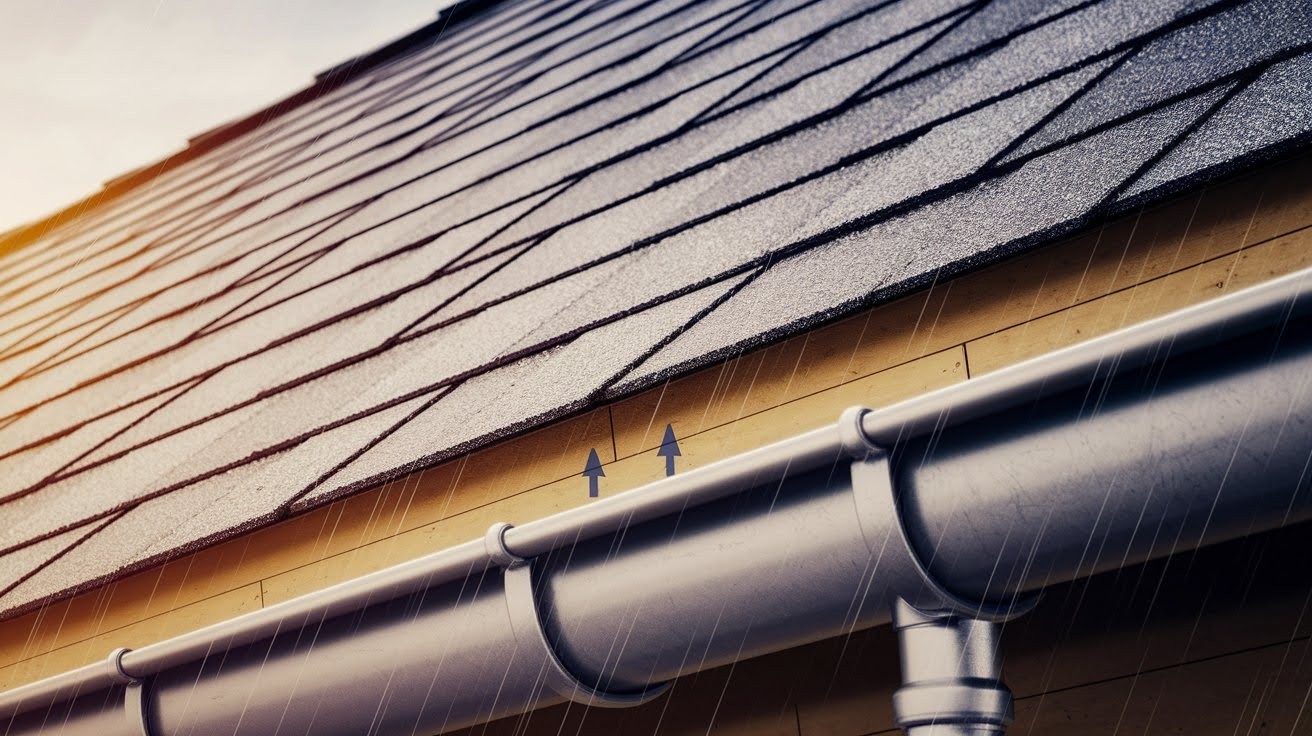
- Proper overlap prevents capillary action, where water moves upward through small spaces between materials, stopping hidden damage before extensive rot occurs.
Strengthens Wind Resistance Along Roof Edges
- Overlapped drip edges create a unified system that distributes wind loads across multiple fastening points, reducing stress on individual attachment locations and preventing edge lifting.
- The mechanical connection formed by overlap maintains position during high winds and suction effects, providing consistent protection even during severe weather events.
- Connected sections through overlap remain stable and reduce flutter and vibration, preventing noise and accelerated wear at fastening points during windy conditions.
Lifts the Lifespan of Shingles and Underlayment
- Proper overlap protects roof edges where shingles and underlayment face maximum vulnerability to moisture damage, preventing edge deterioration that often begins roofing system failure.
- Enhanced protection in critical edge zones allows roofing materials to perform as designed without premature failure from severe weather exposure including wind-driven rain, ice formation, and thermal cycling.
- Continuous overlap maintains proper drainage patterns that prevent water pooling against roofing materials, stopping accelerated material degradation and leak development.
How to Properly Overlap Drip Edge Flashing
Proper drip edge overlap installation requires specific tools, systematic installation techniques, and specialized approaches for valleys, eaves, and rake edges.
Tools and Materials You’ll Need
Essential Materials:
- Drip edge metal (aluminum, galvanized steel, or copper)
- Roofing nails (galvanized or stainless steel)
- Roofing cement or sealant
- Underlayment or ice and water shield
Required Tools:
- Tin snips or metal cutting shears
- Chalk line for marking straight lines
- Hammer or pneumatic nail gun
- Measuring tape and pencil
- Safety equipment (gloves, safety glasses, non-slip footwear)
- Ladder or scaffolding for safe roof access
Step-by-Step Installation Process
Start at the bottom eave and work up
Begin installation at the bottom eave and work systematically upward to ensure proper water flow direction.
This approach allows gravity to assist with drainage and prevents water from backing up under overlapped sections.
Measure and mark the roof edge with a chalk line to maintain straight, consistent placement throughout the installation process.
Overlap each section by at least 2 inches
Position the first drip edge section at the starting corner, ensuring it extends properly beyond the fascia board and roof deck edge.
The extension should typically measure between 1/4 to 3/8 inch beyond the fascia, depending on your gutter configuration and local building requirements.
Place the second section with a minimum 2-inch overlap over the first piece, maintaining consistent alignment with your chalk line marks for professional appearance and optimal function.
Secure with proper nail spacing
Secure each section with roofing nails spaced 8-12 inches apart, positioning fasteners in the vertical leg away from the drip edge to prevent water infiltration through nail holes.
Continue this pattern along the entire roof edge, checking overlap measurements frequently to maintain code compliance and consistent protection.
Test each overlap joint by running water over the connection to verify proper drainage without backup or infiltration, and apply roofing cement at overlap joints in areas prone to wind-driven rain for additional protection against moisture penetration.
Common Mistakes to Avoid
- Wrong overlap direction: The upper section must always overlap the lower section in water flow direction. Incorrect overlap creates reverse infiltration pathways and allows wind-driven rain to force water upward into joints.
- Gaps between sections: Insufficient overlap or poor alignment creates gaps allowing water infiltration. Rushed installation and inconsistent measurements cause gaps that widen with thermal expansion over time.
- Mismatched or damaged metal: Combining different metal types creates galvanic corrosion leading to premature failure. Damaged sections with dents or sharp edges prevent proper overlap and trap debris.
- Ignoring instructions and codes: Manufacturer instructions specify overlap requirements and fastening methods that must be followed. Local codes often exceed manufacturer minimums and failure to comply can result in inspection failures and liability issues.
When to Call a Professional Roofer
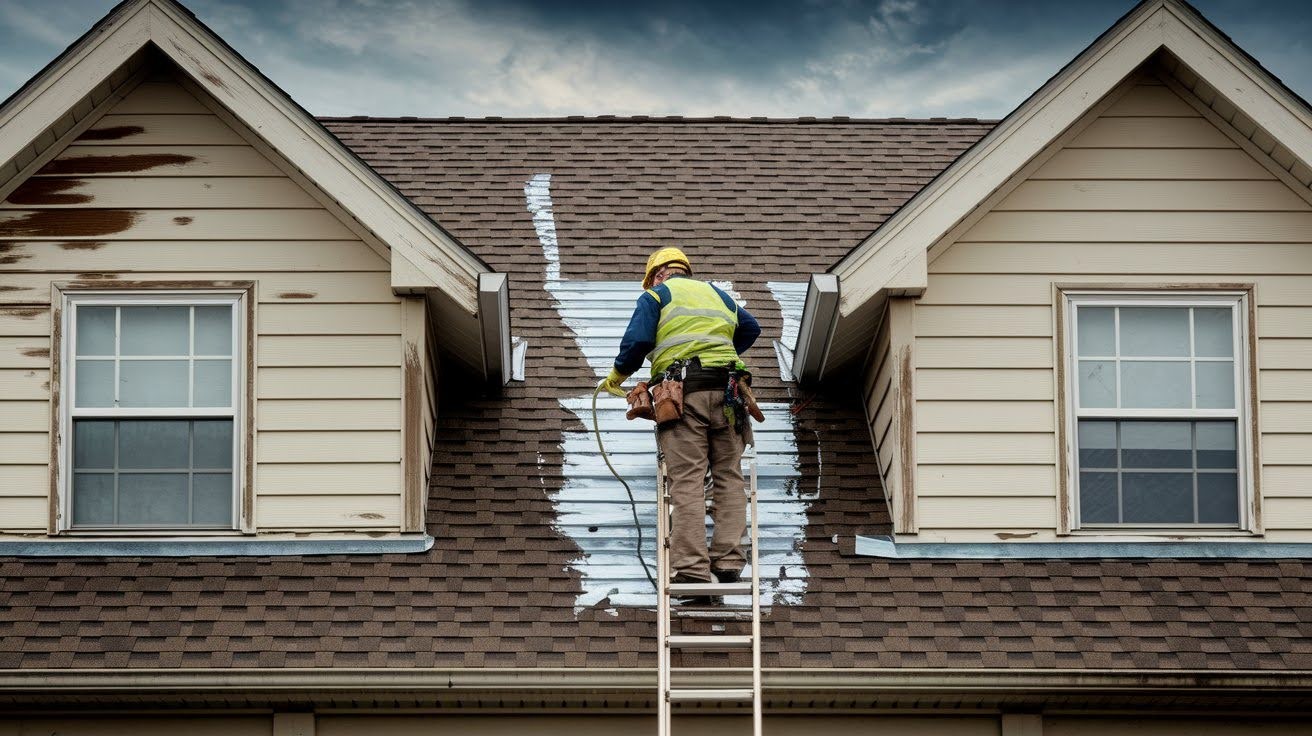
Water stains on fascia boards, visible gaps between drip edge sections, loose or lifting sections, ice dams along roof edges, and peeling paint near roof edges indicate poor overlap or installation requiring professional attention.
These signs suggest moisture infiltration and structural problems beyond typical homeowner repair capabilities.
Professional replacement becomes necessary when drip edge sections show significant corrosion, damage, or installation defects.
Repair work involves safely accessing roof edges, removing damaged sections, and installing new components with proper overlap techniques. Complex repairs around valleys or architectural features require flashing expertise that improper attempts can worsen.
Professional inspections identify problems before extensive damage occurs, allowing preventive repairs that cost less than emergency restoration.
Licensed contractors provide detailed quotes with material specifications and warranty terms while ensuring code compliance.
Professional installation includes manufacturer warranty activation and insurance coverage, making regular professional maintenance the most cost-effective approach for extending system life.
Final Thoughts
Proper drip edge overlap serves as a foundation for effective roofing system performance and long-term building protection.
The 2-inch minimum overlap requirement exists not as an arbitrary standard, but as a proven method for preventing water infiltration, wind damage, and premature material failure.
When installed correctly with attention to manufacturer specifications and local building codes, overlapped drip edges create seamless barriers that protect fascia boards, extend shingle life, and maintain structural integrity.
Code compliance ensures your roofing investment meets industry standards while protecting against costly repairs and insurance complications.
Professional installation or careful attention to overlap direction, gap prevention, and proper fastening techniques guarantees optimal performance.
Regular inspection and maintenance of drip edge systems prevents minor issues from becoming major problems, making proper overlap a smart investment in your property’s future protection and value.
Frequently Asked Questions
What is the minimum overlap required for drip edge installation?
Building codes typically require a minimum 2-inch overlap between adjacent drip edge sections to ensure adequate water protection. Many professionals recommend exceeding this minimum with 3-inch overlaps for enhanced performance in challenging weather conditions.
Which direction should drip edge sections overlap for proper water flow?
The upper section must always overlap the lower section in the direction of water flow to prevent reverse infiltration. This configuration ensures water moves smoothly from one piece to the next without finding gaps or backup pathways.
How do you maintain consistent overlap measurements during installation?
Use a measuring tape to mark overlap distances on each section before positioning, and maintain a chalk line reference for straight alignment. Check measurements frequently throughout the installation process to prevent gradual reduction in overlap spacing.
What tools are essential for achieving precise drip edge overlap?
Tin snips for cutting metal sections, a measuring tape for accurate overlap dimensions, and a chalk line for maintaining straight installation lines are fundamental tools. A hammer or nail gun, along with appropriate fasteners, completes the basic tool requirements for proper installation.
How do you handle overlap at roof corners and complex areas?
Cut drip edge sections at appropriate angles to follow roof contours while maintaining minimum overlap requirements in all directions. Install eave pieces first, then overlap rake pieces over them at corners to create a shingled effect that prevents water infiltration.

