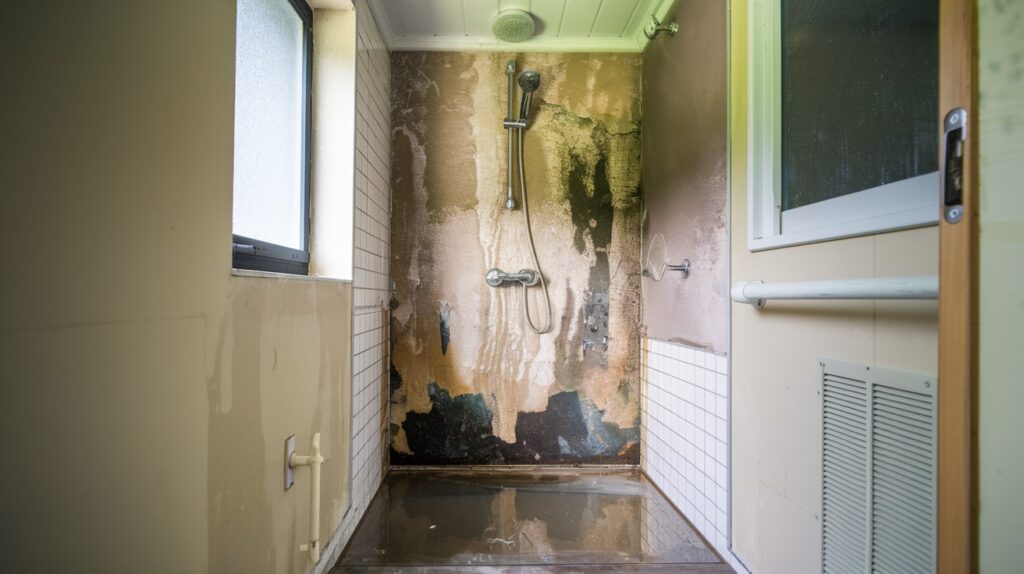
Waterproofing your shower area is one of the most important steps in maintaining a clean, hygienic, and long-lasting bathroom. Poor waterproofing can lead to leaks, mould growth, structural damage, and expensive repairs. Many homeowners assume waterproofing requires hiring a professional, but with the right tools and a bit of patience, you can handle much of it yourself. From fixing seals to preventing water drips, a few smart improvements can protect your bathroom for years.
One of the most common causes of water leakage in modern bathrooms is worn-out seals, especially along curved glass screens. A reliable curved shower screen seal plays a crucial role in preventing water from escaping the shower enclosure. Replacing or upgrading this seal can instantly improve waterproofing and reduce splashes. In this article, we’ll explore simple, practical DIY waterproofing tips to keep your shower area safe, dry, and clean.
Understanding Why Shower Waterproofing Matters
Waterproofing is about more than just controlling splashes. Every time you shower, water can slip into tiny gaps and joints if they’re not sealed properly. Over time, moisture seeps into tiles, grout, and even your bathroom walls or floor structure, leading to:
- Black mold and mildew
- Tile or grout discoloration
- Crumbling plaster or sagging floors
- Persistent damp smells
- Damage to surrounding rooms
Proper waterproofing prevents these issues and extends the life of your bathroom fittings.
Inspect Current Shower Seals and Screens
Start by checking the existing seals around your shower screen. Look closely at the rubber or PVC strip at the bottom of the glass door. If you notice cracks, yellowing, gaps, or loose areas, the seal is likely worn out.
Curved shower screens are more prone to leaks because water travels along the glass curve and escapes if the seal isn’t snug.
A damaged seal may look minor but can cause gradual leaks that soak into your floor. Replacing it is simple and inexpensive—just measure the length and thickness of the current strip and replace it with a properly fitted curved shower door seal.
Replace Old Seals for Better Waterproofing
Replacing seals is an easy DIY method that instantly improves waterproofing. If your shower has a curved glass enclosure, make sure to choose a curved shower screen seal specifically designed for rounded edges. Straight seals don’t fit curved doors correctly and will still allow leaks.
To replace the seal:
- Remove the old seal by gently sliding it off.
- Clean the glass edge thoroughly to remove soap scum or dirt.
- Cut the new seal to size if needed.
- Slide it firmly onto the bottom of the glass screen.
- Test it by closing the shower door and checking for gaps.
This quick fix can help prevent water from dripping onto your bathroom floor.
Reseal Around Tiles with Waterproof Silicone
Silicone around the shower tray, tiles, and wall joints may become loose or moldy over time. If you see cracks or peeling, old silicone needs to be replaced. Failing to reseal it allows water to seep behind the tiles. To do this:
- Cut away the old silicone with a knife.
- Clean and dry the surface completely.
- Apply new waterproof bathroom silicone evenly.
- Smooth it using a silicone tool or wet finger.
- Allow it to cure before using the shower.
Always use mold-resistant silicone designed for wet areas.
Fix Cracks in Grout
Grout between tiles can become brittle or crack. These tiny cracks may not look dangerous, but they let water get through the tile layer. Re-grouting can restore waterproofing. Remove old grout with a grout scraper and apply new grout paste. Smooth the joints and let them dry for 24 hours.
For better protection, you can also apply a grout sealer. This creates an invisible waterproof barrier.
Use a Shower Water Deflector
If you notice water splashing under the shower door, even after replacing seals, installing a water deflector strip is a smart idea. It helps redirect water back into the tray. These clear plastic strips can be attached to the bottom edge of the glass door. They work well with curved enclosures too and reduce puddles on the floor.
Improve Shower Drainage
Poor drainage is another cause of water escaping from the shower. Make sure your shower tray is tilted slightly toward the drain to prevent water pooling. Also, check that the drain isn’t blocked by hair or soap buildup. Cleaning the drain regularly supports good waterproofing.
Ventilation Helps Prevent Moisture Damage
Even with perfect sealing, steam can cause moisture damage if the bathroom isn’t ventilated. Install an exhaust fan or keep a window open while showering. Good airflow keeps moisture levels low and prevents mold growth.
Use a Shower Curtain or Door Sweep for Extra Protection
If your shower enclosure still allows water to escape, consider adding a shower door sweep or curtain extension. These small additions push water back inside the enclosure and protect your bathroom flooring.
Maintain Regular Cleaning
Soap scum and hard water deposits weaken seals and silicone joints. Regular cleaning keeps your waterproofing materials strong and effective. Use a gentle cleaner and avoid harsh chemicals that can damage seals.
Final Thoughts
Improving your shower’s waterproofing doesn’t require a full renovation. With simple steps like re-grouting, applying silicone, and replacing worn seals, you can prevent long-term moisture damage and keep your bathroom fresh.
If you have a curved enclosure, upgrading to a durable curved shower screen seal is one of the most effective DIY fixes. It creates a tight barrier that keeps water exactly where it belongs—inside the shower.
A few small upgrades and regular maintenance go a long way toward preventing leaks, protecting your home, and ensuring your bathroom remains calm, clean, and comfortable for years to come.

