
Ever needed a spot to pin up notes, photos, or inspiration? A pin board is your answer – that simple yet super useful wall display that keeps important stuff visible and your space organized.
Good news: you don’t need fancy skills or a big budget to create one. This project is perfect for beginners and can be completed in just an afternoon.
In this guide, I’ll walk you through choosing materials, measuring correctly, and personalizing your board to match any room. You’ll learn the exact steps to create a sturdy, attractive pin board that lasts.
I’ve made dozens of these boards for my home and friends’ spaces, so I know the common mistakes to avoid. By the end, you’ll have a practical, stylish way to display what matters most to you.
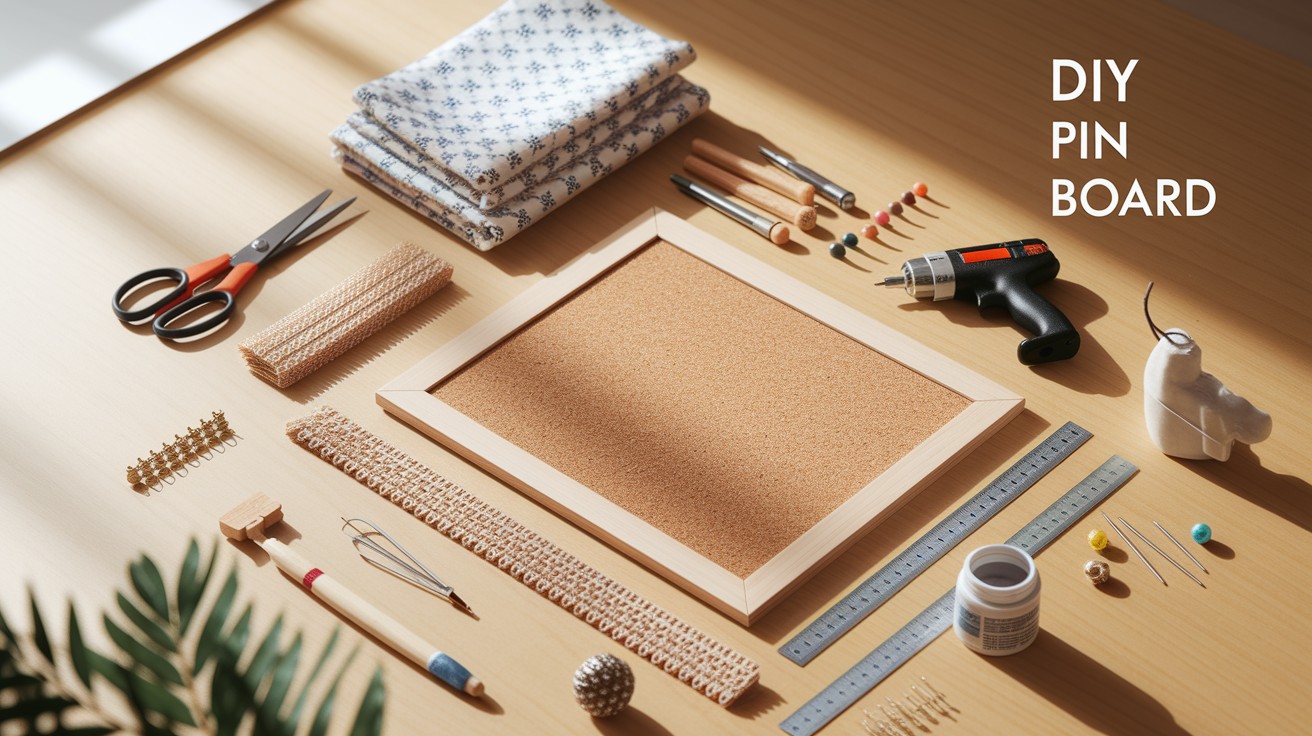
Materials You’ll Need
I’ve made plenty of these boards over the years. Trust me, gathering everything before you start saves time.
- Corkboard or foam board (18×24″ works well)
- Fabric of your choice
- Sharp scissors
- Staple gun or hot glue
- Ruler or measuring tape
Some extras you might want:
- Decorative trim
- Push pins
- Paint the edges
- Small ornaments
Get your fabric about 4 inches larger than your board on all sides. This gives you enough to wrap around the edges. Measure twice, cut once!
How to Make a DIY Pin Board Easily?

Pin boards add function and style to any space. I use mine to keep track of notes, photos, and inspiration without putting holes in my walls.
You can make one this weekend for much less than buying pre-made. The best part? No special skills needed! I’ll show you exactly what materials to grab, how to put everything together, and some cool ways to customize your board.
You’ll end up with something that looks great and works even better. Let’s get started with this simple project that solves a common problem: keeping important things visible and organized
Step-by-Step Instructions
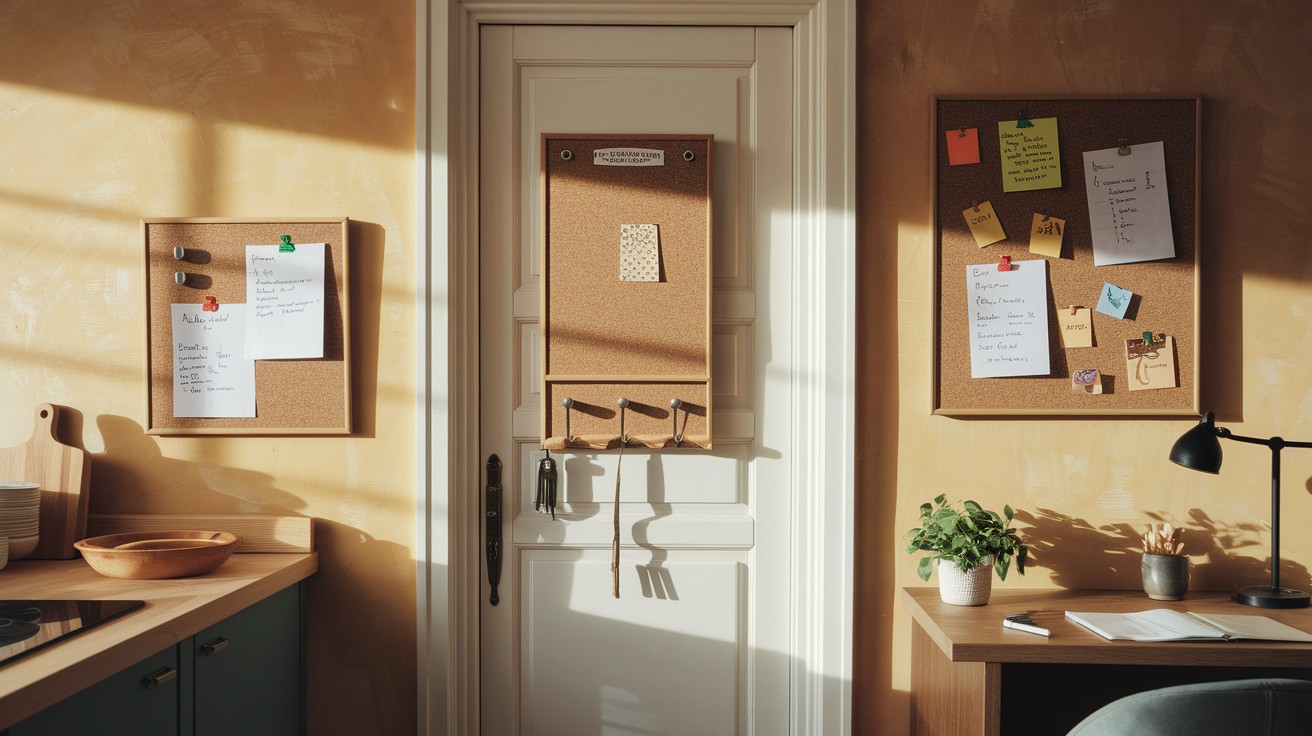
Step 1: Choose the Right Board
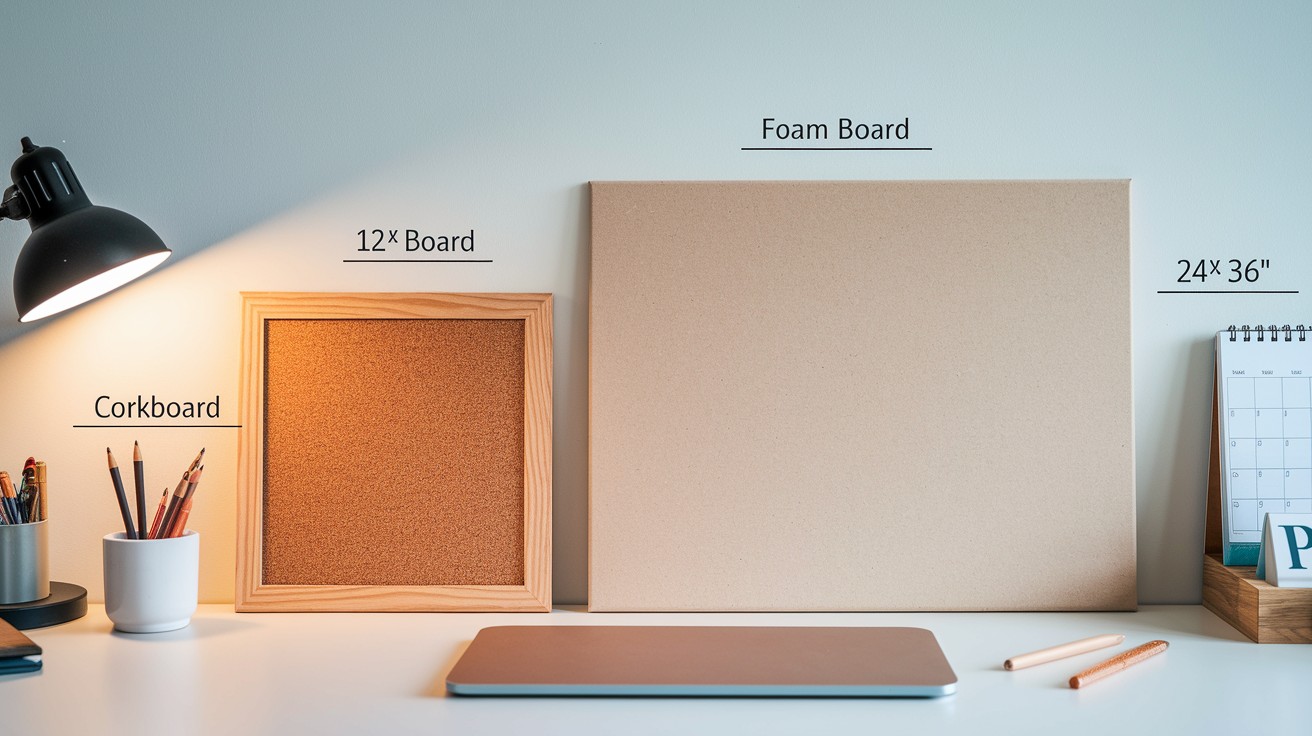
I’ve tried all the options. Corkboard gives the classic feel and holds pins well. Foam board costs less but won’t last as long. Canvas works if you plan to use clips instead of pins.
Think about where you’ll put it. A small 12×16″ works great by a desk. For planning meals or family schedules, go bigger—at least 24×36″.
Step 2: Cut and Prep the Fabric
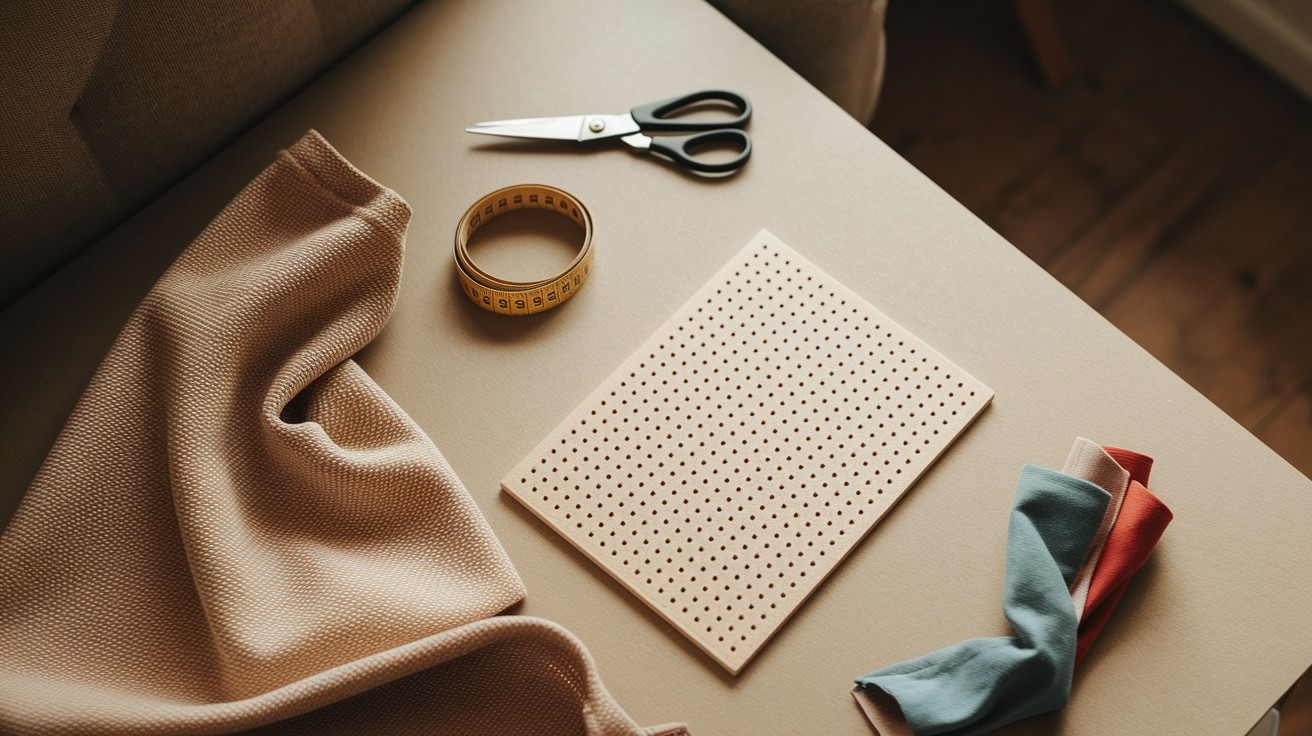
Lay your fabric face down on a flat surface. Put your board on top. Cut the fabric so it extends 3-4 inches beyond each edge of the board.
Solid colors look clean and simple. Patterns add visual interest but might compete with what you pin up. Cotton works well, but I like canvas for durability.
Step 3: Attach the Fabric to the Board
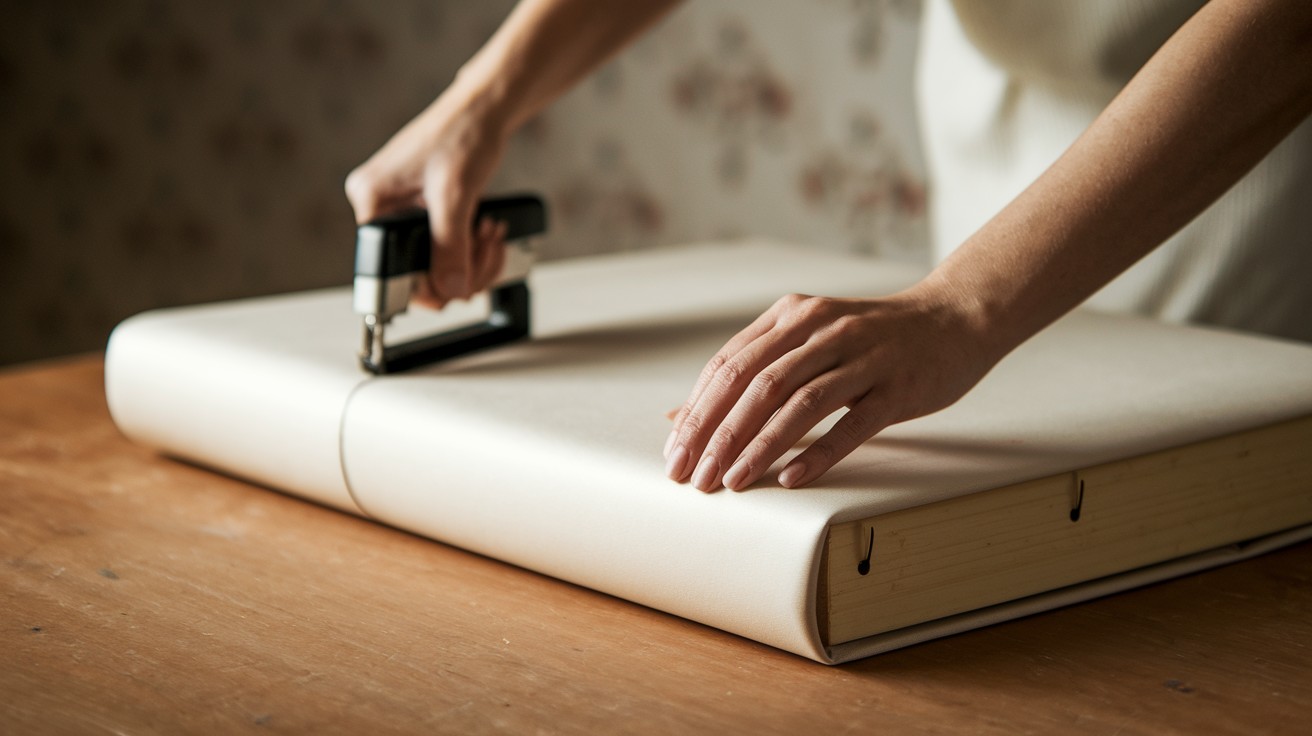
Start by pulling the fabric tight across one side and securing it with staples or glue. Then pull the opposite side tight and secure it too.
Do the corners last? Fold them like you’re wrapping a gift—this keeps everything neat. Check the front often to make sure no wrinkles form as you work.
Step 4: Add Decorative Touches
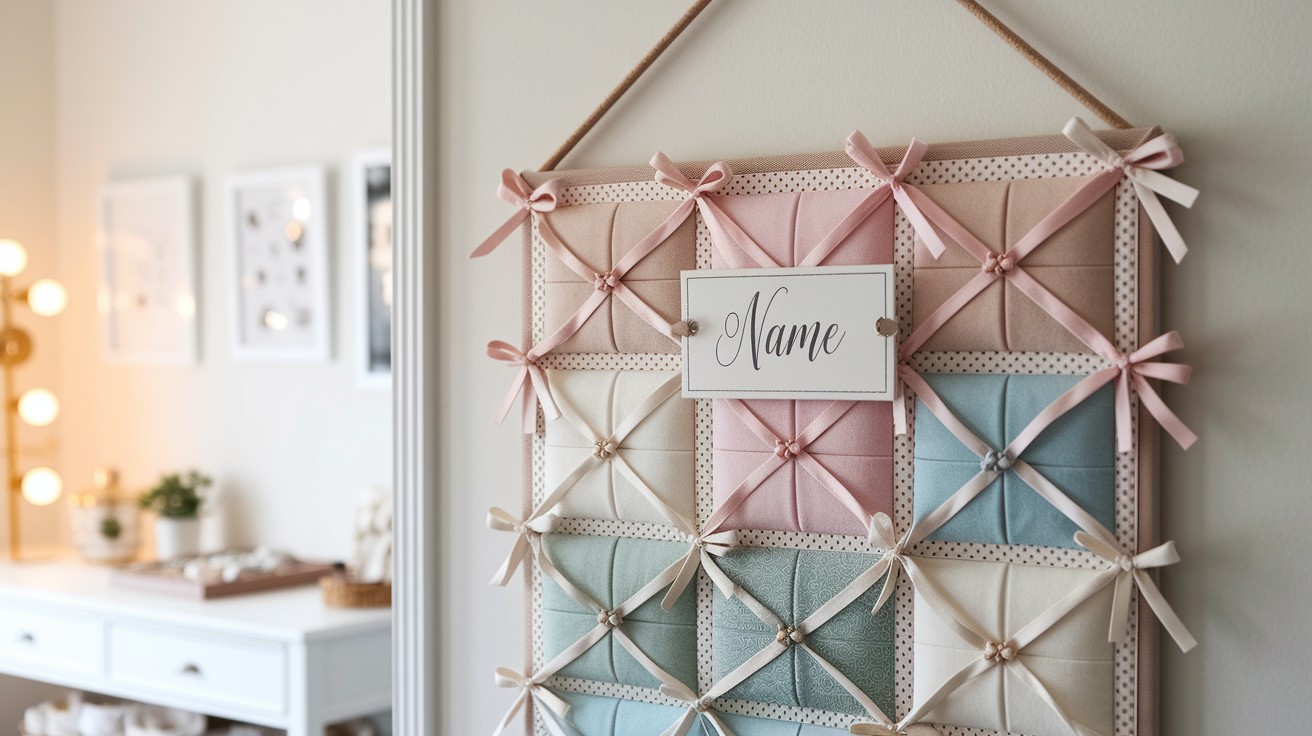
I like to add thin strips of trim around the edges to hide staples. You can also create sections with ribbon in a grid pattern.
Make it yours! Add your name, paint the visible edges, or create zones with different colored fabrics for different purposes.
Step 5: Mount or Display Your Pin Board
Command strips work well for lightweight boards. For heavier ones, use proper wall anchors and screws.
In the kitchen, it tracks recipes and grocery lists. By the front door, it holds keys and mail. Near your desk, it keeps important notes visible.
Tips for Customizing Your DIY Pin Board
- Use burlap for a rustic look, velvet for elegance
- Paint the frame to match your room
- Add a metal sheet underneath for a magnetic function
- Create color-coded zones for organization
- Add small pockets to store pins and notes
- Use fabric that matches your décor
Conclusion
Now you have all the know-how to create your own pin board. It’s a practical project that takes just an afternoon to complete.
I’ve made several of these over the years, and they’ve saved me from forgotten appointments and lost notes. Your new board will help organize your thoughts and important items in one visible spot.
The best part? You made it yourself, so it fits your space perfectly. Hang it up, start pinning, and watch how much easier it becomes to keep track of what matters to you.
Frequently Asked Questions
How long does this project typically take?
Most people finish in 2-3 hours. The actual work takes about an hour, with some drying time if you use glue.
Can I wash the fabric if it gets dirty?
Unfortunately, once attached, the fabric can’t be removed for washing. I suggest using a lint roller or spot cleaning with a damp cloth.
What’s the best way to hang a heavy pin board securely?
Use proper wall anchors rated for the weight of your board. D-ring hangers attached to the back work better than wire for heavy boards.
My fabric keeps wrinkling when I try to attach it. Any tips?
Iron the fabric first and start by securing the middle of each side, then work your way to the corners, pulling firmly as you go.
How do I stop pins from falling out of foam board?
Foam board doesn’t hold pins as well as cork. Try using push pins with wider heads or add a layer of thin cork sheet between the foam and fabric.