
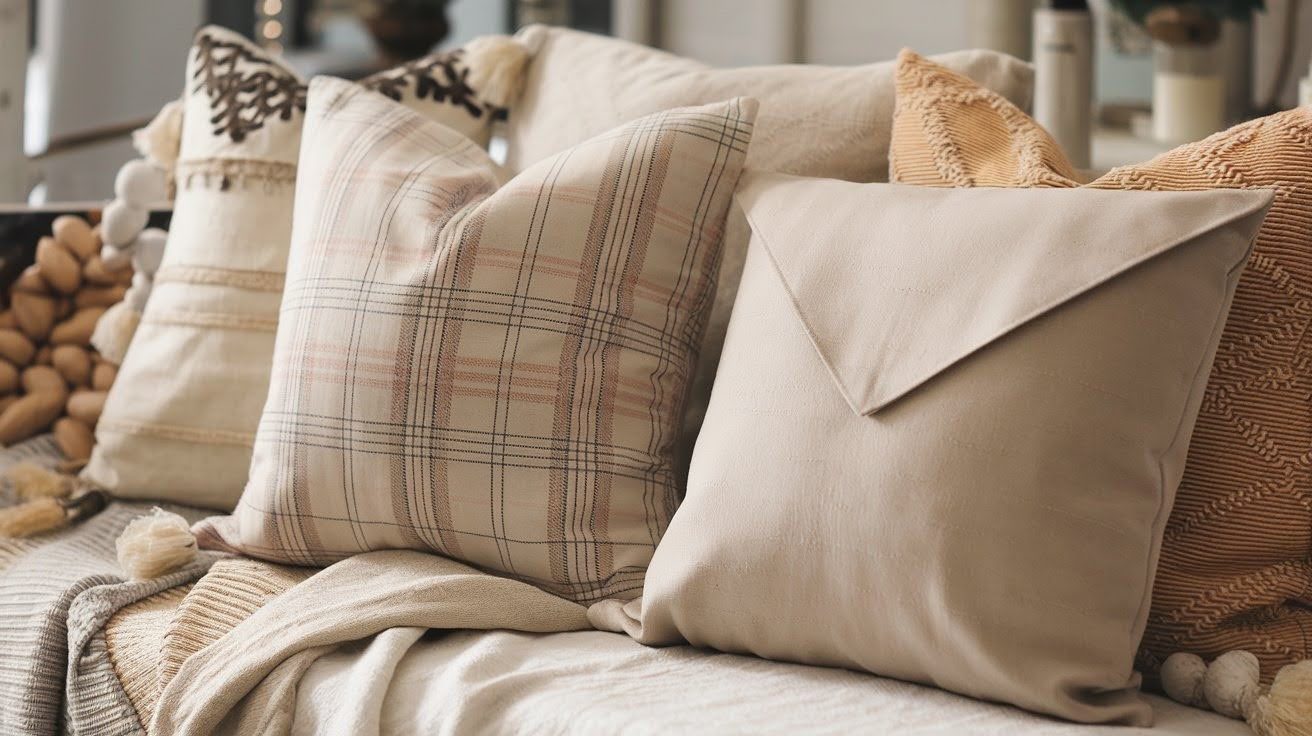
Ready to give your living room a fresh new look without spending a fortune?
You’re in the right place! Making your own pillow covers is honestly one of the smartest ways to update your space. I’ve been doing this for years, and it never gets old.
Here’s why you’ll love this project: it’s incredibly budget-friendly. You can create custom designs that match your exact style. Plus, they’re washable, which is a game-changer if you have kids or pets.
The best part? You don’t need zippers! I’ll show you two simple methods today. There’s the one-piece approach and the three-piece technique. Both are beginner-friendly.
So grab your fabric and let’s create something beautiful together.
What is a DIY Pillow Cover?
What exactly is a DIY pillow cover? It’s a removable fabric case that slips over your pillow insert. Think pillowcase, but for decorative pillows. The purpose? Protect your pillows and change your décor anytime you want.
You have two options. Zipper-style covers use a zipper closure. They look professional but need more sewing skills. Envelope-style covers have overlapping flaps on the back. No zippers required!
Why I love envelope covers for beginners: They’re foolproof. Even if you’ve never sewn before, you can make these. The technique is forgiving. Ready to start?
Supplies You’ll Need for DIY Pillow Covers
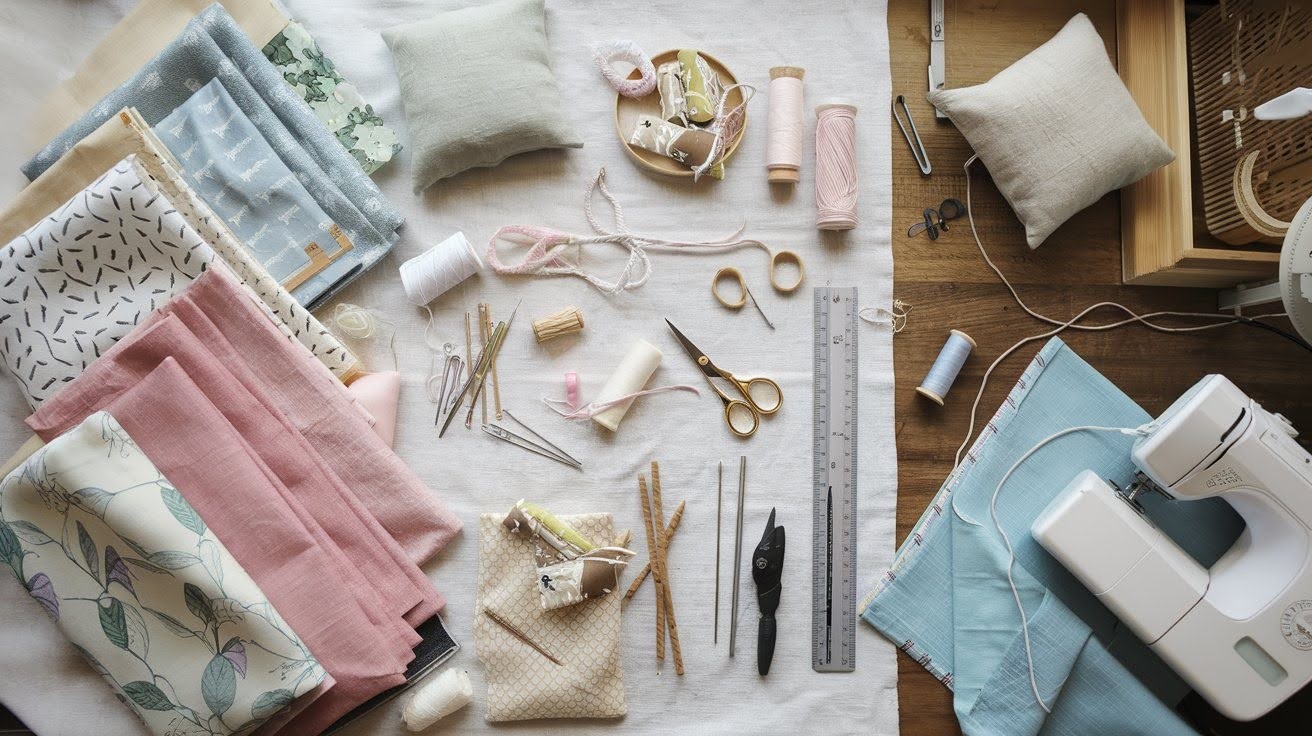
Let’s gather everything you need for this project.
Fabric and Materials:
- Fabric (cotton, linen, or seasonal prints)
- Pillow insert or pillow form
- Thread in matching color
Tools You’ll Need:
- Sewing machine (or hand-sewing needle)
- Scissors or rotary cutter
- Pins
- Ruler
- Iron
Missing something? No problem. Most craft stores have everything on this list. You probably already have half these items at home.
Step-by-Step guide to make One-Piece Envelope Pillow Cover
This method is my absolute favorite. It’s fast, simple, and works every time.
Step 1: Measure and Cut Your Fabric
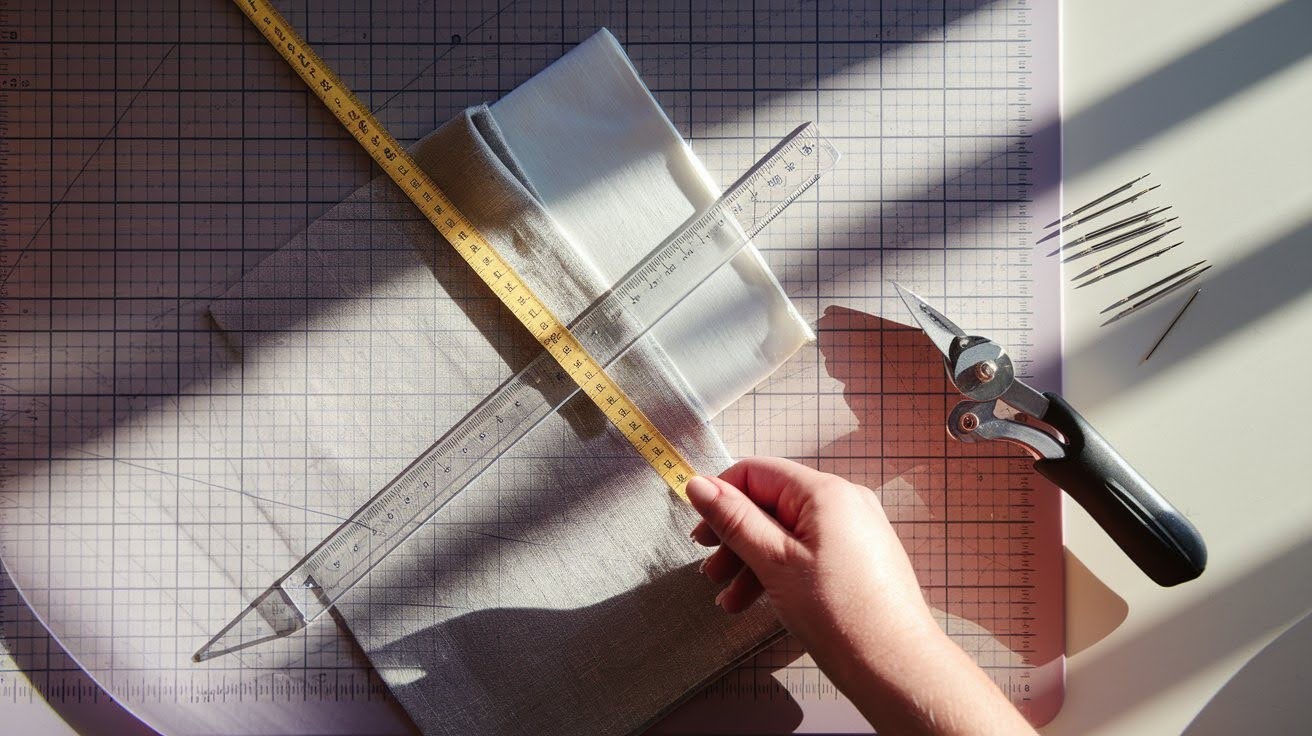
Here’s the magic formula: pillow width + (pillow width × 0.75). For a 16×16-inch pillow, you need fabric that’s 16 × 28 inches.
The extra length creates your envelope flap. Cut your fabric to these exact measurements and lay it flat on your work surface. Double-check your measurements before cutting to avoid mistakes.
Step 2: Hem the Short Edges

Take both short edges and fold them twice to create clean, durable hems. This double-fold technique prevents fraying and gives you professional-looking results.
Stitch along each fold using your sewing machine or hand-sew if you prefer. These hems are crucial because they’ll be visible on your finished pillow cover and handle regular use.
Step 3: Fold, Pin, and Sew the Pillow Cover
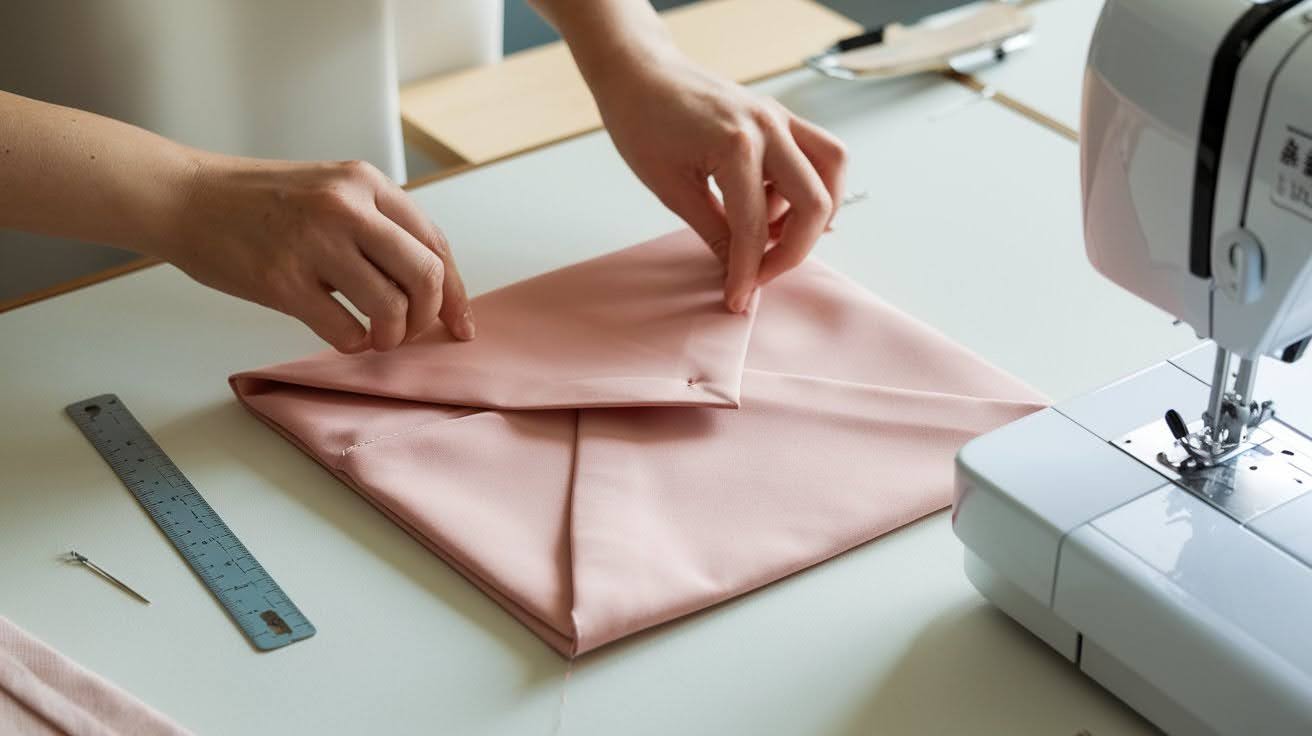
Fold your fabric into an envelope shape with the hemmed edges overlapping in the middle. Pin the top and bottom edges carefully to keep everything perfectly aligned.
Sew straight lines along both pinned edges using a half-inch seam allowance. Take your time here because neat seams make all the difference in your final result.
Step 4: Turn, Stuff, and Style
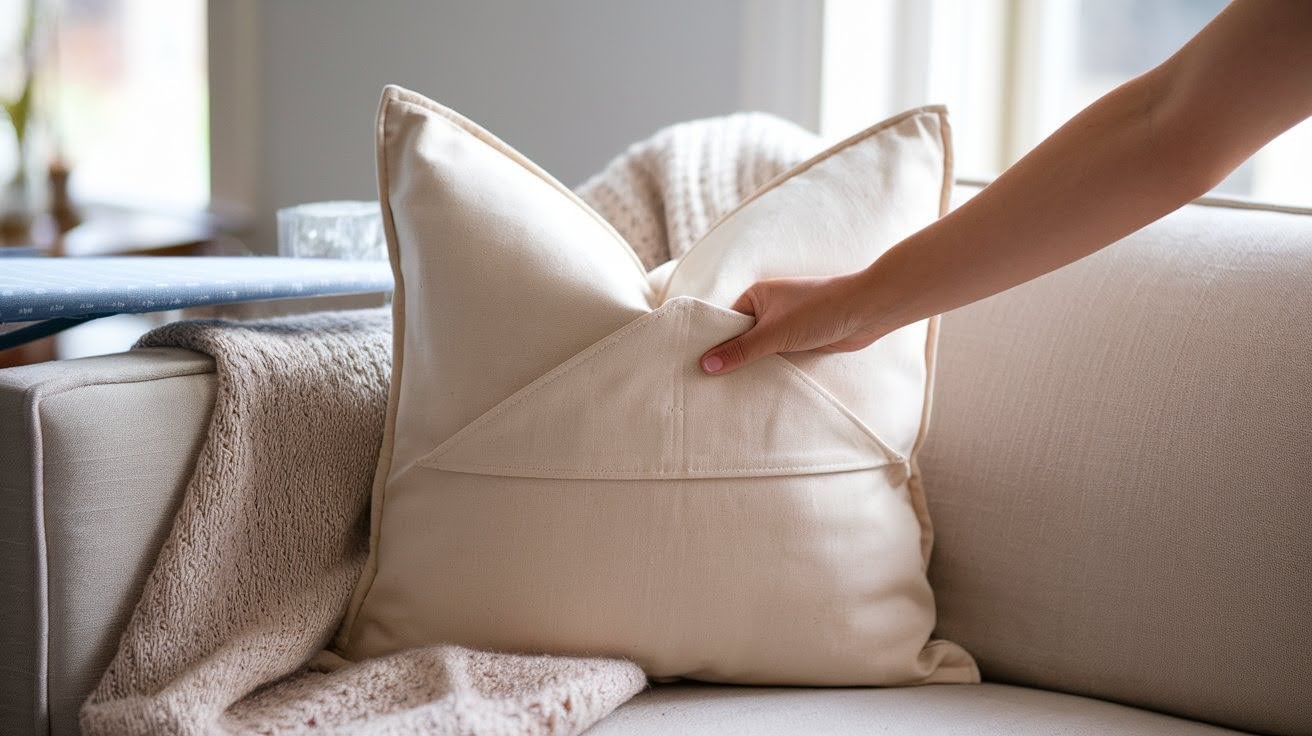
Turn your cover right side out through the envelope opening by gently pulling the fabric through. Insert your pillow form by pushing it through the overlapping flaps until it sits snugly inside.
Press with an iron for crisp, clean edges that look store-bought. Your pillow cover is now complete and ready to use.
Sewing Tips for Perfect Pillow Covers
- Use cotton fabric for easier handling: Cotton is forgiving and doesn’t slip around like silk or satin. It’s perfect for beginners and gives you professional results every time.
- Always iron your fabric before you start sewing: Wrinkles create uneven seams and crooked lines. A quick press makes everything smoother and more accurate.
- Keep a seam ripper within arm’s reach: Everyone makes mistakes, even experienced sewers. This little tool saves you time and frustration when you need to undo a wonky seam.
- Use a rotary cutter instead of scissors when possible: It gives you perfectly straight, clean cuts that scissors just can’t match. Your fabric edges will look much more professional.
- Reinforce the seams at overlap edges: These areas get the most stress when you insert and remove pillows. A few extra stitches here prevent tears and make your covers last longer.
Styling Ideas for Your DIY Pillow Covers
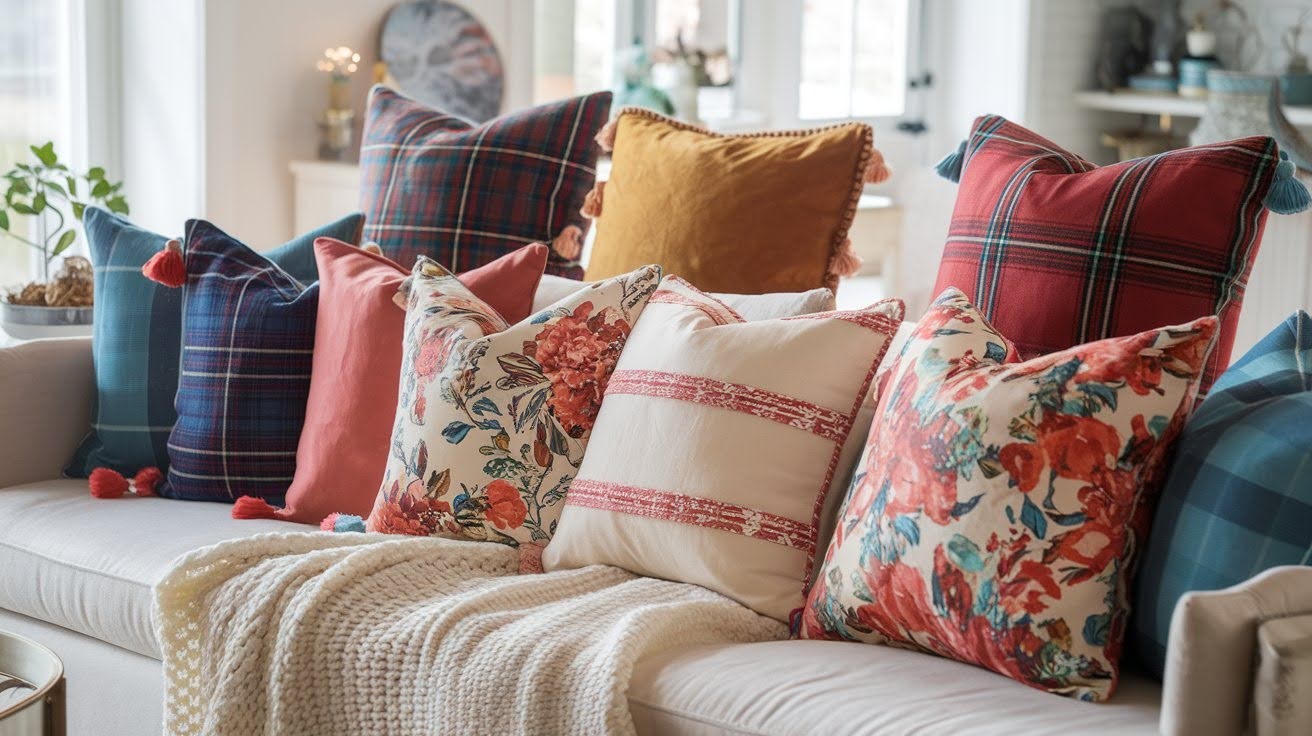
Seasonal fabrics are a game-changer. Switch out your covers throughout the year. Christmas prints for holidays, autumn colors for fall, bright florals for summer.
Mix and match colors on your sofa or bed. Try three shades of blue, or pair coral with cream. Keep one color as your connecting thread.
Add stenciled designs, tassels, or trim to plain fabric. Paint on simple patterns, sew on tassels, or add decorative trim for extra flair.
Layer with throw blankets for a cozy look. This creates depth and makes your space feel warm and inviting.
Conclusion
Ready to give it a try?
After years of making pillow covers, I can honestly say this is one of my favorite projects. It’s fast, inexpensive, and genuinely fun. You can completely change your room’s look in just one afternoon.
I hope you’ll try one of the envelope methods we covered today. Both are beginner-friendly and don’t require any fancy equipment. Trust me, once you make your first cover, you’ll be hooked.
I’d love to see what you create! Share photos of your pillow covers in the comments below. Your creations always inspire me and other readers, too.
Want more DIY sewing projects? Check out my other tutorials. There’s always something new to learn and make together.
Happy sewing!
Frequently Asked Questions
Can I make pillow covers without a sewing machine?
Absolutely! You can hand-sew these covers using a simple running stitch or backstitch. It takes a bit longer, but the results are just as good.
What’s the best fabric for beginners?
Cotton is your best friend when starting. It’s easy to work with, doesn’t slip around, and comes in tons of colors and patterns.
How much extra fabric do I need for the envelope opening?
For the envelope flap, add 75% of your pillow’s width to the length. So for a 16-inch pillow, you need 28 inches total length.
Can I wash my homemade pillow covers?
Yes, most cotton fabrics are machine washable. Always pre-wash your fabric before sewing to prevent shrinking later.
What if my pillow cover turns out too big or too small?
Too big is easy to fix with a seam ripper and re-sewing. Too small means starting over, so always double-check your measurements before cutting.