
It has always been a dream for me to grow my own food, but small apartments have often made this idea seem impossible. The idea of having fresh herbs and veggies at my fingertips, right in the kitchen, had seemed like just a dream until now.
Everything changed, though, when I decided to make one of the kitchen windows my DIY kitchen garden window. In addition to accessing fresh produce from the comfort of my kitchen, it transformed this room into a cozy, green space that I love.
In this article, I will take you through my experience, providing all the details you need to create your very own DIY kitchen garden window. I will cover everything from planning and materials to planting and maintenance, sharing the lessons I learned along the way.
Step 1: Planning the DIY Kitchen Garden Window
Before I began building my DIY kitchen garden window, I took the time to plan everything out carefully. I wanted a space to grow my herbs and small vegetables without overcrowding my kitchen or blocking out the sunlight.
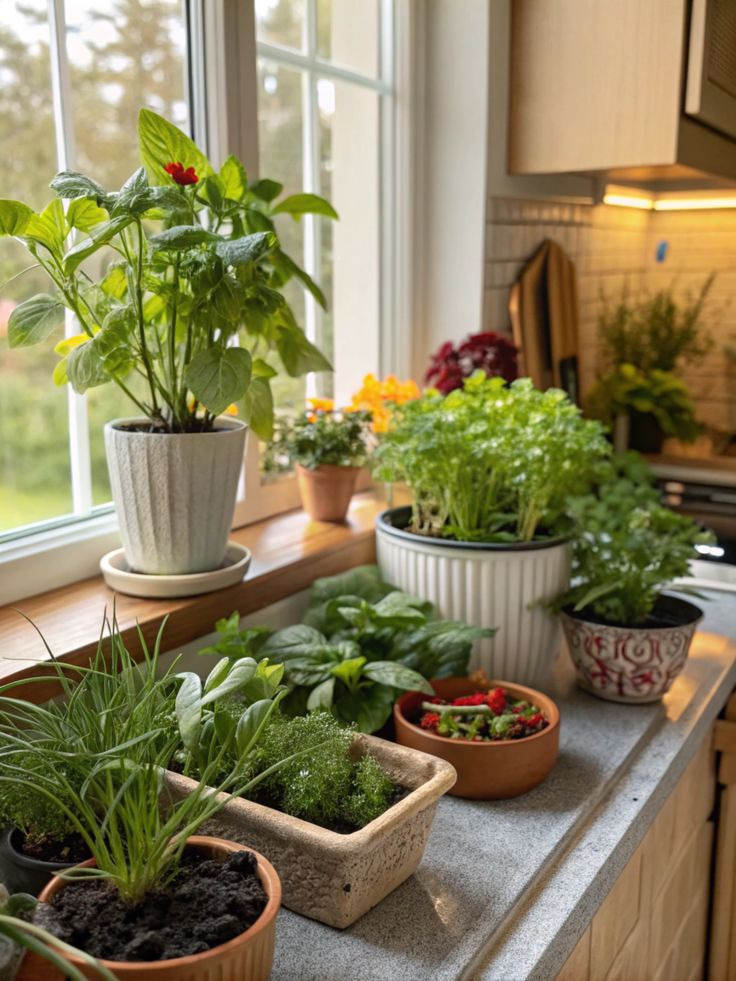
My first move was to assess what window space I had available. I stumbled upon a south-facing window with unlimited amounts of sunlight, and that was exactly what the herbs and vegetables needed.
In that regard, I also thought of how easy it would be for regular care and watering, because, let’s face it, we all know that plants need attention!
Having picked the perfect spot, I considered the types of plants that would go well into my DIY kitchen garden window. Fresh herbs such as basil, mint, and parsley topped the list, given that I make use of them daily in cooking.
I also decided to try growing small vegetables such as cherry tomatoes and mini peppers, knowing they thrive in containers. I planned the layout so the taller plants would be placed at the back and the smaller ones at the front, ensuring they all get plenty of light.
Step 2: Materials and Tools for the DIY Kitchen Garden Window
Gathering the proper materials will ensure that the whole DIY kitchen garden window not only functions correctly but also adds to its appeal. What I used: list and experience
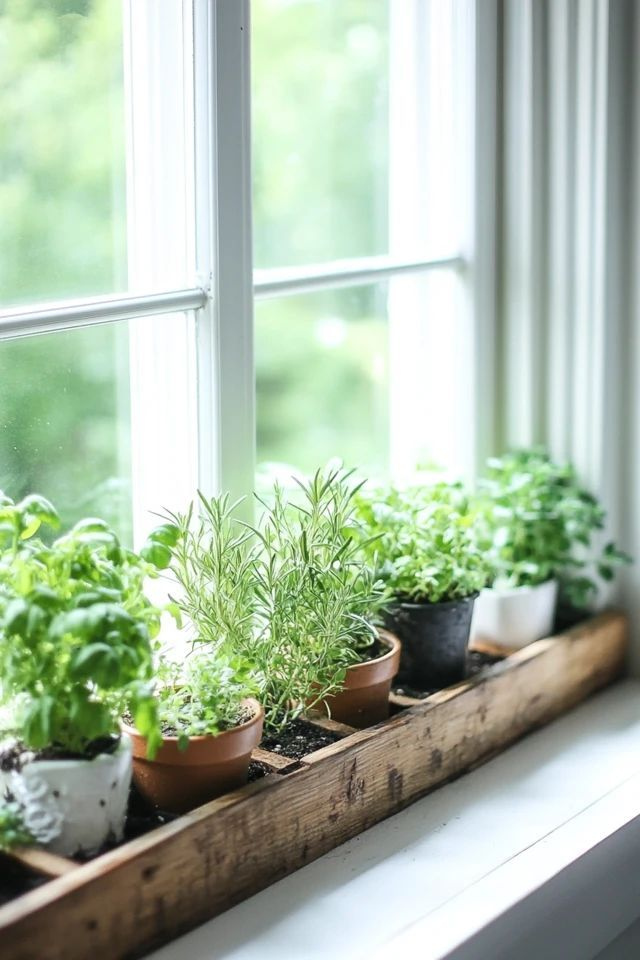
- Window box : I went for a deep yet long and stable window box in order to ensure it covers my kitchen window completely. Deep to accommodate plants and compact so it does not become overcrowded.
- Soil: The quality potting soil with some added compost provided exactly what herbs and veggies need: nutrients in perfect balance and a good flow to drain, in this case, to dry it out slightly each time the lid was shut.
- Herb and vegetable plants: I bought a mix of seedlings from my local nursery, including basil, parsley, rosemary, thyme, cherry tomatoes, and mini peppers. I chose plants that would thrive in small spaces and could be harvested frequently.
- Tools: Some basic gardening tools, such as a hand trowel, pruning shears, and a watering can, were very important. In addition, I had a drill and screws set aside to mount the window box to the window frame.
It was easy working with the right materials, and I highly recommend spending good money on quality soil and plants. You will see a huge difference in your garden’s health!
Step 3: Installation of the DIY Kitchen Garden Window
I must say, one of the most thrilling moments while assembling my DIY kitchen garden window was the installation process. I wasn’t replacing the window itself, but rather placing a window box outside. These are the steps I followed:
- Measuring and marking: I measured the width of the window to know how wide my window box will fit. After measuring, I marked the holes I was to drill on the wall for placing the brackets.
- Drilling the holes: Using a drill, I carefully made holes in the window frame for the mounting brackets. This step was tricky because I needed to make sure everything was level. A slight misalignment could have meant the plants wouldnt receive the right amount of sunlight.
- Attaching the brackets: I used screws to attach the brackets to the window frame, ensuring these were adequate to support the weight of the window box and plants. I rechecked the leveling, ensuring the box was set straight.
The next thing was putting the window box in place: once the brackets were secured, I placed the window box onto them and filled the window box with soil. In doing this, I left a small space at the top to accommodate easy planting of seedlings.
Installing the DIY kitchen garden window wasn’t as tough as I had thought it would be. It took me a few hours, but the feeling of accomplishment I felt when everything was in place made it worth the effort.
Step 4: Choosing and Planting the Right Crops
The other criteria that guided my decisions when choosing plants for my window included space and amount of sunlight. Since I wanted plants that would not be too occupying but rather productive, the following were the only ones I planted:
- Basil: No kitchen garden is complete without basil. I plant several different kinds of basil for its ultimate versatility in pasta, salads, and even cocktails!
- Mint: Mint is another favorite of mine, and its great for adding fresh flavor to teas, smoothies, or desserts. It grows fast, so I had to keep it trimmed to avoid it taking over the entire window box.
- Tomatoes: I went with small cherry tomatoes because they fit perfectly in my window box. They grew quickly and produced an abundance of sweet, juicy tomatoes.
- Mini peppers: These were a great addition to my DIY kitchen garden window. Small, colorful, and delicious to munch on or add to stir-fry.
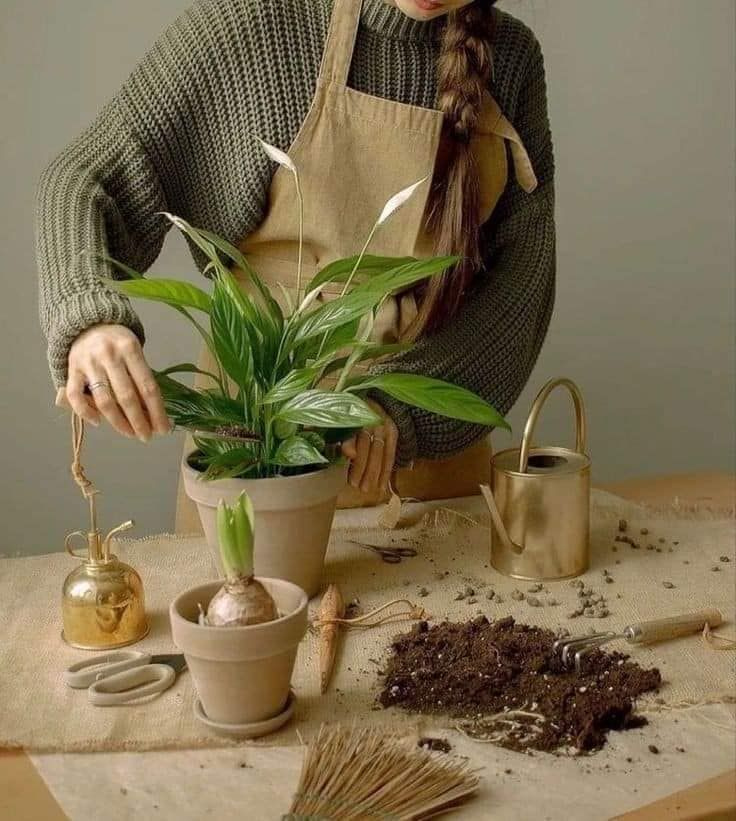
Planting them was a cinch. I made sure that the seedlings were spaced just right and also mixed in some organic fertilizer for them to be strong and healthy.
The first few weeks were a little nerve-wracking, but before long, new leaves and stems started sprouting up!
Step 5: Ensuring Proper Drainage for Your DIY Kitchen Garden Window
Another most critical step when doing a DIY kitchen garden window was to not miss the need to have effective drainage for plants. This can cause an overflow of water inside the window box, making water collect at the bottom; root rot then causes unhealthy plants.
This may become a total disaster for my project, so I added drainage on the sides and bottom so my plants do not rot easily.
Here is how I managed:
- I drilled several small holes in the bottom before filling the window box with soil. This allows excess water to drain out, preventing waterlogging. I spread them evenly across the bottom of the box to ensure proper drainage throughout.
- A Layer of Gravel or Rocks: In addition to all this, I added a very thin layer of gravel or small rocks to the bottom of the box before adding the soil. This aids water drainage to an extent where roots do not have to sit in standing water.
- Watering Care: Although I am blessed with an efficient drainage system, I made sure to carefully water my homemade kitchen garden window without over-watering. Whenever I wait till the top layers of soil dry out completely before watering them again, they thrive under a proper balance in terms of watering.
- By paying attention to drainage, Ive been able to avoid the common pitfall of overwatering, ensuring my plants stay happy and healthy in their new space. Its one of the most important steps for anyone starting a DIY kitchen garden window project.
Step 6: Maintaining the DIY Kitchen Garden Window
It has been such a simple and rewarding daily routine, checking on my DIY window kitchen garden every morning. Here is what I found out about keeping them healthy:
- Watering: Every other day, depending on the weather, I water my plants. Since the window box drains well, overwatering, which leads to root rot, is avoided.
- Pruning: I regularly trim the herbs so that there is growth and not overcrowding. This keeps the plants presentable and appearing neat.
- Feeding: I put one bucket of compost every month to keep the soil rich in nutrients. I also use a liquid fertilizer at gentle dosages every couple of weeks to support growth.
I did encounter a few setbacks, to be honestthe aphids were a major problem initially. A solution I implemented was the use of a soap-based insecticidal soap that is safe for edible plants, and the issue disappeared very quickly.
It’s a pretty simple project that you can do over the weekend, and the payoffs are fresh ingredients, a greener space, and the sense of accomplishment is well worth the effort.
Harvesting Tips
Morning harvests changed my kitchen garden game! Herbs contain the most oils and flavor before the day heats up. I snip basil, parsley, and mint right before cooking for maximum punch. Never take more than one-third of any plant at once. This keeps your green friends thriving rather than struggling to recover.
Different plants demand different approaches. Pinch herbs from the top to encourage bushier growth. My basil doubled in size after regular pinching! For leafy greens, pluck the outer leaves first. Cherry tomatoes come off with a gentle twist when fully colored. Let peppers develop full color for the sweetest flavor. Scissors prevent damaging delicate stems.
FAQs
What plants grow best in a kitchen garden window?
Herbs are superstars here! My basil, rosemary, and thyme flourish. Try mint for cocktailsjust keep it contained! Cherry tomatoes dazzle with abundant fruits. Chives deliver flavor year-round. Match plants to your cooking style. My Italian dishes improved tenfold once I grew fresh oregano!
How much sunlight does a kitchen garden window need?
Most edibles crave 4-6 hours of sunshine daily. My south-facing window creates a plant paradise! No sunny spot? Don’t worry! LED grow lights work wonders. I’ve seen struggling basil transform into bushy beauties overnight. Position taller plants behind shorter ones to share the glow.
Can I have a DIY garden window in a small kitchen?
Absolutely! My tiny apartment kitchen proves that size doesn’t matter. Vertical planters maximize space. Hanging pots free up windowsills. Microgreens grow in shallow trays. Wall-mounted herb pockets add greenery without bulk. Small kitchens often have cozy microclimates plants adore!
Conclusion
The DIY kitchen garden window has transformed not only my cooking experience but also the entire atmosphere of my kitchen. Having fresh herbs and vegetables at arm’s reach has elevated my meals with vibrant flavors that store-bought produce simply can’t match. Beyond the practical benefits, there’s an undeniable joy in harvesting ingredients I’ve grown myself.
What started as a weekend project has become a source of daily satisfaction – watching plants thrive, adding a touch of nature to my urban living space, and connecting more deeply with the food I prepare. The environmental benefits of reducing packaging waste and food miles are a bonus.
If you’ve been contemplating this project, I encourage you to leap. With minimal investment and effort, you can create a functional, beautiful growing space that rewards you every day. Your cooking, your kitchen, and your connection to food will all be richer for it.