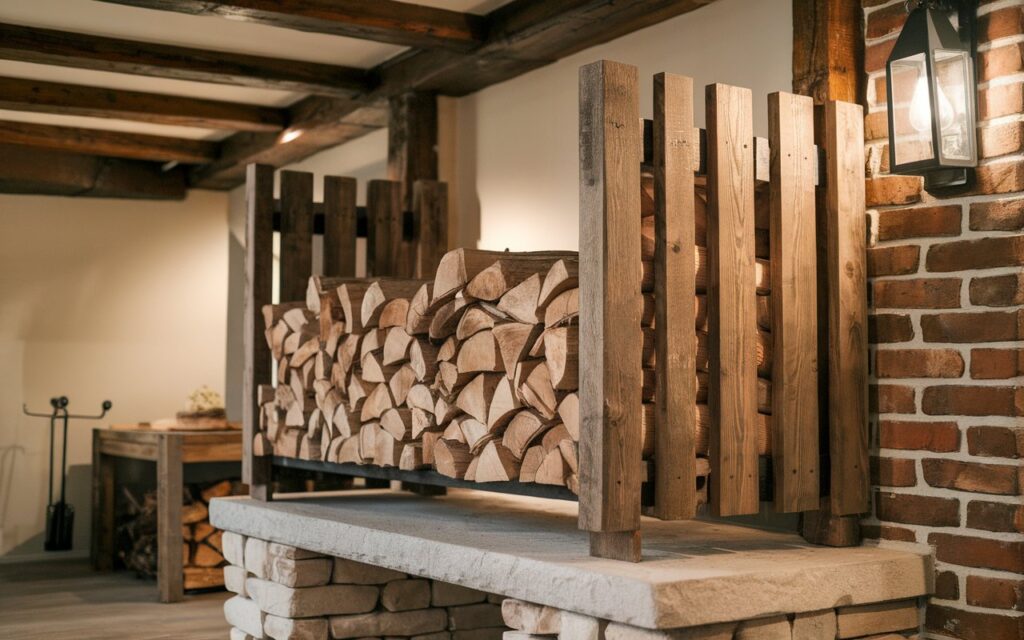
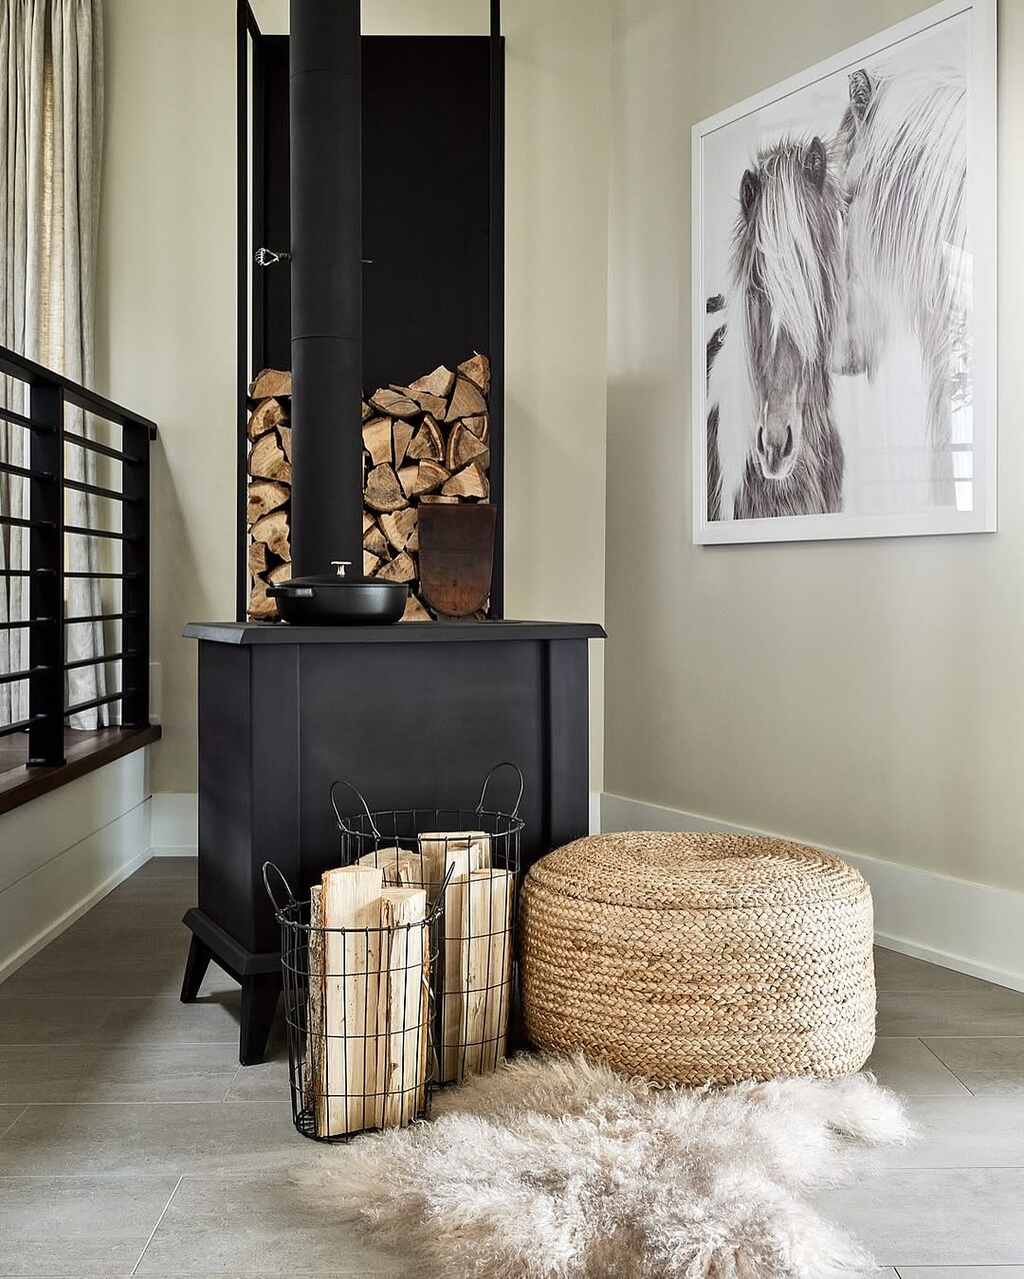
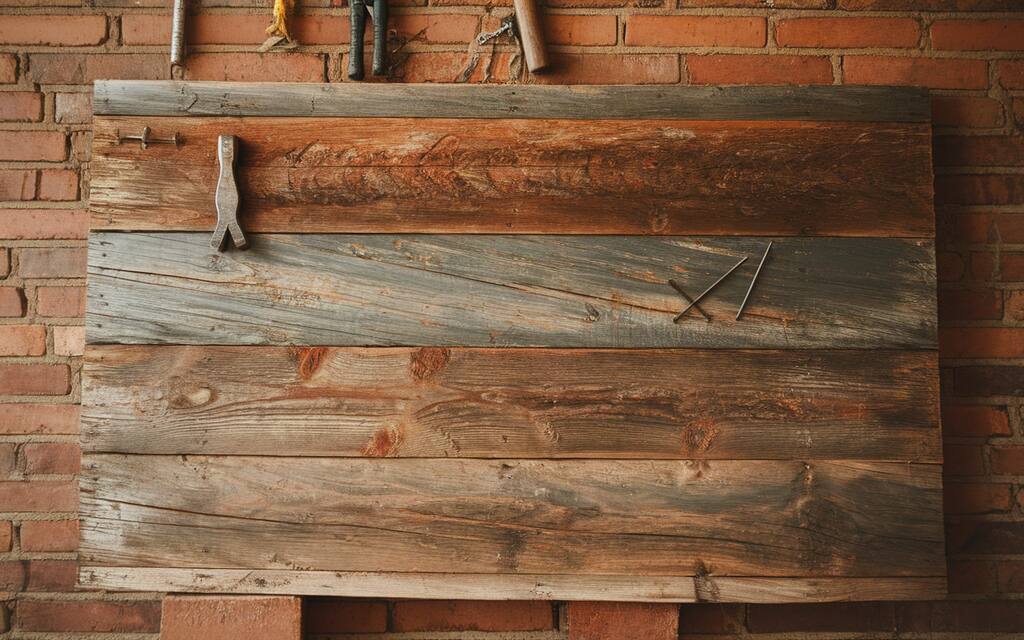
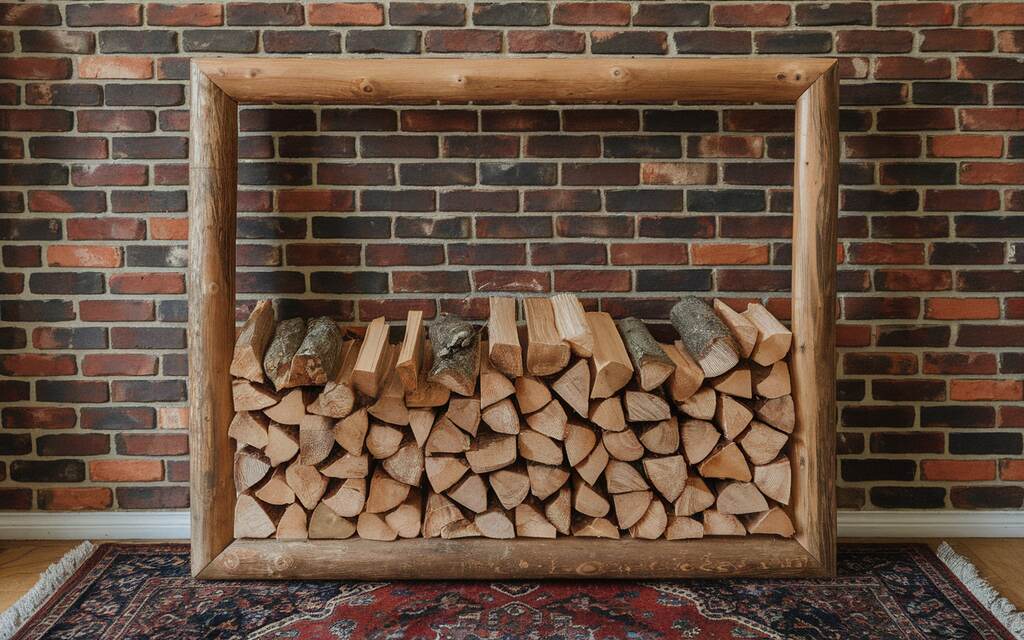
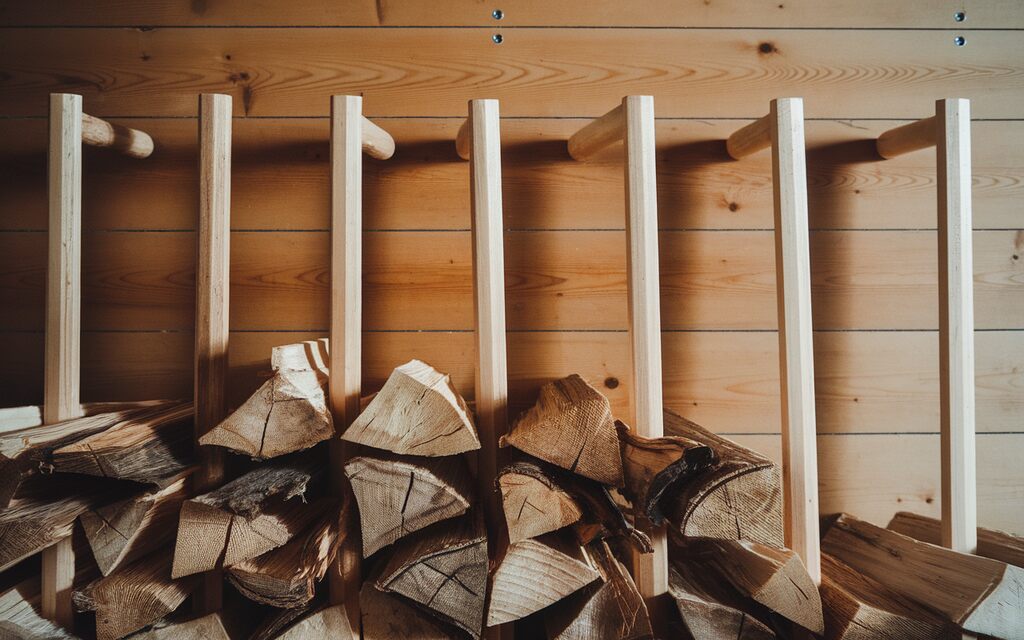
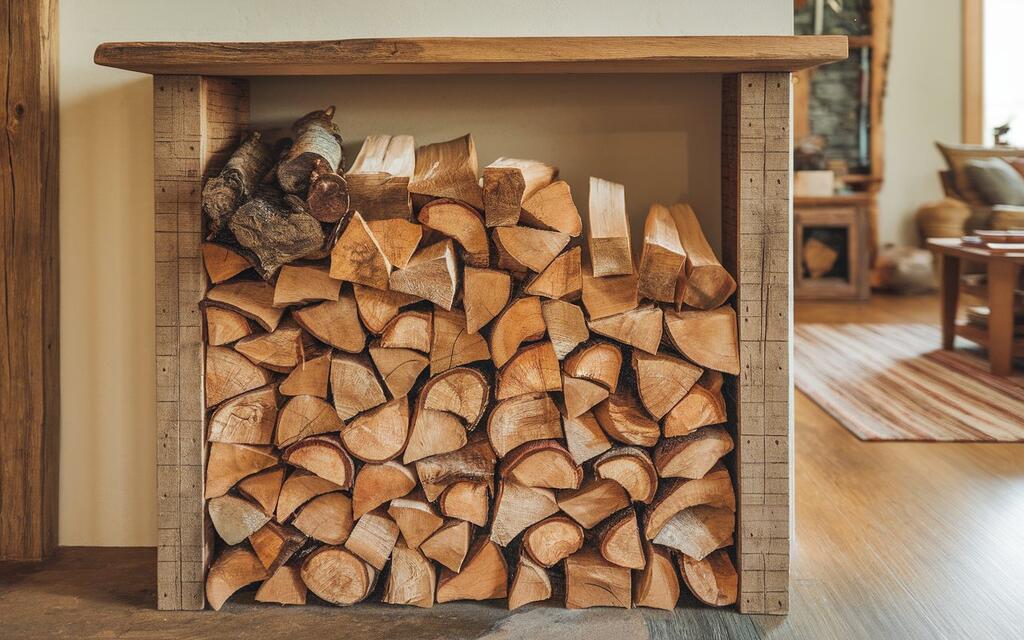
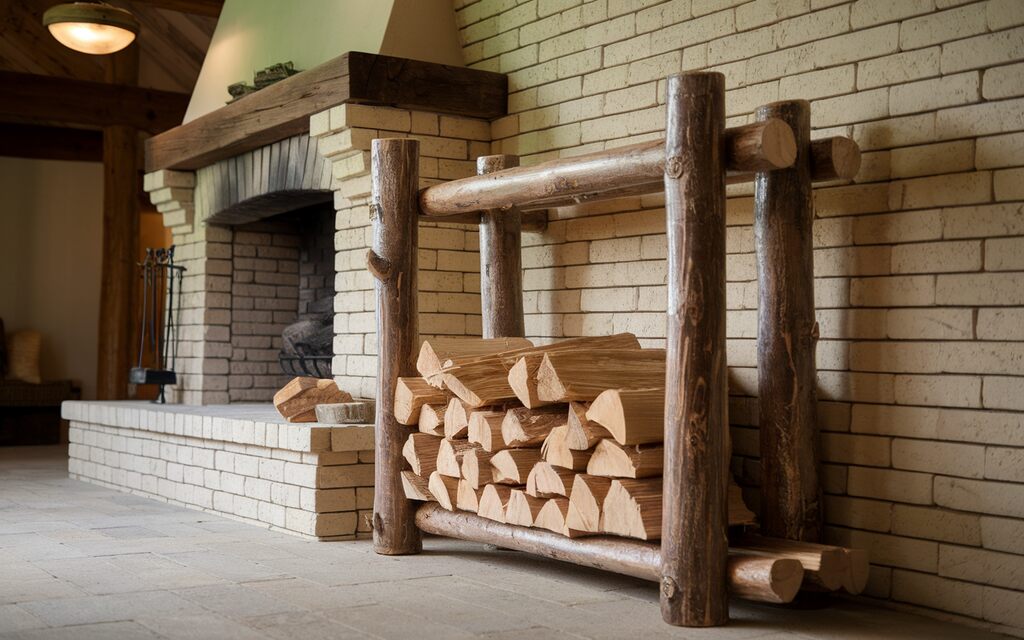
I was excited to improve our cozy cabin in Colorado. The stone fireplace was great, but trips to the woodshed took too much time. After watching an online tutorial, I decided to build an indoor firewood rack.
Using basic tools and salvaged materials like old barn wood and copper piping, I got started. I carefully measured and cut the wood, enjoying the fresh scent. Then, I built the frame, added shelves, and used copper piping for extra style and function.
The finished rack added a personal touch to our cabin and made using the fireplace easier. I hope this inspires you to make your stylish firewood rack. I’ll also share maintenance tips to help it last longer.
Supplies Needed for DIY Indoor Firewood Rack
Tools Needed:
- Measuring tape
- Pencil
- Handsaw
- Drill
- Screwdriver
- Level
You will need some sturdy and attractive wood for the frame. Reclaimed wood would add a certain rustic charm, or smooth, finished wood can be used for a sleeker, modern look. It should be strong enough to support the weight of the firewood and your home’s humidity.
Finally, you will also need metal brackets and screws to secure the frame together. These should be of good quality so that your rack lasts for a long time.
The style of the rack is important. For example, simple box frames are really old school and very classic; however, more complex multi-level shelves can provide an abundance of storage space.
Consider adding decorations that you’re accustomed to seeing, like copper piping or wrought iron accents. You will require a few basic materials. Here is what you will need in detail:
- Wood: I used reclaimed barn wood for a rustic look, but you can use any type of wood you prefer.
- Copper piping: This adds a touch of industrial style and helps to keep the wood dry.
- Screws and brackets: These are used to assemble the A-frame and attach the shelves.
- Wood glue: This helps to strengthen the joints.
- Other accessories: You can also use paint and corner guards as an option.
Steps to Build Your DIY Indoor Firewood Rack
I have always enjoyed making something with my own hands. This project was no different, but I could make something perfect for my cozy living room by following these easy steps. It is versatile for anyone who wants to choose between a rustic, farmhouse style or a sleek modern one.
1. Design Your Firewood Rack
Start by measuring the space in your house where you want to place the firewood rack. Consider the room’s size and any other factors that might affect your design. For example, I used some old architectural paper rolls I had in my basement. Though software like AutoCAD could save time, I wanted a fully DIY project.
When planning your rack, focus on the height, width, and depth. A 4-foot by 2-foot rack holds a lot of wood. Or, a 3-shelf rack with 1-foot spacing provides plenty of storage. After deciding on the design, choose a style that fits your space, like rustic or modern.
2. Cut the Wood
I measured the wood pieces carefully with a sturdy measuring tape. I marked it with a pencil, meticulously marking all cutting lines accurately. For better results, use the dedicated carpenter’s pencil for easier after-mark removal.
Using a saw to cut through the wood is very crucial because I followed the dimensions of my actual design in detail. I also knew that this was important for stability and aesthetics in my firewood rack.
3. Frame Assemblage
Once all my wood pieces were cut, I moved on to the actual assembly of the frame. I applied generous quantities of wood glue to all joints where the vertical and horizontal components would meet. Then, I clamped the joints together for at least 30 minutes, allowing undisturbed time for the glue to dry.
I used a cordless drill, making pilot holes that are 1/16 of an inch smaller than the screw to prevent the wood from splitting and leaving a clean finish. Screwing together, the frame had to be quite strong and square.
So careful were the steps in making sure it stood solidly yet beautifully to make for my firewood rack that it stood 4 feet tall and 2 feet wide.
4. Add the Dowels
Further strengthening and stabilizing my firewood rack, I marked where to place the dowels along the vertical pieces of the frame. Then I drilled holes in those locations using a DaWalt drill tool a bit that is one size smaller than the diameter of the dowels.
After the drilling process was successful, I applied generous amounts of wood glue to the dowels and inserted them into the holes. Glue was used to secure the dowels for a snug fit with added reinforcement of the frame.
The process improved the strength of the structure while giving the design an overall touch of rustic charm.
5. Finish the Rack
To give the firewood rack a silky and professional finish, I sanded the entire wood surface carefully. This removes any rough edges and helps prepare the wood for its finishing process.
Since sanding was now over, I thought I could deepen the natural elegance of wood by applying rich dark stains. I did so, using a brush in this process, while assuring that the surface, side, and top, get well-balanced coverage.
Later on, after the stain had dried out, I applied the final protective coat of clear polyurethane to preserve the wood’s splendor and strength from moisture and wear down of the rack.
6. Position the Firewood Rack
I had carefully designed my indoor firewood rack and chose a corner near the fireplace as its perfect location. This location was not only convenient for accessing the firewood but also added a rustic feel to the room.
I then put the rack gently in position at the selected spot. The firewood was neatly placed on the shelves in such a manner that it would be secured and presentable. In this way, the output was not only pretty but served its purpose too.
Tips for Maintenance
I vowed to regularly maintain my indoor firewood rack to ensure it stayed in the best possible condition. I kept my firewood rack in a fairly dry location, so it did not need any sealant.
However, if you were to place your firewood rack in a humid area, you would be suggested to apply a clear coat of polyurethane over the wood to protect against moisture, which could cause some sort of damage. I applied all these simple maintenance tips to be able to enjoy the aesthetic beauty and functionality of my very own DIY firewood rack for years to come.
Your DIY indoor firewood rack is something you will use for a long time to keep you warm and your house beautifully lit up, full of rustic touches.
Conclusion
I hope to inspire you to build a stylish and useful indoor firewood rack. I shall give you maintenance tips so that your rack serves you longer. And with this in mind, I’d love to leave you inspired to tackle a great DIY project, creating something lovely for your home.
Building this firewood rack is more than just a DIY; it is a labor of love that transformed our living space. It reminds us that with little creativity and effort, we can transform ordinary things into extraordinary pieces that help beautify our homes and ourselves.
FAQs
What is the best wood for a firewood rack?
Reclaimed barn wood gives a rustic touch, while oak and maple offer durability. Choose wood that supports heavy logs and resists indoor humidity. A sturdy, well-sealed wood will ensure your rack lasts for years. If you prefer a modern look, smooth-finished wood with a protective coat works great too.
How do I keep my firewood rack sturdy?
Use strong screws, brackets, and high-quality wood glue. Pre-drill holes to prevent splitting and ensure a clean finish. A solid frame with reinforced joints makes a big difference. Proper alignment and leveling are key. If you want extra stability, consider adding cross-bracing or a metal frame for additional support.
Can I customize my firewood rack?
Absolutely! Add copper piping for an industrial touch or wrought iron for a vintage feel. You can paint or stain the wood to match your decor. Adjust shelf spacing for better organization. Decorative corner brackets can enhance stability and style. A custom design makes your rack both functional and visually appealing.
How do I protect my rack from moisture?
You can apply a clear polyurethane coat if your home has high humidity. Keeping firewood off the ground prevents moisture buildup. Regularly check for signs of mold or warping. If you use reclaimed wood, seal it properly to extend its life. Good airflow around the rack helps keep the wood dry and burn-ready.
Where should I place my firewood rack?
Position it near the fireplace for easy access but away from direct heat. Choose a dry, well-ventilated spot to prevent moisture buildup. A cozy corner adds charm while maximizing space. If possible, place it against a sturdy wall for support. Keeping firewood within reach makes winter nights warmer and more convenient.

