
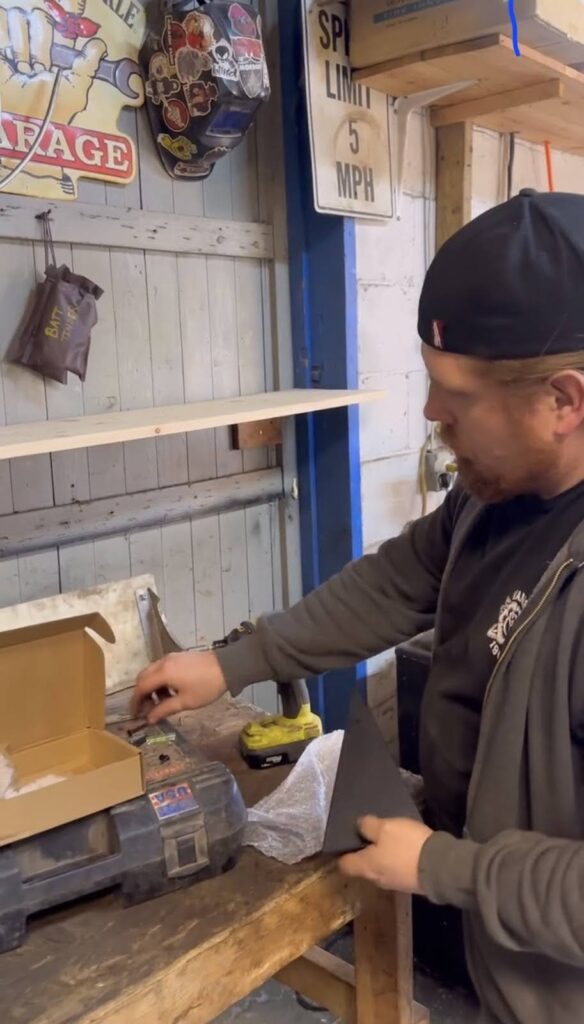
My garage was in chaos. Tools are scattered everywhere. The boxes teetered dangerously. I couldn’t find anything. I needed storage. Fast. But pre-made shelving units cost a fortune. Then it hit me. DIY garage shelf brackets. Simple. Affordable. Perfect.
This weekend project changed everything. My tools found homes. My stress vanished. My wallet stayed full. I’m a DIY novice. If I can do this, you can too. This guide will walk you through every step. No fancy skills needed. No expensive materials required. Just a few hours and some basic tools.
Ready to transform your cluttered garage? Let’s build something together.
Planning and Preparation
Planning happens before any successful Do-It-Yourself project begins. I realized that my garage shelf brackets have to be strong enough to hold power tools and heavy paint cans, but at the same time, they should not be too expensive.
Tools
- Drill (cordless drill for portability)
- A circular saw or a hand saw to accurately cut wood
- A measuring tape for measuring with accurate dimensions
- Level for having straight brackets and shelves
- Sandpaper to smoothen
- A stud finder to mark out the strong points of the wall
Materials used
- Wood planks to support the shelves that will be adjusted to the preferred dimensions
- Brackets or L-shaped metal bracket material
- Wood screw and wall screws
- Wall anchor (to fix it, not onto a stud)
- Paint or stain the wooden shelves if necessary.
I measured the wall space that I wanted to use and then noted the dimensions, which helped me figure out how many and what size brackets and shelves I would need.
It’s also important to think about what you might be putting on the shelves so you can select appropriate materials. For example, if you’re going to hang heavy equipment, thicker wood and heavy-duty screws are the way to go.
How to Make DIY Garage Shelf Brackets Step by Step
Step 1
Measure and Mark the Space. Use a measuring tape to measure the height and length of the wall space where you will place the shelves. Mark studs with a stud finder so that you’ll have an anchor point for the brackets.
In the standard garage, it is suitable to space at 16-24 inches apart. I also based the height of the shelves on the items I was going to put on them.
For instance, my bottom shelf was 24 inches from the floor to accommodate bins and other bigger items, whereas my top shelves were closer to accommodate smaller tools.
Tip: Double-check that your marks align so that your brackets will sit level.
Step 2
Cut Wood for Brackets For the brackets, I cut two wood pieces for one bracket, first the vertical wood for the mounting to the wall and the second one for support to the horizontal shelf.
It was about 12 inches for stability purposes and then a diagonal piece at an angle of 45 degrees from the two portions as a crossbrace. Ensure that the brackets are uniform and fit absolutely perfectly by checking the angles and dimensions.
Tips:
- Use a miter saw if you have one; it would be easier to make angles in cutting.
- Sand the edges very well to avoid splinters during assembly.
- Label each piece before assembly to avoid confusion.
Step 3
I assembled each bracket by joining the vertical and horizontal piece at a 90-degree angle using wood screws. I added the diagonal brace, fixing it tightly onto both pieces for the bracket to hold heavy loads.
Sanding all the edges removed splinters and gave the wood a smooth finish, which is easier to paint or stain later. I had to use clamps to clamp the pieces together while drilling to ensure that they did not shift during assembly.
Tips:
- Pre-drill holes to avoid splitting the wood.
- Use wood glue along with screws for added strength.
- Check the alignment with a square tool to maintain perfect angles.
Step 4
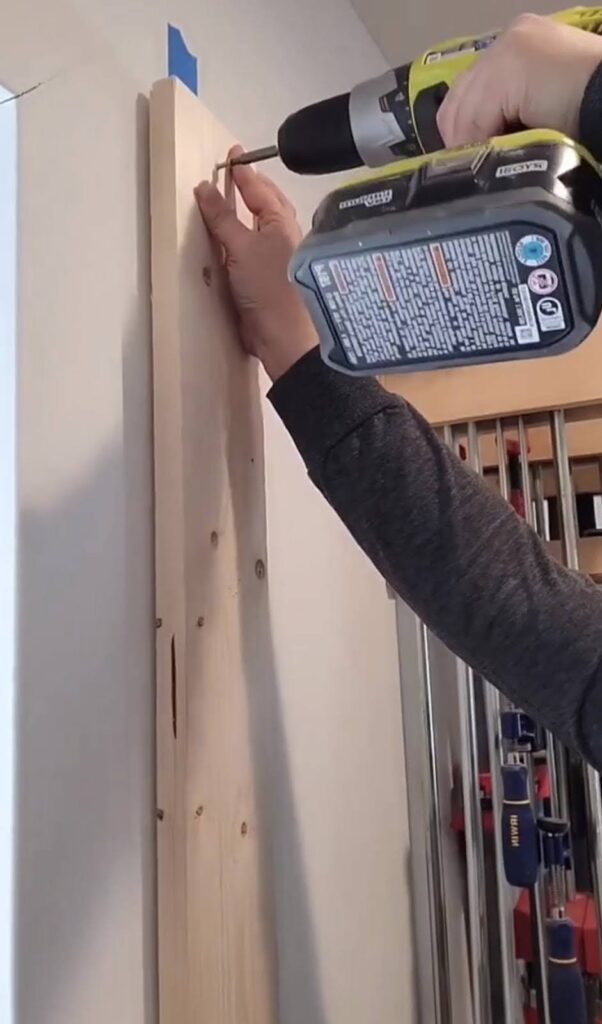
Attach the Brackets. Now that the brackets are prepared, I placed them on the marked studs. Using a level, I made sure each bracket was level and then drilled pilot holes into the wall.
This will prevent the wood from splitting. Then, I attached the brackets to the studs using heavy-duty screws. I used the screw at intervals of about 16-24 inches for evenly distributed weight.
If you have drywall, you should use wall anchors for added support.
Tips:
- Mark the screw holes on the wall before drilling to ensure accuracy.
- If youre unsure about the wall material, test a small area to confirm its stability.
- Tighten screws firmly but avoid over-tightening, as it may damage the wall.
Step 5
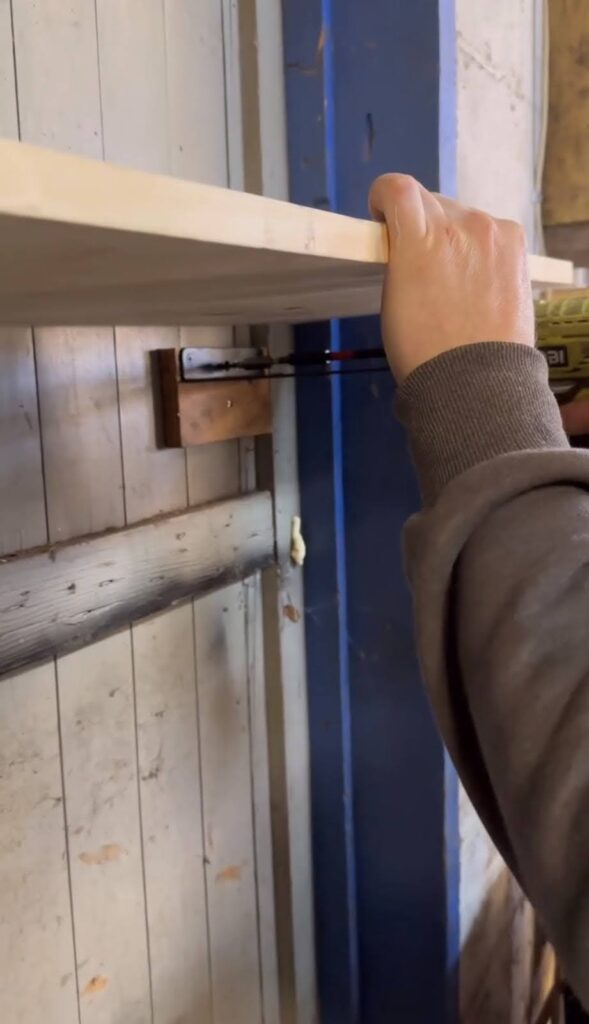
Fixing the Shelves, I put the wooden planks on top of the brackets, ensuring they were perfectly aligned. Then, using pilot holes, I drilled through the brackets into the shelves before securing them using wood screws.
That way, the shelves will be perfectly stable and will not shift when you place loads on them. The weight increases gradually, testing if they are secure.
Tips
- Insert a small wood glue bead between the bracket and shelf for extra attachment.
- Rub the shelves with spirit level on top to get them level before screwing in.
- Corner brackets stiffen at the ends.
Step 6
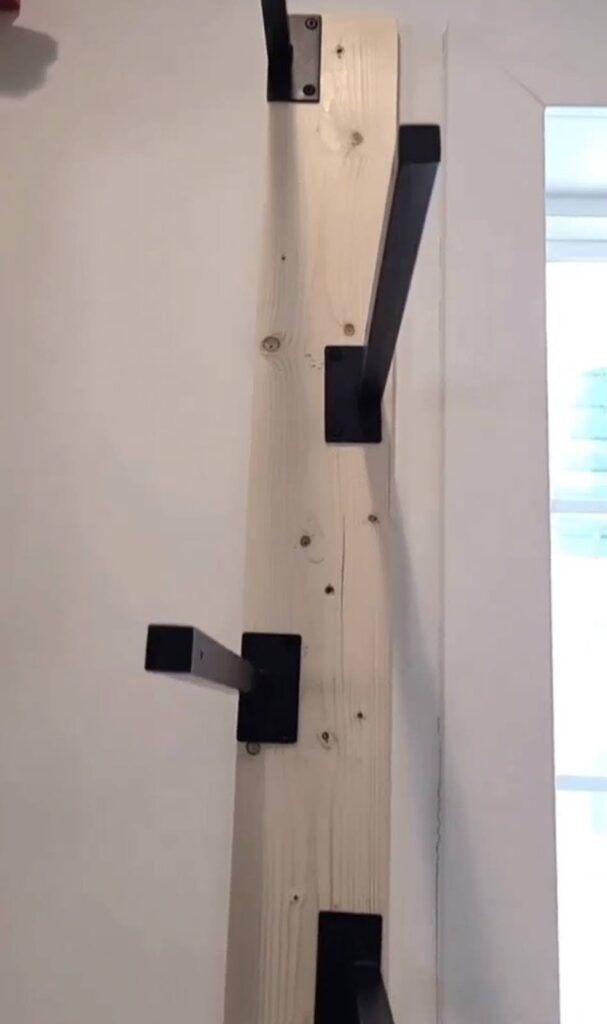
Add Finishing Touches Lastly, I painted and stained the shelves and brackets to fit the garage’s style. This made them look even better, but also helped prevent moisture and wear on the wood.
I added hooks underneath the shelves to hang smaller tools for more storage. Adding finishing touches personalizes the project and makes the shelves more functional.
Tips:
- For garages that experience humidity, use weather-resistant paint or stain.
- Use labels or bins so that stuff can be kept organized on the shelves.
- If your brackets have rubber at the bottom, they won’t slip.
Lessons Learned and Tips for Success
My first bracket collapsed. One measuring mistake. My tools crashed to the floor. Measure twice, cut once became my mantra. Rushing costs more than slowing down. Set up proper workstations to save your back.
The rewards surprised me. My kids joined in. They now ask to build together. Friends notice and ask for help with their garages. A simple shelf project created unexpected connections.
Each mistake taught me something. Start small. Take before and after photos. Your garage will become a space of pride. Mine did.
The Final Result
As I closed in on the complete installation of the DIY garage shelf brackets, my garage seemed completely transformed. Everything was finally out of place, and the shelves were stable enough for even my heaviest tools.
The best part? I spent less than half the cost of buying pre-made shelving systems. These shelves have made organizing and finding items a breeze.
I’m so proud every time I walk into my garage and see the results of my hard work. If you’re looking to declutter your garage, I can’t recommend building your DIY garage shelf brackets enough!
They are cost-effective, customizable, and give you a sense of accomplishment.
FAQs
How much weight can these DIY brackets hold?
When properly attached to wall studs, expect 100-150 pounds per shelf. Metal brackets offer higher capacity than wooden ones. Always distribute weight evenly across the shelf.
What’s the total cost comparison to store-bought shelving?
My DIY brackets cost less than half the price of comparable pre-made systems. For a standard two-shelf setup (8 feet wide), expect to spend $40-60 for materials versus $120+ for store-bought units.
How long does the entire project take?
With all materials ready, a beginner can complete one full shelving unit (3 brackets, 2 shelves) in about 4-5 hours. Experienced DIYers might finish in 2-3 hours.
What’s the most common mistake to avoid?
Skipping the stud-finding step. Mounting brackets into drywall alone even with anchors won’t support significant weight. Always locate and use wall studs for your primary mounting points.
Can I adjust these brackets for different depths?
Absolutely. The beauty of DIY brackets is customization. For deeper shelves, simply increase the horizontal piece length and strengthen the diagonal brace accordingly.
What if my garage has concrete walls?
You’ll need masonry drill bits and concrete anchors. The process remains similar, but pre-drilling becomes essential. Use a hammer drill if available for easier installation.
How do I prevent sagging in longer shelves?
For shelves longer than 4 feet, add brackets every 32 inches maximum. Choose thicker wood (at least 3/4 inch) and consider adding a 1×2-inch strip along the front edge for additional rigidity.
Conclusion
Building DIY garage shelf brackets is a rewarding and cost-effective way to organize your garage. Just with a couple of basic tools and materials, you can now build sturdy and adjustable shelves customized according to your space needs.
That aside, besides saving money, you’ll also find joy in an all-hands-on-deck kind of deal: transforming that part of the space into one that is functioning and organized for its users.
With that, you could learn how to enhance your do-it-yourself skills, which also gives you confidence for future work. Give it a try, you’ll be proud of the results.