
In this blog, I’m tackling a common problem—an overcrowded, disorganized closet with insufficient space.
Sound familiar? If you’re tired of digging through piles of clothes or struggling to keep things tidy, it’s time for a change! Whether you need more storage, better organization, or a fresh new look, I’ve got you covered with budget-friendly ideas and easy-to-follow steps.
Ready to transform your closet into a stylish and functional space? Let’s get started!
How I Transformed My Chaotic Space into a Dream Closet
Ever since we moved into this house, our closet has been a constant source of frustration. It wasn’t small (8 feet long by 6.5 feet wide), but the layout was terrible.
A single wire shelf running across the back wall left us with barely any storage and our shoes.
A jumbled mess on the floor. I knew it was time for a complete DIY closet makeover, and I was determined to create a functional and stylish space—all without spending a fortune.
Let me walk you through exactly how I did it, including the materials required, measurements, and every little mistake I learned from along the way.
Materials Required
Before starting this DIY project, I made a detailed list of materials I needed. Having everything ready before beginning saved me a lot of time and frustration.
Demolition and Prep Work:
✔️ Pry bar (for removing wire shelving and baseboards)
✔️ Spackle or drywall patching compound (to fill holes)
✔️ Sandpaper (medium and fine grit)
✔️ White primer and paint (to refresh the walls after a demo)
✔️ Painter’s tape and drop cloths
Building the Shoe Wall:
✔️ ¾-inch MDF boards (for shelves)
✔️ 2×4 lumber (to create a raised platform base)
✔️ L-brackets (for securing shelves)
✔️ 1×2 MDF trim (for finishing the edges)
✔️ Wood screws and a drill
✔️ Level and measuring tape
DIY Drawer Fronts & Paint:
✔️ ½-inch MDF boards (to create custom drawer fronts)
✔️ Overlay hinges
✔️ Wood filler and sandpaper
✔️ Sherwin-Williams Pure White paint
✔️ Paint sprayer (Graco TrueCoat) or paint rollers
Step 1: Planning & Measurements
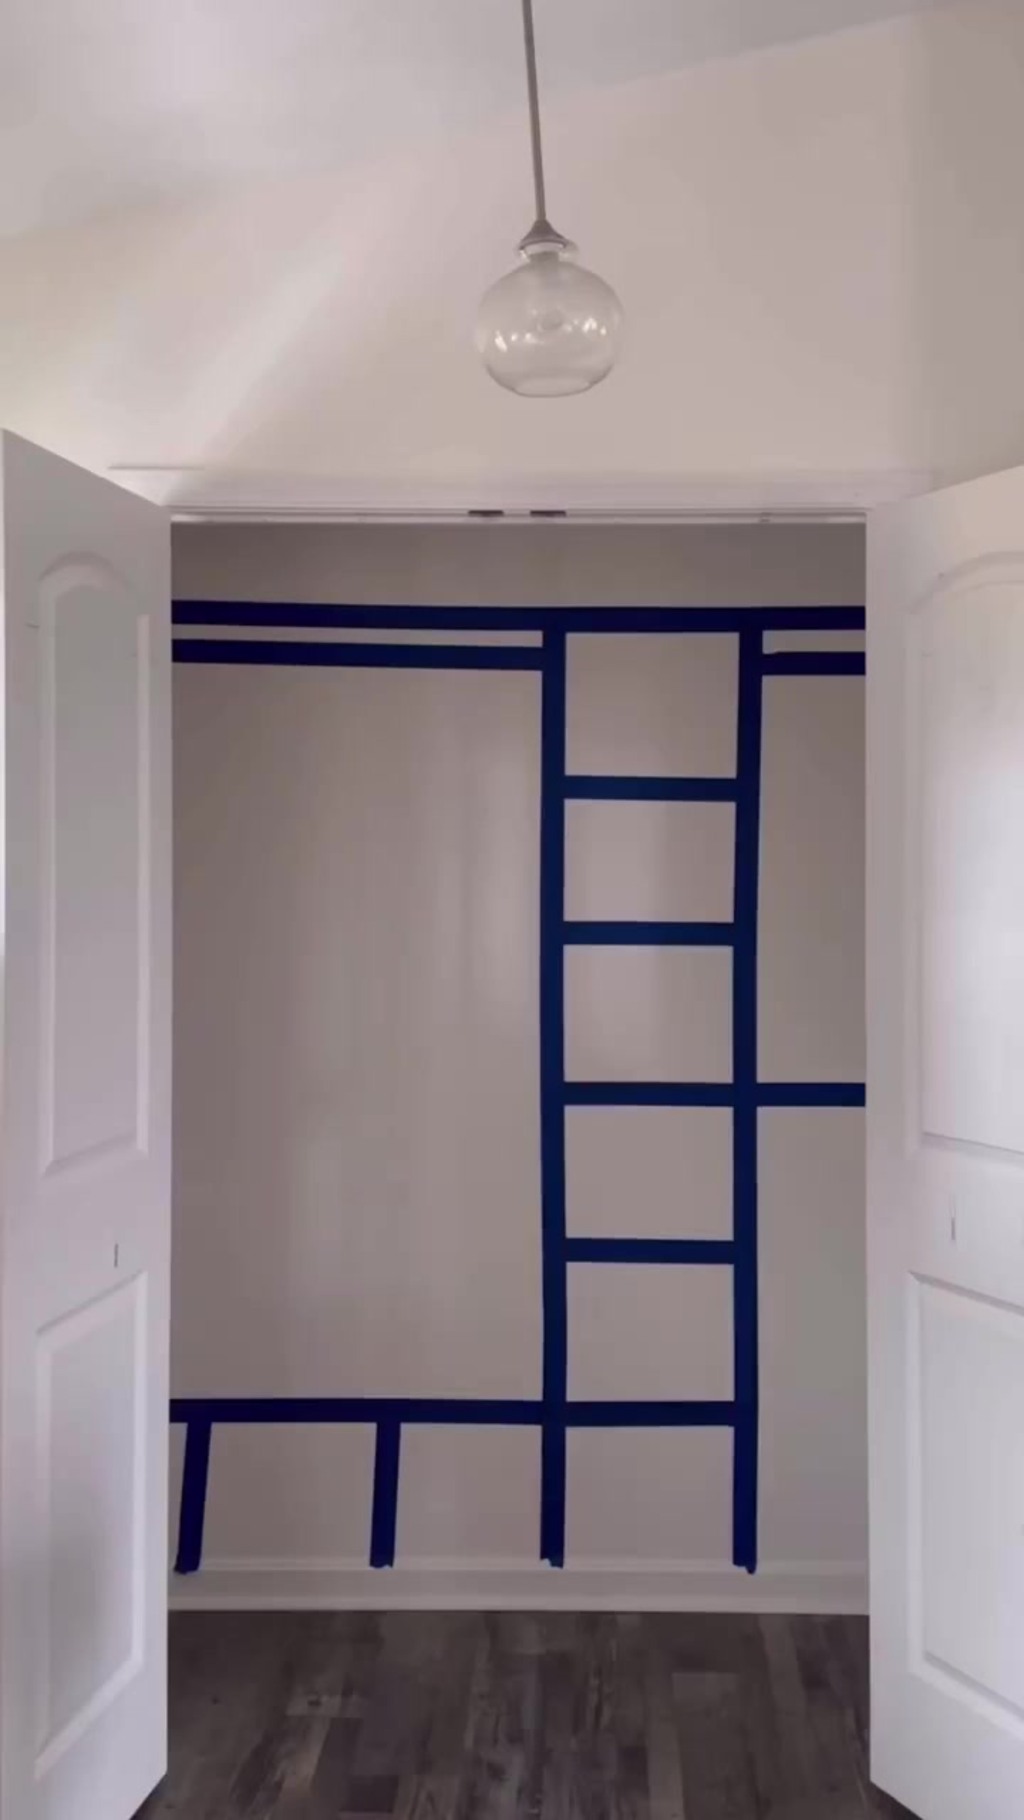
Before swinging a hammer, I sat down with my measuring tape and took stock of everything I needed to consider for the new closet design.
Closet Dimensions: 8 feet long x 6.5 feet wide x 8 feet tall
Hanging Clothes:
- Short hang (shirts/jackets) – 42 inches from the floor
- Long hang (dresses/coats) – 66 inches from the floor
Shelving: Minimum 12 inches deep for folded clothes
Shoes: 11-inch deep shelves
I also made a rough sketch and used the IKEA Pax planner to determine what storage components I needed.
Step 2: Demolition
Once I had my plan, it was time to rip out the old shelving. Here’s what I removed: The outdated wire rack that spanned the entire 8-foot wall, Baseboards (so I could install flush shelving later), and The old carpet (it was trapping dust and made the closet feel outdated).
Demolition took about two hours.
After that, I patched up all the holes in the drywall, sanded the walls smoothly, and applied a fresh coat of white primer to give myself a clean slate to work with.
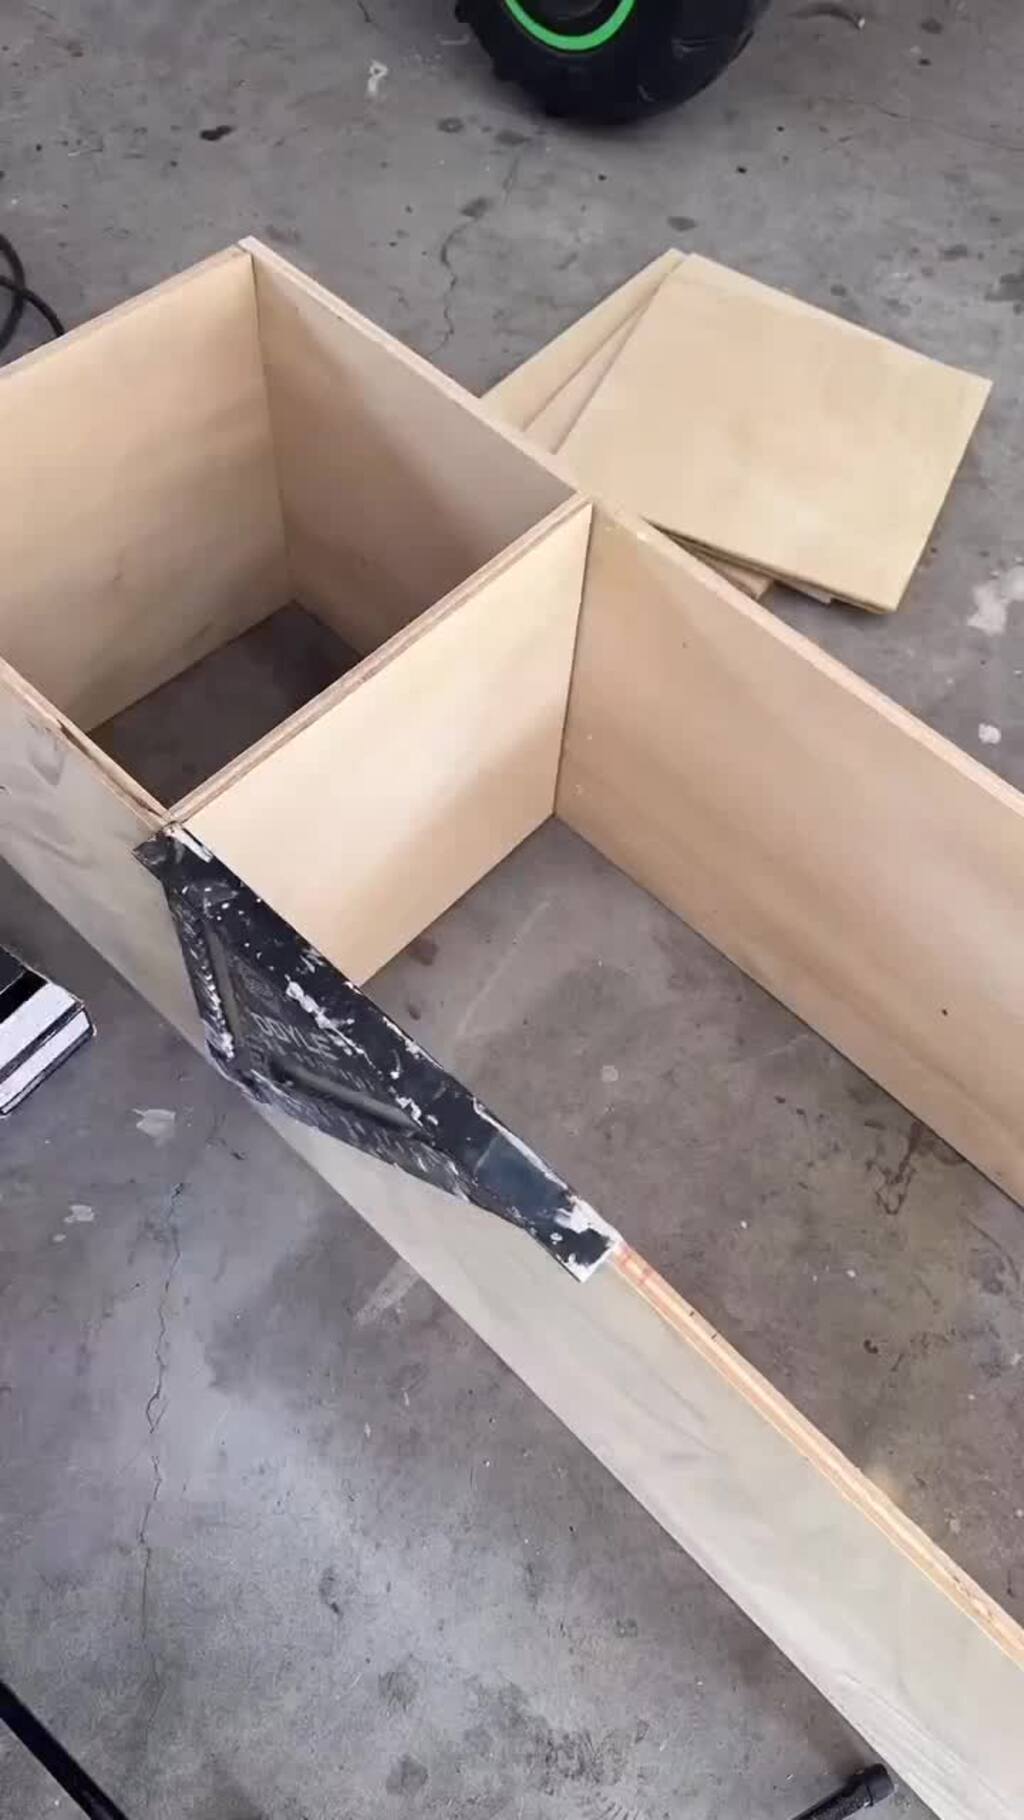
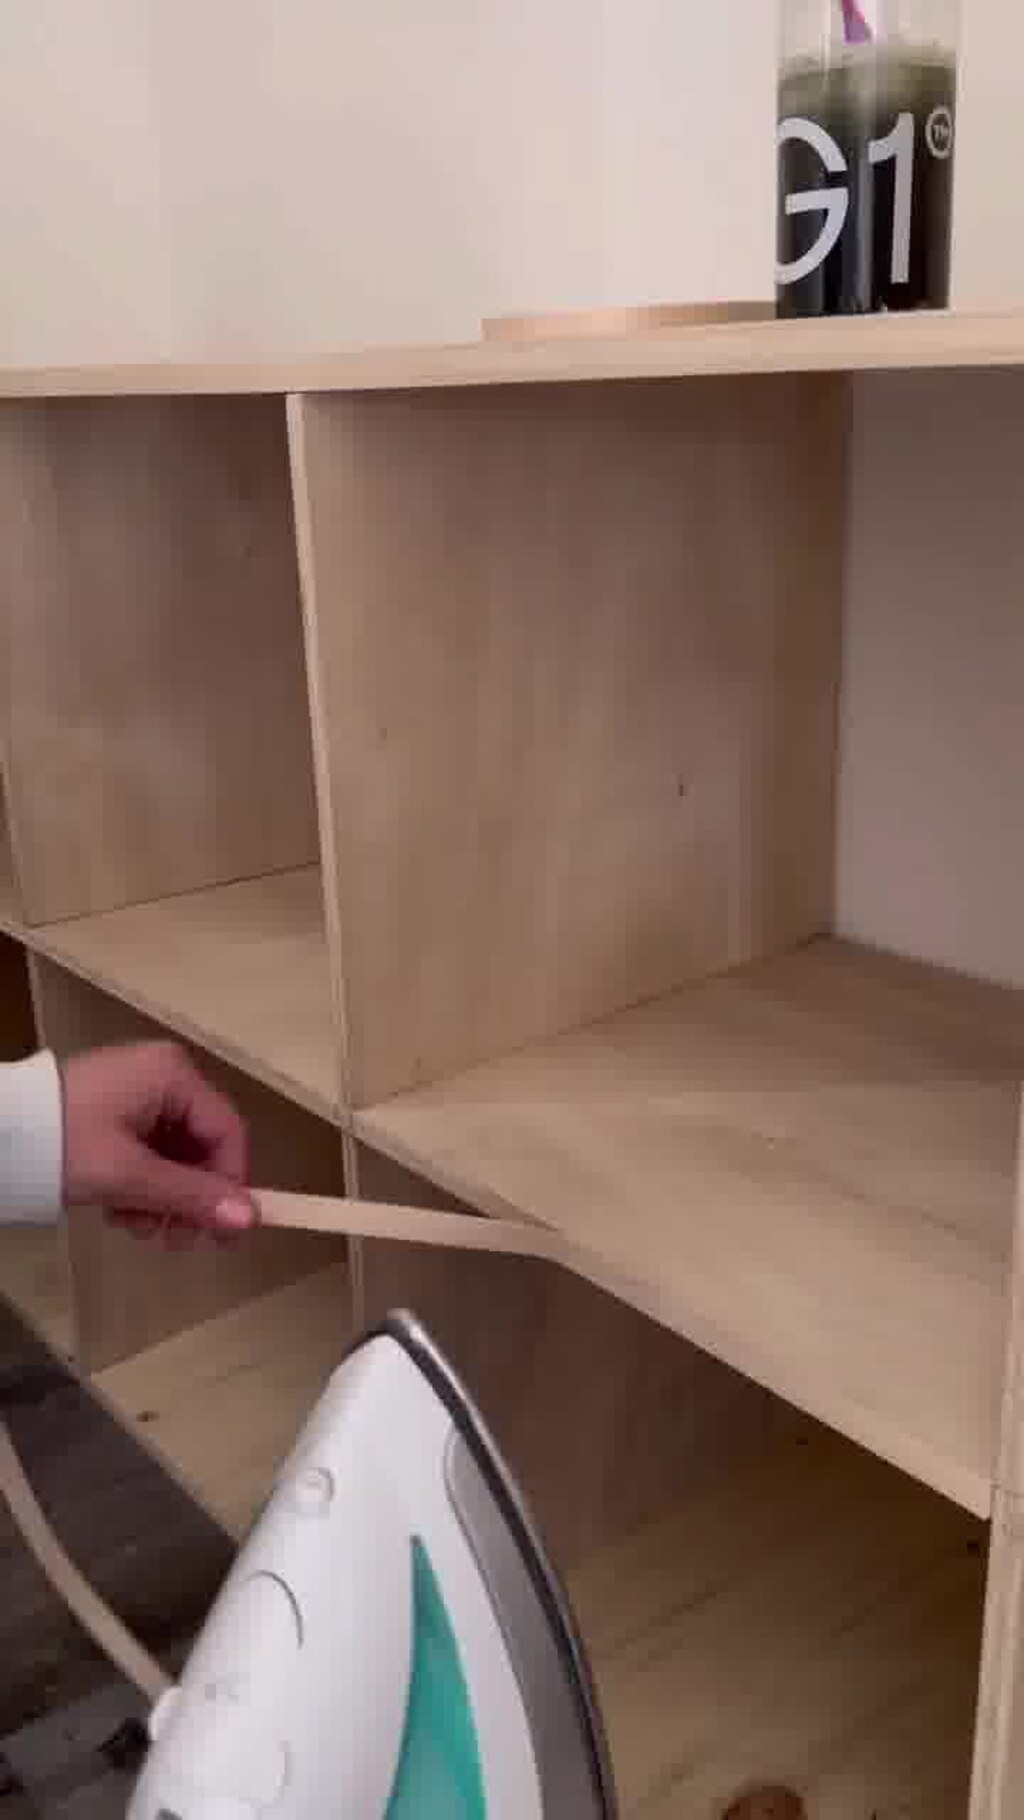
Step 3: Building the Shoe Wall
I knew I wanted a dedicated shoe wall, so I built a 2×4 base platform to elevate the shelves off the ground.
Raising the shelves slightly made it easier to add baseboards later and gave a polished, built-in look.
Shoe Shelf Dimensions:
- Width: 8 feet (wall to wall)
- Depth: 11 inches (ideal for most shoes)
- Height: Each shelf is spaced 7 inches apart
I used ¾-inch MDF for the shelves and secured them with L-brackets for extra stability.
Then, I attached a 1×2 MDF trim to the front of each shelf to give them a seamless, high-end look.
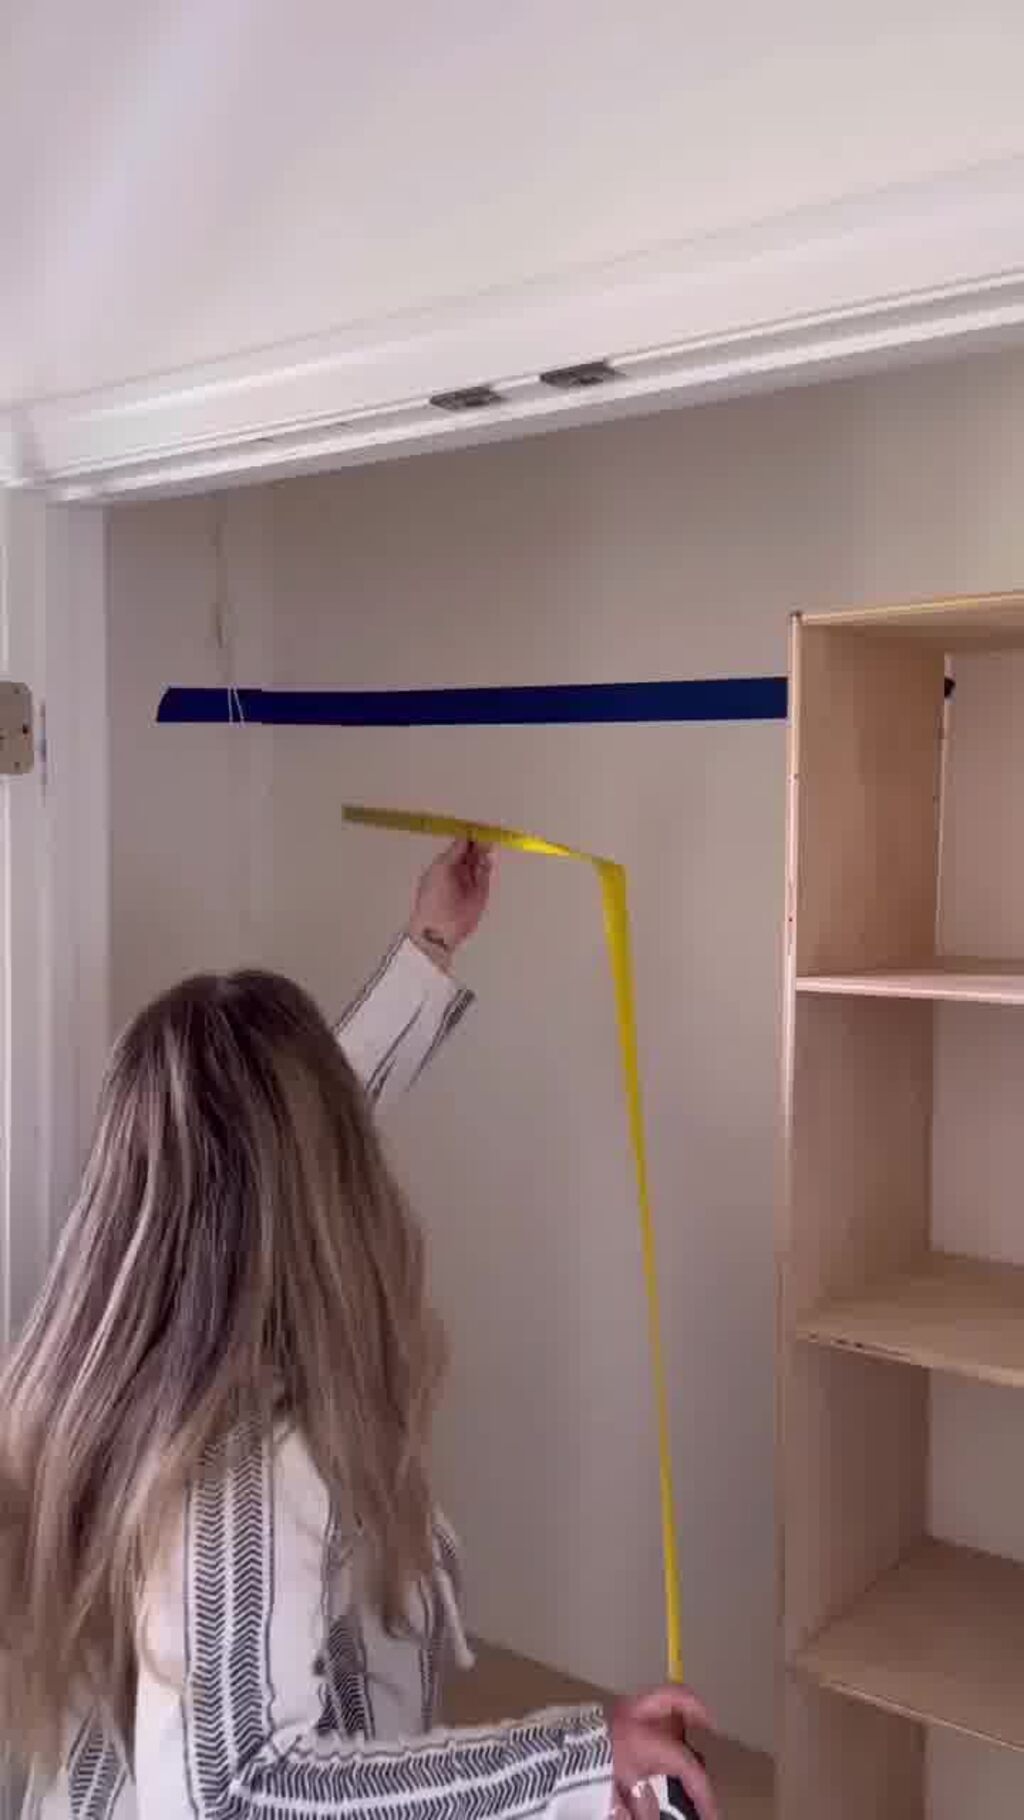
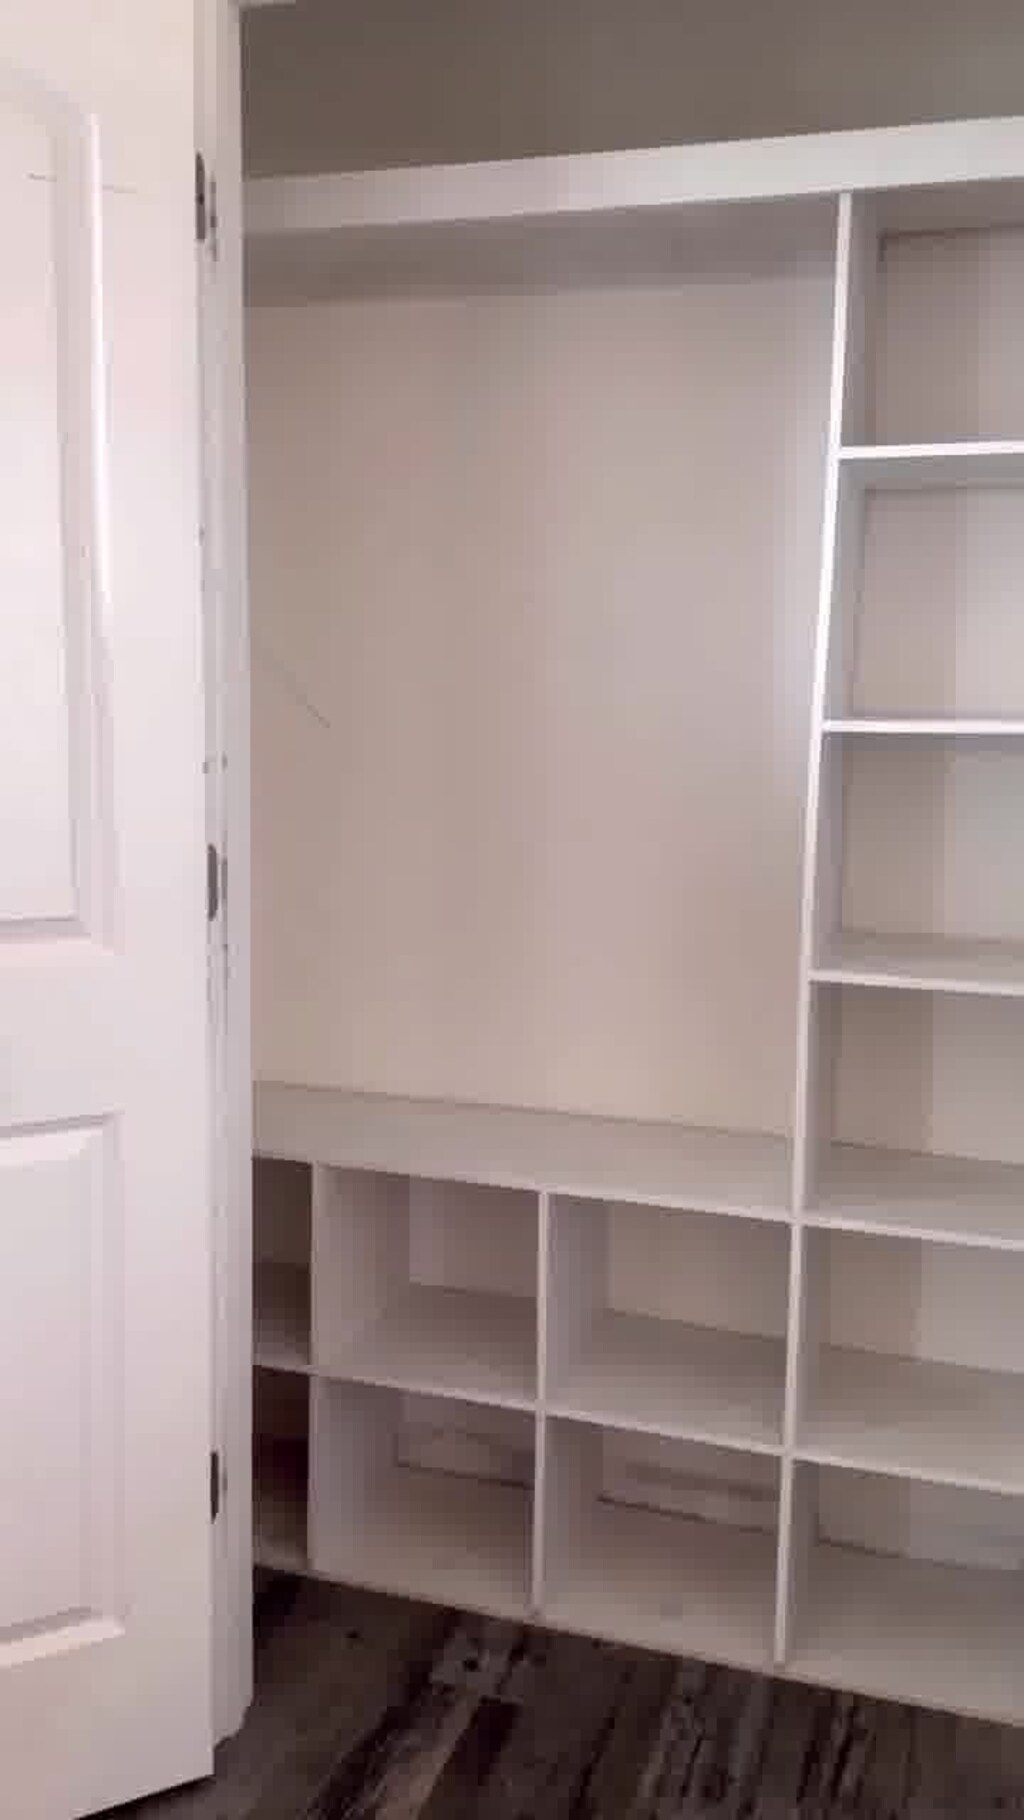
Step 4: Installing the IKEA Pax System
Instead of custom-building everything (which would have taken weeks), I used IKEA Pax wardrobe frames as the foundation of my closet system. Here’s what I installed:
Two IKEA Pax frames:
- Size: 39 ¼ inches wide x 92 inches high x 22 inches deep
- Each unit came with 4 adjustable shelves and 3 drawers
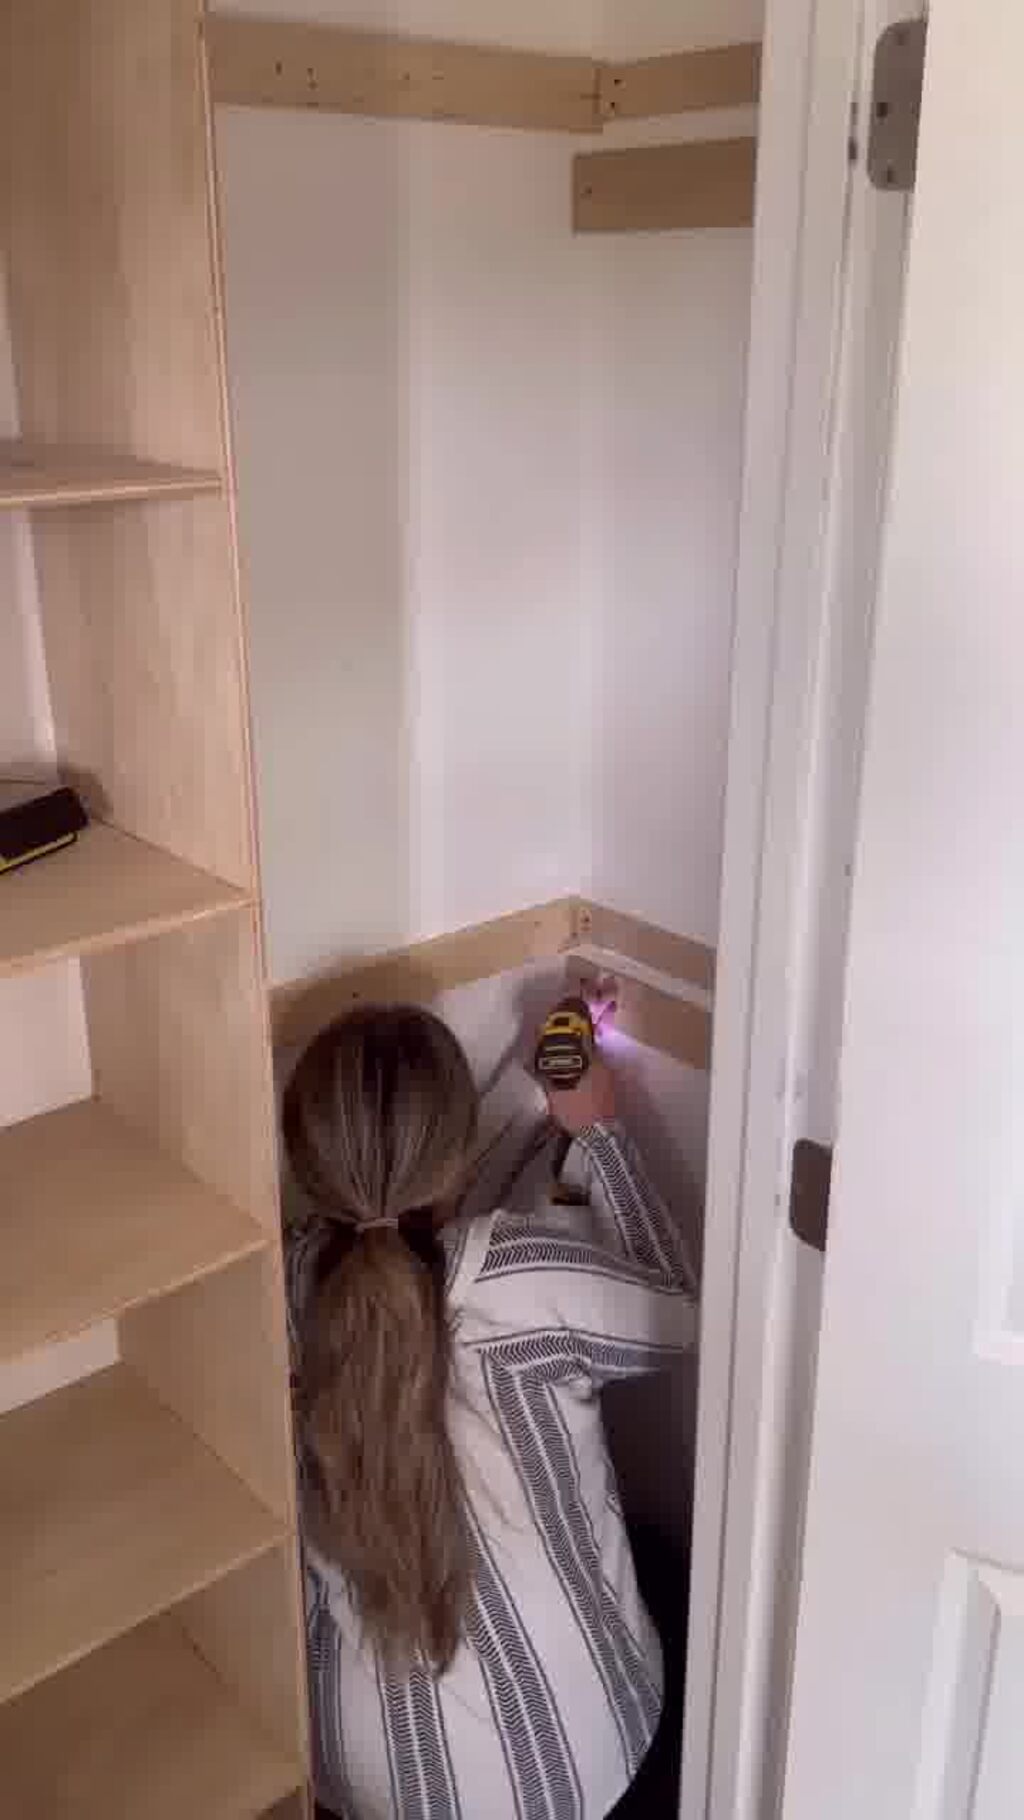
I secured them to the wall using brackets to prevent tipping, then added trim around the edges to create a custom built-in effect.
Step 5: Adding a Custom Double-Hanging Section
To maximize storage, I installed a double-hanging section using two 1-inch metal closet rods at different heights.
Hanging Rod Heights:
- Upper Rod: 80 inches from the floor
- Lower Rod: 40 inches from the floor
This setup effectively doubled my hanging space, making it easy to organize short and long clothing without wasted gaps.
Step 6: DIY Drawer Fronts & Paint
Instead of using the standard IKEA drawer fronts, I crafted my own from ½-inch MDF and attached them with overlay hinges. This small upgrade made a huge difference in making the closet feel truly custom.
For paint, I chose Sherwin-Williams Pure White to keep the space looking bright and clean. Using a Graco TrueCoat paint sprayer ensured a smooth, professional finish without visible brush strokes.
Step 7: Crown Molding & Finishing Touches
To elevate the overall aesthetic, I installed 4-inch crown molding along the top of the closet and added 1×4 baseboards at the bottom.
Other Finishing Touches: A full-length brass mirror mounted inside the door.
LED motion sensor lighting under the shelves for a soft glow.
Matte black hardware to tie everything together with a modern touch.
The Final Reveal!
After about a week of work, my closet was completely transformed! No more clutter, no more wasted space—just a functional, stylish, and organized dream closet.
This project took about 4 days from demolition to the final paint job and cost around $800 (way less than hiring a professional to do it!). If you’ve been thinking about tackling your closet, I say go for it—you’ll love the results!
Conclusion
Taking on this DIY closet makeover was one of the most rewarding projects I’ve ever done. What started as a cluttered, inefficient space is now a beautifully organized and functional closet that perfectly fits my needs. By carefully planning the layout, incorporating a mix of custom-built shelves and IKEA units, and adding thoughtful finishing touches like crown molding and LED lighting, I was able to create a space that feels both high-end and practical.
FAQs
How do I plan my closet layout?
Measure your space, list your storage needs, and sketch a rough design. Use tools like the IKEA Pax planner for visualization.
What’s the best material for shelves?
¾-inch MDF or plywood works best—MDF is smoother for painting, while plywood is stronger and resists sagging.
How can I make my DIY closet look custom-built?
Add crown molding, trim, baseboards, and high-quality hardware for a seamless, built-in look.
How much does a DIY closet makeover cost?
Mine cost around $800, but you can save by repurposing furniture, using budget-friendly shelving, or shopping secondhand.
What are some easy upgrades for my closet?
Add LED lighting, slim hangers, a full-length mirror, decorative storage bins, and a stylish door to enhance the space.