
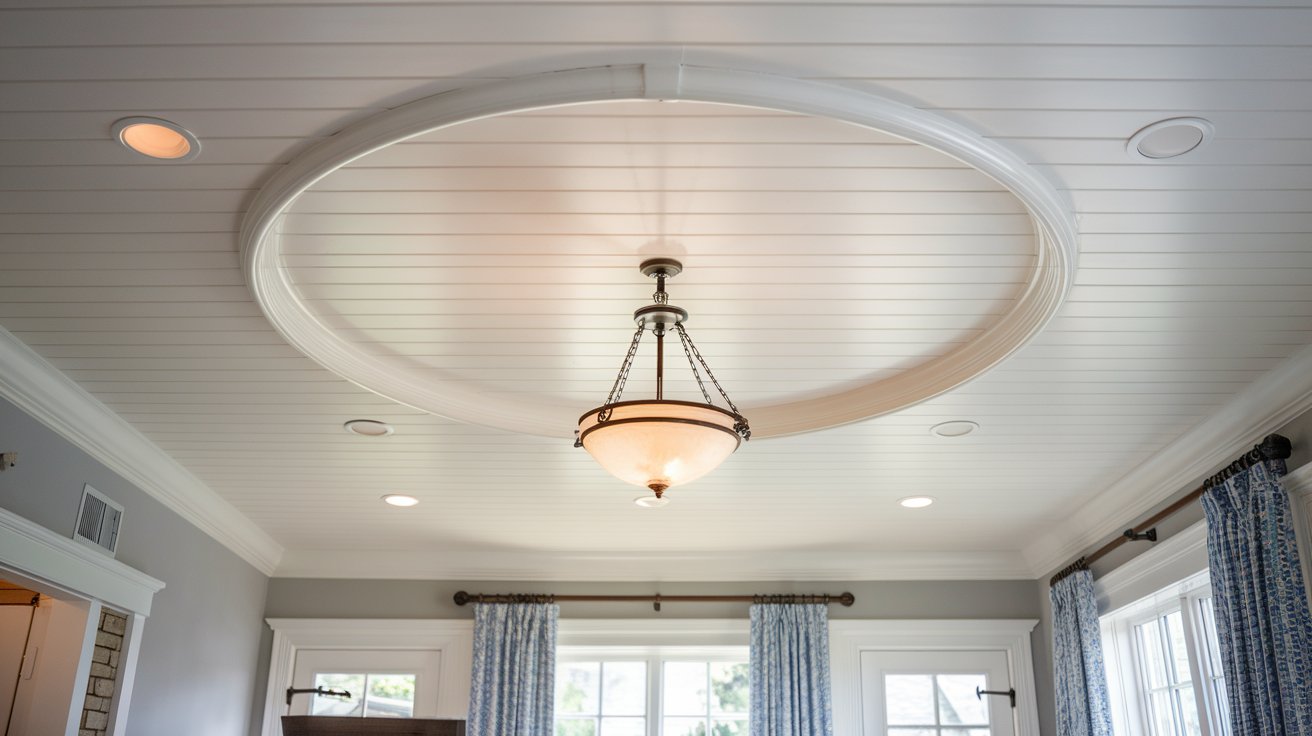
The ornamental element that encircles your light fixture is called a ceiling medallion. It instantly gives any space personality and flair.
I installed my first DIY ceiling medallion to hide an ugly electrical box. I’ve placed them all over my house because it worked so well.
You can create your own creative designs with the help of this guide. Compared to store-bought options, you’ll save money and achieve the exact look you desire.
I’ll go over eight distinct medallion designs, the best materials to use, installation advice, and how to coordinate them with your interior design.
All skill levels can work on these projects. Together, we can make your ceilings appear purposeful and completed.
Understanding Ceiling Medallions
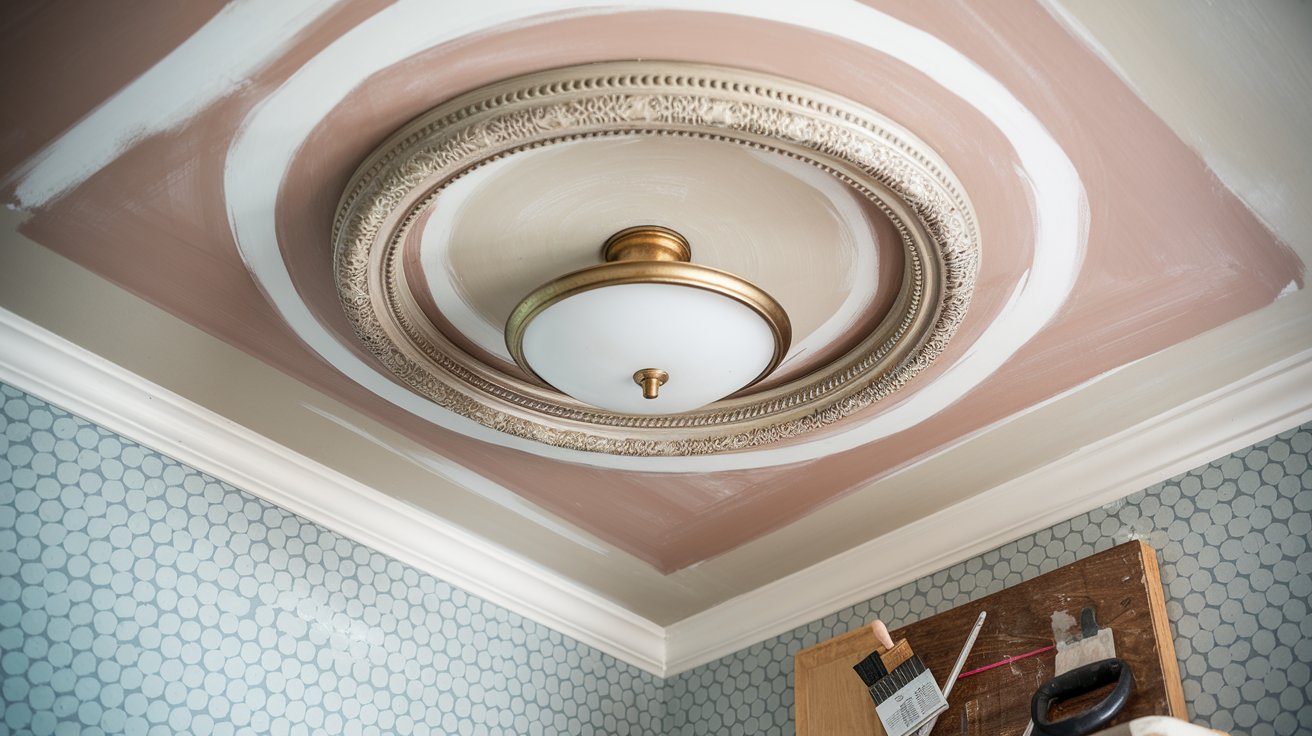
A ceiling medallion is a decorative element installed around light fixtures. It frames your chandelier, pendant, or ceiling fan while adding visual interest to the ceiling. Medallions serve both form and function.
They cover electrical box imperfections and create a finished look. They also draw the eye upward, making rooms feel more complete.
DIY medallions cost a fraction of store-bought versions. Pre-made medallions run $50-300, depending on size and material. You can create custom versions for $10-40.
Making your own gives you control over size, shape, and style. You’re not limited to what stores carry. This matters when you have unique fixtures or specific design needs.
You can match your medallion to ceiling texture, paint colors, and lighting style perfectly. Store options rarely fit this well.
Creative DIY Ceiling Medallion Design Ideas
These eight designs work for different styles and skill levels. Pick one that matches your home’s character.
1. Classic Wood-Framed Medallion
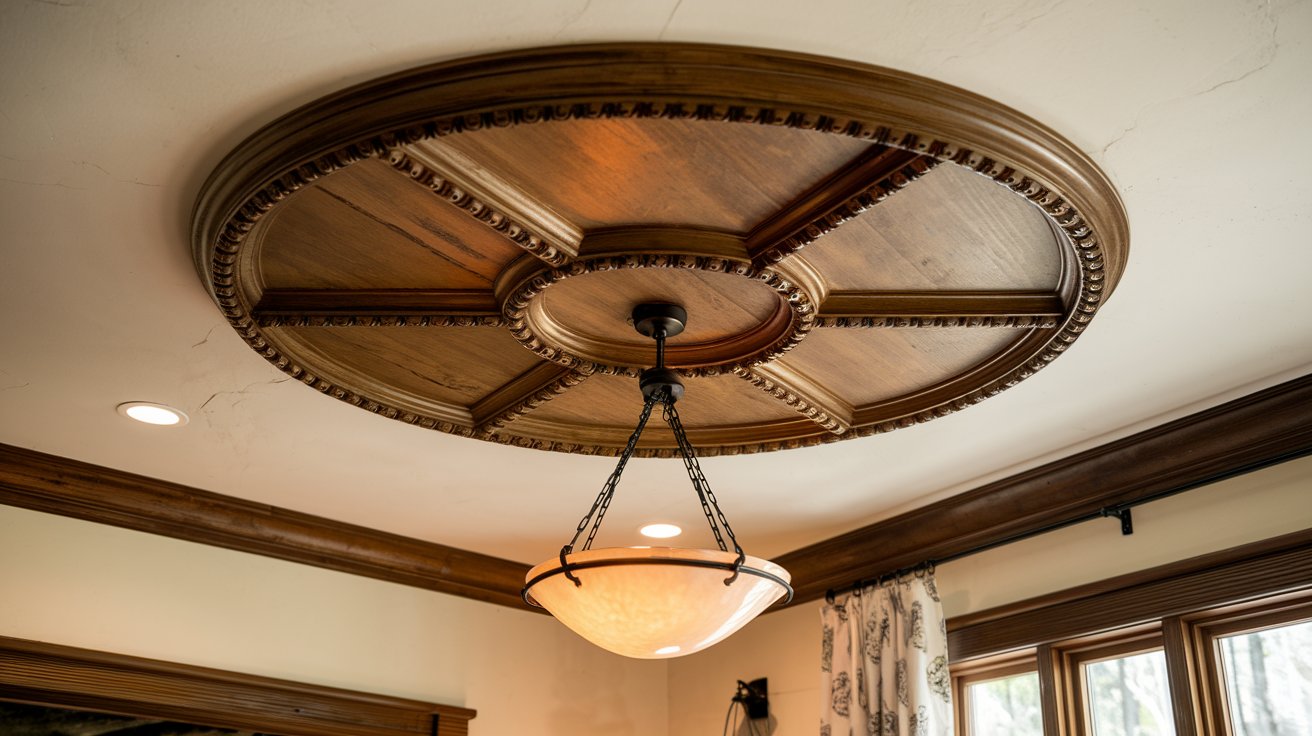
Build a frame from decorative trim molding available at any hardware store. Cut pieces to form a square or octagon around your fixture.
This style suits rustic, cottage, or farmhouse interiors perfectly. The wood texture adds warmth to the ceiling.
Stain the wood for a natural look or paint it to match your trim. Center it carefully around your chandelier for a balanced appearance.
2. Thrifted Frame Transformation
Find an old round or square picture frame at a thrift store. Remove the glass and backing. The frame becomes your medallion.
This budget-friendly option costs $3-8, depending on the frame. It’s perfect for eco-conscious DIYers who love repurposing.
Fill any gaps with caulk, then paint the frame to match your ceiling or fixture. Nobody will guess it started as a picture frame.
3. Plywood Layered Medallion
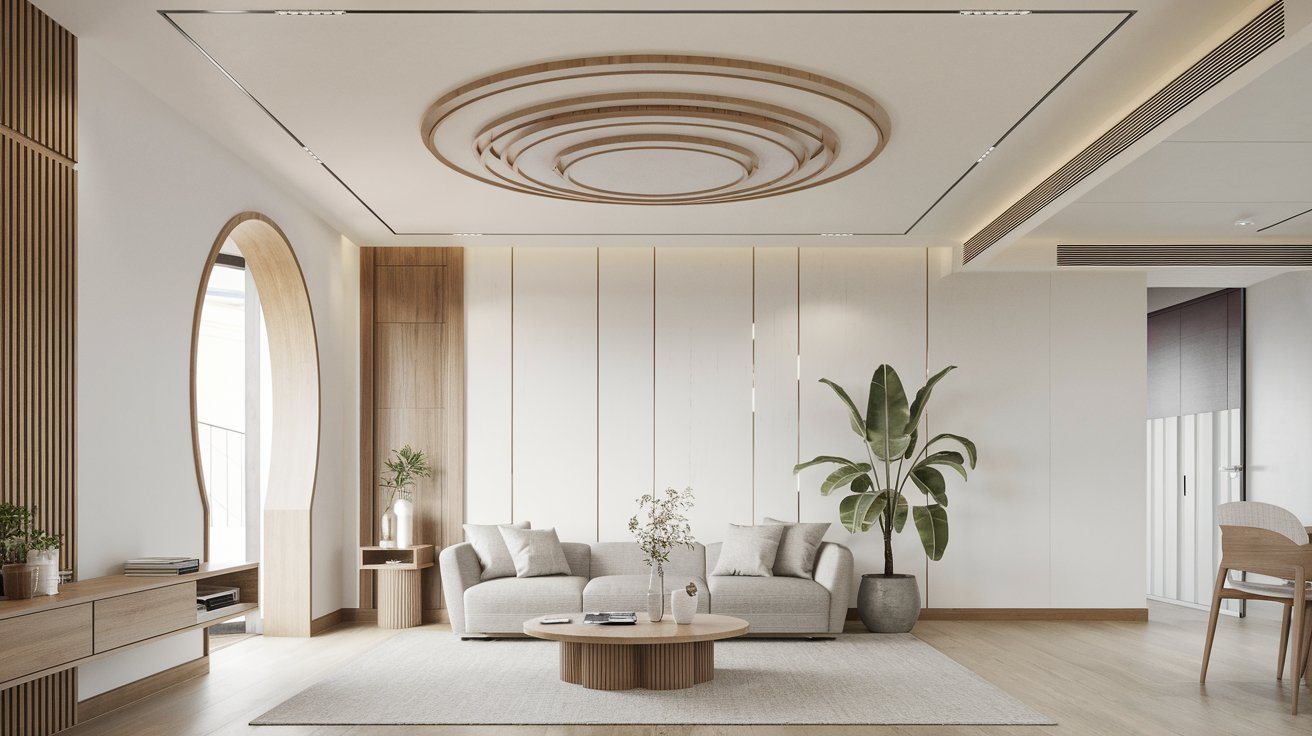
Cut multiple circles or geometric shapes from thin plywood. Stack them in decreasing sizes to create dimension.
This modern design works beautifully in minimalist or Scandinavian-style homes. The clean lines feel intentional and simple.
Paint each layer a different shade for contrast. Or stain them to highlight the wood grain texture.
4. Stenciled or Painted Medallion
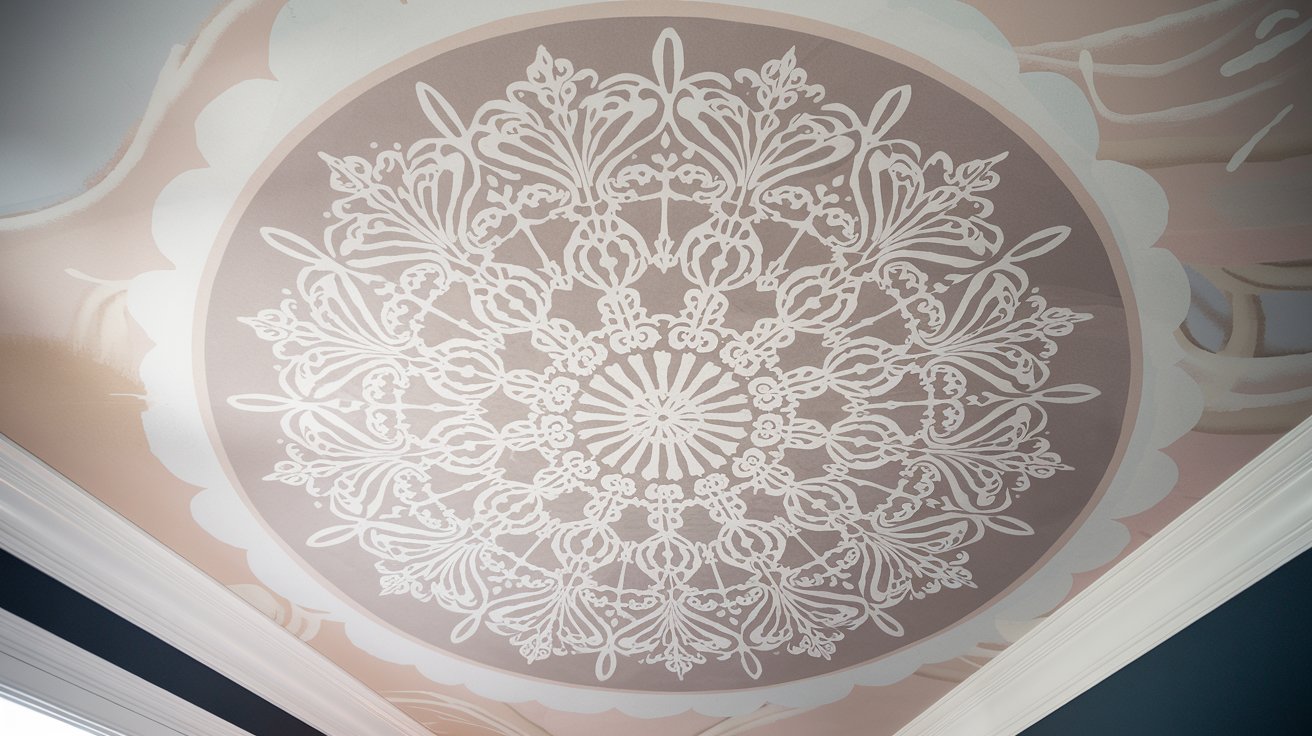
Create the illusion of a medallion using stencils and ceiling paint. No installation required, making this perfect for renters.
Choose patterns that fit your style. Mandala designs suit bohemian spaces. Floral motifs work in traditional rooms. Geometric patterns fit modern homes.
Use painter’s tape to keep edges crisp. Apply two coats of paint for solid coverage.
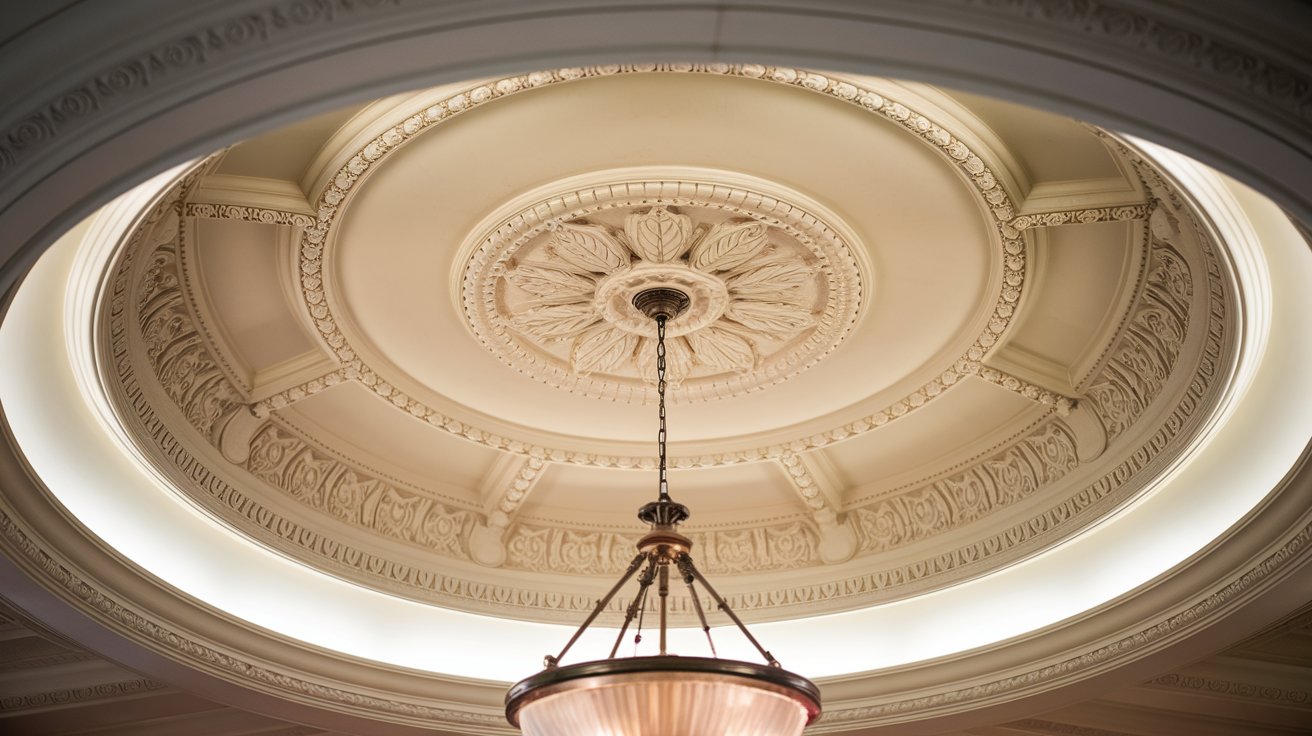
5. Plaster or Polyurethane Replica
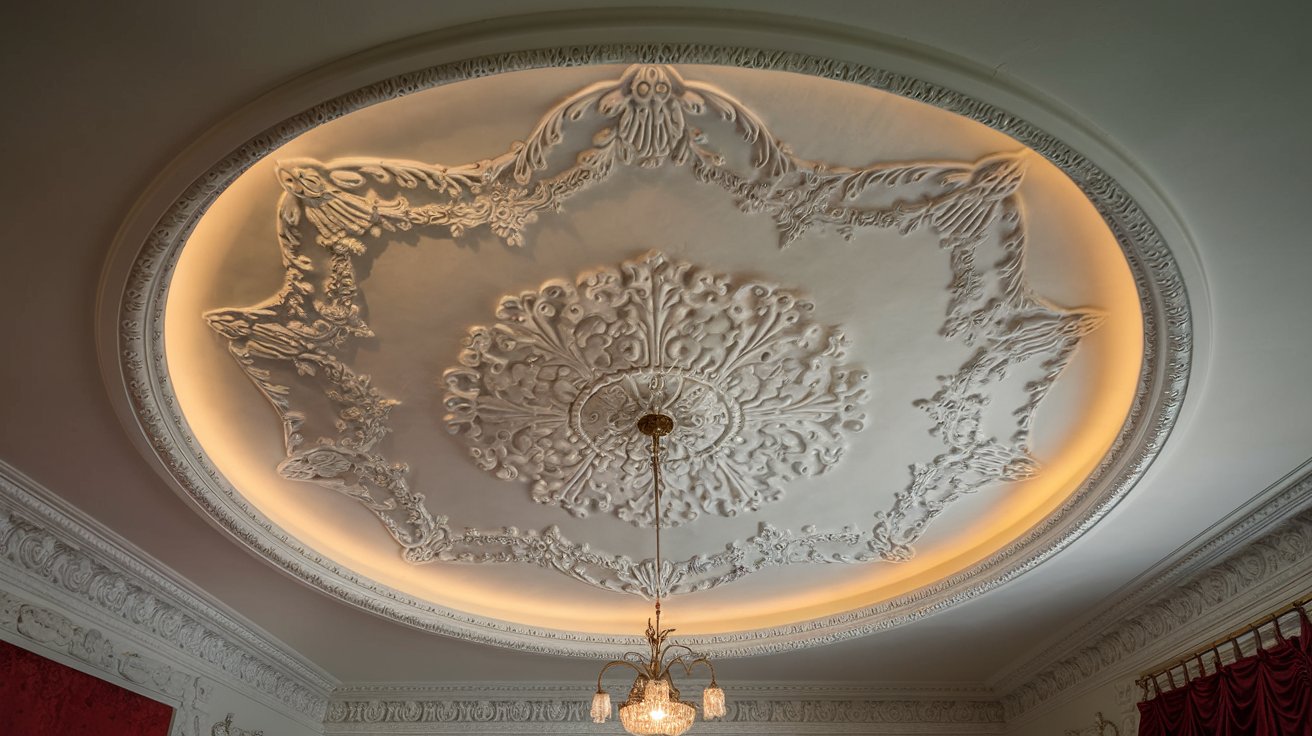
Mold your own plaster medallion using silicone molds available online. The finished piece looks like an expensive architectural detail.
Polyurethane versions weigh less than plaster and install more easily. Both materials take paint well.
This option suits classic or Victorian interiors where ornate details belong. The dimensional relief adds genuine architectural interest.
6. Metal Accent Medallion
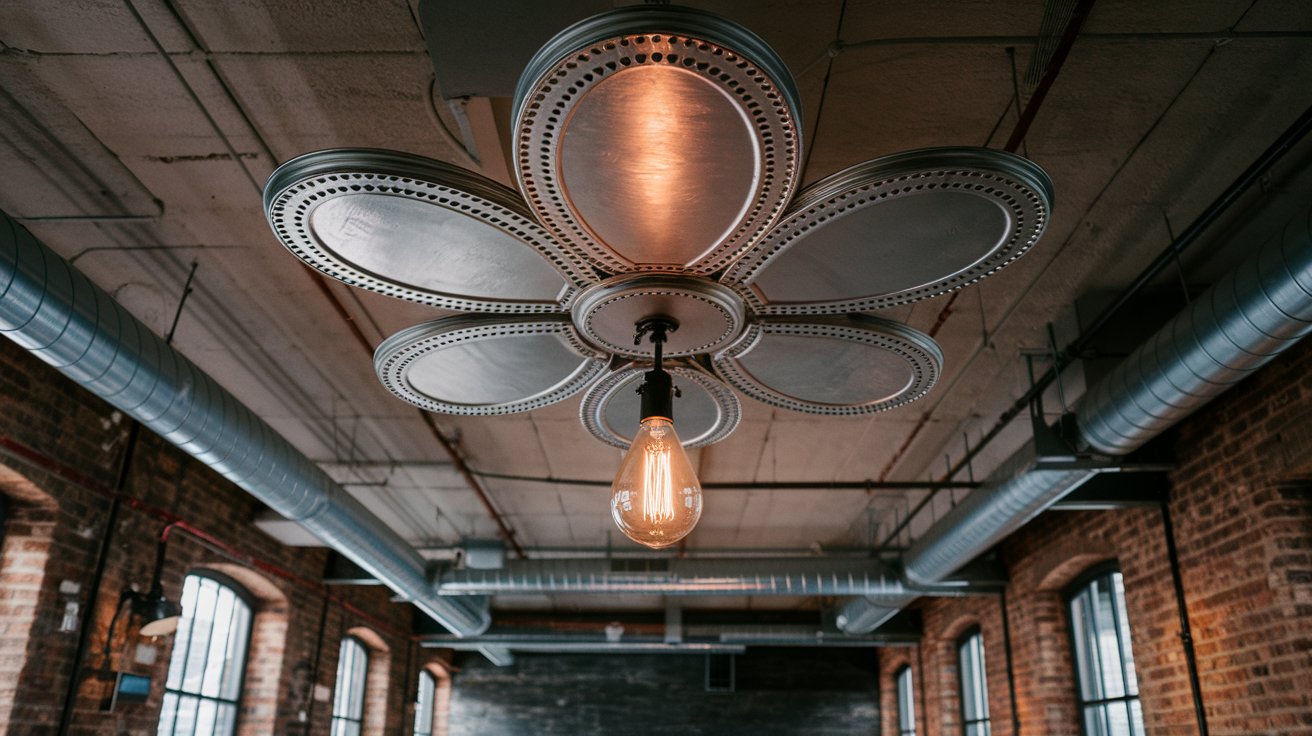
Use aluminum or tin ceiling tiles cut to size for an industrial vintage look. These materials add texture and subtle shine.
The metal finish works in modern spaces paired with Edison bulbs or black fixtures. It creates interesting light reflection patterns.
Paint the metal if you want color, or leave it natural for authentic industrial style.
7. Shiplap or Beadboard Medallion
Build a medallion from leftover shiplap or beadboard panels. Arrange pieces in a circular or square pattern around your fixture.
This cottage-style approach fits farmhouse and coastal interiors naturally. The horizontal lines add visual interest.
Paint in white or soft pastels for a fresh, clean finish that brightens the ceiling.
8. Fabric-Wrapped Medallion
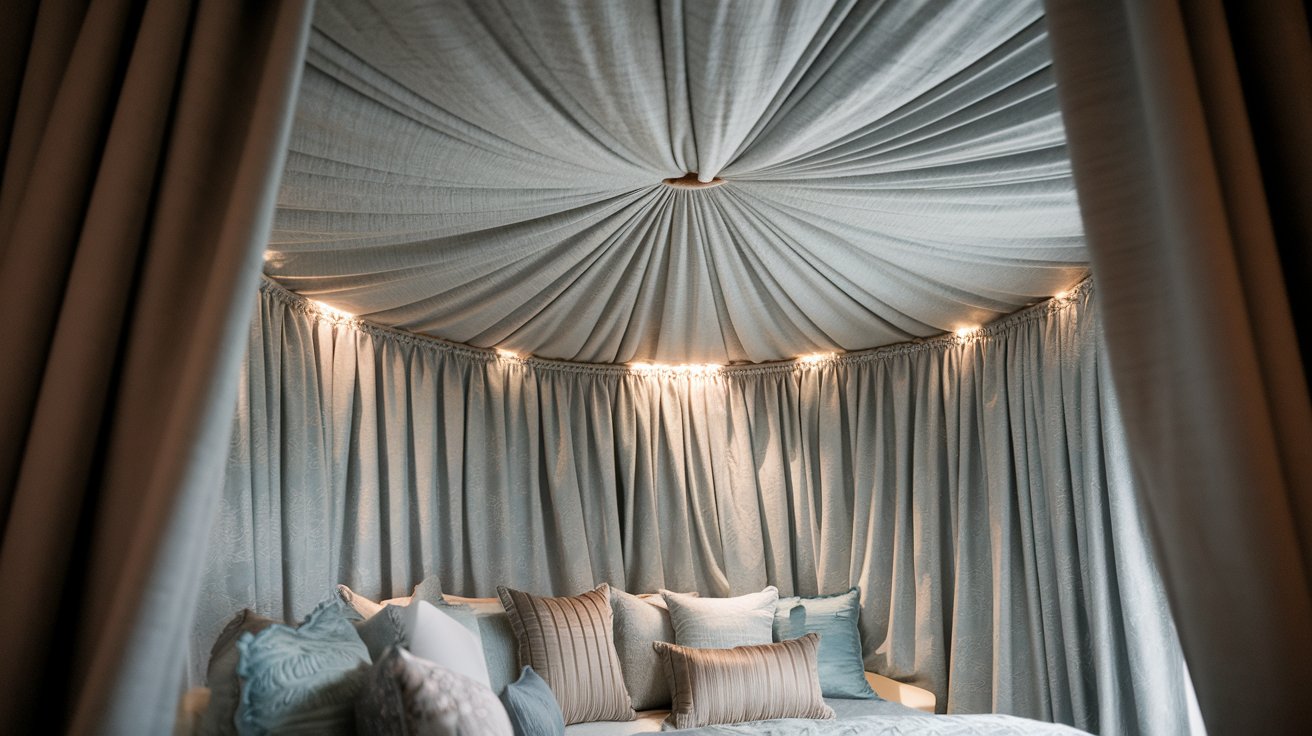
Stretch fabric over a round wooden base to add softness and pattern. This works especially well in bedrooms and sitting rooms.
Choose fabric that coordinates with your curtains or upholstery for a pulled-together look. The textile element adds unexpected warmth to the ceiling.
Use a staple gun to attach fabric securely to the back of the base. Trim excess fabric cleanly.
9. Rope-Wrapped Medallion
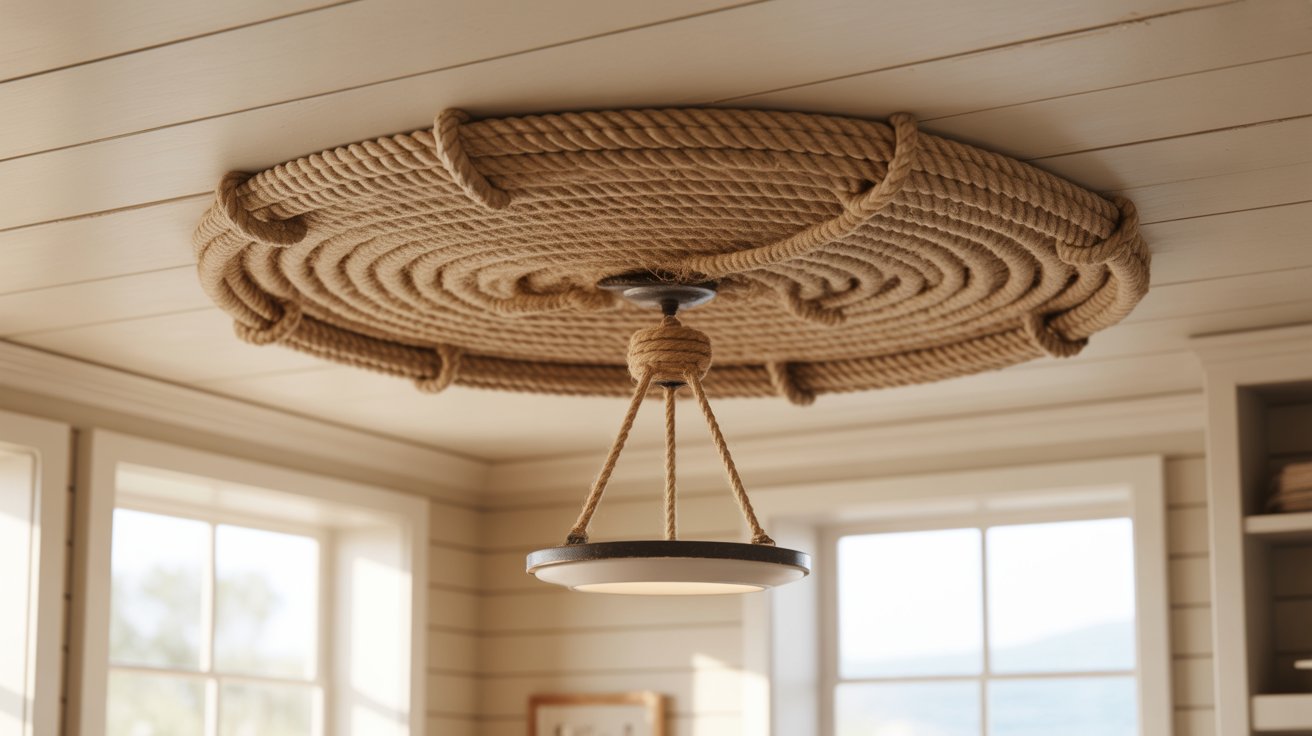
This natural design brings coastal or bohemian style to your ceiling using simple rope and a circular base.
Get thick jute or sisal rope and a circular wooden or foam base. Wrap the rope around the base in tight circles from the center outward. Secure with hot glue as you go.
This adds warmth and texture to beach cottages, farmhouse kitchens, or rustic spaces.
Leave the rope natural or paint it with whitewash for a softer look. Try metallic spray paint for a polished finish.
Tips for Designing and Installing Your DIY Medallion
- Make your medallion 1.5 to 2 times wider than your fixture’s widest point for proper proportion.
- Round medallions suit traditional spaces. Square or geometric shapes work in modern rooms.
- Custom shapes let you match unique architectural details.
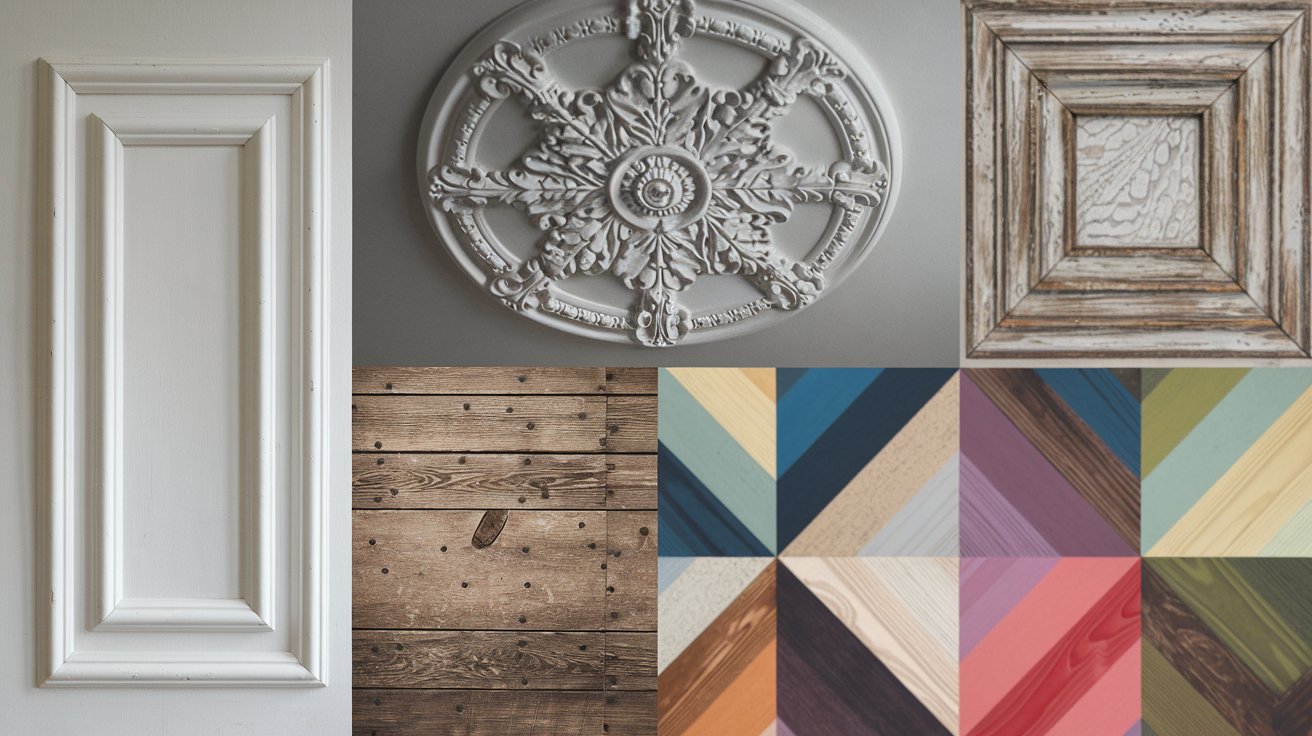
- Wood is durable and easy to work with for most projects.
- Plaster creates an authentic period look but weighs more.
- Foam is lightweight and simple to cut for beginners.
Styling Inspiration
Get creative ideas for incorporating ceiling medallions into different room styles, color schemes, and design aesthetics for maximum visual impact.
Pairing with Light Fixtures
Match your medallion style to your fixture. Traditional chandeliers need ornate medallions. Modern pendants work with simple geometric designs.
White medallions complement any fixture. Metallic medallions should match fixture finishes. Large chandeliers need substantial medallions. Delicate fixtures suit simpler surroundings.
Matching Interior Styles
Vintage and classic homes benefit from ornate plaster or carved wood medallions. Modern homes need minimal geometric or layered plywood designs.
Farmhouse and cottage interiors work well with painted wood or shiplap medallions. Eclectic spaces can handle boldly colored or mixed-material versions.
Conclusion
Five years ago, I made my first do-it-yourself ceiling medallion. I now consider the possibilities when I see any plain ceiling.
The way your rooms feel finished is greatly influenced by these minor details. They’re inexpensive and much simpler to install than you might imagine.
Select a design that appeals to you. Make it happen over the course of a weekend. Every time you enter that room, you’ll look up and smile.
Which look drew your eye? Tell me in the comments what you’re planning to create.
Frequently Asked Questions
Do ceiling medallions work with all light fixtures?
Yes, medallions work with any fixture from flush-mounts to chandeliers. Size the medallion proportionally to your fixture for proper visual balance.
Can I install a medallion without removing my light fixture?
It’s possible but difficult. Removing the fixture takes 15 minutes and makes installation much easier and cleaner.
What’s the best adhesive for ceiling medallions?
Construction adhesive works for lightweight medallions under 5 pounds. Heavier medallions need screws into ceiling joists for secure mounting.
How do I find the center point for my medallion?
Turn off the power and remove your fixture. The electrical box marks the exact center for positioning your medallion evenly.
Can renters install ceiling medallions?
Painted or stenciled medallions require no hardware. Lightweight adhesive-mounted versions remove cleanly when you move out.