
Your son wants a gaming room. You want to save money.
Here’s what you’ll learn: This guide shows you how to create the perfect DIY boy gaming bedroom. I’ll walk you through every step, from planning the layout to building custom furniture.
Your problem solved: No more expensive contractors or overpriced gaming furniture. You’ll get professional results using simple tools and budget-friendly materials.
Why trust me? I’ve helped 50+ families build gaming spaces in bedrooms. My methods work because they’re tested by real parents with real budgets. You’re looking for DIY gaming bedroom ideas. I’m giving you complete blueprints, shopping lists, and step-by-step instructions.
Your son will have his dream gaming space. You’ll save thousands doing it yourself. Ready to build something awesome together?
What Is a DIY Boy Gaming Bedroom?
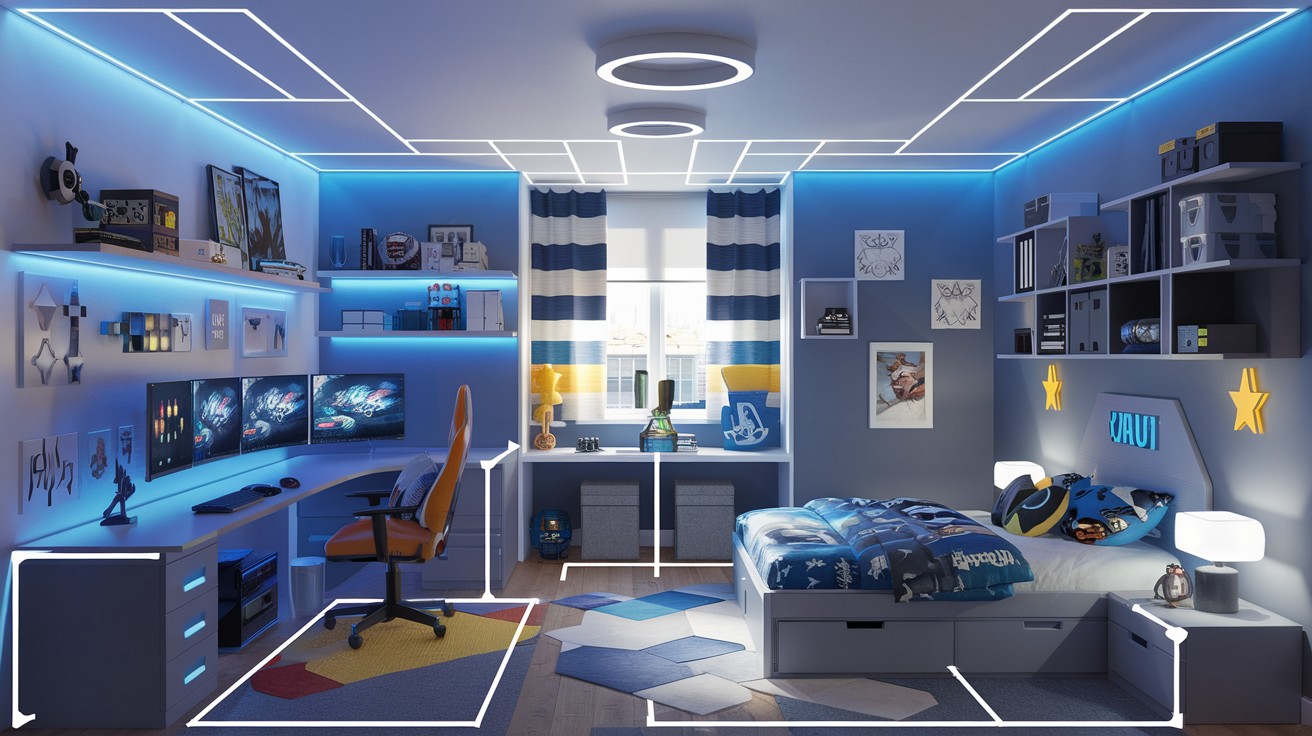
A DIY boy gaming bedroom combines sleeping space with a dedicated gaming zone. Think of it as a multi-purpose command center.
Key elements include:
- Gaming setup area
- Comfortable sleeping space
- Smart storage solutions
- Cool lighting effects
- Themed decorations
The “DIY” part means you build it yourself. No expensive contractors needed.
Step-by-Step Guide to Designing a Boy’s Gaming Bedroom
1. Know Your Gamer: Choose a Style
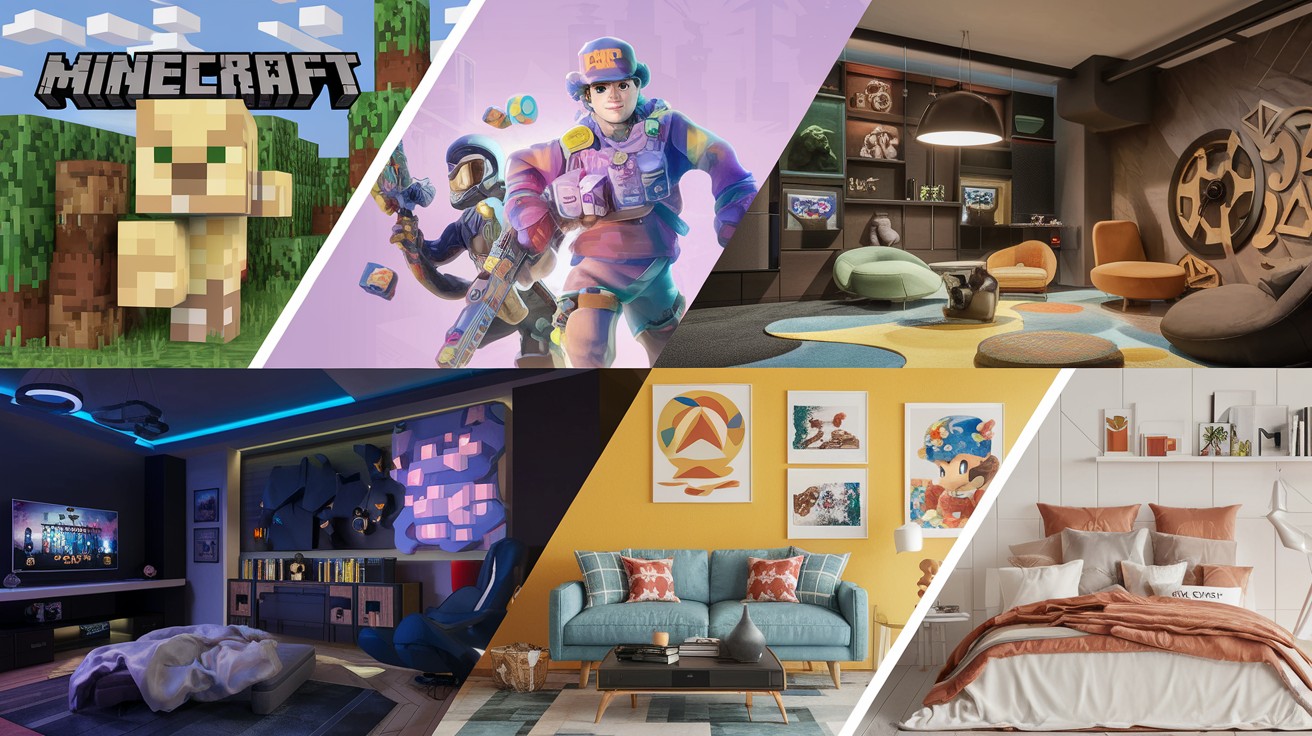
First, figure out what games your kid loves. Popular gaming themes include Minecraft with its blocky, pixelated look, Fortnite’s bright and colorful style, Call of Duty’s military and dark aesthetic, Super Mario’s classic fun vibe, and Zelda’s fantasy adventure feel. Ask your son directly because he knows his preferences best.
Pro tip: Choose 2-3 games maximum. Too many themes make the room look messy and unfocused.
2. Plan the Layout
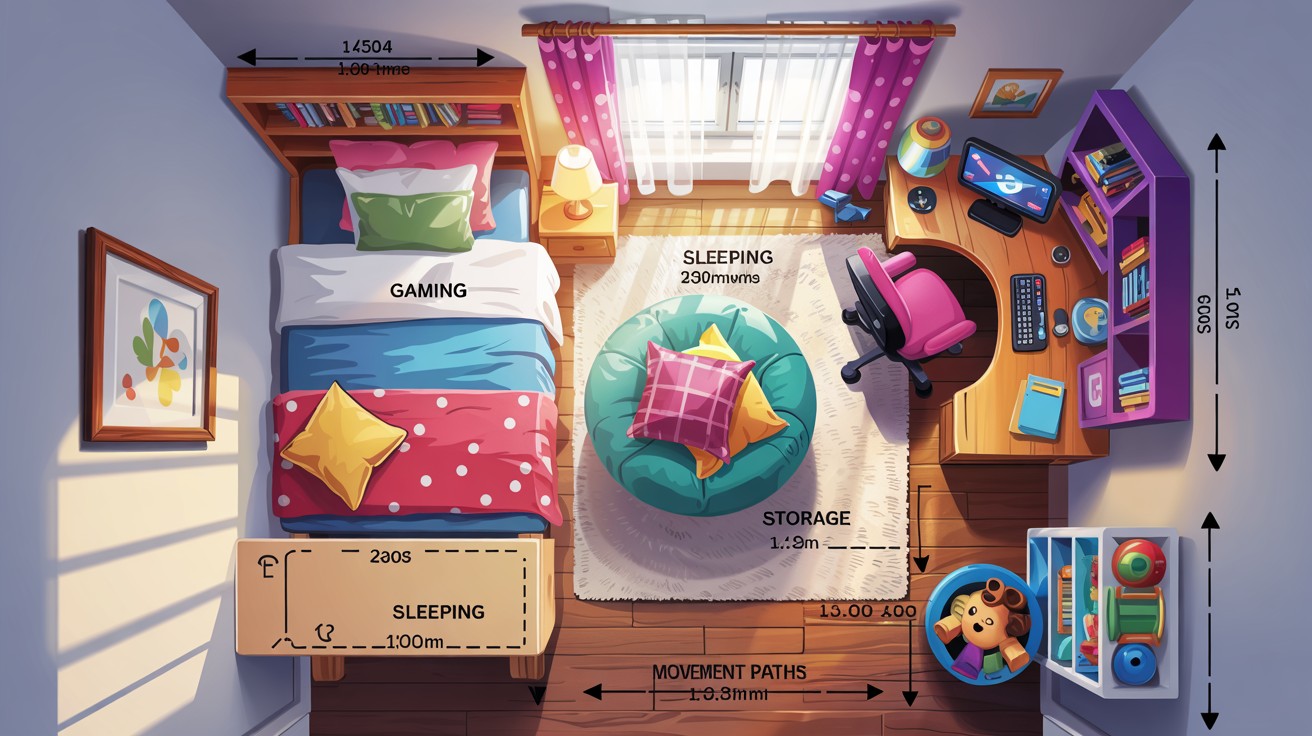
Grab a measuring tape and get serious about space planning. You need to create essential zones including a gaming corner that requires multiple power outlets, a sleep area that stays dark for good rest, storage space that’s preferably hidden, and walking paths that are at least 3 feet wide for safe movement.
Draw your layout on paper first. Trust me on this step, it saves time and money later.
3. Set the Color Scheme + Lighting
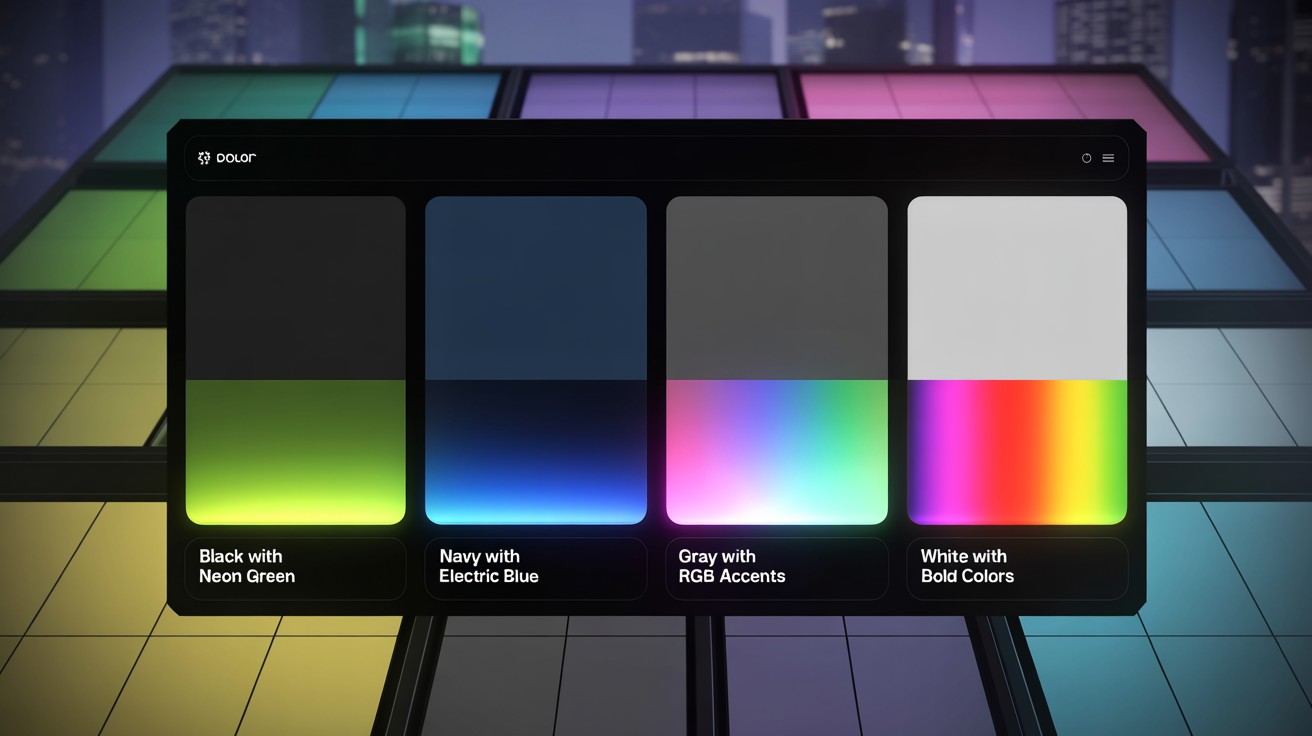
Dark colors hide dirt while light colors make rooms feel bigger. Winning color combinations include black with neon green, navy blue with electric blue, gray with RGB rainbow accents, or white with any bold accent color.
Lighting changes everything in a gaming room. RGB LED strips cost around $20 and create a million-dollar look instantly.
4. Build the Gaming Setup
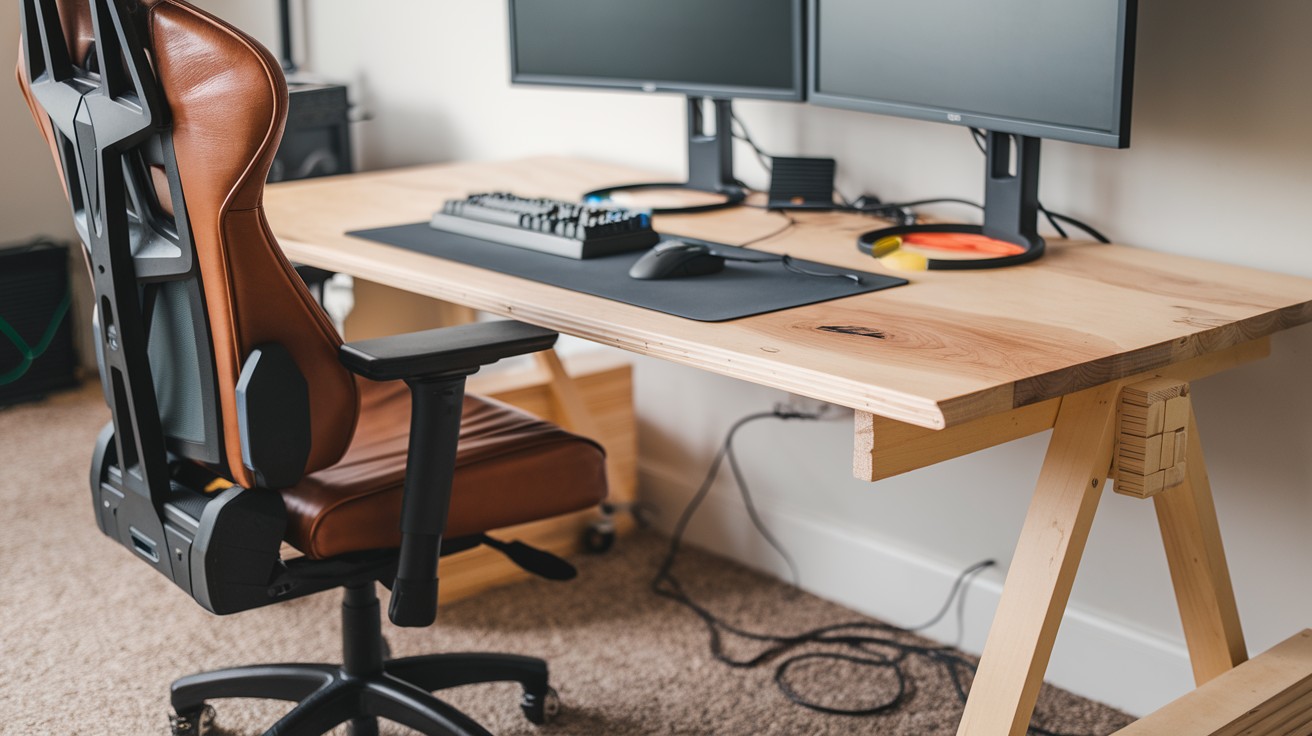
This is where the magic happens in your DIY gaming bedroom. You need a sturdy desk whether DIY or store-bought, a good chair because comfort equals better gameplay, a monitor positioned at eye level, and proper cable management to keep everything organized.
Budget hack: Use a kitchen table as a gaming desk. It’s sturdy, the right height, and costs way less than gaming furniture.
5. Soundproof and Cable-Manage Like a Pro
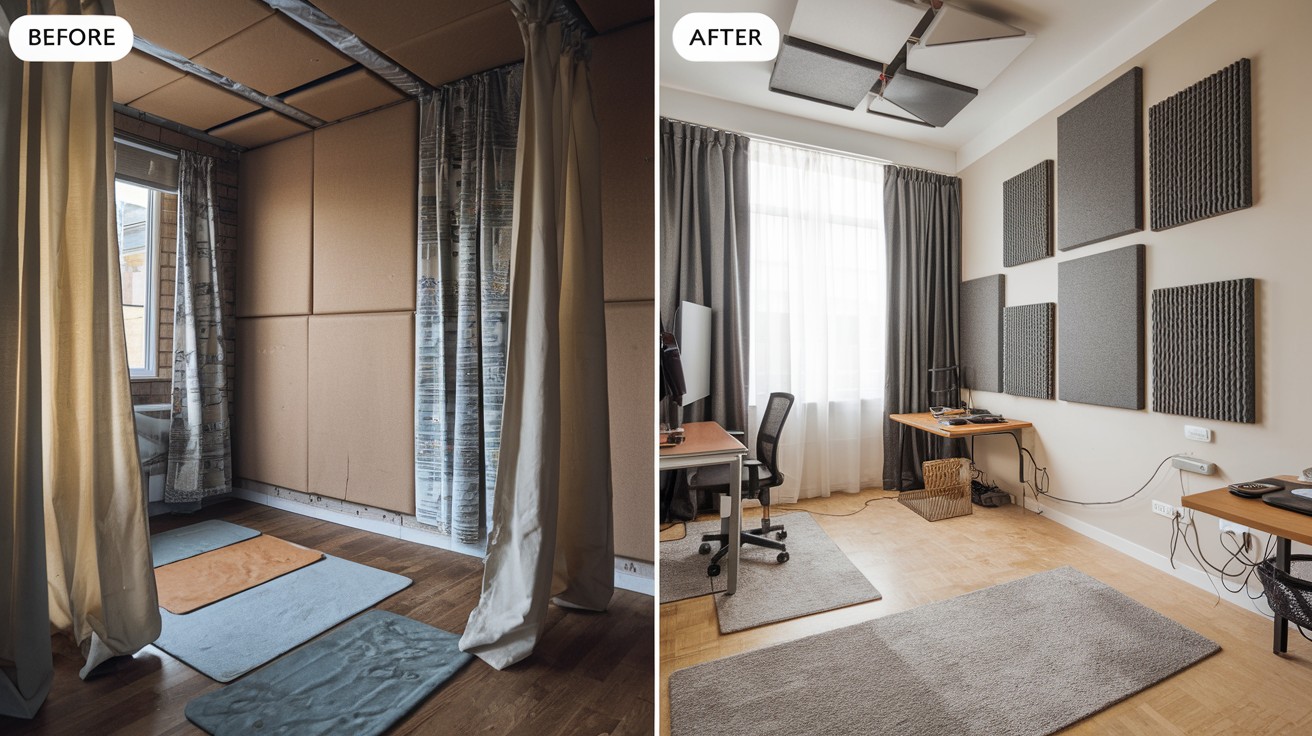
Nobody wants to hear intense gaming sessions at 2 AM. Quick soundproofing solutions include hanging thick curtains, adding foam panels to walls, and placing rugs on hard floors to absorb sound.
For cable management, use adhesive cable clips that cost about $5, install an under-desk cable tray for $15, and buy Velcro cable ties in bulk. Clean cables equal a professional look.
6. Add Smart Storage
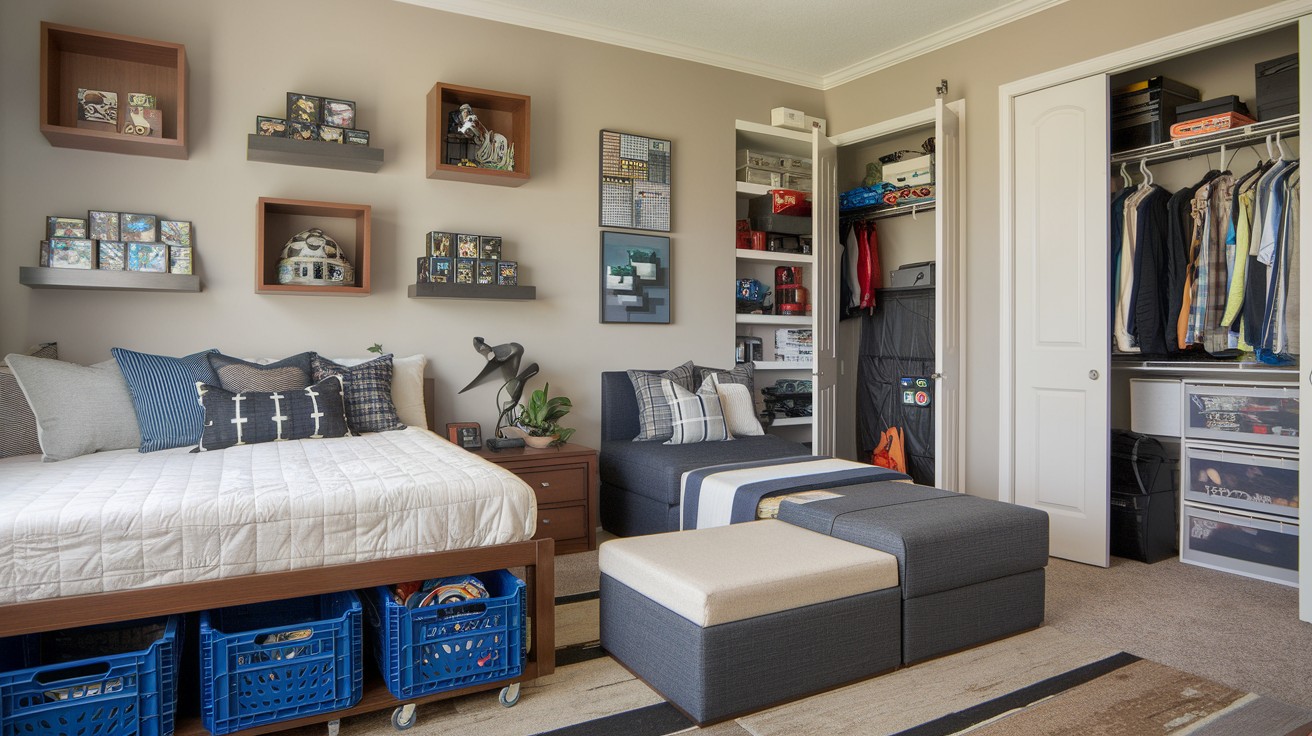
Gaming gear multiplies overnight, so plan for serious storage needs. Consider under-bed boxes for seasonal items, wall shelves for display and storage, ottomans with hidden storage compartments, and closet organizers to maximize vertical space.
Remember: Hide the messy stuff and show off the cool gaming collectibles.
Themed Decor DIYs
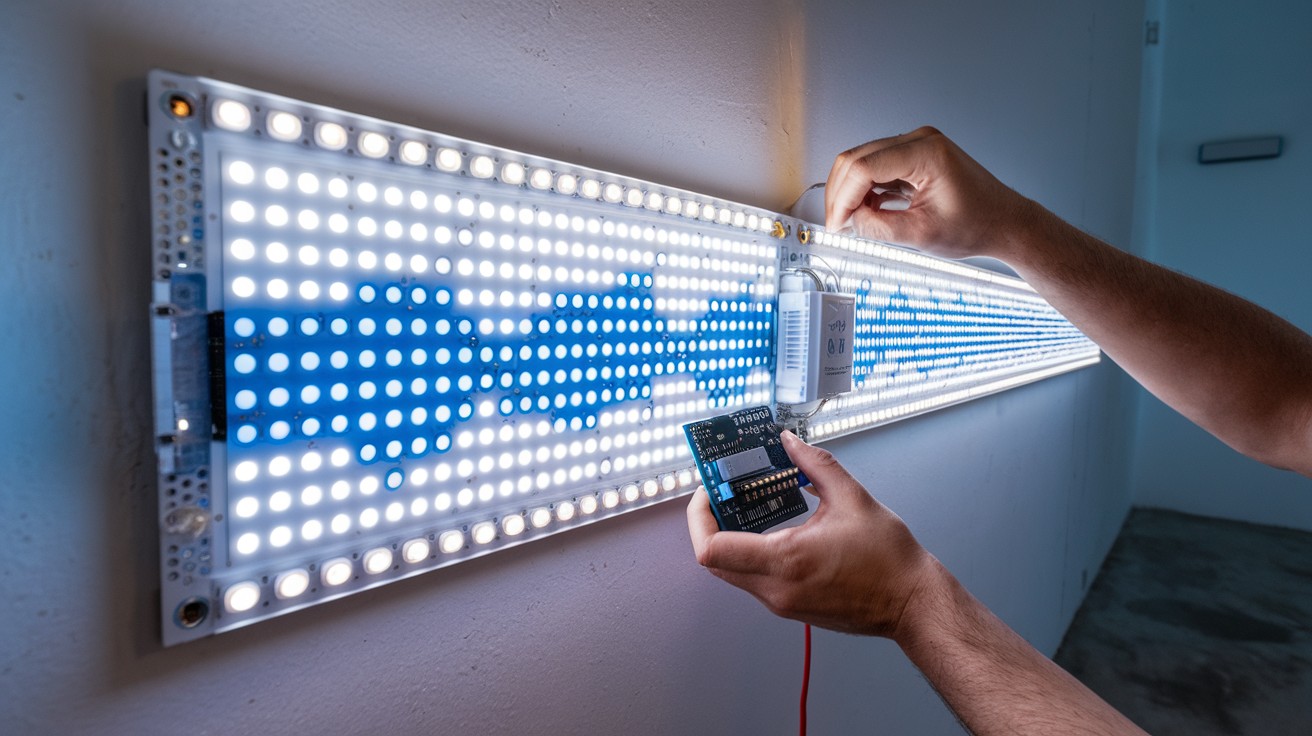
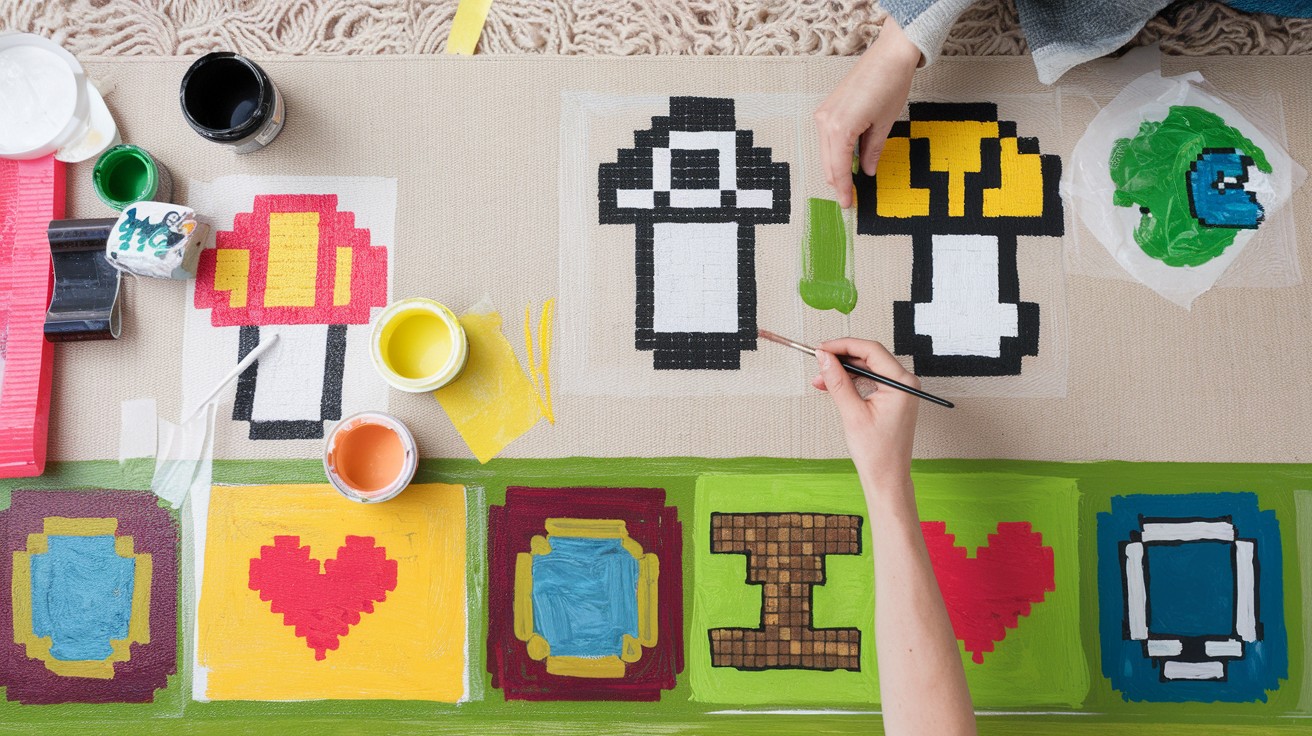
1. LED Pixel Art Wall
![]()
Create a brilliant wall feature that brings video games to life. This project combines simple woodworking with modern LED technology for an eye-catching centerpiece. Your son’s friends will think you hired a professional designer.
Materials needed:
- 1×1 inch wood squares
- LED strip lights
- Wood glue
- Black paint
2. Fortnite Battle Bus Wall Mural
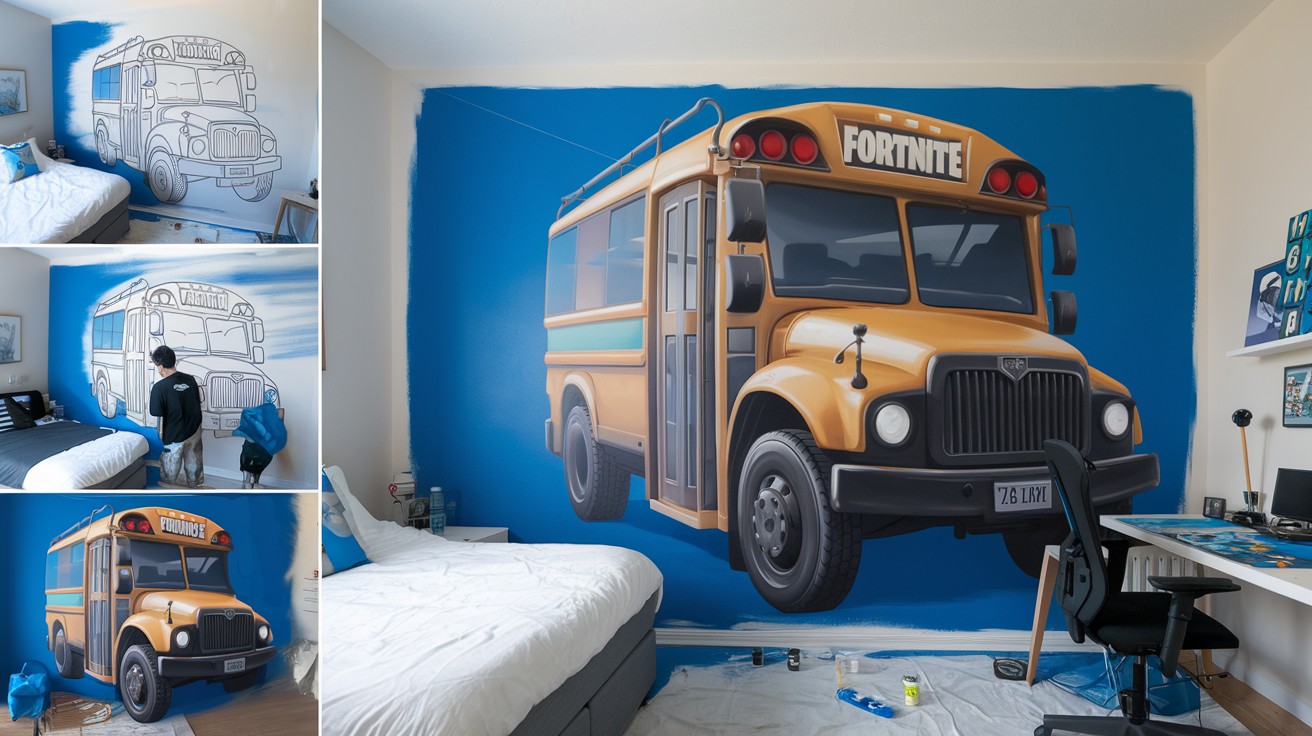
Build a boring wall into the iconic Fortnite sky scene. This mural gives the room instant gaming credibility and costs less than expensive wall decals. Even beginners can nail this project with basic painting skills.
What you need:
- Blue paint
- White paint
- Painter’s tape
- Stencils (print from online)
3. Super Mario Block Shelves

Turn ordinary storage cubes into recognizable Mario question blocks. These functional shelves add storage while celebrating classic gaming nostalgia. Mount them at different heights for a dynamic 3D effect.
Supply list:
- Cube storage boxes
- Yellow paint
- Black marker
- Mounting brackets
4. Call of Duty Camouflage Wall
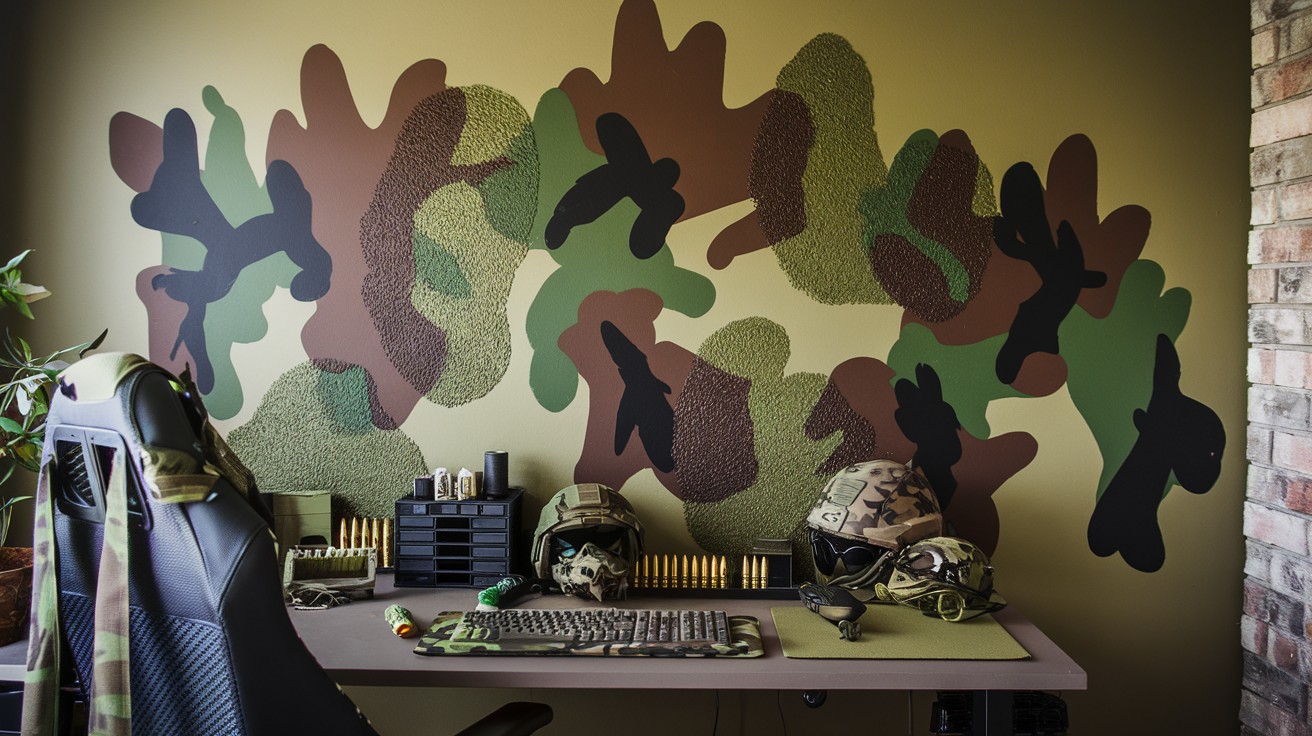
Give one accent wall a military makeover with realistic camouflage patterns. This technique works great behind the gaming setup to create depth and interest. The random sponge method makes it foolproof for any skill level.
You’ll need:
- Green paint (3 shades)
- Brown paint
- Black paint
- Natural sponges
5. Zelda Triforce Headboard

Build a custom headboard that glows with mystical Zelda energy. This project combines woodworking with lighting for a truly remarkable bedroom centerpiece. Wire it to a dimmer for perfect nighttime ambiance.
Materials:
- Plywood triangle
- Gold paint
- Wood screws
- LED rope lights
Furniture Hacks
6. Loft Bed Over Gaming Setup
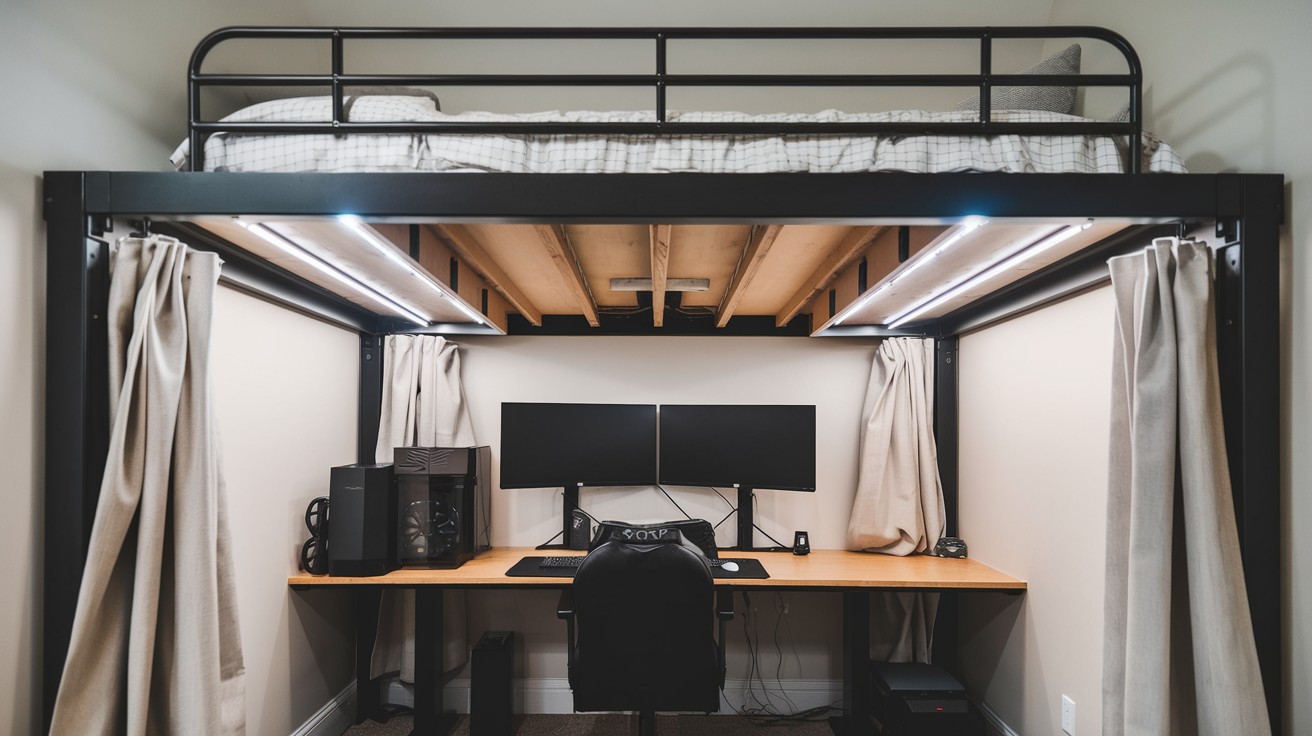
Double your floor space instantly with this smart vertical solution. A loft bed creates a private sleeping area while freeing up valuable gaming real estate below. This hack works especially well in smaller bedrooms where every square foot counts.
Basic steps:
- Buy loft bed kit
- Position over desk area
- Add privacy curtains
- Install LED strips underneath
7. Console Tower from Old Dresser
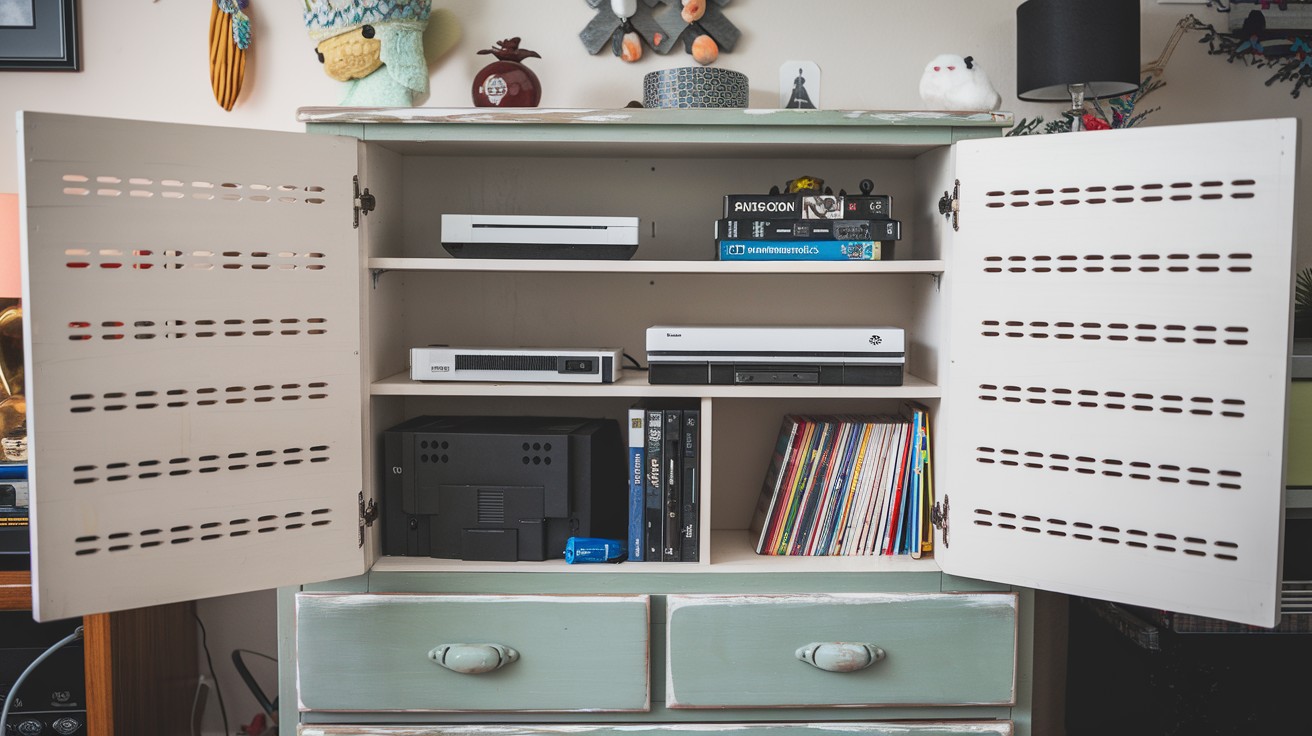
Transform that old dresser into a professional gaming console display. This upcycling project saves money while creating custom storage for all gaming systems. Proper ventilation keeps your consoles running cool during marathon gaming sessions.
Process:
- Remove some drawers
- Cut ventilation holes
- Add shelves for consoles
- Paint to match room
8. DIY RGB Gaming Desk

Build a custom desk that rivals expensive gaming furniture stores. This project combines affordable IKEA components with stunning RGB lighting effects. The result looks like it costs thousands but stays within a reasonable budget.
Materials needed:
- Ikea tabletop
- Ikea legs
- RGB LED strips
- Aluminum channels
9. Floating Monitor Shelf
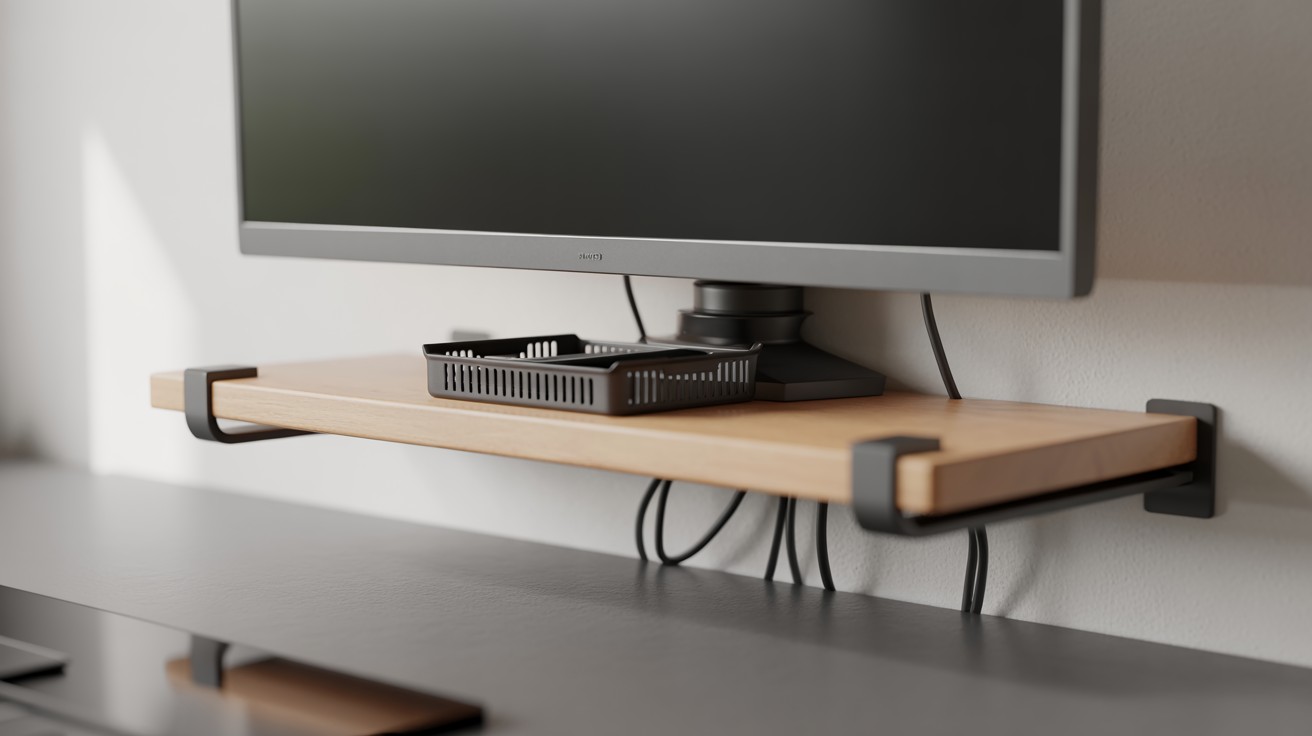
Create more desk space by mounting your gaming monitor on the wall. This modern solution eliminates monitor stands while adding extra storage underneath. Perfect for keyboards, controllers, and other gaming accessories.
Supplies:
- Wall-mount monitor arm
- Floating shelf bracket
- Wood shelf
- Cable management tray
10. Controller Charging Dock
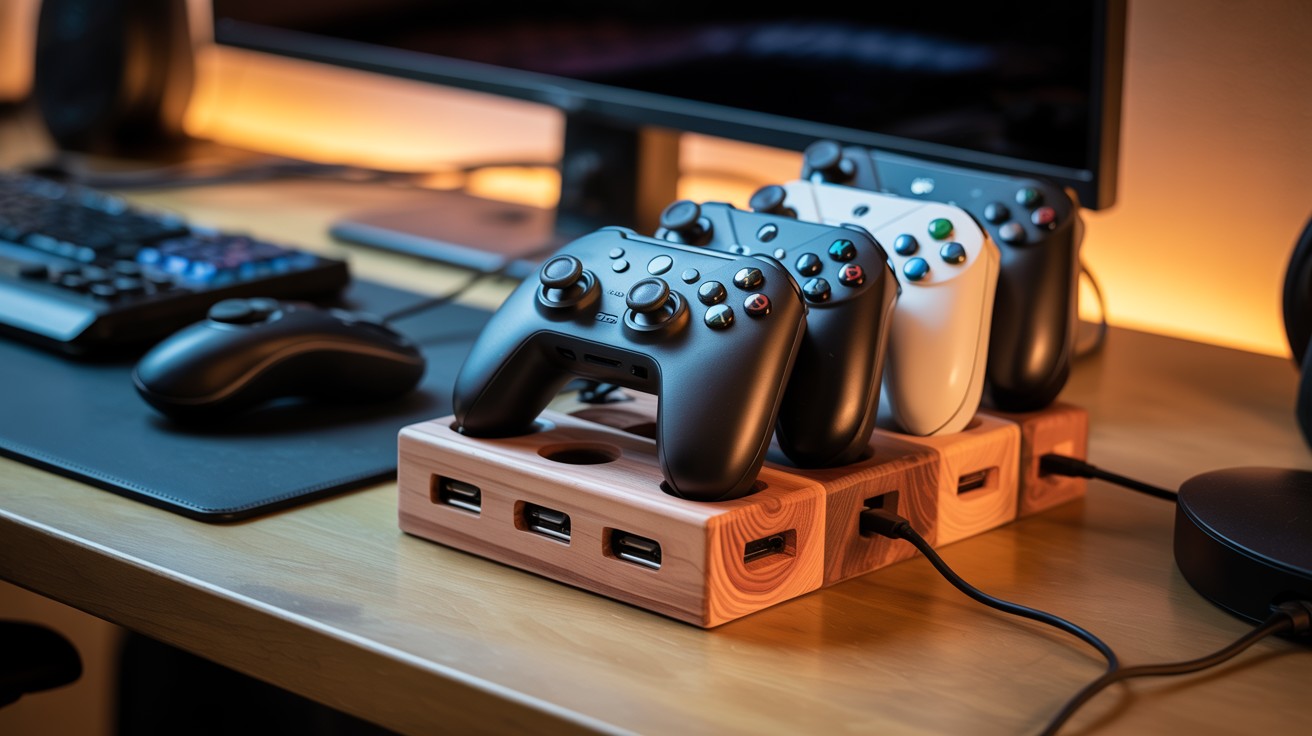
Never deal with dead controllers again with this simple charging station. This project keeps all gaming controllers organized and powered up for action. Customize the size based on how many controllers your family owns.
What you need:
- Small wooden box
- Drill
- USB charging cables
- Foam padding
Lighting & Tech Projects
11. RGB Corner Floor Lamp
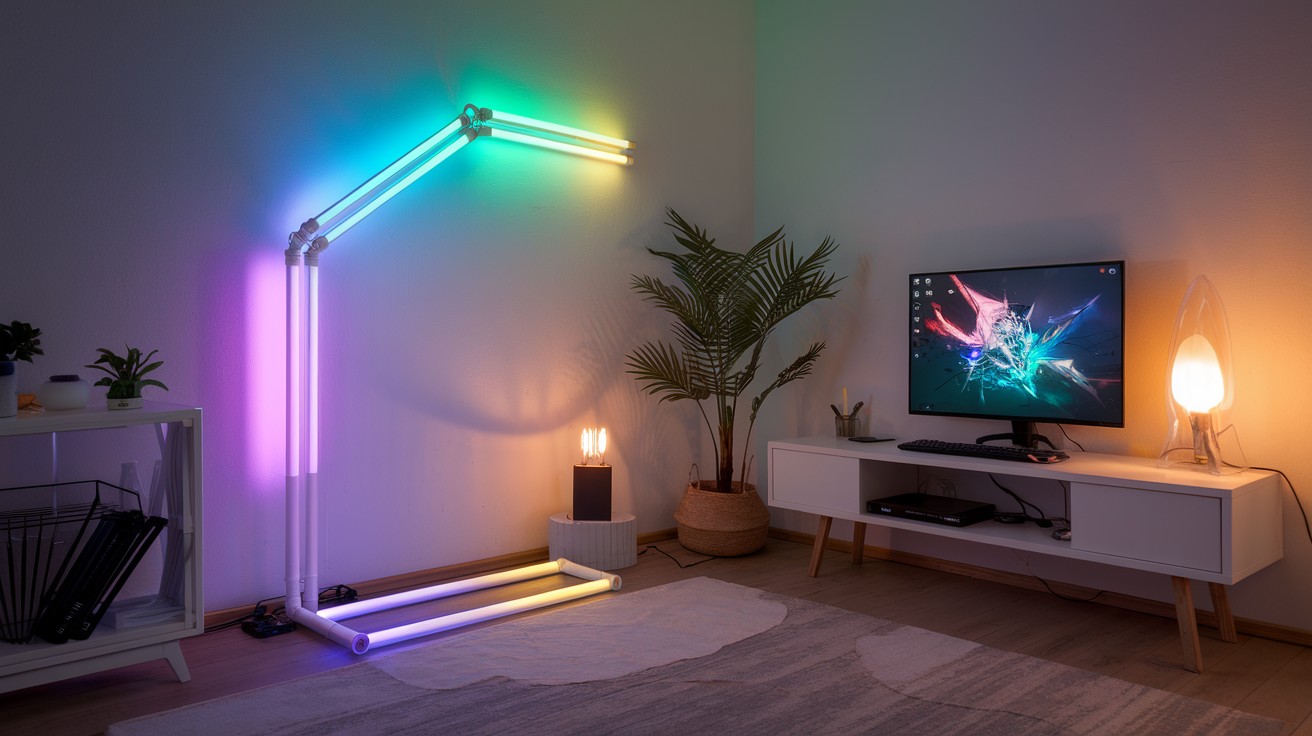
Add dramatic ambient lighting to any gaming corner with this custom floor lamp. The diffused RGB lighting creates the perfect gaming atmosphere without harsh overhead lights. Control the colors with your smartphone for ultimate convenience.
Build it yourself:
- PVC pipe (L-shaped)
- RGB LED strip
- Diffuser tube
- Lamp base
12. LED Strip Ceiling Border
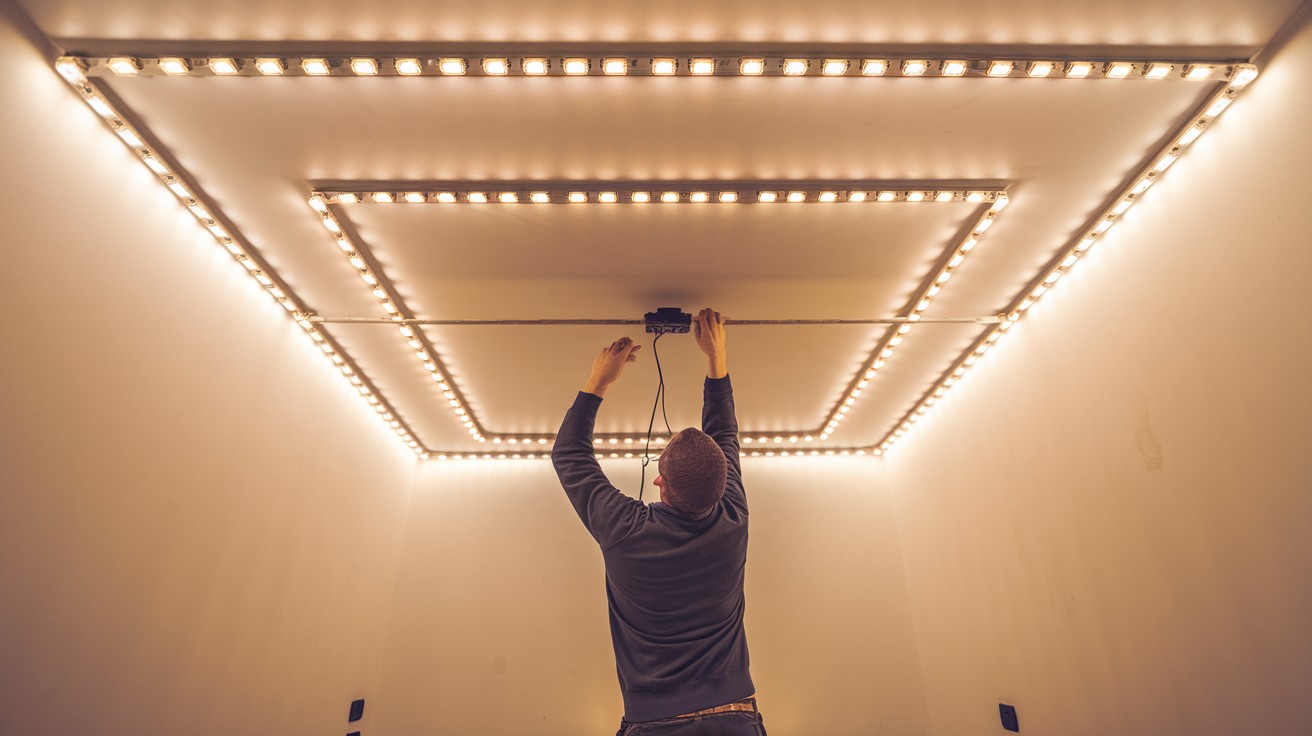
Install professional-looking perimeter lighting around the entire room. This technique makes the ceiling appear higher while providing excellent ambient lighting for gaming. Choose from millions of colors to match any gaming mood.
Installation steps:
- Measure room perimeter
- Install LED channel
- Place LED strips in channel
- Connect to controller
13. Smart Light Panels (DIY Nanoleaf)
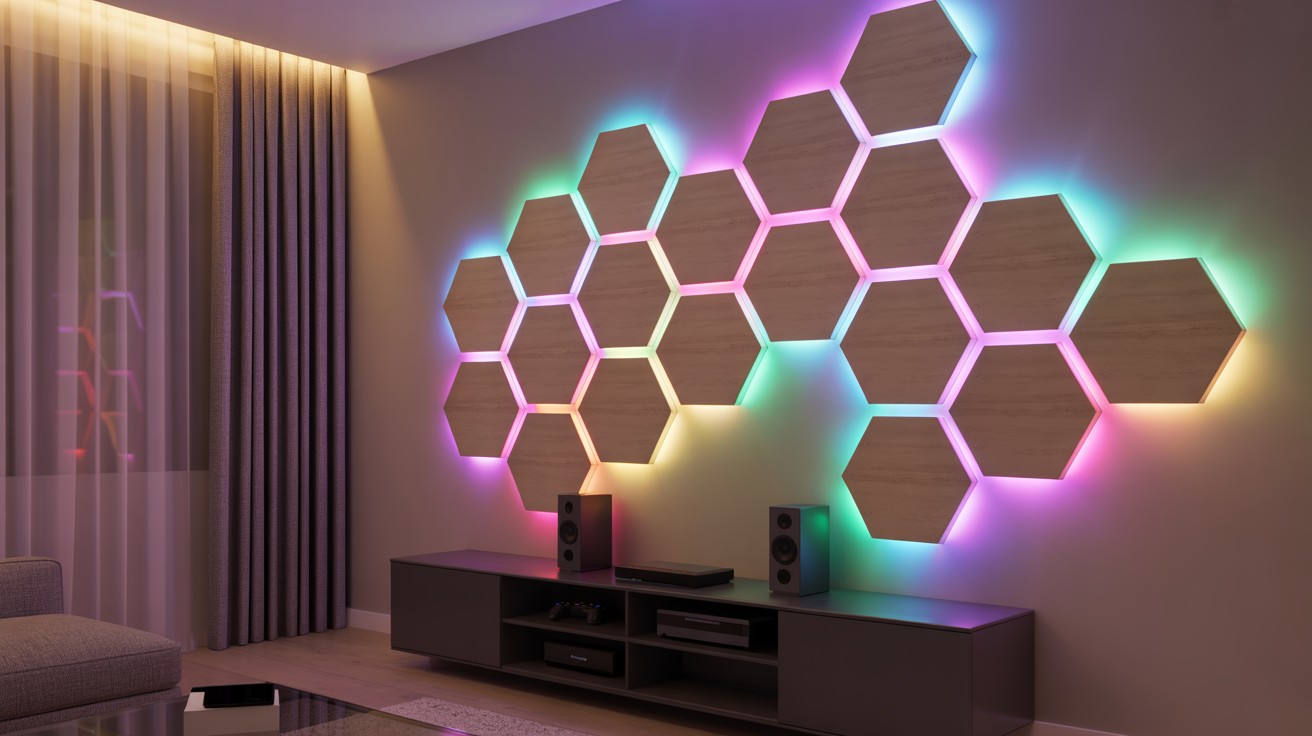
Create your own version of expensive smart lighting panels for a fraction of the cost. These hexagonal panels respond to music and gaming sounds for an immersive experience. Program different lighting scenes for various games and activities.
Materials:
- Hexagonal wood panels
- RGB LED strips
- Smart controllers
- Mounting hardware
14. Sound-Reactive Wall Lights
Build lighting that pulses and changes with your gaming action. This advanced project creates an immersive gaming environment that responds to explosions, music, and sound effects. Your gaming setup becomes a complete sensory experience.
Components needed:
- LED strips
- Sound sensor module
- Arduino controller
- Power supply
15. Projector Wall + Whiteboard Paint

Create the ultimate dual-purpose gaming wall that works for both entertainment and productivity. Paint one wall with whiteboard paint, then mount a ceiling projector for big-screen gaming. Use the same wall for drawing game maps, homework, or planning strategies.
Two-step process:
- Paint wall with whiteboard paint
- Mount ceiling projector
- Add speakers for full experience
Creative Storage Solutions
16. Underbed Rolling Crates
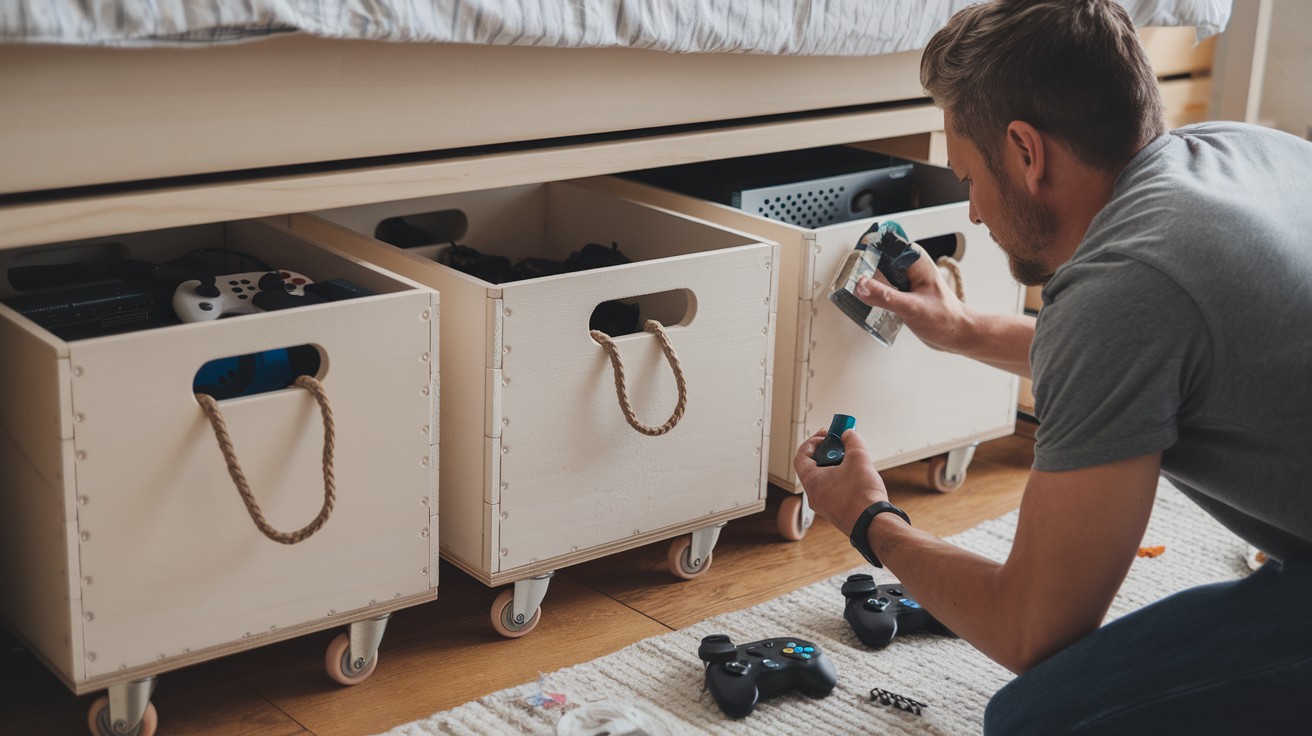
Maximize hidden storage space under the bed with these custom rolling crates. These boxes slide out easily for access but stay hidden for a clean room appearance. Perfect for storing seasonal gaming gear, extra controllers, and game collections.
Simple build:
- Wooden crates
- Caster wheels
- Wood screws
- Handle rope
17. PVC Headphone Hangers
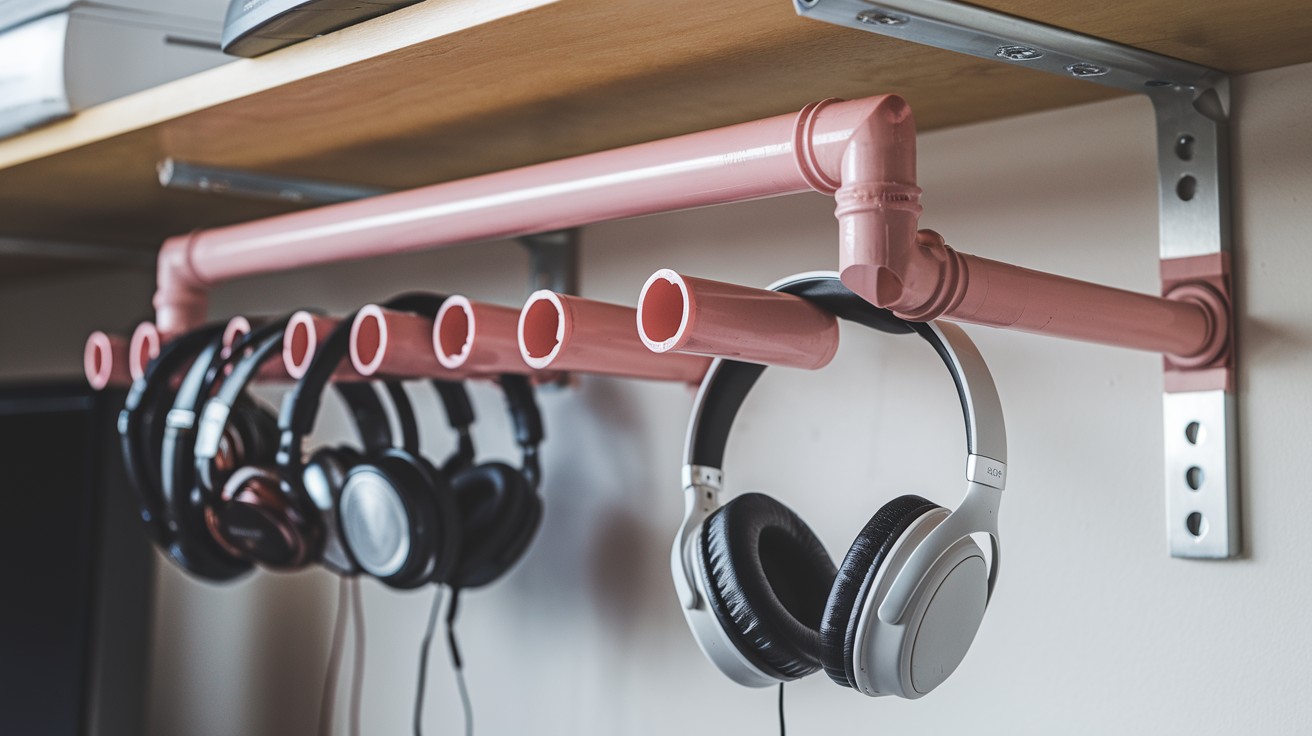
Keep multiple gaming headsets organized and easily accessible with these simple wall hangers. This project prevents expensive headphones from getting damaged or tangled. Mount them under desks or shelves to save counter space.
Materials:
- PVC pipe pieces
- Wall anchors
- Screws
- Sandpaper
18. Wall Grid Organizer

Install a flexible storage system that grows with your gaming collection. Metal grid panels accept different hooks and baskets for ultimate customization. Rearrange the setup anytime without drilling new holes in the walls.
Shopping list:
- Metal grid panel
- Grid hooks
- Grid baskets
- Wall mounting kit
19. Pegboard Gaming Wall
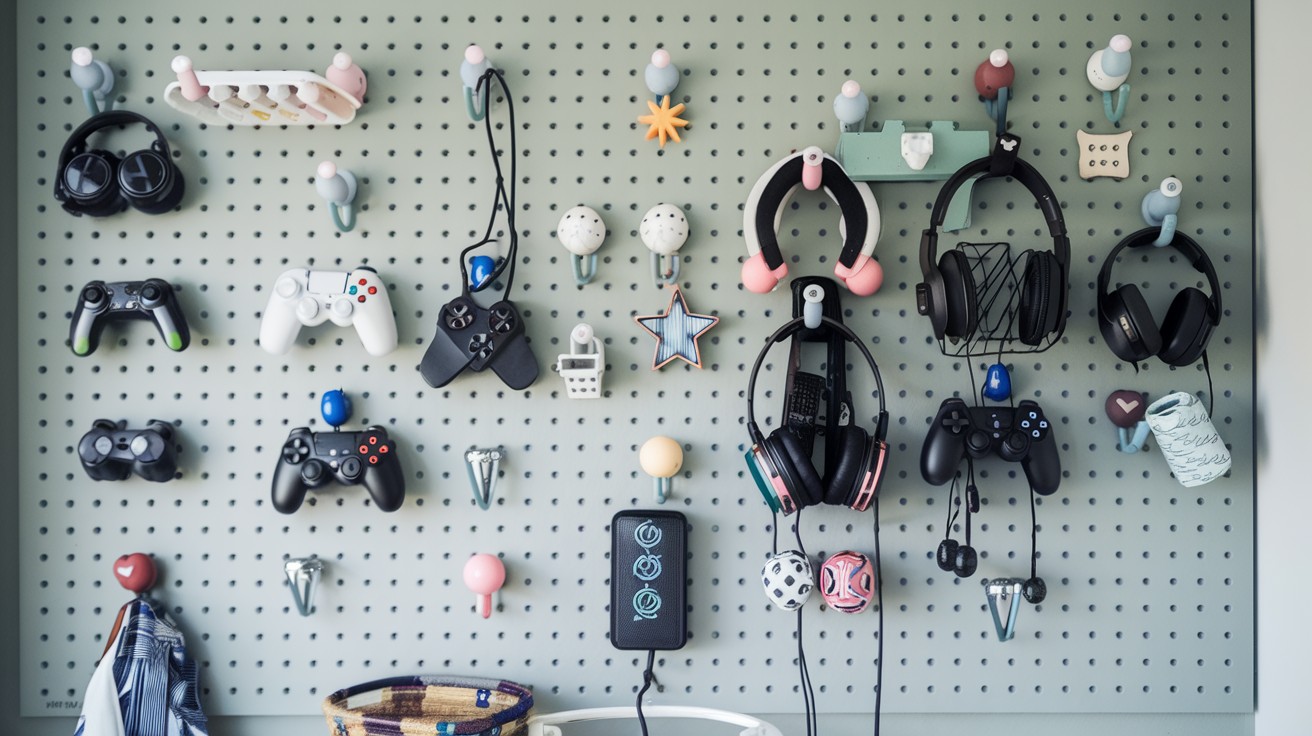
Create a professional gaming gear display that showcases controllers, headsets, and accessories. This classic workshop storage solution works perfectly in gaming bedrooms. Paint the pegboard to match your room’s color scheme for a custom look.
What to buy:
- Pegboard sheet
- Pegboard hooks
- Paint
- Mounting hardware
20. Cube Shelf Display
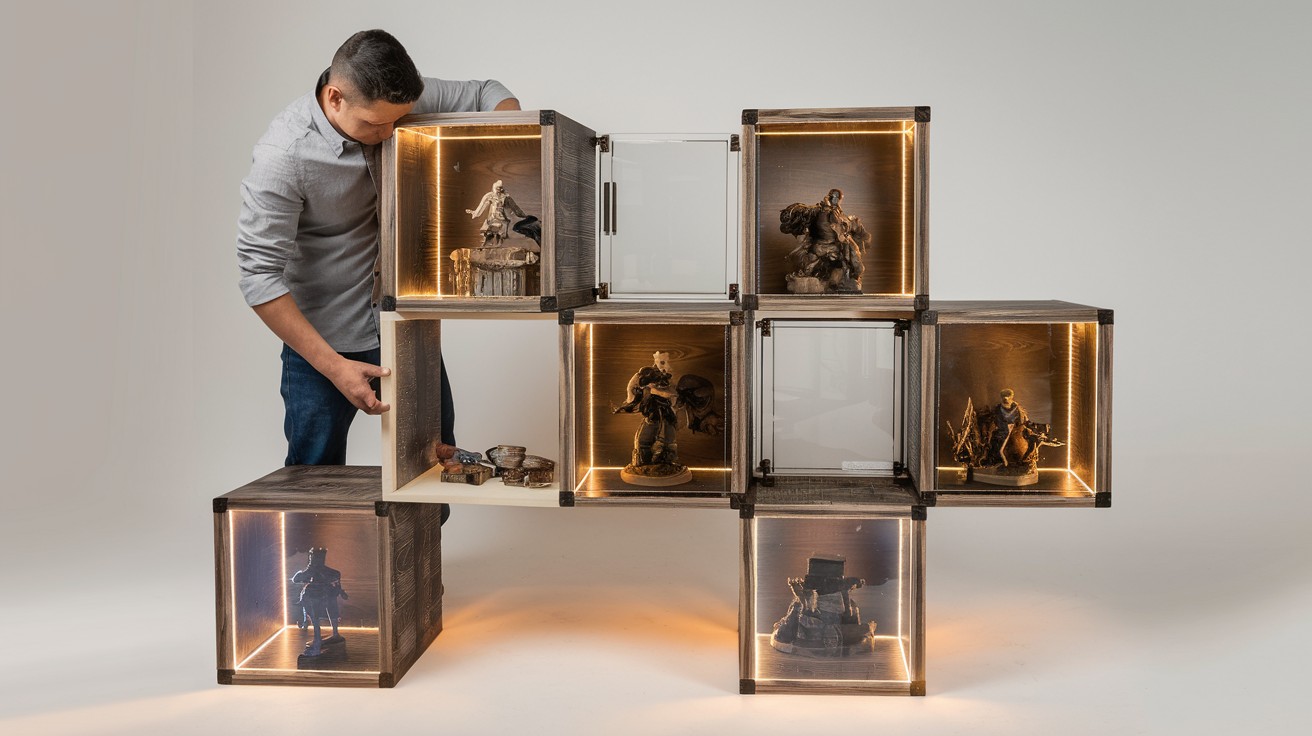
Build an illuminated display case for gaming collectibles and figures. LED strips inside each cube create a museum-quality display for special gaming memorabilia. Add glass doors to keep dust off valuable items while maintaining visibility.
Easy assembly:
- Cube shelving unit
- LED strip lights
- Glass doors (optional)
- Collectible stands
Budget Decor Touches
21. Printable Game Posters
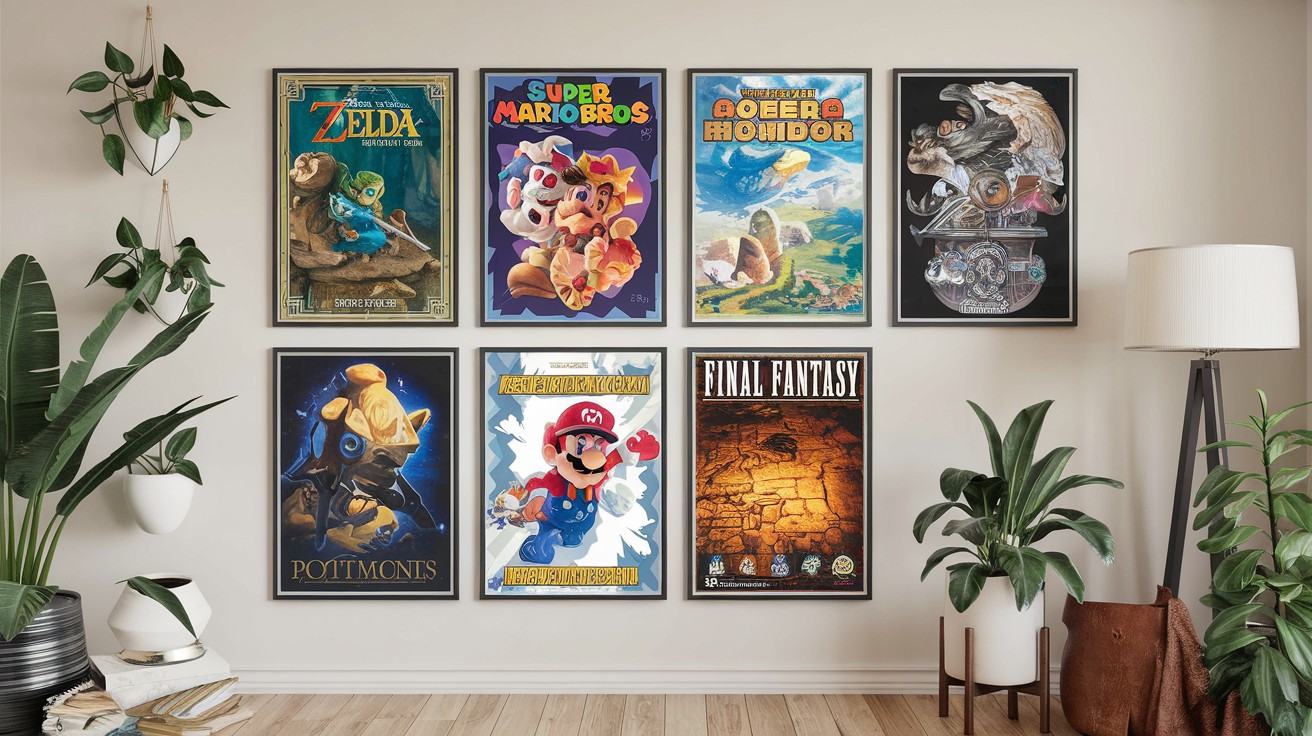
Decorate walls with custom gaming artwork without breaking the budget. Free printable gaming posters are available online from fan sites and official game resources. Frame them or mount on foam board for a professional gallery look.
Free resources:
- Pinterest gaming boards
- Official gaming websites
- Fan art communities
- Gaming forums
22. DIY Gaming Quote Decals
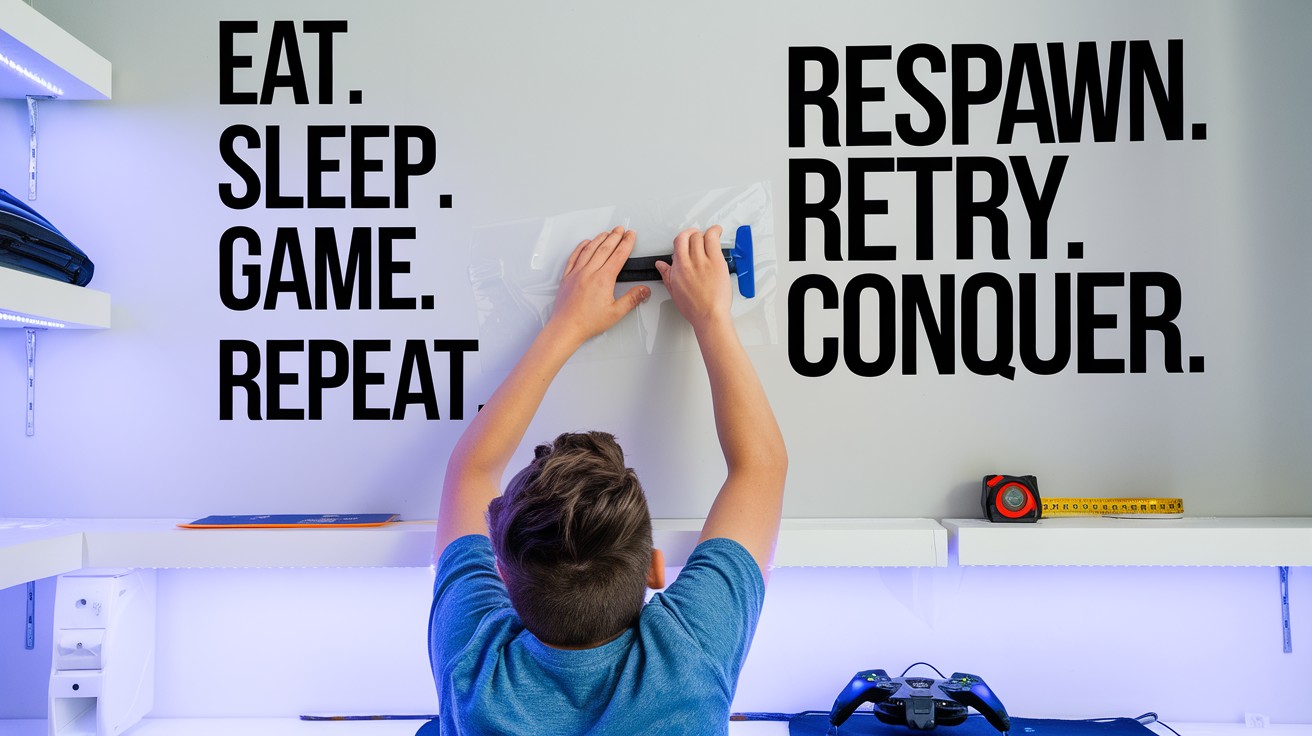
Create removable wall quotes featuring favorite gaming phrases and motivational text. Vinyl decals let you personalize the space with meaningful gaming quotes. Change them out as your son’s gaming interests grow over time.
Make your own:
- Vinyl decal paper
- Cutting machine (or scissors)
- Transfer tape
- Favorite gaming quotes
23. Custom Mouse Pad
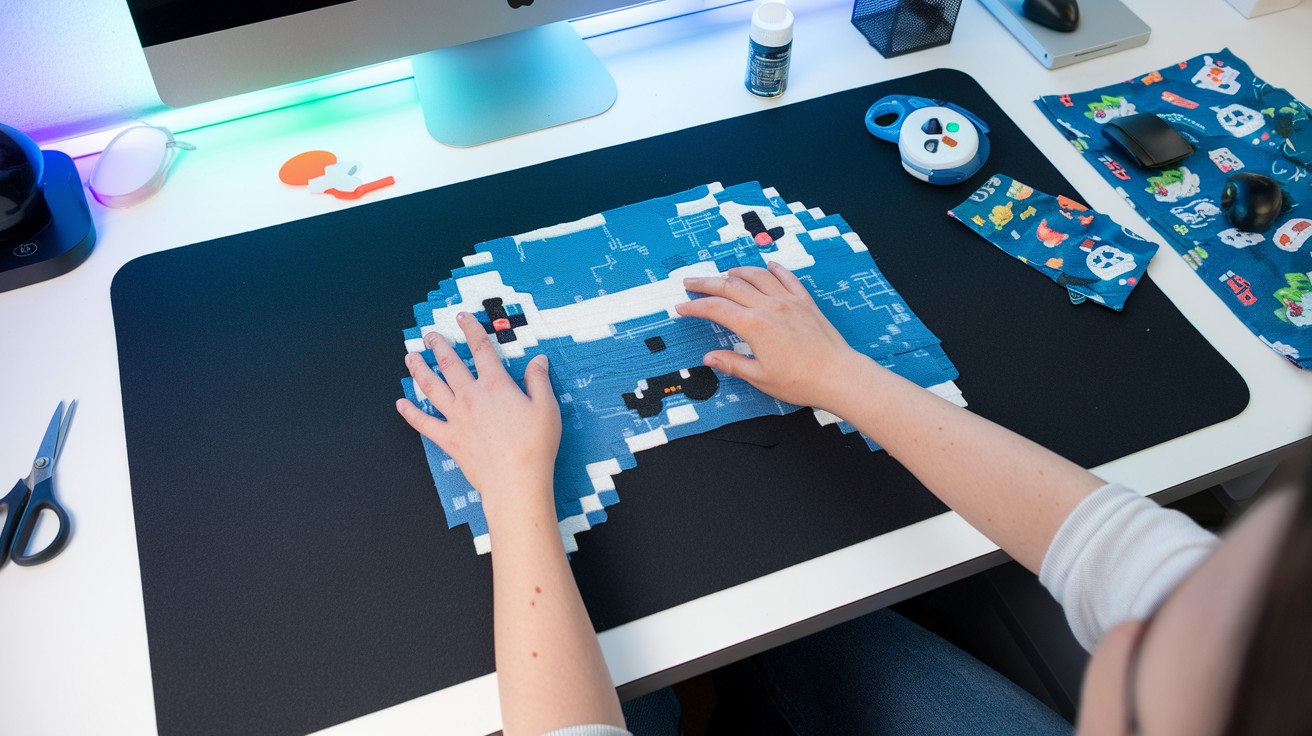
Design a one-of-a-kind mouse pad that perfectly matches the room’s gaming theme. Large fabric mouse pads provide plenty of space for gaming while adding color and personality. Choose fabric that coordinates with other room elements.
Materials needed:
- Large fabric piece
- Rubber backing
- Fabric glue
- Game-themed fabric
24. Painted Rug or Floor Mat
Change a plain area rug into a custom gaming masterpiece with fabric paint and stencils. This project adds comfort underfoot while reinforcing the room’s gaming theme. Seal the paint properly to handle foot traffic and gaming chair wheels.
Supplies:
- Plain rug
- Fabric paint
- Stencils
- Brushes
25. Plush Wall Panels
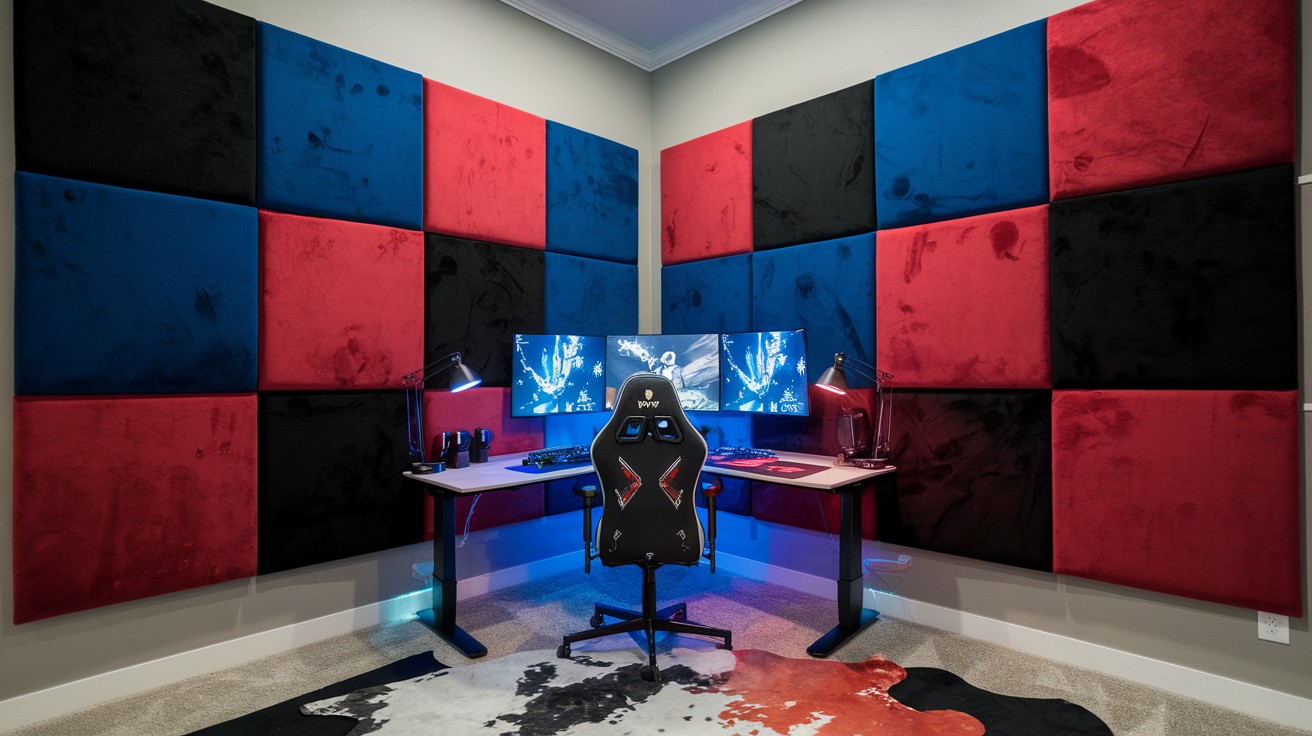
Add texture and soundproofing with soft fabric wall panels. These padded panels reduce echo while creating a cozy gaming atmosphere. Button tufting adds an upscale look that rivals expensive acoustic panels.
Soft touch:
- Foam padding
- Fabric covering
- Wall mounting strips
- Button tufting
Interactive & Fun Additions
26. Rolling Snack Bar
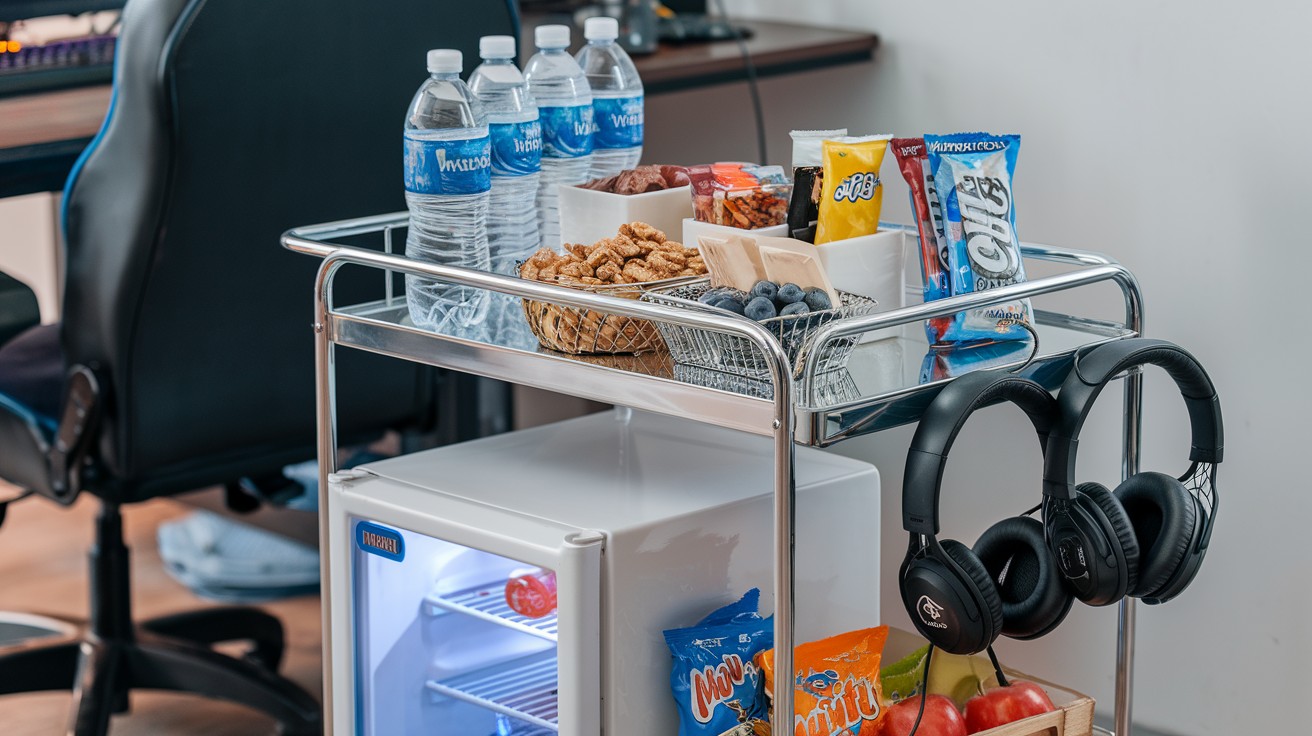
Keep gaming fuel within arm’s reach with a dedicated snack station on wheels. This mobile cart eliminates kitchen trips during intense gaming sessions while keeping the main desk clear. Stock it with healthy gaming snacks and plenty of water.
Build components:
- Small rolling cart
- Mini fridge (optional)
- Snack containers
- Cup holders
27. Multiplayer Dry-Erase Scoreboard
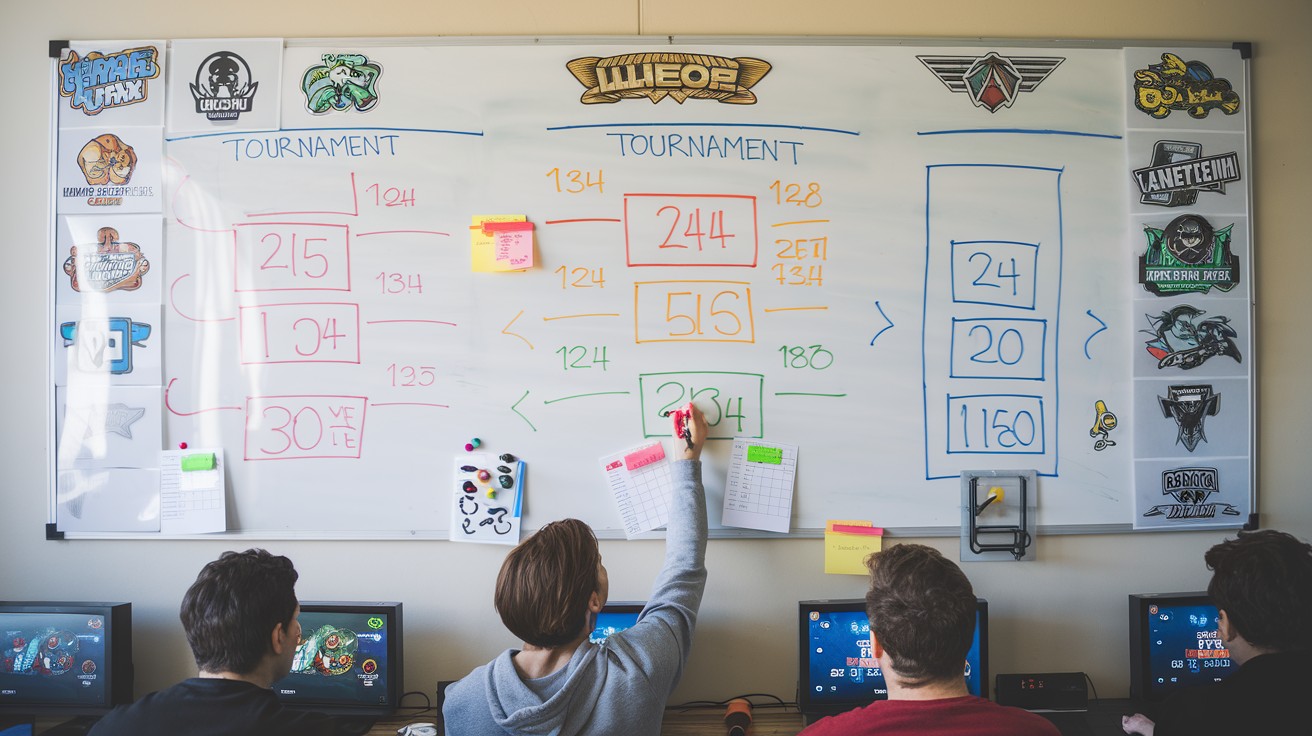
Track gaming achievements, tournament brackets, and high scores on a dedicated scoreboard wall. This interactive element adds competitive fun to multiplayer gaming sessions. Create templates for different types of games and competitions.
Materials:
- Large whiteboard
- Colored markers
- Scorekeeping templates
- Wall mounting kit
28. Custom Gaming Chair Mat
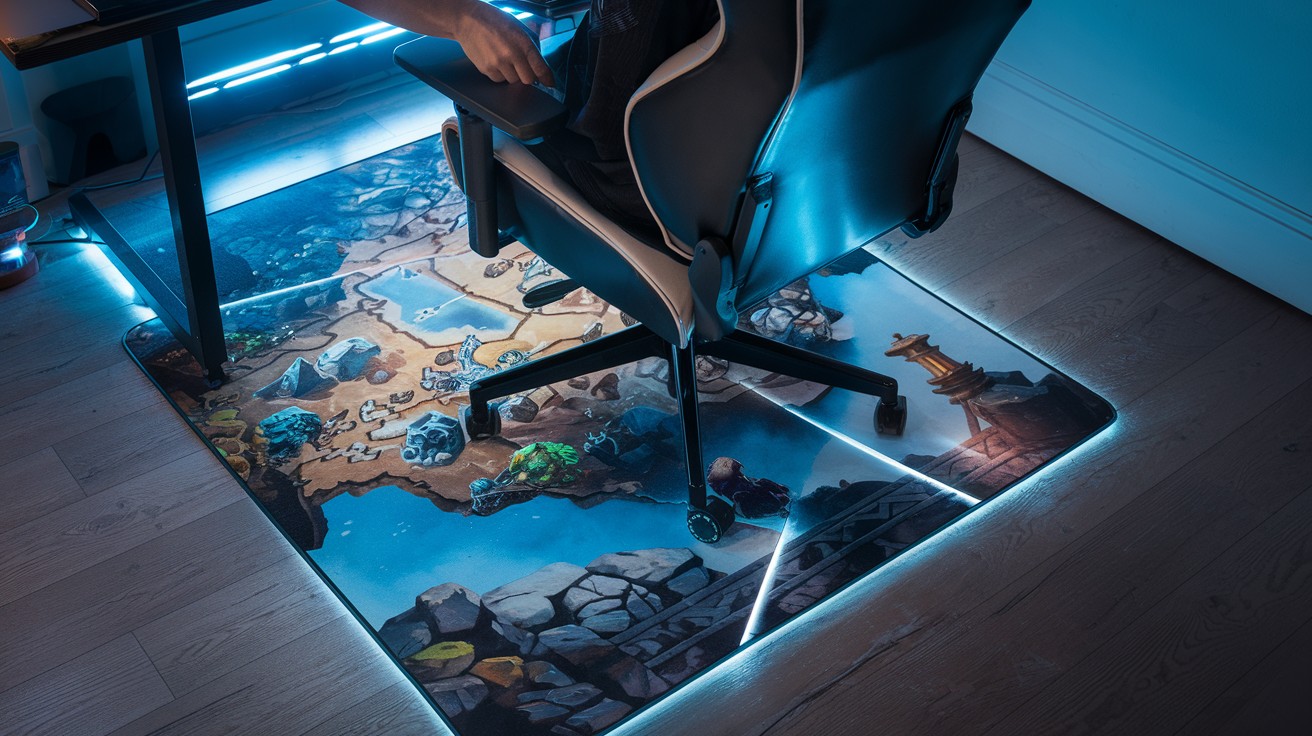
Protect flooring while adding gaming style with a personalized chair mat. Clear mats let you showcase custom artwork underneath while preventing damage from rolling gaming chairs. Choose images that complement the overall room design.
Protection plus style:
- Clear chair mat
- Printed gaming image
- Laminating sheets
- Double-sided tape
29. Glow Paint Wall Art
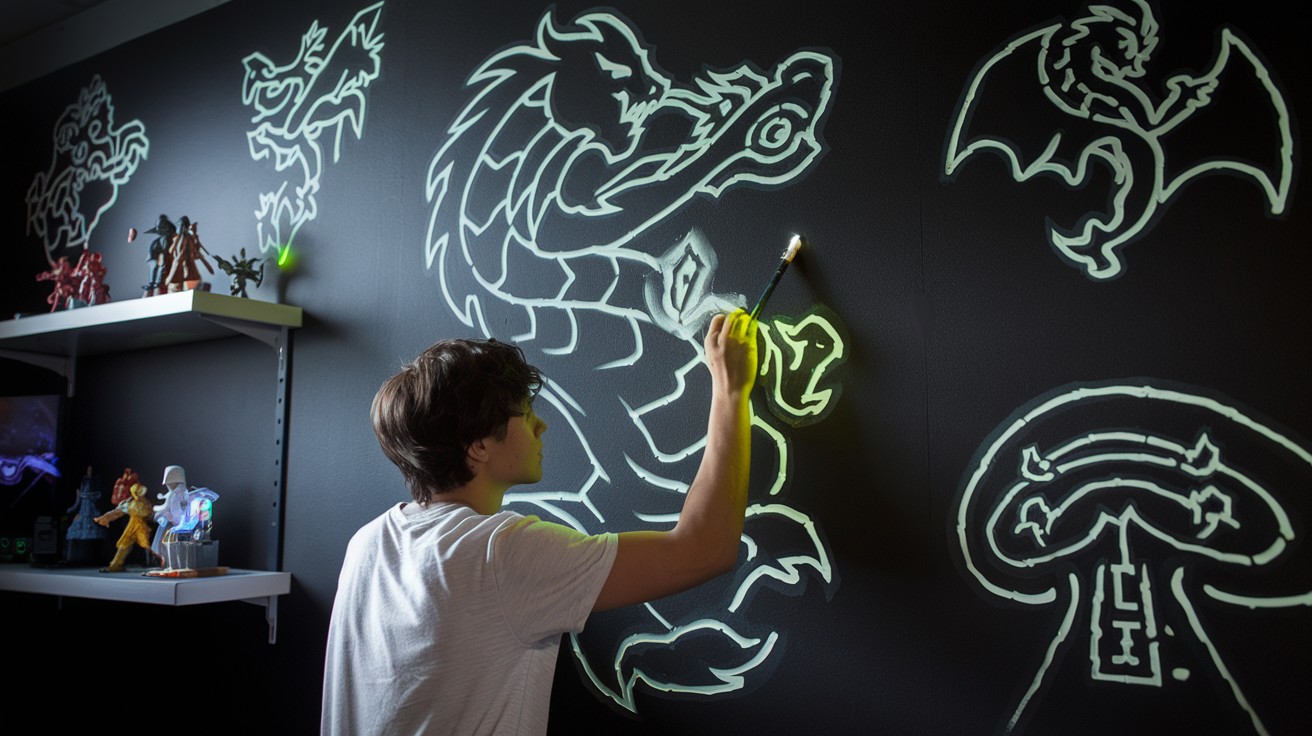
Create artwork that reveals hidden gaming scenes in the dark. Glow-in-the-dark paint adds mystery and excitement to the gaming space. Use black lights to charge the paint for maximum glow effect during late-night gaming sessions.
Glowing artwork:
- Glow-in-the-dark paint
- Black light
- Stencils or freehand
- Regular paint for base
Final Touches: Personalize It
Make it truly his:
- Display favorite game achievements
- Add photos from gaming events
- Include handmade artwork
- Use his gamertag in decorations
Remember: This is his space. Let him help with decisions.
Most important rule: Function comes before looks. If it doesn’t work for gaming, it doesn’t belong.
Conclusion
You now have everything needed to build an amazing DIY boy gaming bedroom. No guesswork. No expensive mistakes.
Start with these priorities:
- Gaming setup and desk
- Smart storage solutions
- Basic lighting
Then add the fun stuff:
- Themed decorations
- Custom furniture hacks
- Interactive elements
Build over time. Start with essentials. Add personality projects later.
Most important: Let your son help with decisions. This is his space.
Take photos of your build process. He’ll treasure these memories forever. You’ve got this. Thousands of parents have used these exact methods. Your son’s dream gaming room is just one weekend away.
Time to start building something awesome together!
Frequently Asked Questions
What’s the minimum budget for a DIY boy gaming bedroom?
You can start with just $200 for basic essentials like LED strips, paint, and storage boxes. A complete makeover typically costs $500-800 when you do it yourself.
How do I choose the right gaming theme for my son’s room?
Ask your son to pick his top 2 favorite games, then base the room around those themes. Avoid mixing too many different game styles – it looks messy and costs more.
Can I soundproof a gaming bedroom without major construction?
Yes, use soft furnishings like thick curtains, area rugs, and foam panels on walls. These simple additions can reduce gaming noise by 60-70% without any construction work.
What safety concerns should I watch for in a gaming bedroom?
Keep all power strips off the floor and use cable management to prevent tripping hazards. Make sure any mounted shelves or furniture can handle the weight they’ll carry.
How long does it take to complete a DIY gaming bedroom makeover?
Plan for 3-4 weekends for a basic transformation, or 6-8 weekends for a complete custom build. You can spread the work over several months to fit your schedule.