One of my first DIY projects was building a bird feeder pole. There’s something peaceful about watching birds flutter around the yard, but the constant battle with squirrels stealing food and making a mess was frustrating. I needed a solution that would keep the feeders safe while still attracting plenty of birds.
That’s when I decided to build my own bird feeder pole from scratch. Not only did it solve the squirrel problem, but it also created a dedicated, secure space for birds to gather. The best part? It was much easier to build than I expected, and the results were incredibly rewarding.
If you want to enjoy bird watching without the hassle of pests, this DIY project is the perfect solution. In this guide, I’ll walk you through the entire process, sharing practical tips to help you create a sturdy, squirrel-proof feeder pole for your backyard.
Materials Selection for the DIY
View this post on Instagram
When it comes to a DIY bird feeder pole, the right materials are crucial. The pole itself needs to be sturdy and durable enough to hold multiple feeders without swaying or breaking.
I chose a PVC pipe because it’s lightweight, cost-effective, and easy to work with. However, if you’re looking for something even more robust, a metal pole can work just as well, though it might be slightly heavier.
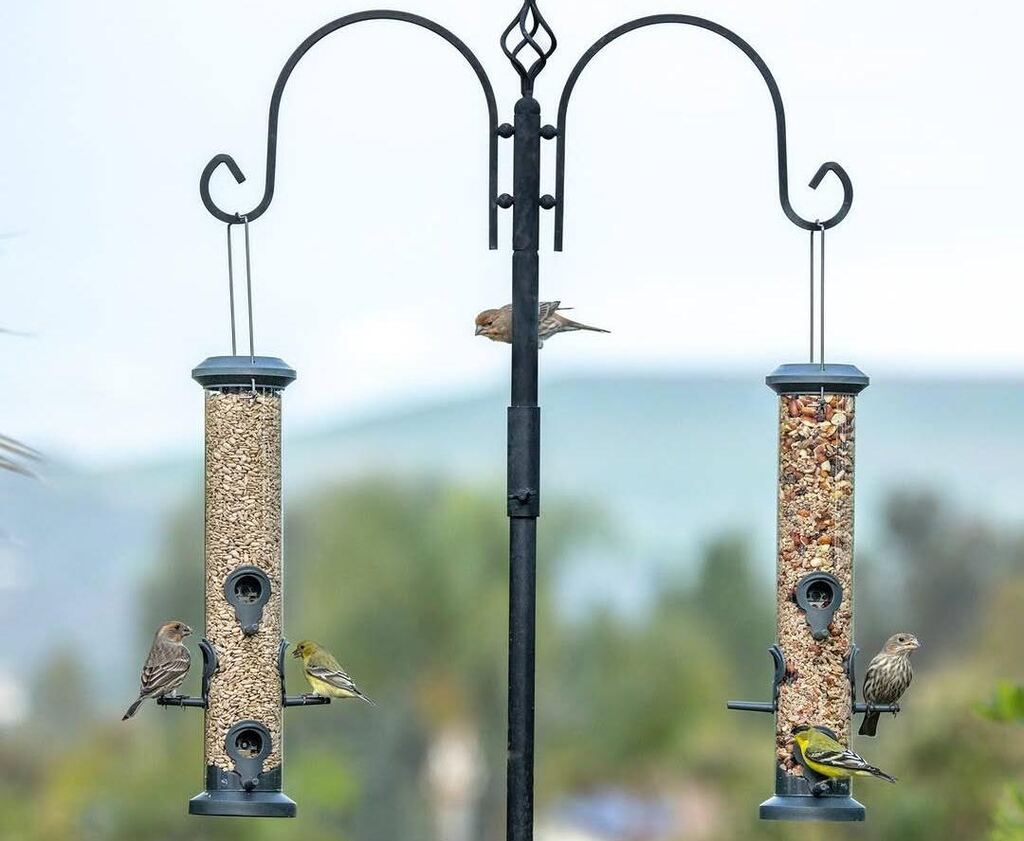
For the bird feeders, I settled for a mix of varieties: a tube feeder for finches, an elevated platform feeder for the larger birds, and a suet cage for woodpeckers.
The great advantage of creating a homemade bird feeder pole is that it’s able to be customized to provide for the needs of the local bird populations. This time, I gathered screws, a drill, and some concrete to securely anchor the pole.
Planning the Location
The placement of your homemade bird feeder pole is very important. If you position it too close to trees or shrubs, squirrels can easily jump on the feeders.
This is exactly what happened with my previous installation. Ideally, you want the pole in a place that is in your line of sight from the window or porch, so you can watch the birds as well.
I put mine in the center of my garden, far away from low-hanging branches and at least 10 feet away from the closest tree. The location allowed for a clear view and protected the birds from potential predators, particularly squirrels, which were frequently seen trying to get close.
Ideally, it should be installed 5-6 feet high above the ground. This will give you easy access to refill the feeders while also being high enough to stop most predators from getting to the food.
Preparing the Pole End
Once I prepared my materials, I started cutting the PVC pipe to the appropriate height. In the case of this DIY bird feeder pole, I went with 6 feet high, which happens to be the best fit for the multiple feeders as well as creating a comfortable feeling among the birds as they feed there.
I cut the PVC pipe with a hacksaw, making sure the cut was straight. You should measure twice and cut once, especially when working with PVC, because if you mess up, it could make the pole unstable or even aesthetically unpleasing.
After cutting the pipe, I sanded the edges smooth to avoid injuring the birds.
Drilling Holes for the Feeders
The next step in the DIY bird feeder pole project was to drill holes where the feeders would hang. This is one of the most important parts of the process, as you want to make sure the holes are evenly spaced and at the right height for easy access.
I used a drill to make small holes along the pole, making sure to space them about 12 inches apart. This distance allows the birds enough room to feed without crowding each other.
For the tube feeder, I drilled two small holes for the hooks. For the platform feeder, drilled a larger hole to accommodate a sturdy bracket. I also drilled extra holes for perches, giving the birds a safe place to sit while they snack.
Securing the Pole
At this stage, I had a cut, drilled, and prepared pole but needed to insert it into the ground. The most important thing when setting up a DIY bird feeder pole is ensuring that it is stable and won’t fall over, especially with multiple feeders hanging from it.
I supported the pole at the bottom end with a concrete base. I decided to add substantial support to the column structure since heavy winds hit the area quite regularly.
We dug a hole in the ground that was eighteen inches deep from the spot I wanted to put the pole. Then, after inserting the pole,we surrounded the bottom with a concrete mix and left it to harden for 24 hours.
If you do not want to work with concrete, you can use a planting post or a metal stake, but I have found that a concrete base works best in ensuring that the pole stays upright during harsh weather conditions.
Assembling the Bird Feeders
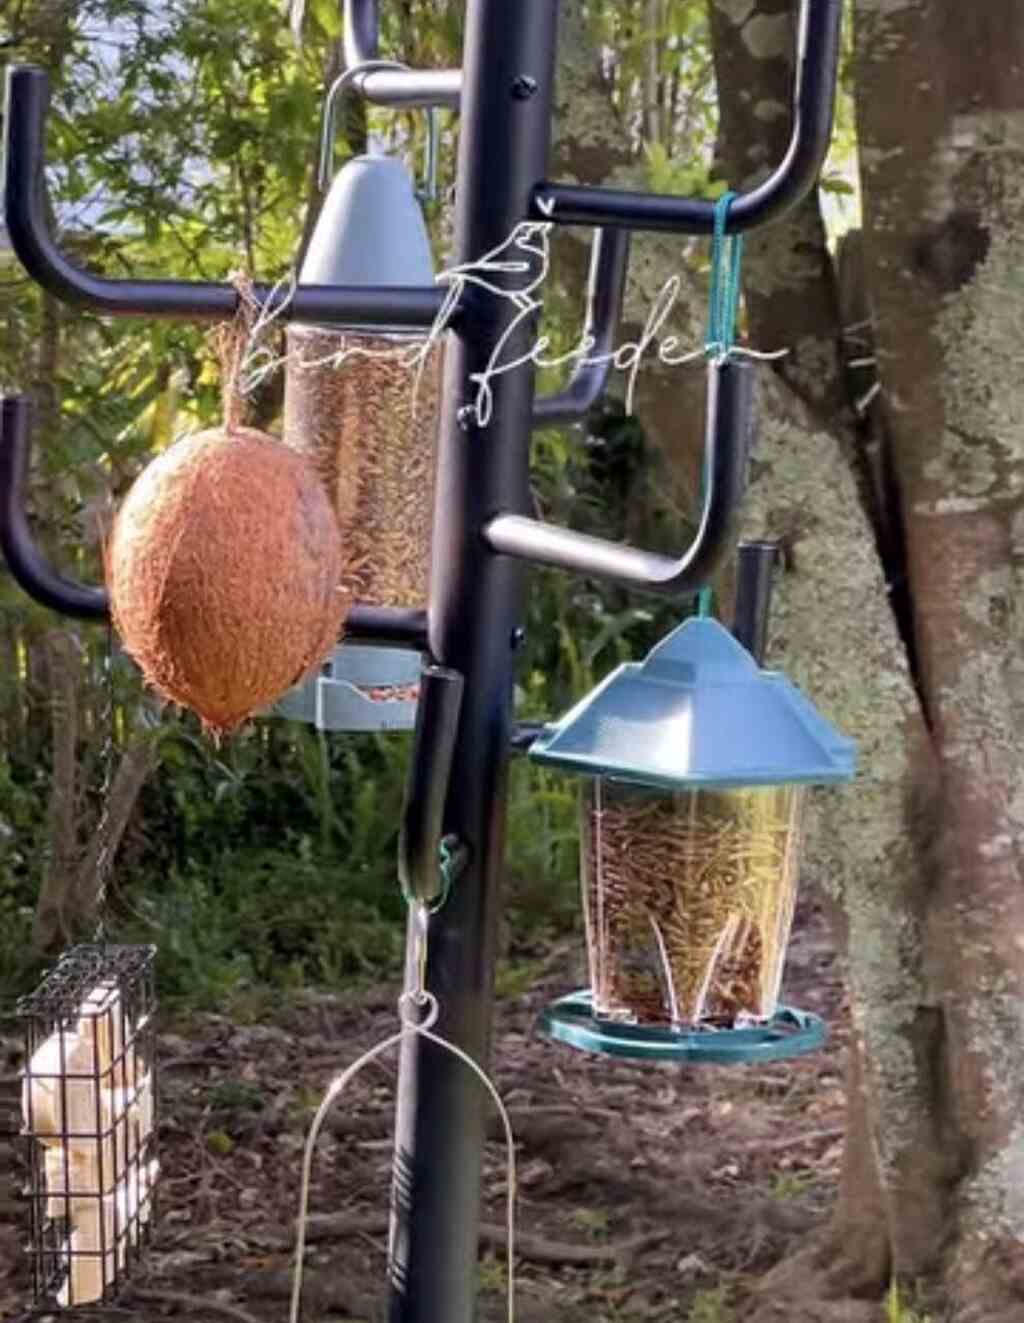
I mounted the bird feeders after securing the pole. This part was a lot of fun because I got to choose the types of feeders that would attract the widest variety of birds.
We mounted a tube feeder for small songbirds, a platform feeder for larger birds like cardinals and sparrows, and a suet cage for attracting woodpeckers.
I used small metal hooks to attach the feeders to the drilled holes, making sure they were secure but still easy to remove when needed. As your needs change, you can add or remove feeders, which is a great feature of this pole.
Filling and Maintaining the Feeders
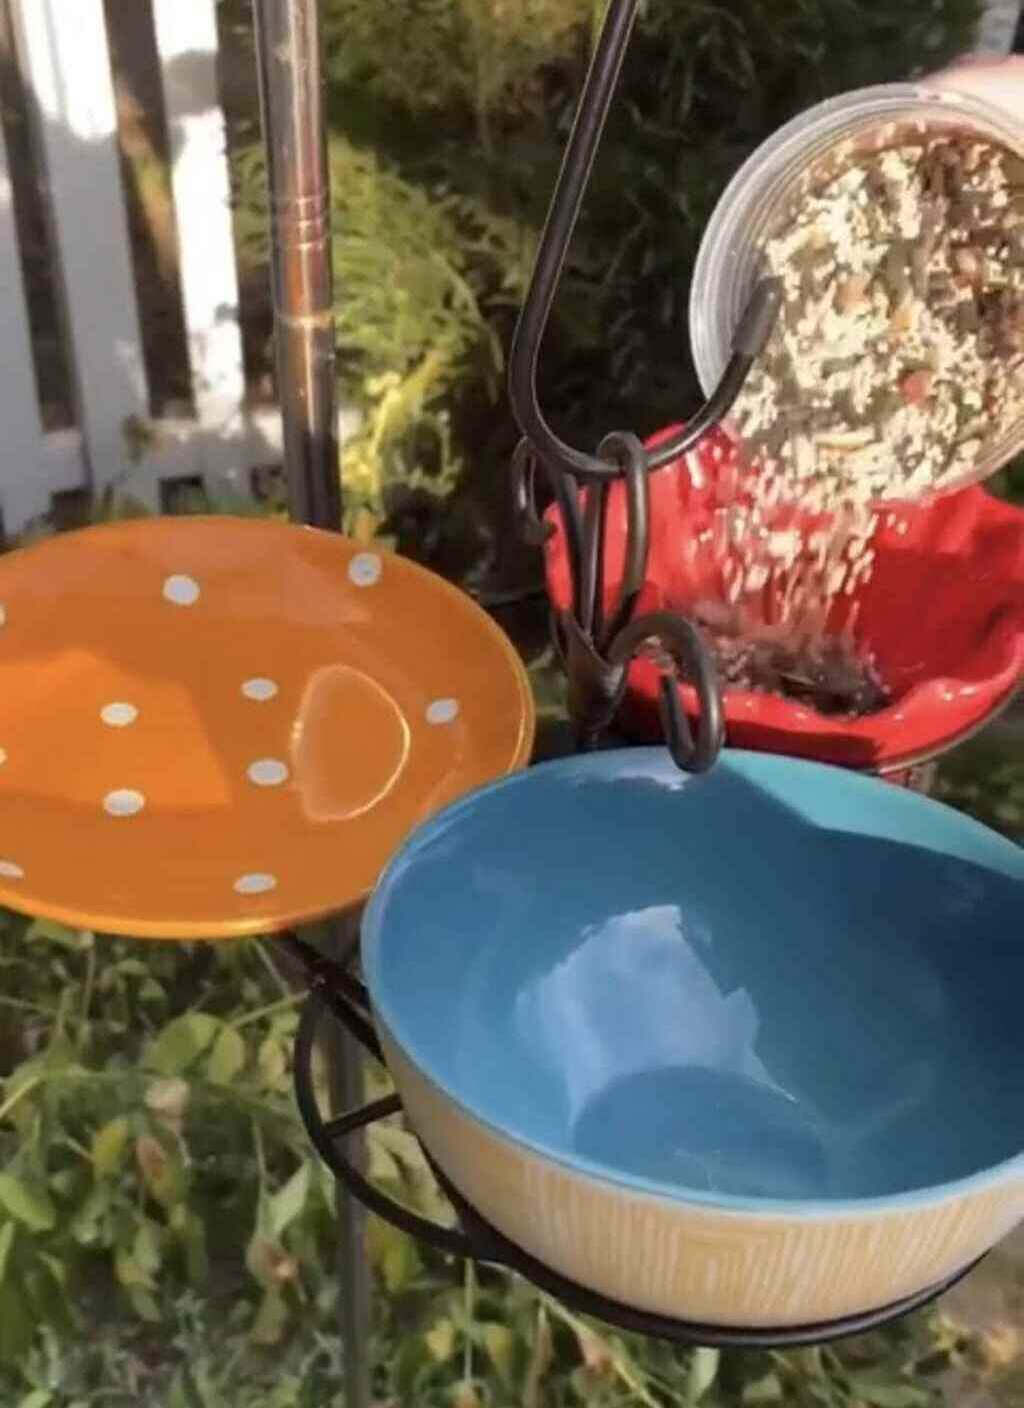
Now for the good part: filling the feeders. I filled the tube feeder with thistle seeds, which are a favorite among finches, and the platform feeder with a combination of sunflower seeds and cracked corn.
The suet cage got its block of suet to entice woodpeckers, chickadees, and nuthatches. I made sure that the feeders got filled in the morning, so the birds have something fresh and ready to dine on when they are most active.
Keeping the pole of the DIY bird feeder clean is essential to attract more birds and ensure that the birds remain healthy. I clean the feeders frequently, especially during the warmer months when mold develops rapidly.
I also check the poles and feeders for damage after storms or strong winds. Replenishing the birdseed is something I do every couple of days, especially in the winter when the birds rely on feeders for survival.
Tips for Attracting More Birds
The secret to making your DIY bird feeder pole a bird hotspot is variety. Offering a variety of seeds and suet types will help draw in a greater number of species, as different birds have different food preferences.
You might also want to experiment with different types of bird feeders to see which ones your local birds prefer. In addition to food, water is another essential aspect of attracting birds.
I installed a birdbath near my DIY bird feeder pole, which quickly became a popular spot for birds to drink and bathe. Birds need clean water just as much as they need food, especially during dry spells and in the winter.
Conclusion
Building a DIY bird feeder pole has been one of the most enjoyable and fulfilling DIY projects I’ve ever undertaken.
Not only is it an affordable way to attract a variety of birds to your garden, but it’s also incredibly rewarding to see them come and go, knowing you’ve created a safe space for them to feed.
By following these steps and customizing your pole to suit your backyard, you’ll be able to enjoy birdwatching year-round and make a meaningful contribution to local wildlife. I highly encourage anyone interested in birdwatching or gardening to give this DIY bird feeder pole a try—you won’t regret it!
FAQs about DIY Bird Feeder Pole
1. What materials are best for making a DIY bird feeder pole?
PVC pipe can be lightweight and less expensive, but metal poles are more durable in harsh weather. Wood can also be used if a rustic look is desired, but it will need to be maintained further to prevent rot. The material should withstand the outdoor conditions your feeder will be in, which should be able to support your feeders.
2. How can I keep squirrels from getting on my home-made bird feeder pole?
Position the pole as far away from trees or other structures that the squirrels may jump from as possible. Baffles around the pole can also deter them from climbing. Alternatively, using squirrel-proof feeders can deter them from coming in.
3. How often do I clean my DIY bird feeder pole feeders?
Feeders should be cleaned at least once every two weeks to avoid the growth of mold and bacteria. During wet or humid weather, cleaning should be done more often. This helps ensure that birds are consuming fresh, safe food.
4. Can I make a homemade bird feeder pole with multiple levels or hanging spots?
Yes. With this design, you can quickly make a multi-tiered bird feeder pole. Simply set up various feeder types at varying heights, such as suet cages, tube feeders, and platform feeders. Be sure to space them out properly for a good balance and easy access.


