
In this blog, I will show you how to build stylish and functional DIY bar shelves that will transform your home bar into a showstopper. Whether you’re a cocktail enthusiast or just love a well-organized space, the right shelves can make all the difference.
For this project, we’ll be working with a fixed measurement of 36 inches (width) x 10 inches (depth) x 12 inches (spacing between shelves). This site provides ample storage for liquor bottles, glassware, and decorative elements while fitting seamlessly into most home bars or kitchen nooks.
Forget overpriced store-bought options—these DIY shelves will be customized to your style, budget-friendly, and surprisingly easy to make! I’ll walk you through everything from material selection to installation tips, so by the end of this post, you’ll have beautifully crafted shelves ready to impress your guests. Let’s get started.
7 Steps to Build DIY Bar Shelves (36” W x 10” D x 12” Spacing)
Materials Required for DIY Bar Shelves
Wood & Hardware:
- Wood planks (36” W x 10” D)
- Wall brackets (2+ per shelf)
- Screws & wall anchors
- Wood screws
Finishing:
- Sandpaper (120 & 220 grit)
- Wood stain/paint
- Polyurethane sealant
Tools Needed:
- Drill & bits
- Level
- Tape measure
- Stud finder
- Paintbrush/cloth
Step 1: Gather Materials & Tools
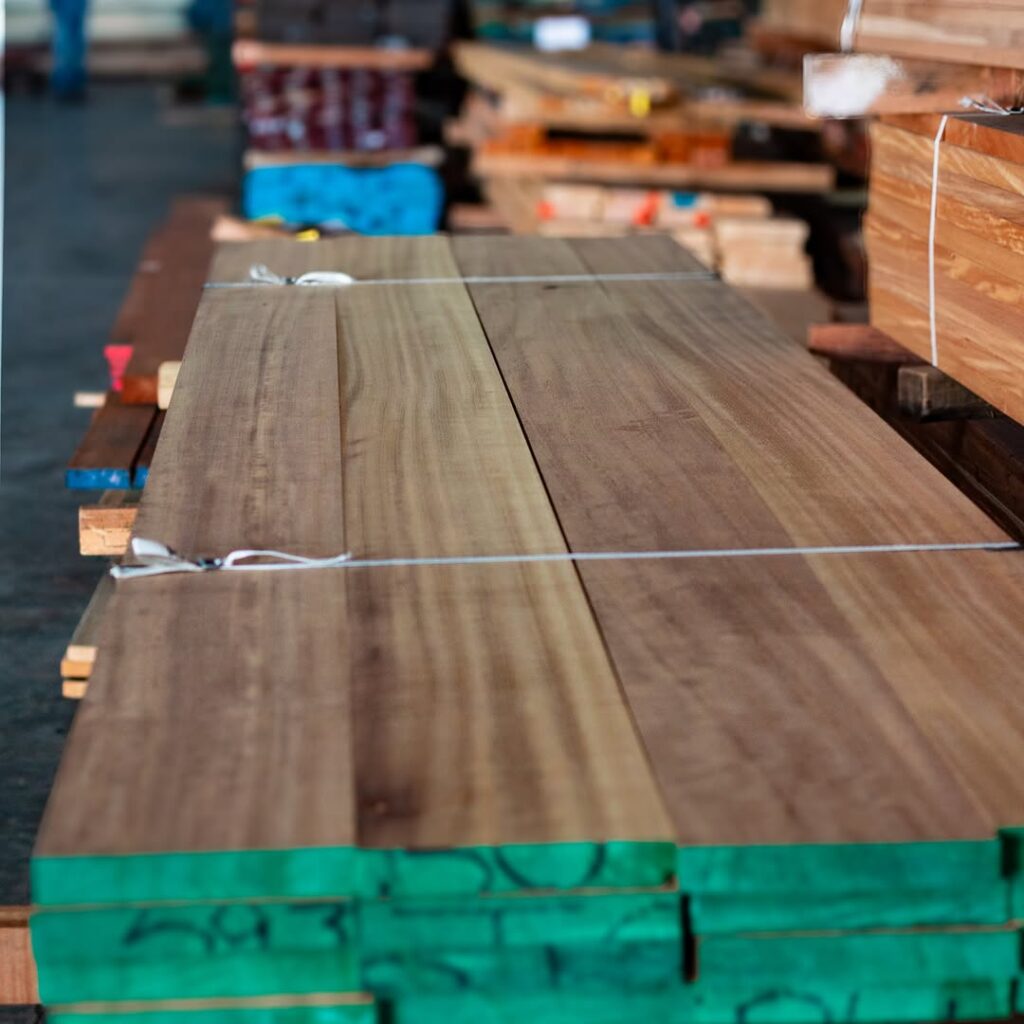
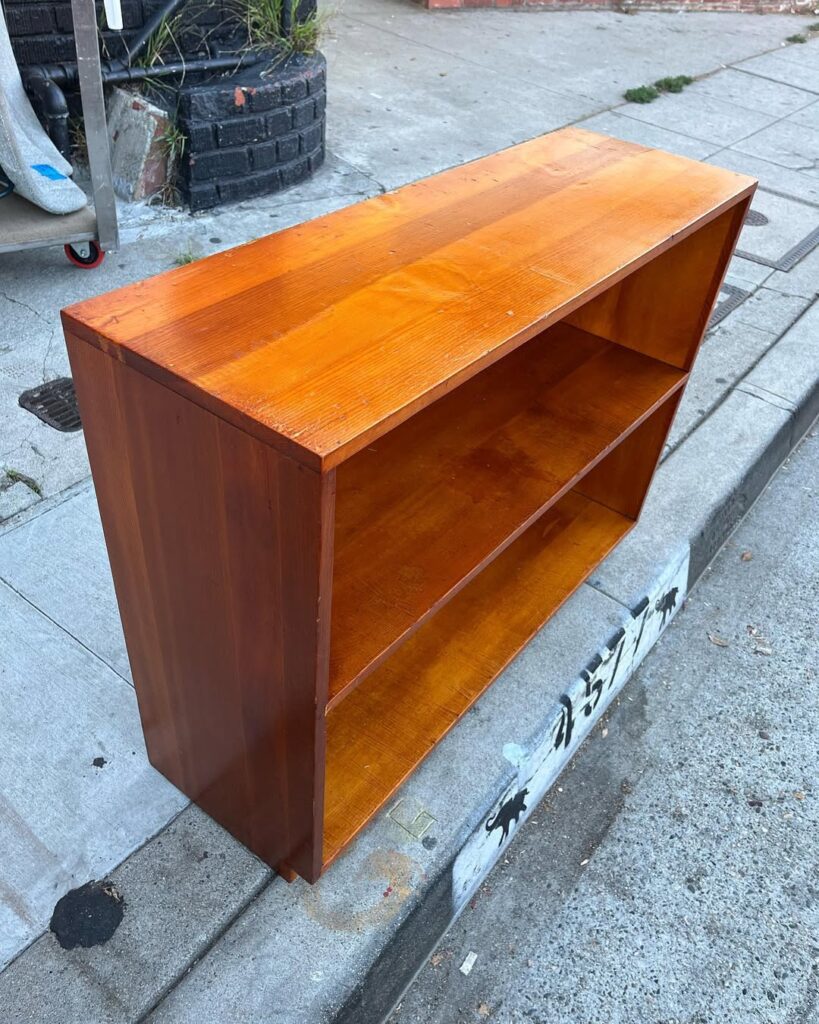
Start with wood planks (36” W x 10” D), cut to size for your shelves. Choose sturdy materials like pine, oak, or reclaimed wood.
Use brackets (at least 2 per shelf)—either heavy-duty L-brackets or floating shelf supports—for stability.
Secure your shelves with screws and wall anchors, ensuring they match your wall type (studs or drywall).
Step 2: Measure & Mark the Wall
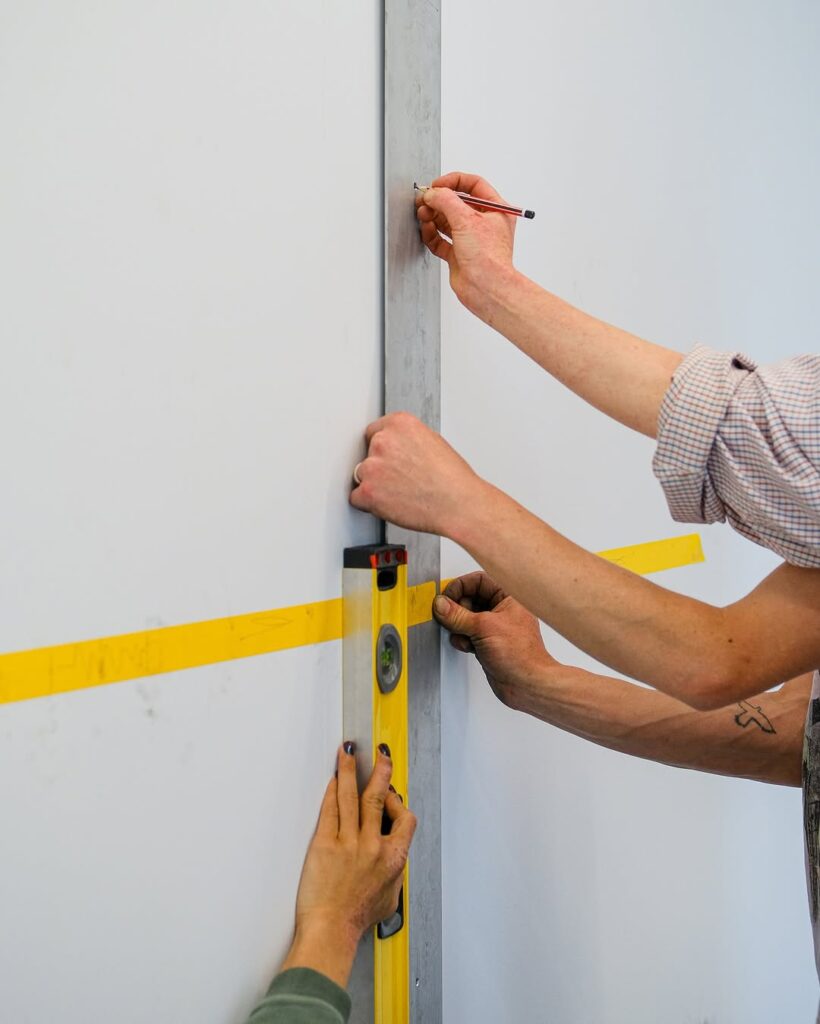
Start by using a tape measure to determine where each shelf will be installed. Ensure they are evenly spaced and aligned with your desired bar setup.
Maintain a 12-inch spacing between shelves. This allows enough room for liquor bottles, glassware, and decor while keeping the design balanced and functional.
Use a stud finder to locate wall studs for strong support. If no studs are available, use wall anchors to secure the brackets properly. Finally, check all markings with a level to ensure straight installation.
Step 3: Prep the Wood
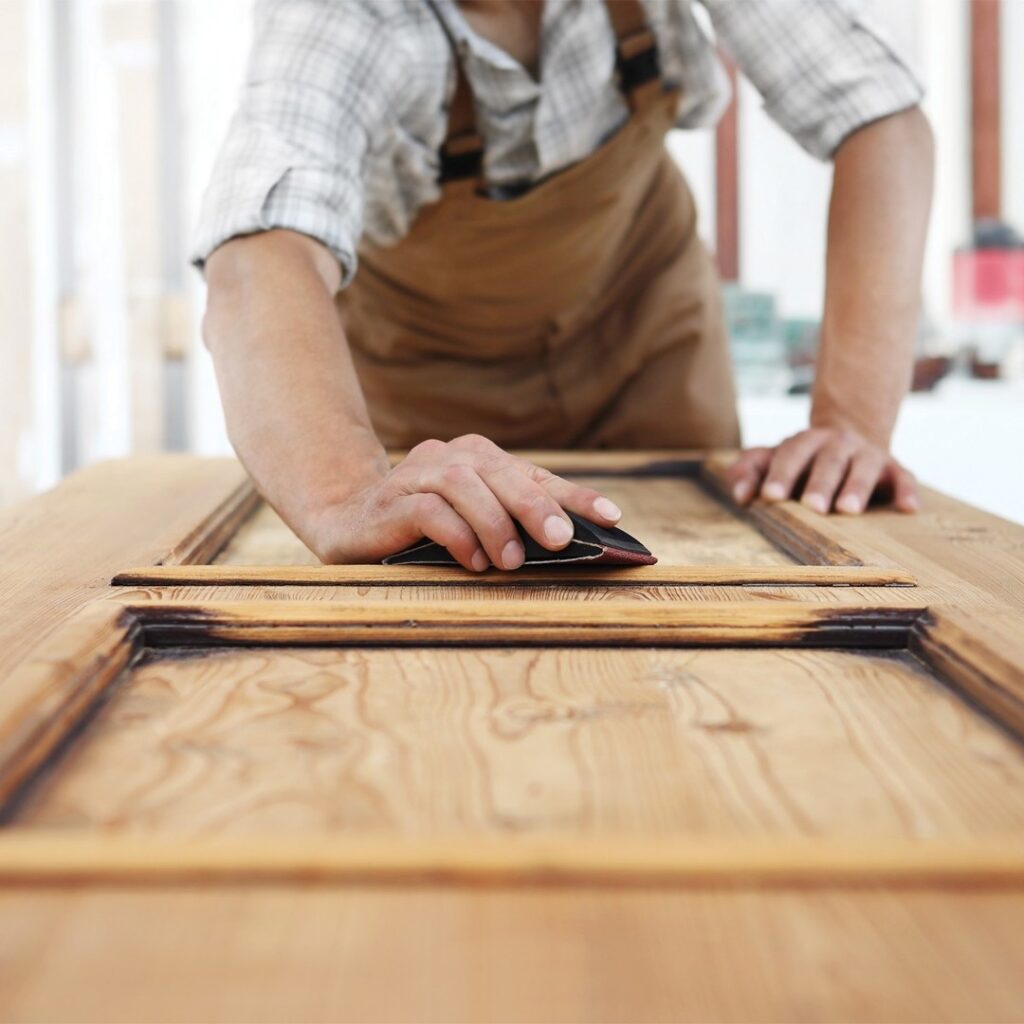
Start by sanding the wood planks with 120-grit sandpaper to remove rough edges. Follow up with 220-grit for a smooth, polished finish.
Apply your chosen stain or paint to enhance the wood’s look and match your decor. Let it dry completely before moving to the next step.
Seal the surface with polyurethane to protect against moisture and wear. Allow ample drying time before installation to ensure durability.
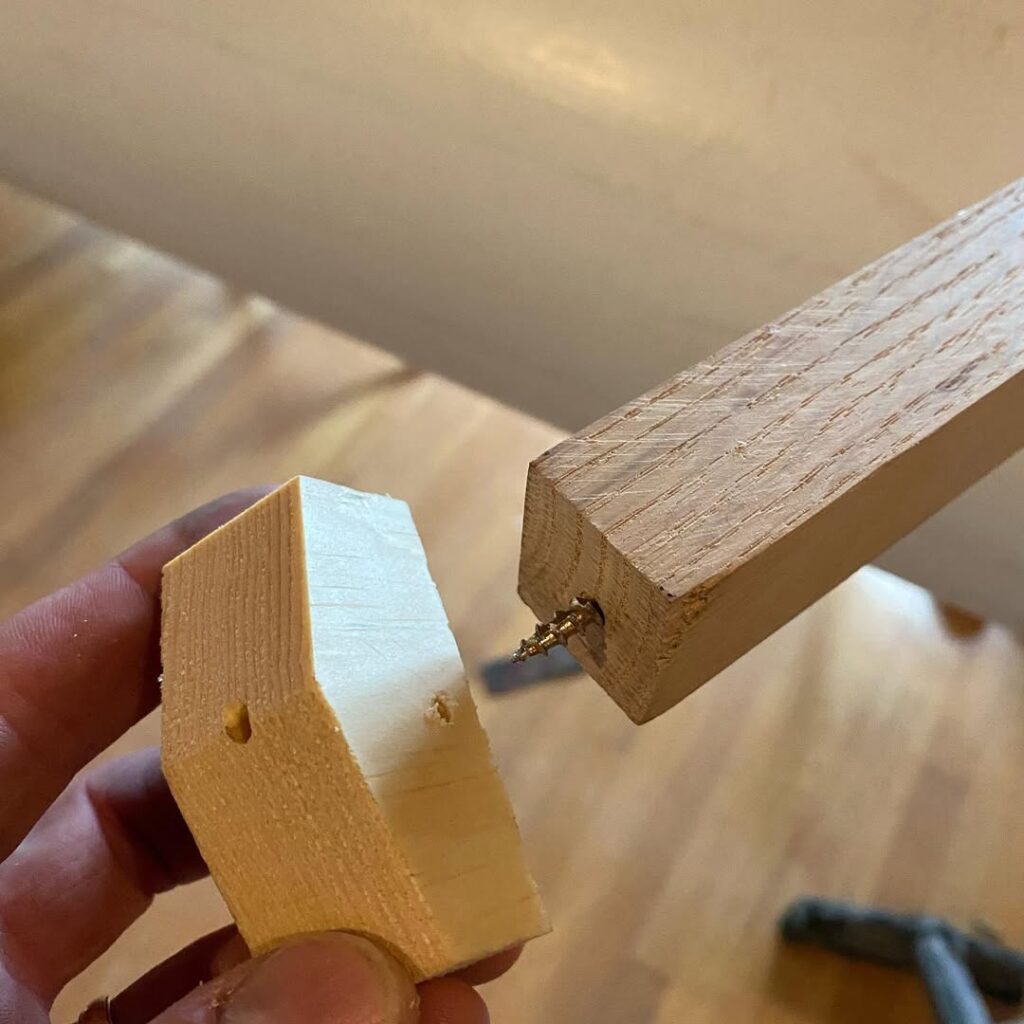
Step 4: Install Brackets
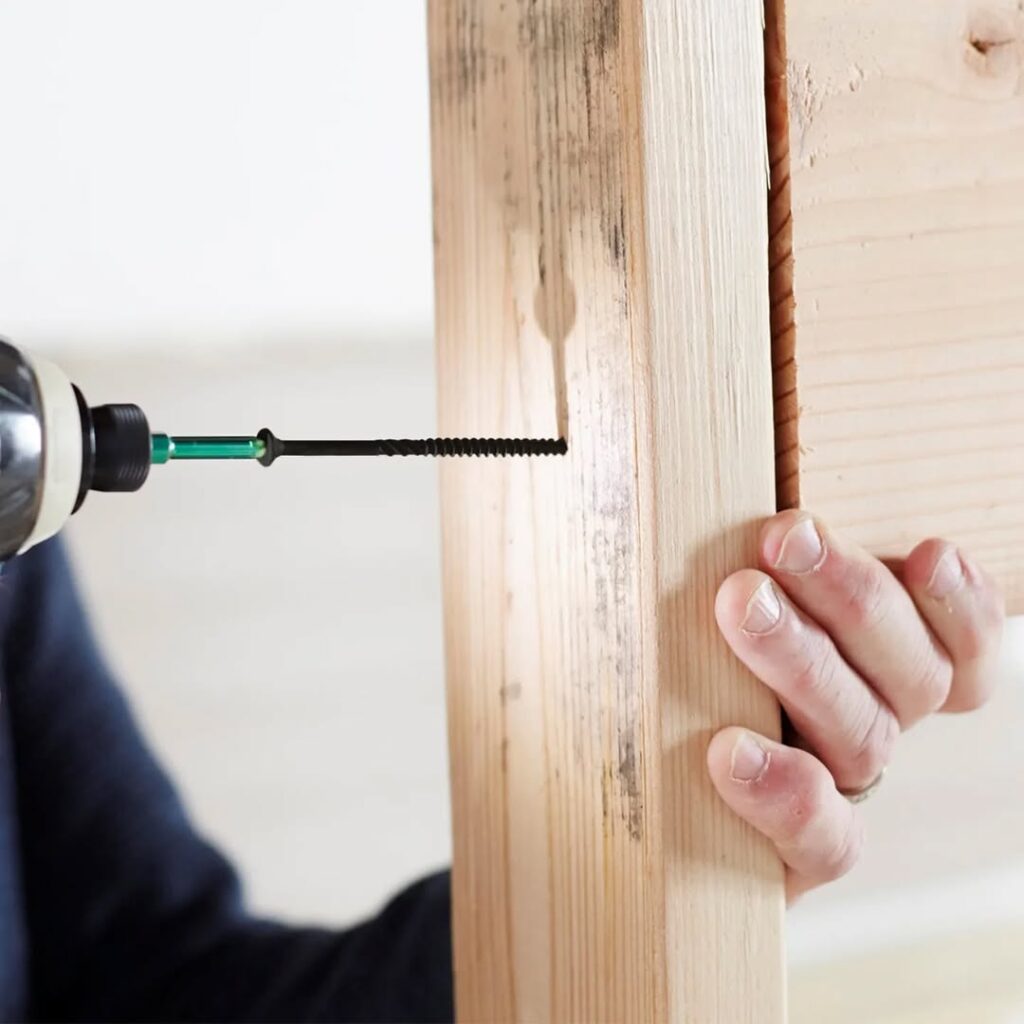
Align the brackets with the marked spots on the wall, ensuring they match your shelf measurements.
Drill screws into studs for maximum support. If studs aren’t available, use wall anchors to keep the brackets secure.
Double-check with a level to ensure the brackets are straight before tightening all screws firmly.
Step 5: Mount the Shelves
Carefully place the 36” W x 10” D wood planks onto the installed brackets, ensuring they sit evenly.
Use wood screws to fasten the shelves to the brackets, preventing any movement or shifting over time.
Step 6: Check Stability & Alignment
Use a level to check that each shelf is straight. Even a slight tilt can affect the look and functionality, so make adjustments as needed.
If any brackets or screws feel loose, tighten them securely to ensure the shelves remain stable and can hold weight safely.
Step 7: Style & Organize
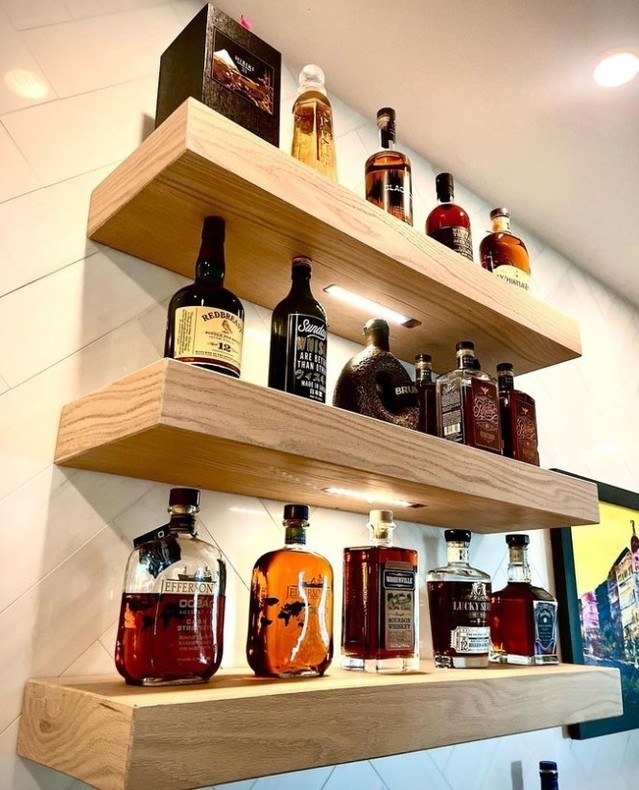
Arrange your liquor bottles, glassware, and decor in a way that’s both functional and visually appealing. Keep frequently used items within easy reach.
Enhance the ambiance with LED strip lights, small plants, or decorative accents to give your bar area a polished and inviting look.
Things To Keep In Mind:
- Check weight capacity to ensure shelves can support bottles and glassware.
- Mount into studs or use strong anchors for secure installation.
- Maintain 12-inch spacing for proper bottle and decor placement.
- Use a level to keep shelves straight and aligned.
- Seal the wood to protect against moisture and stains.
- Secure shelves firmly to prevent accidents or sagging.
Conclusion
Creating DIY bar shelves is a simple yet rewarding project that adds both function and style to your space. By following the right steps, ensuring secure installation, and styling thoughtfully, you can achieve a sleek and organized bar setup. With the right materials and a little creativity, your custom shelves will be a stunning focal point for entertaining and storage!
FAQs
What material is used to make shelves?
Shelves can be made from wood, metal, glass, acrylic, or wire/plastic, depending on style and durability needs. Wood (pine, oak, MDF, or reclaimed) is the most popular for DIY bar shelves due to its strength and customization. Metal offers an industrial look, glass adds a sleek touch, and acrylic provides a modern, lightweight option.
How to make sure a shelf is secure?
To secure a shelf, mount it into studs or use strong wall anchors, ensuring brackets can support the weight. Tighten all screws firmly and check alignment with a level. Gradually test weight capacity and add extra brackets if needed for stability.
What is the correct approach to placing items on shelves?
Place larger items first as anchors, then balance weight by evenly distributing heavy and light objects. Use height variation for depth and group similar items for a cohesive look. Leave some space to prevent clutter and enhance accessibility. Finally, add decorative elements like plants or lighting for style.