
A crumbling concrete driveway isn’t just an eyesore. It’s a safety hazard waiting to happen. I’ve dealt with this problem myself, and I know how frustrating it can be to watch your driveway fall apart piece by piece.
The good news? You can fix it yourself without breaking the bank.
In this guide, I’ll walk you through everything you need to know about repairing your crumbling driveway. We’ll cover what causes the damage, what tools you’ll need, and the exact steps to get your driveway looking solid again.
I’ll also share when it makes sense to call in a pro instead of going the DIY route.
Why Driveways Crumble?

Weather causes major damage, especially freeze-thaw cycles where water enters cracks, freezes, expands, and breaks the concrete apart from inside. Poor installation creates long-term problems through rushed work, cheap materials, or bad ground preparation that leads to settling and cracks.
Heavy vehicles stress concrete beyond its limits, while chemicals like road salt, oil leaks, and harsh cleaners eat away at the protective surface layer.
Tree roots push up from below, seeking water and lifting your driveway in the process. Knowing these causes helps you repair correctly and protect your driveway for the future.
Common Causes of a Crumbing Concrete Driveway

Understanding why your driveway crumbles helps you prevent future damage.
Freeze-Thaw Cycles:
Water gets into small cracks in your concrete. When temperatures drop, that water freezes and expands. This expansion pushes the concrete apart from the inside. Over multiple winters, this cycle breaks down even the strongest driveways.
Improper Installation:
Not all concrete work is created equal. If the original contractor didn’t mix the concrete properly or rushed the pouring process, your driveway never had a chance. Poor preparation of the ground underneath can also lead to settling and cracks.
Heavy Vehicle Loads:
Your driveway has weight limits, even if nobody told you about them. Parking heavy trucks, RVs, or construction equipment can stress the concrete beyond what it was designed to handle. The constant pressure creates weak spots that eventually crumble.
Chemical Exposure:
Road salt eats away at concrete surfaces. Oil leaks from vehicles can break down the binding agents. Even some cleaning products damage the protective surface layer. These chemicals work slowly but surely to weaken your driveway.
Tree Root Damage:
Tree roots are stronger than you might think. They grow underneath your driveway looking for water and nutrients. As they expand, they lift and crack the concrete from below. Sometimes you’ll see the damage before you realize a tree root is the culprit.
Tools and Materials Needed

Get everything ready before you start the repair work.
You’ll need concrete repair products like patches, epoxy resin, or fiberglass fillers (pick the right type based on how bad your damage is), primers or bonding agents (not always required, but they help repairs last longer), and a concrete sealer for the finishing touch.
For cleaning, grab a pressure washer if you have one, or a regular hose and stiff brush work too. Keep a hammer, chisel, and trowel handy for prep work and application.
Safety matters, so wear gloves to protect your hands and goggles to shield your eyes.
Step-by-Step Guide to Repair
Follow these steps carefully to fix your crumbling driveway and make the repair last.
1. Assess the Damage
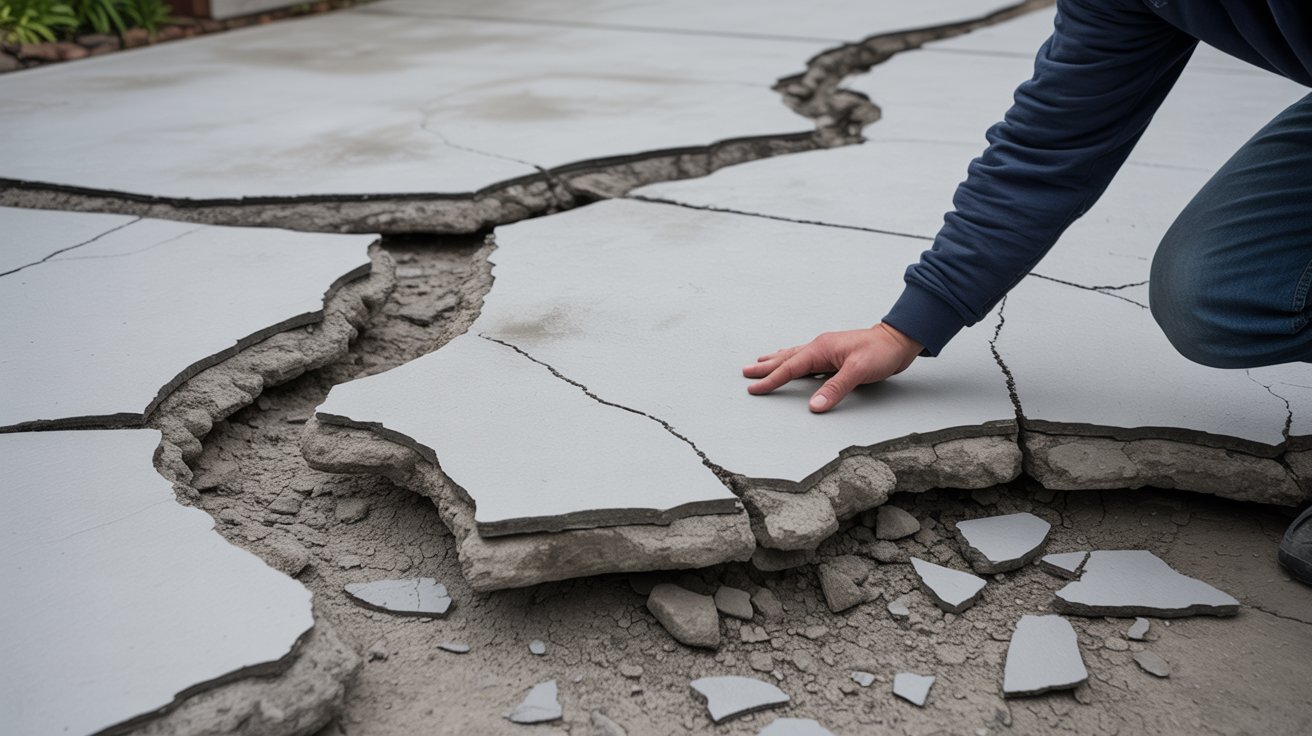
Look closely at what you’re dealing with. Small hairline cracks need different treatment than large crumbling sections or deep voids. Run your hand over the surface to feel for loose pieces.
Be honest about your skills. Some damage is too extensive for DIY fixes. If you’re seeing hollow areas when you tap the surface, you might need professional help. Widespread crumbling or structural issues require expert evaluation.
2. Prepare and Clean the Area

Start by removing all loose concrete. Use your hammer and chisel to chip away anything that’s barely hanging on. Get aggressive here because loose material prevents proper bonding. Sweep away the debris and check for any remaining weak spots.
Now clean the surface thoroughly. A pressure washer works best, but a hose and scrub brush get the job done too. Remove all dirt, oil, and residue. The cleaner the surface, the better your repair will stick.
Let everything dry completely before moving forward. This step is crucial. Working on damp concrete ruins your repair work. Wait at least 24 hours after cleaning in humid conditions.
3. Apply Primer or Bonding Agent (If Needed)

Open your primer and stir it well. Apply it with a brush, broom, or roller depending on the size of your repair area. Work it into the surface for maximum penetration.
Check the label for drying times. Don’t rush this part. Most primers need 2-4 hours to dry properly.
The surface needs to be bone dry before you move to the next step. Touch it to make sure. Any moisture will prevent proper adhesion. This layer creates a strong bridge between old and new concrete.
4. Apply the Repair Mortar or Patch

Mix your repair product exactly as the instructions say. Don’t eyeball the measurements. Too much water weakens the mix, while too little makes it hard to work with.
Use your trowel to fill the damaged areas. Spread it smoothly and evenly. Press it down firmly to eliminate air pockets. Feather the edges so the patch blends with the surrounding concrete.
For deep damage, work in layers. Apply one layer, let it dry, then add the next. This prevents cracking and ensures a solid repair. Each layer should be no more than half an inch thick.
5. Cure and Seal the Concrete

Give your repair time to cure properly. Most products need at least 24 hours. Some need longer. Check your product’s specific requirements. Keep the area damp during curing by misting it with water a few times daily.
Once cured, apply a concrete sealer over the entire repaired area. Use a roller or sprayer for even coverage. This protects against water penetration, chemical damage, and future wear.
Apply two coats for maximum protection. It’s your insurance policy against having to do this again next year.
Maintenance Tips for Longevity
Keep your driveway in good shape with regular care.
- Clean off debris, dirt, and stains regularly. Don’t let them sit there and do damage over time.
- When you spot small cracks, seal them right away. Tiny problems become big problems fast.
- Watch what you park in your driveway. Heavy vehicles and equipment put stress on the concrete that can lead to new damage.
- Make sure water drains away properly. Standing water is your driveway’s worst enemy. If you notice pooling, you need to fix your drainage.
When to Call a Professional
Sometimes DIY isn’t the answer. If you tap on your driveway and hear hollow sounds in multiple spots, you’re looking at serious structural issues. This often means the entire section needs to be repoured.
When your repairs keep failing and the same spots crumble again, something deeper is wrong. A professional can diagnose the root cause.
You might also want to consider different paving materials. If your area gets extreme weather or you have heavy vehicle traffic, alternatives like permeable pavers or reinforced concrete might serve you better.
Conclusion
I’ve fixed my own crumbling driveway, and I won’t lie to you, it’s work. But it’s totally doable with the right approach. You don’t need to be a concrete expert. You just need patience and the willingness to follow the steps.
The key is acting fast. Those small cracks you’re ignoring? They’re getting worse every day. Fix them now and save yourself from a complete driveway replacement later.
Got questions about your specific situation? Drop a comment below. I read every single one and love helping people solve their concrete problems.
Frequently Asked Questions
How long does a concrete driveway repair last?
A properly done repair can last 3-5 years or longer. Regular sealing and good maintenance help your repairs last even longer.
Can I repair concrete in cold weather?
Most concrete repair products need temperatures above 50°F to work right. Wait for warmer weather or buy special cold-weather concrete products.
What’s the difference between concrete patch and epoxy?
Concrete patch works for surface damage and blends with your driveway. Epoxy is stronger and better for serious repairs but costs more.
Should I seal my entire driveway or just the repair?
Seal the whole driveway if it’s been over 2-3 years. If the rest was recently sealed, just seal the repair area.
How do I know if my driveway needs complete replacement?
If more than 30% shows damage or you hear hollow sounds everywhere, replacement makes more sense than patching.