
Tired of fake flames that look like plastic? You want real wood crackling in your fireplace.
I’ve helped dozens of homeowners make this exact switch over the past 10 years. Converting gas to wood is absolutely possible, but it requires proper planning and execution.
This guide covers everything you need: safety requirements, step-by-step instructions, cost breakdowns, and common mistakes to avoid. You’ll learn exactly how to convert your gas fireplace to wood burning safely and legally.
I’ll show you which parts you can DIY and which require professionals. No fluff, no shortcuts – just the real process that actually works.
By the end, you’ll know if conversion makes sense for your home and how to do it right.
Understanding the Conversion from Gas to Wood
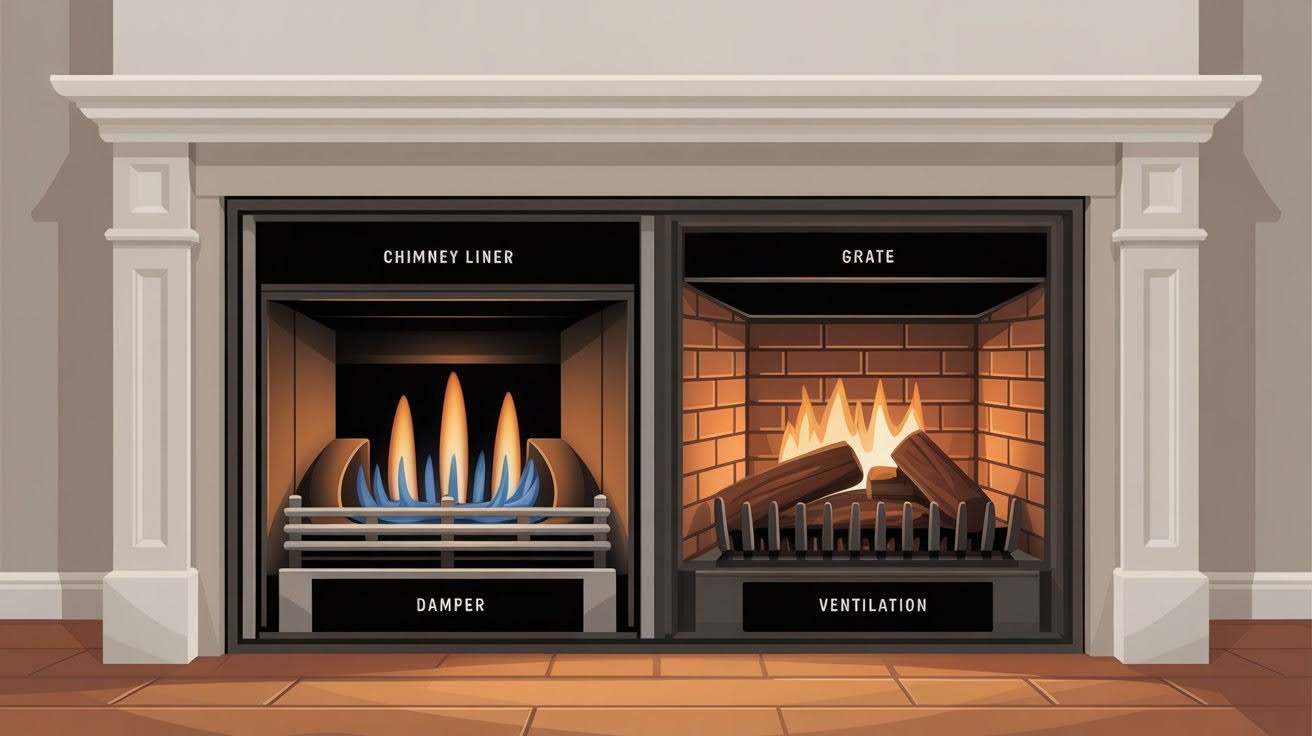
First things first, what are we actually dealing with?
Your gas fireplace was designed for clean-burning fuel. Wood creates smoke, ash, and way more heat than gas logs ever did.
This means we need to modify several key components:
- The chimney system
- Ventilation setup
- Interior fireplace structure
- Safety mechanisms
Think of it like converting a sports car to handle off-road terrain. Same basic framework, but we need serious upgrades under the hood.
Reasons to Convert Gas to Wood
Why would you want to make this switch?
Real wood gives you those dancing flames and crackling sounds. You can’t fake that feeling with gas logs. Wood costs less than natural gas in most areas. Plus, you might have free access to firewood on your property.
Wood fires work during power outages. Your gas fireplace? Not so much. Wood produces more heat than most gas fireplaces. You’ll actually feel warmer.
But here’s what nobody tells you… Wood means more work. You’ll split, stack, and haul logs. You’ll clean ash weekly. And starting fires takes practice.
Gas was convenient for a reason.
Safety and Legal Considerations Before You Start
Most cities require permits for fireplace conversions. Yes, even in your own home. Call your building department first. The fine for unpermitted work often costs more than the permit itself.
Your homeowner’s insurance needs to know about this change. Some policies have specific requirements for wood-burning appliances.
If you live in a community with an HOA, check their rules. Some restrict wood-burning fireplaces entirely.
Never touch gas lines yourself. Seriously. One mistake could level your house. Only licensed technicians can legally disconnect and cap gas lines in most areas.
Tools, Materials, and Preparations
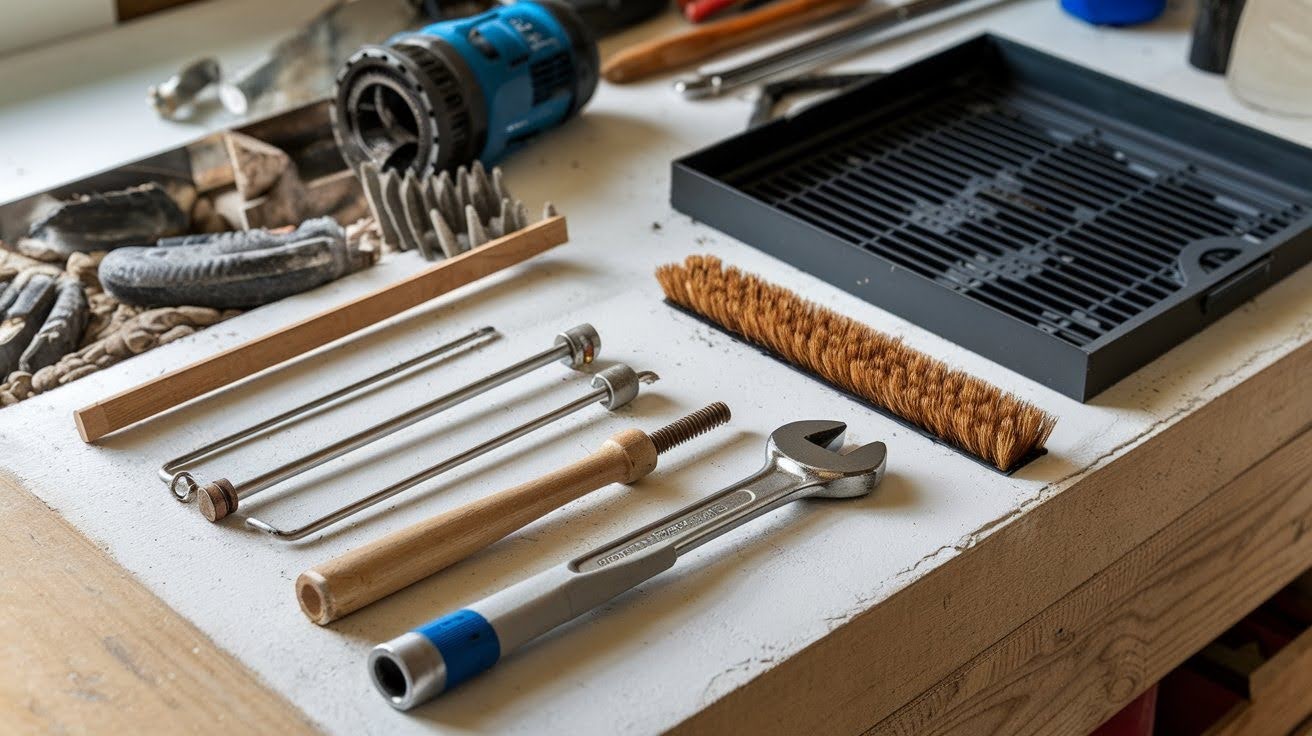
Here’s your shopping list:
Essential Tools:
- Adjustable wrench set
- Drill with masonry bits
- Wire brush
- Drop cloths
- Flashlight or headlamp
- Ladder (for chimney inspection)
Materials You’ll Need:
- Wood-burning fireplace insert (optional but recommended)
- Fire-resistant mortar
- Chimney damper
- Fireplace grate
- Ash pan
- Screen or glass doors
Basic conversion runs $500-1,500 for DIY materials. Add $1,000-3,000 if you hire professionals for gas line work and chimney modifications. High-end inserts can push total costs over $5,000.
Step-by-Step Guide: How to Convert Gas Fireplace to Wood
Ready to get your hands dirty? Let’s do this.
Step 1: Turn off and Cap the Gas Line (Licensed Technician Required)
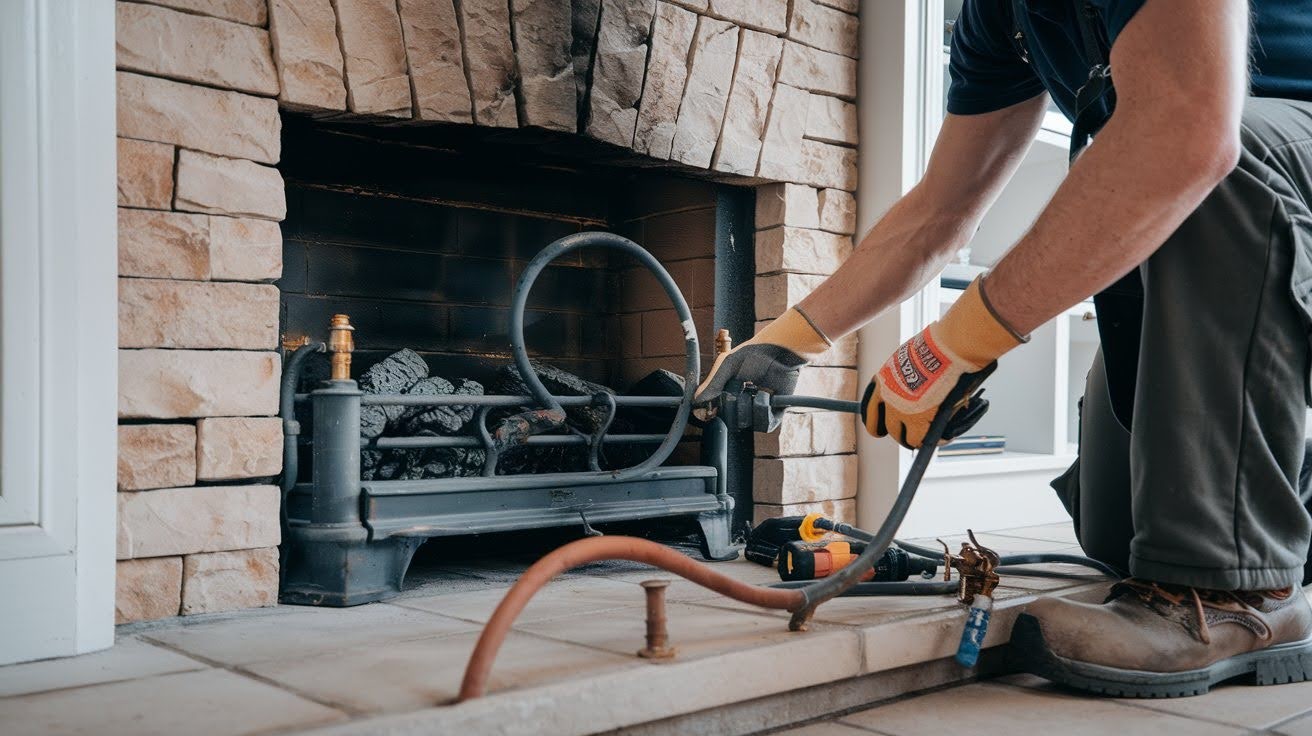
I cannot stress this enough – hire a pro for this step.
The technician will shut off gas at the meter, disconnect the line inside your fireplace, install a permanent cap, test for leaks, and pull any required permits. This usually costs $200-400. Don’t cheap out here.
Step 2: Remove Existing Gas Log Set or Insert
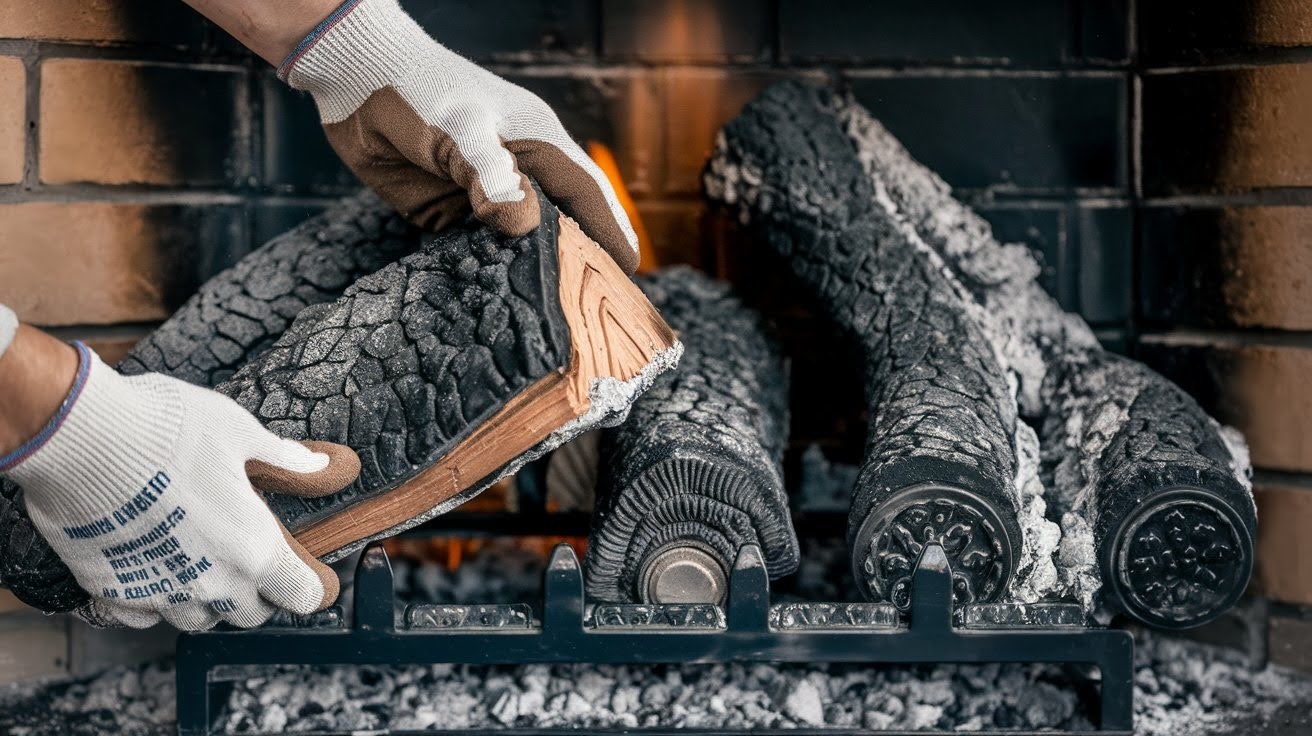
Now for the fun part – demolition.
Start by removing the fake logs. They’re usually just sitting on the grate. Lift them out carefully. Next, disconnect the gas burner assembly. Since the gas is already capped, you just need to unbolt it from the fireplace floor.
Remove any lava rocks or decorative elements. Vacuum out all the debris. Take photos before you start. You’ll thank me later if something goes wrong.
Step 3: Inspect and Prepare the Chimney
Time for detective work.
Grab your flashlight and look up the chimney. You’re checking for cracks in the liner, blockages (bird nests, debris), proper damper function, and structural damage.
Many gas fireplaces have damaged or missing chimney liners. Wood burning requires a fully functional liner for safety. If you see problems, call a chimney professional. This isn’t DIY territory.
Clean everything thoroughly with a wire brush. Years of gas burning leave residue that needs scrubbing.
Step 4: Install Wood-burning Components
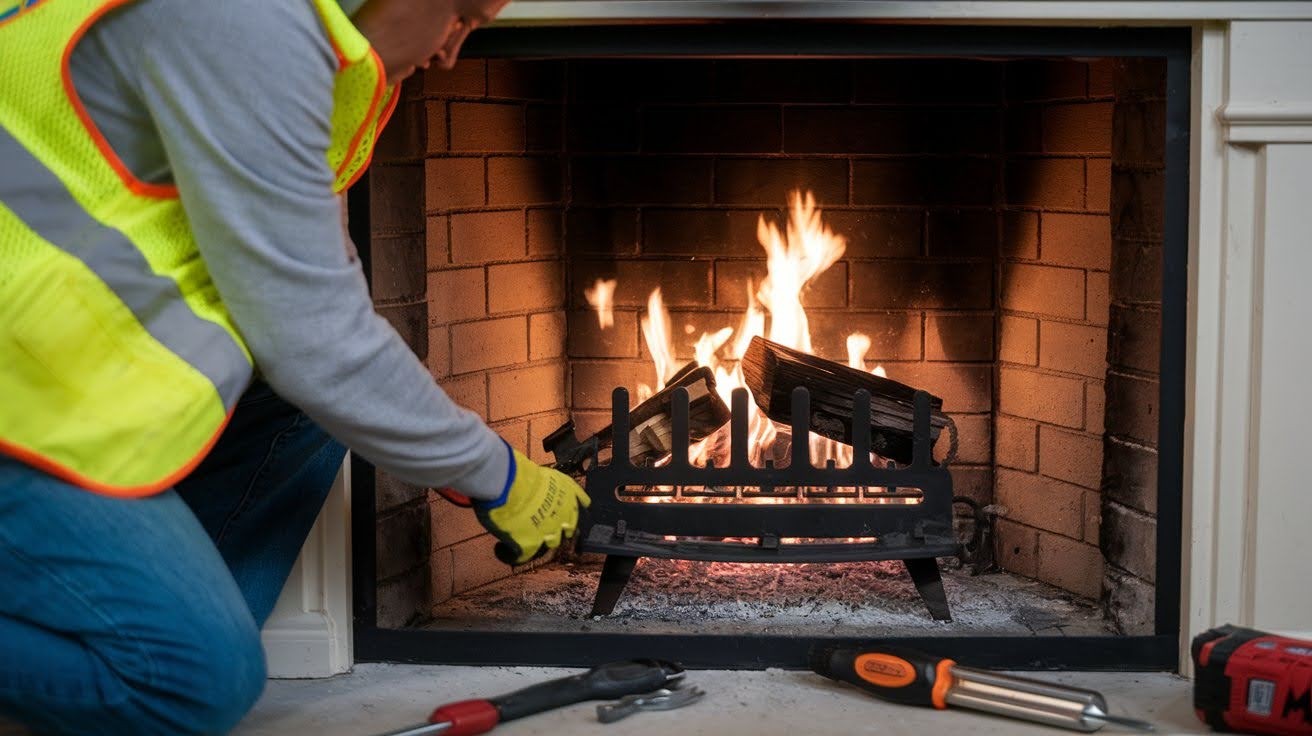
Here’s where your fireplace changes completely.
Your gas fireplace might not have had a working damper. Wood burning requires one. Mount it at the top of the smoke chamber. Follow manufacturer instructions exactly.
Choose a heavy-duty grate rated for wood burning. It needs to handle the weight and heat of real logs. Position it so air can flow underneath for proper combustion.
Consider a fireplace insert. This is optional but smart. Inserts improve efficiency and safety dramatically. They fit inside your existing fireplace opening and include built-in blowers, better heat output, and improved safety features.
Install screen or glass doors. These prevent sparks from escaping. Many areas require them by code.
Step 5: Test Draft and Safety Mechanisms
Final safety check before your first fire. Open and close the damper several times. It should move smoothly and seal completely when closed.
Light a small piece of paper and hold it in the firebox. Smoke should draw up the chimney immediately. Poor draft means ventilation problems. Don’t use the fireplace until you fix this.
Wood burning produces carbon monoxide. Install detectors on every level of your home. Test them monthly. Replace batteries annually.
Cost Breakdown
Let’s talk numbers.
| Item | DIY Cost | Professional Cost |
| Gas line capping | $200-400 | $200-400 |
| Basic grate and tools | $100-300 | Included |
| Chimney repairs | $200-800 | $500-2,000 |
| Permits | $50-200 | $50-200 |
| Labor | $0 | $1,000-3,000 |
| High-end insert | $2,000-5,000 | $3,000-6,000 |
| Total | $550-1,700 | $3,000-15,000+ |
Ongoing Annual Costs:
- Firewood: $150-300 per cord
- Chimney cleaning: $150-300
- Tools and supplies: $50-100
Maintenance After Conversion
Wood fireplaces need regular care.
After every use, remove ashes when completely cold, check for cracks in the firebox, and ensure the damper closes properly.
Monthly during the season, inspect chimney cap for damage, clean glass doors, and check smoke detector batteries.
Annually, get professional chimney cleaning, inspect liner for damage, check fireplace structure, and service damper mechanisms.
The reality? Wood fireplaces are high maintenance compared to gas. But many people find the ritual relaxing. There’s something satisfying about stacking wood and tending a real fire.
Common Mistakes to Avoid
I’ve seen these errors destroy fireplaces and homes.
- Building departments exist for good reason. Unpermitted work creates liability and resale issues.
- Never attempt DIY gas line work. The risks aren’t worth any savings.
- A cracked liner or damaged chimney can cause house fires or carbon monoxide poisoning.
- Burn only seasoned hardwood. Green or treated wood creates dangerous creosote buildup.
- More wood doesn’t equal more heat. It equals more problems.
- Furniture and decorations need proper distance from the fireplace opening.
Alternatives if Full Conversion Isn’t Possible
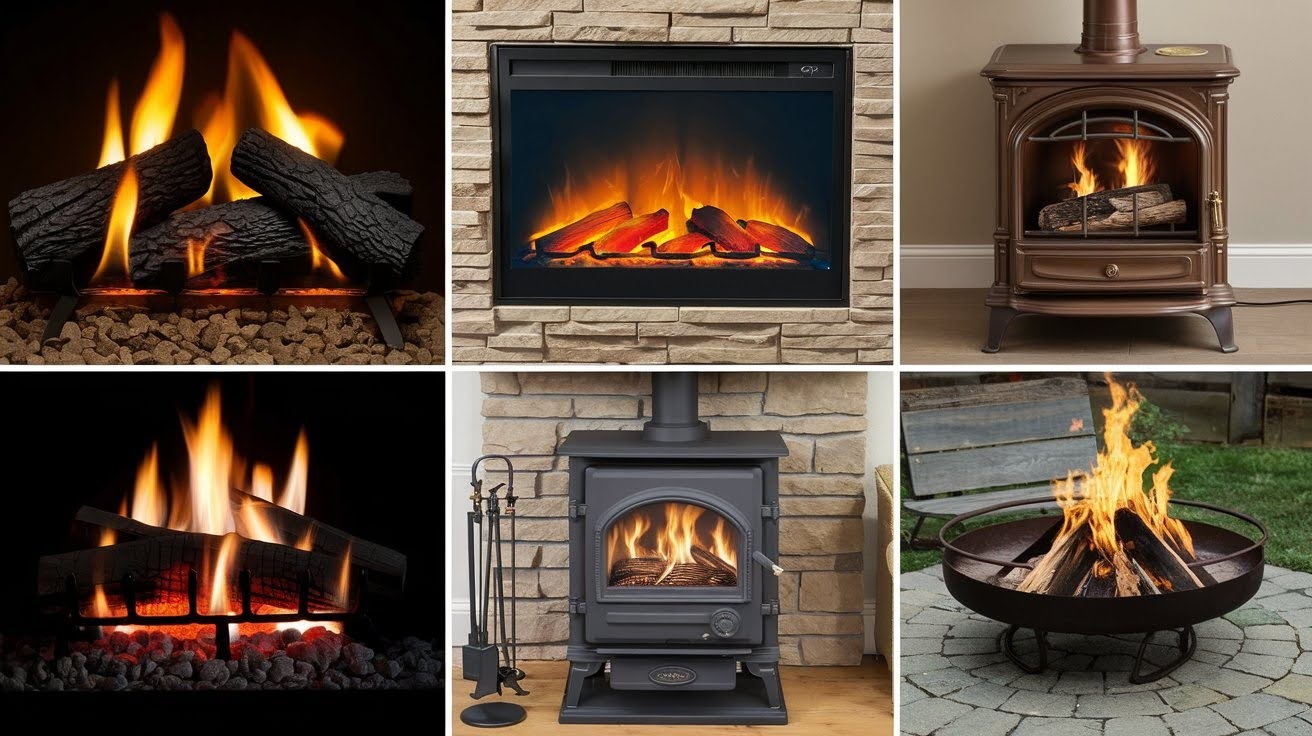
What if conversion isn’t realistic for your situation?
Modern gas logs look incredibly realistic. Some even include crackling sound effects.
Electric fireplace inserts have zero emissions and easy installation. Great for condos or rentals where you can’t modify gas lines.
Pellet stove inserts burn compressed wood pellets. Gives you some wood-fire feeling with less maintenance.
Build a fire pit or outdoor fireplace for that real wood-burning experience.
Some areas allow portable wood stoves that vent through windows. Check local codes first.
Conclusion
Converting your gas fireplace to wood is totally do-able. I’ve walked you through every single step you need.
Here’s what I want you to remember: This project takes planning and patience. Get your permits first. Hire professionals for gas line work. Budget for unexpected chimney repairs.
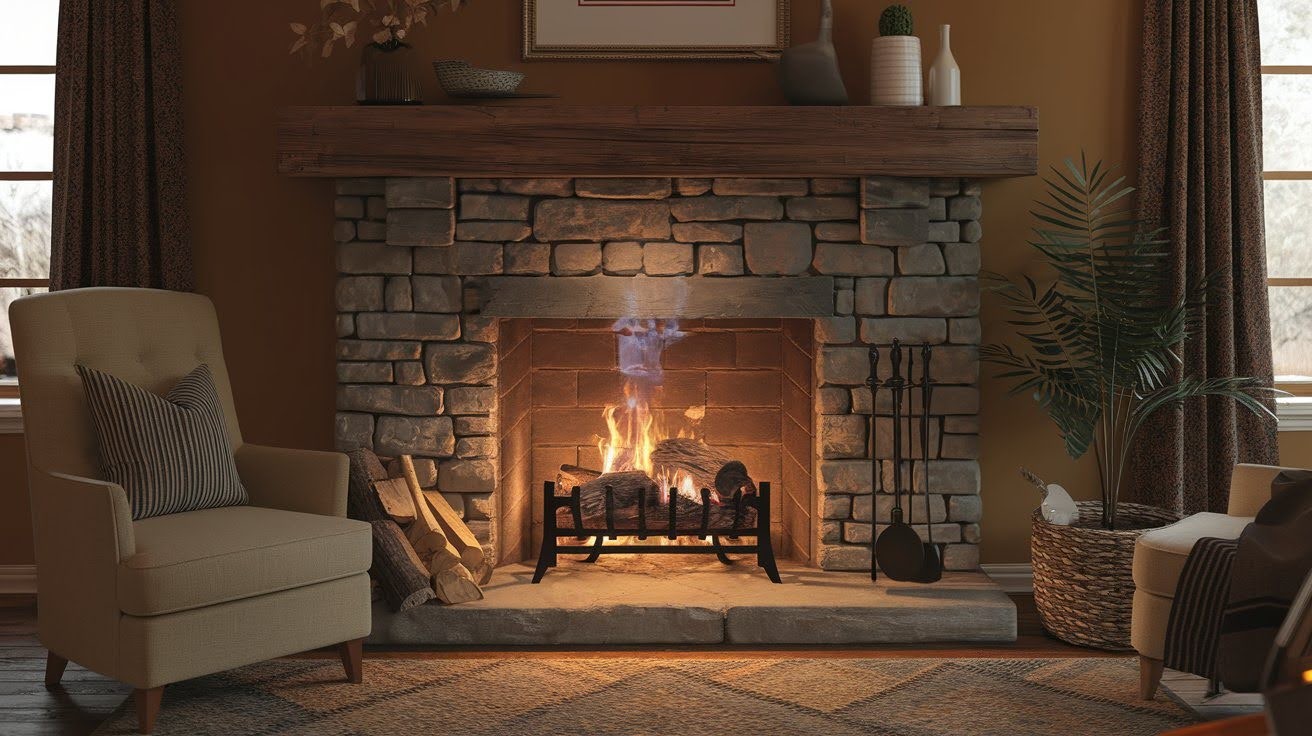
Is it worth the effort? That depends on you. If you want convenience, keep your gas fireplace. If you crave real wood fires, this conversion delivers exactly that.
I’ve seen homeowners change their living rooms with this project. The smell of real wood smoke and crackling flames creates memories gas logs simply can’t match.
Ready to start? Call your building department tomorrow. Get those permits rolling. Your first real wood fire will be absolutely worth every bit of effort.
Frequently Asked Questions
Can I convert a direct vent gas fireplace to wood burning?
Direct vent systems are much harder to convert because they use sealed combustion chambers. You’ll likely need major structural modifications that cost more than installing a new wood fireplace.
How long does the conversion process typically take?
Most DIY conversions take 2-3 weekends if you hire professionals for gas line work. Add extra time if your chimney needs repairs or you’re installing a full insert system.
Will converting to wood increase my home’s value?
Wood fireplaces can add value in rural or mountain areas where they’re preferred. In urban areas, many buyers actually prefer gas for convenience, so value impact varies by location.
What type of wood should I burn after conversion?
Burn only seasoned hardwoods like oak, maple, or hickory that have dried for at least 6 months. Never use treated lumber, pine, or green wood as they create dangerous creosote buildup.
Do I need special insurance for a wood-burning fireplace?
Most standard homeowner policies cover wood fireplaces, but you must notify your insurer about the conversion. Some companies require annual chimney inspections or specific safety equipment for coverage.