
Building a cinder block outdoor kitchen is easier than you think. I’m going to show you exactly how to do it from start to finish.
This guide covers everything from choosing your location to installing appliances and adding the final touches.
You’ll learn why cinder blocks work so well for outdoor cooking spaces. They’re affordable, they last for years, and you can make them look however you want.
I’ve helped friends build their own setups, and I’ve seen what works and what doesn’t. This article gives you the complete process so you can create a backyard kitchen without hiring expensive contractors.
You’ll save money and end up with something you built yourself.
Why Choose a Cinder Block Outdoor Kitchen?

Cinder blocks make outdoor kitchen construction practical and budget-friendly. This material stands up to rain, snow, heat, and cold without falling apart. The blocks create strong walls that support heavy countertops and grills.
Cinder blocks stack easily and stay in place with mortar. The hollow centers let you add steel rods for extra strength. You can work at your own pace without worrying about timing.
A full outdoor kitchen costs $500-$1500 in materials instead of $5000-$10000 for professional installation. You’ll save thousands doing it yourself.
These blocks handle freeze-thaw cycles without cracking when properly sealed. They don’t rot or attract termites. A well-built cinder block kitchen lasts 20+ years with basic maintenance.
You control the size, shape, and layout completely. Finish with stucco, tile, stone veneer, or paint to match your home’s style.
Tools and Materials You Will Need

You need a level, tape measure, mason’s trowel, rubber mallet, and chalk line. A circular saw with a masonry blade cuts blocks when needed.
Standard 8x8x16 inch blocks work for most projects. Buy Type S mortar mix for outdoor use. Get rebar and concrete for filling hollow cores.
Choose countertop material based on your budget: tile, concrete, granite, or stone. Make sure your grill or appliances fit the openings you plan.
Wear work gloves, safety glasses, and a dust mask when cutting blocks. Steel-toe boots protect your feet.
Planning Your Cinder Block Outdoor Kitchen

Good planning prevents expensive mistakes and rebuilds. Take time to think through what you want before you buy anything or start digging.
Choosing the Best Location
Pick a spot close to your house for easier utility connections. Check that the ground drains well and doesn’t collect water. Stay away from low areas that flood.
Make sure you have enough space to move around while cooking. Consider wind direction so smoke doesn’t blow toward seating areas.
Planning Layout and Dimensions
Draw your kitchen to scale on graph paper. Standard counter height is 36 inches. Leave 24-30 inches of counter space on each side of the grill.
Plan at least 42 inches of clearance in front for comfortable movement. Think about where you’ll prepare food, serve, and store supplies.
Plumbing, Electrical, and Gas Considerations
Call 811 to mark underground utilities before digging. Hire licensed professionals for gas line installation. Run electrical lines through conduit for safety.
Plan water supply and drainage if adding a sink. Check local building codes for required permits and inspections.
Preparing Your Project Sketch or Blueprint
Create a detailed drawing with exact measurements. Mark where blocks go, where appliances sit, and how utilities route. Note the height of each section.
Include countertop overhang in your measurements. This sketch guides your entire build and helps you order the right amount of materials.
Preparing the Foundation

A solid foundation keeps your kitchen level and stable for decades. Rushing this step leads to cracks, settling, and structural problems later.
Measuring and Marking the Area:
Use stakes and string to outline your kitchen’s footprint. Measure diagonals to confirm corners are square. Mark the area with spray paint or flour. Add 6 inches around all sides for the working room.
Excavating and Leveling the Ground:
Dig down 6-8 inches below ground level. Remove grass, roots, and loose soil. Use a long 2×4 and level to check the bottom stays flat. Compact the soil with a tamper or plate compactor. This prevents settling after you pour concrete.
Pouring the Concrete Slab:
Add 4 inches of gravel base and compact it thoroughly. Set forms around the perimeter to hold concrete. Pour a 4-inch thick slab of concrete with wire mesh for strength. Smooth the surface with a trowel or screed board. Let it cure for at least 48 hours before building on it.
Ensuring Proper Drainage and Stability:
Slope the slab slightly (1/4 inch per foot) away from your house. This directs water away from the foundation. Install a drain if the area tends to collect water. Check that the slab stays level side to side for easier block laying.
Step-by-Step: Building the Cinder Block Structure
This is where your kitchen takes shape. Work carefully and check your progress often to keep everything straight and level.
Step 1: Laying the First Course of Blocks

Start at a corner and lay blocks without mortar first. This dry run shows you how everything fits. Mark where each block goes with a pencil. Mix mortar to a peanut butter consistency.
Spread a 1-inch layer along your starting line. Press the first block into place and check its level in all directions.
Step 2: Applying Mortar Correctly
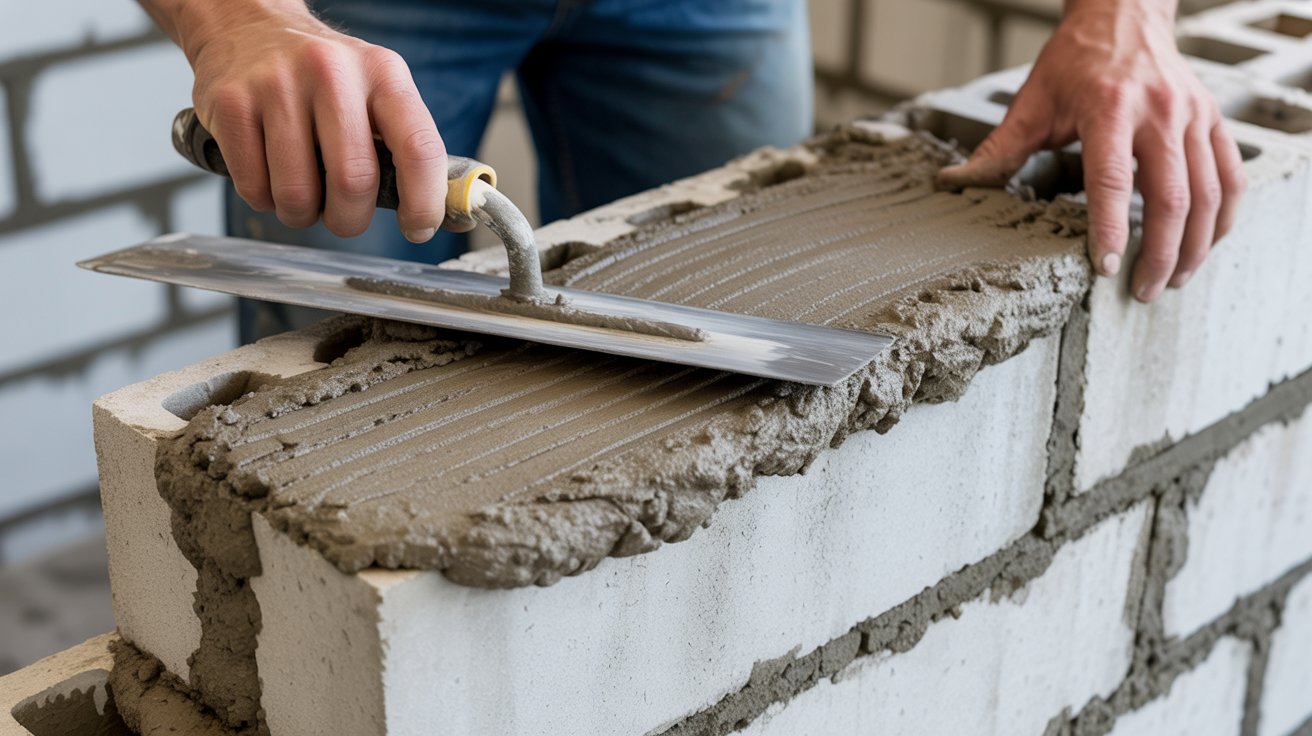
Butter the ends of each block before setting it. Push blocks firmly into the mortar bed. Keep mortar joints around 3/8 inch thick.
Scrape off excess that squeezes out. Strike the joints with a tool before mortar sets. This seals them against water.
Step 3: Adding Reinforcement Bars for Strength
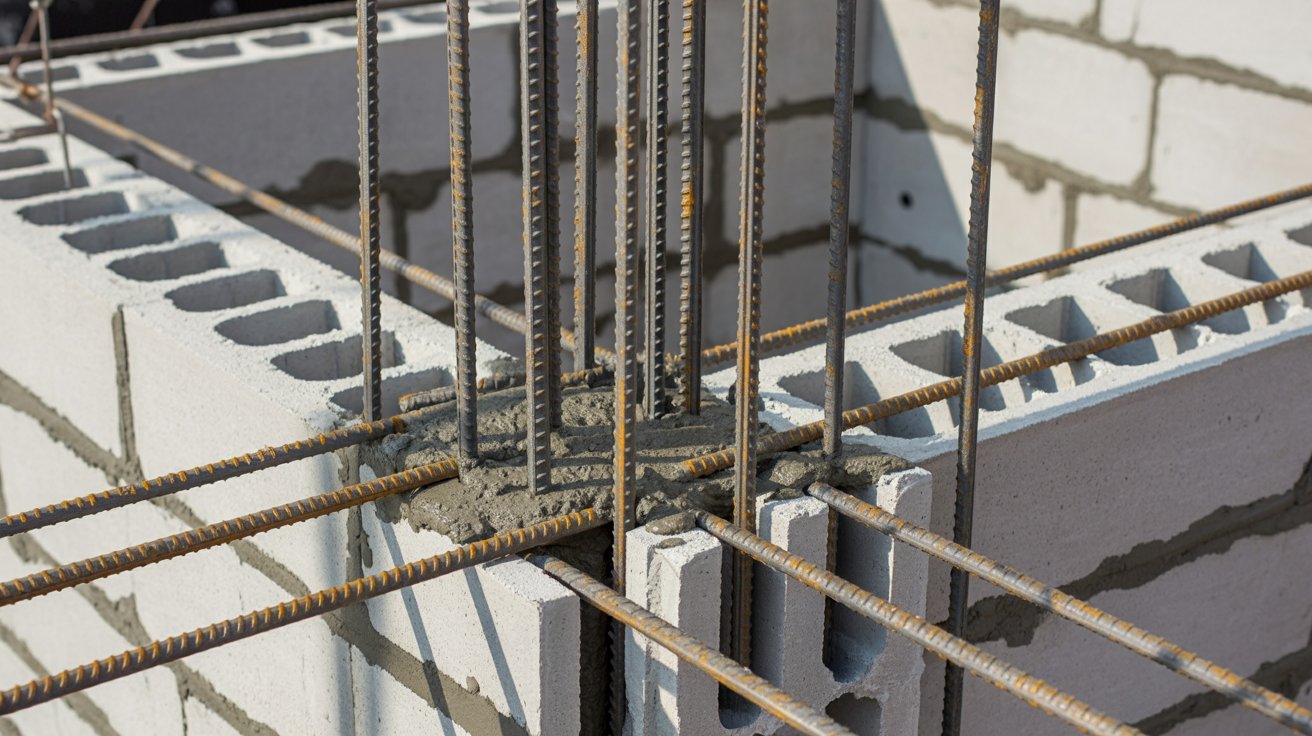
Drop rebar vertically through block holes at corners and every 4 feet. Fill those holes with concrete to lock rebar in place.
Lay horizontal rebar in the mortar joint every other course. This reinforcement prevents cracking and adds huge amounts of strength.
Step 4: Building Up the Walls Layer by Layer

Let each course set for 30 minutes before adding the next. Stagger the joints so they don’t line up vertically.
Use your level constantly to keep walls plumb and straight. Build up all walls evenly rather than finishing one side completely first.
Step 5: Creating Openings for Appliances and Storage
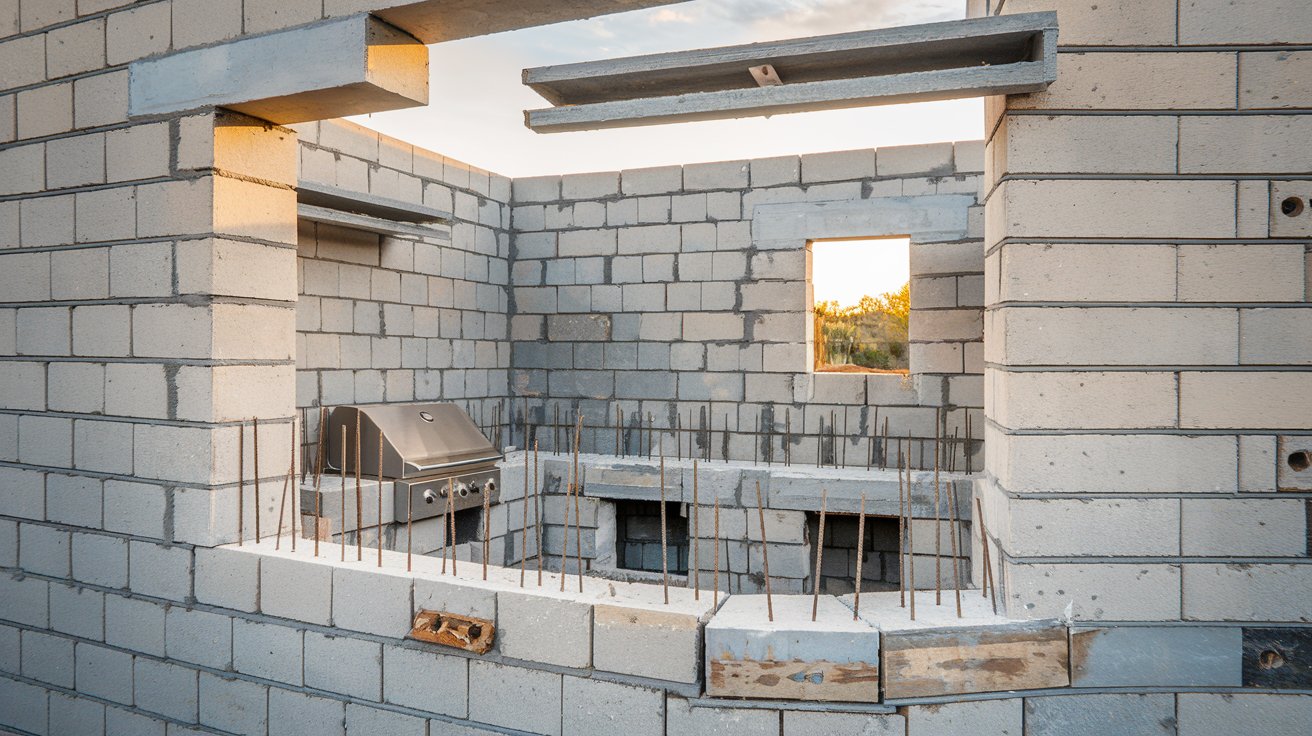
Frame openings with cut blocks and extra rebar. Leave spaces sized for your specific appliances plus 1/2 inch on all sides.
Build lintels above openings using angle iron or concrete bond beam blocks. These support the weight above the gap.
Maintenance Tips for a Cinder Block Outdoor Kitchen
Regular care keeps your kitchen looking good and working properly. A little maintenance now prevents big repairs later.
- Wash counters and blocks with mild soap and water after cooking. Reapply sealer every 1-2 years and clean grease buildup from around the grill regularly.
- Cover your grill when not in use to prevent rust. Disconnect and drain water lines before winter freezing to avoid damage.
- Inspect mortar joints each spring for cracks. Repair small problems before they become big ones that cost more to fix.
- Clear debris from under cabinets where pests might nest. Check that drainage still works properly throughout the year.
- Touch up paint or sealer in high-wear areas. These small tasks add years to your kitchen’s life and keep it looking great.
Common Mistakes to Avoid
Learning from others’ errors saves you time and money. Here are the problems I’ve seen most often with DIY outdoor kitchens.
- Skipping the gravel base leads to settling and cracks. Not letting concrete cure causes weak spots that require complete rebuilds later.
- Regular mortar breaks down quickly outside. Type S mortar handles freeze-thaw cycles and moisture, so always use the right mix for outdoor projects.
- Grills need air circulation to work safely. Leave openings at the bottom and top of enclosures to prevent dangerous carbon monoxide buildup.
- Gas leaks cause explosions and fires. Always have a professional install and inspect gas lines before using your kitchen.
- Call 811 before digging to mark underground utilities. One call prevents hitting buried lines that cost thousands to repair.
Conclusion
I built my first cinder block outdoor kitchen five years ago. That project changed how my family uses our backyard. Now we cook outside all summer and well into fall.
Your cinder block outdoor kitchen will do the same for you. You have all the information you need to start building this weekend. The hardest part is getting started.
Grab your materials, mark out your foundation, and lay that first course. Take your time and check your work as you go. Before you know it, you’ll be grilling in your own handmade outdoor kitchen.
Drop a comment below and tell me what you’re planning to build.
Frequently Asked Questions
How much does it cost to build a cinder block outdoor kitchen?
A basic setup costs $500-$1500 for materials. Larger kitchens with premium appliances run $2000-$3000. This is much cheaper than hiring contractors.
Do I need a permit to build an outdoor kitchen?
Most areas require permits for permanent structures with gas, electrical, or plumbing. Check with your local building department before starting.
How long does it take to build a cinder block outdoor kitchen?
A simple grill station takes a weekend. A full kitchen takes 3-4 weekends working alone. The timeline depends on your experience and design complexity.
Can cinder blocks withstand winter weather?
Yes, when properly sealed with Type S mortar. Fill cores with concrete and apply quality sealer. They last for decades in cold climates.
What’s the best countertop material for outdoor kitchens?
Tile offers great value in many styles. Concrete is durable and customizable. Granite and stone handle heat perfectly but cost more.