
Chalk paint has taken the DIY world by storm, offering easy application and vintage finishes for furniture and home projects.
But what happens when you want a new look or need to change your design direction?
If you’re wondering whether you can paint over chalk paint, the answer is yes-but it depends on a few key factors that can make or break your project’s success.
The process isn’t always as straightforward as applying a fresh coat, and certain preparation steps are essential for achieving professional-looking results.
In this guide, we break down exactly what you need to know before grabbing your brush and starting your next painting project.
Is It Possible to Paint Over Chalk Paint?
Painting over chalk paint is achievable with proper preparation, but success depends on surface condition and existing topcoat treatments.
Short Answer: Yes, but there’s a catch
Chalk paint can indeed be repainted, making it possible to refresh your furniture or walls when you’re ready for a design change.
However, success depends heavily on proper surface preparation and understanding the existing finish condition.
The process isn’t as simple as applying new paint directly over the old chalk paint.
The condition and topcoat of the piece are crucial factors that determine your project’s outcome.
If the chalk paint has been sealed with wax or polyurethane, you’ll need additional preparation steps to ensure proper adhesion.
Unsealed chalk paint may accept new paint more readily, but still requires careful assessment.
Factors like paint age, wear patterns, and surface texture all influence how well new paint will bond to the existing chalk paint layer.
When Should You Repaint Chalk-Painted Furniture?
Knowing when to repaint chalk-painted pieces helps maximize your project success while avoiding common pitfalls that waste time and materials.
Common Reasons to Repaint
Updating an outdated color ranks among the most frequent motivations for repainting chalk-painted furniture.
Room styles change over time, and what once looked perfect may no longer match your current aesthetic preferences or home design direction.
Matching a new room style or palette becomes necessary when you redecorate or move furniture to different spaces.
The original chalk paint color might clash with new surroundings, making a fresh coat the perfect solution for maintaining design cohesion.
Fixing a poor original paint job can transform disappointing results into professional-looking pieces.
If the initial application resulted in uneven coverage, brush marks, or color inconsistencies, repainting offers a chance to correct these issues.
Giving a thrift find new life allows you to customize secondhand discoveries to match your personal style.
Many vintage pieces come with chalk paint finishes that may not suit your taste but provide an excellent base for customization.
When You Shouldn’t Paint Over It
Flaking, peeling, or damaged surfaces require complete removal and repair before any new paint application.
These conditions indicate poor adhesion or underlying problems that will only worsen with additional paint layers.
Thick, drippy layers of paint with poor adhesion create unstable foundations that won’t support new coatings properly.
These situations typically require stripping back to the original surface for best results.
Steps to Paint Over Chalk Paint
Successfully painting over chalk paint requires specific preparation steps, primer selection, and application techniques for long-lasting, professional-quality results.
Step 1: Check for a Topcoat
Identifying the existing topcoat determines your preparation approach and ensures proper paint adhesion.
If there’s no topcoat, you’re in an ideal situation since chalk paint’s naturally matte finish creates an excellent base for new paint applications.
Wax sealants present the biggest challenge and require complete removal before proceeding.
Polycrylic or varnish finishes need only light scuff sanding to create adequate surface texture for the new paint to grip properly.
Testing for wax is straightforward – rub the surface firmly with a fingernail, and if white or colored residue comes off, wax was applied as a protective coating.
Wax typically feels soft and smooth to the touch, quite different from the hard, glossy sensation of polyurethane or similar clear coats.
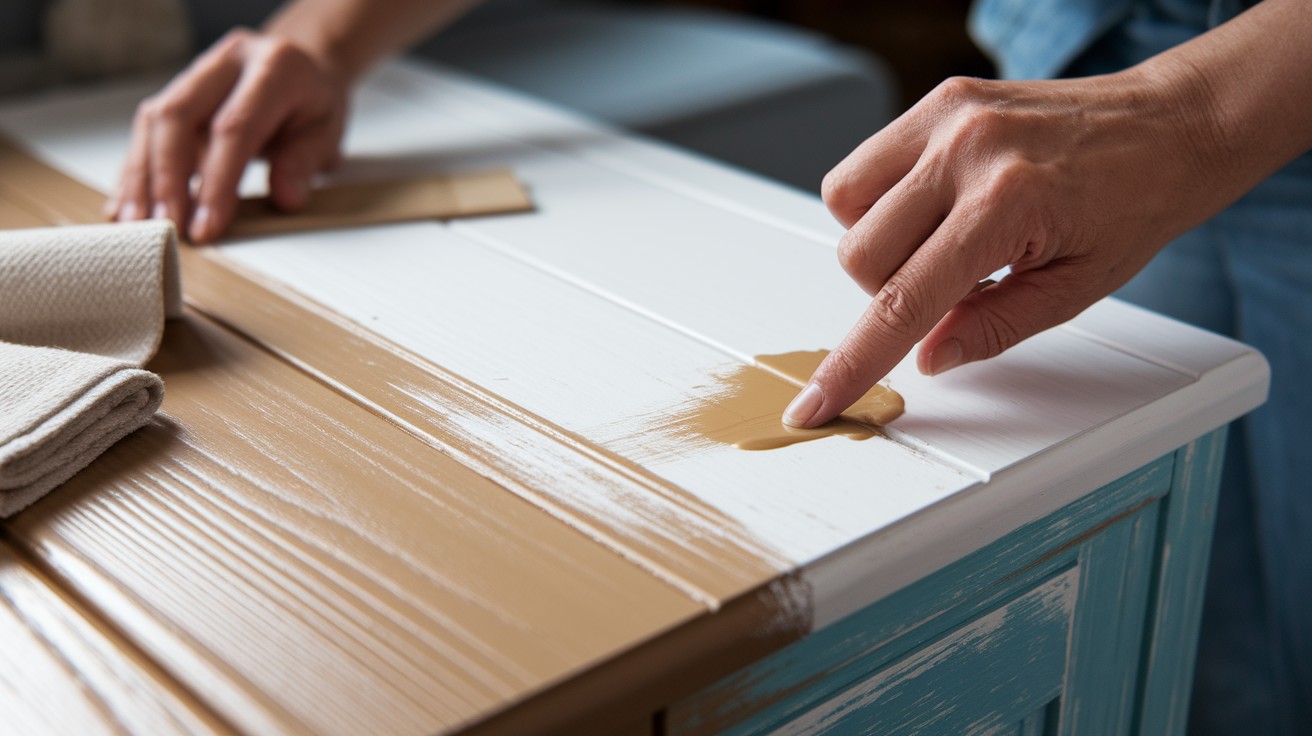
Step 2: Prep Like a Pro

Wax removal requires patience and the right materials for complete success. Use mineral spirits or an odorless solvent to dissolve the wax coating thoroughly.
Wipe the surface with a clean cloth, switching sides frequently to avoid redistributing wax residue.
Repeat this process twice for best results, ensuring no waxy film remains. After wax removal, scuff sand the entire surface using 180-grit sandpaper.
When you see chalk paint dust forming, you know the surface is wax-free and ready for the next step.
This sanding creates the necessary “tooth” for better paint adhesion.
Complete the preparation by cleaning with a TSP alternative, which removes any remaining wax residue, grease, and dust while preparing the surface for primer and paint application.
Step 3: Choose the Right Paint
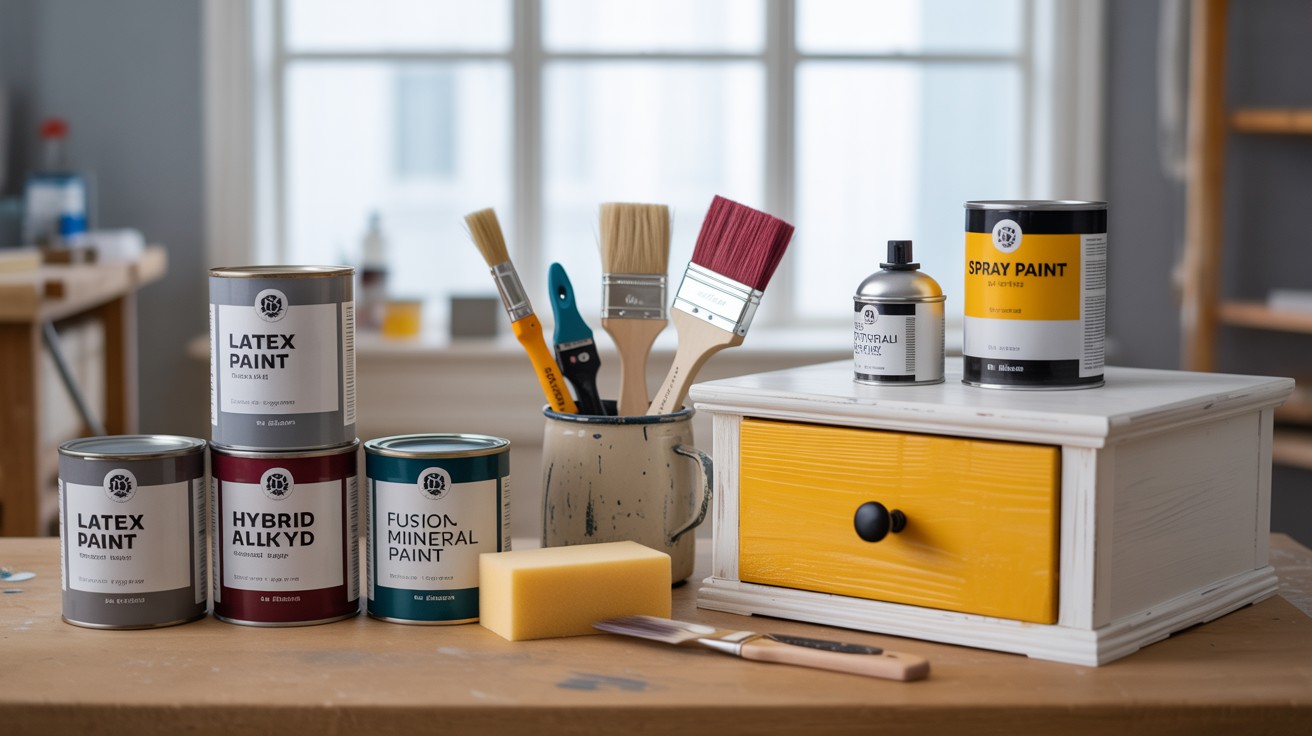
Several paint types work effectively over properly prepared chalk paint surfaces.
Latex paint remains the most accessible option, though it typically requires primer for optimal results.
Hybrid alkyd paints offer superior durability and flow characteristics, making them excellent for furniture pieces that receive regular use.
Fusion Mineral Paint is specifically designed for furniture applications and often doesn’t require primer when applied over compatible surfaces.
Spray paint provides quick coverage but demands meticulous preparation to avoid visible flaws in the final finish.
Satin or gloss finishes create durable surfaces but absolutely require a wax-free base and light sanding for proper adhesion.
Step 4: Prime (Optional But Smart)
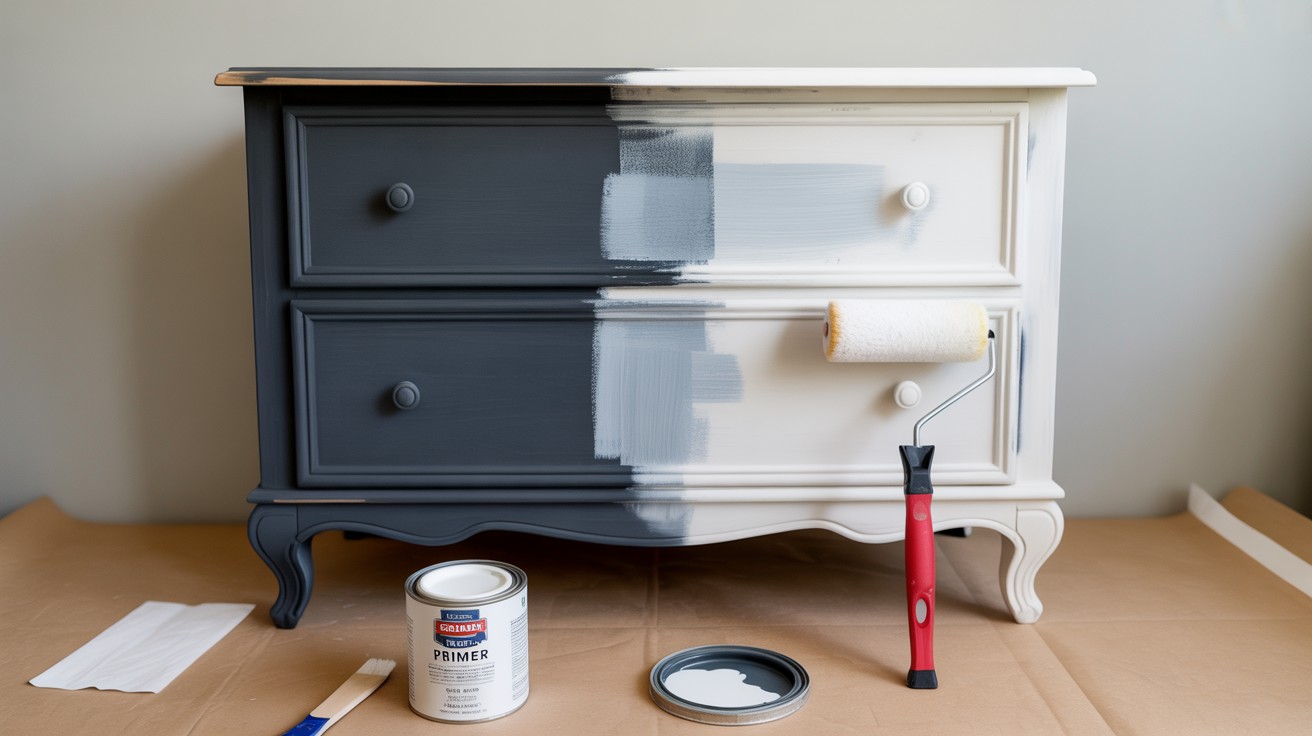
Primer application becomes essential in specific situations that ensure professional results.
When painting over dark chalk paint with lighter colors, primer prevents the old color from bleeding through and affecting the new finish.
Using primer also improves adhesion and reduces the number of topcoats needed for complete coverage.
While not always mandatory, primer provides insurance against adhesion failures and color inconsistencies that can ruin your project.
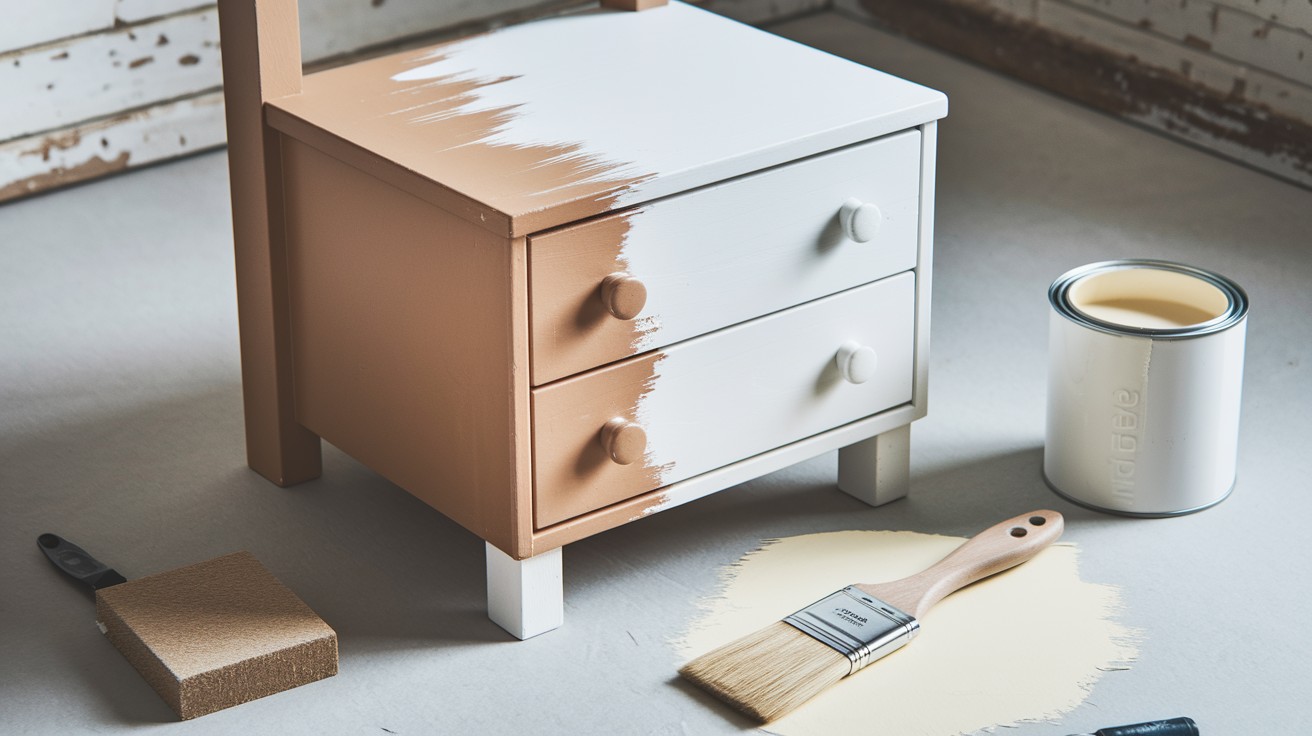
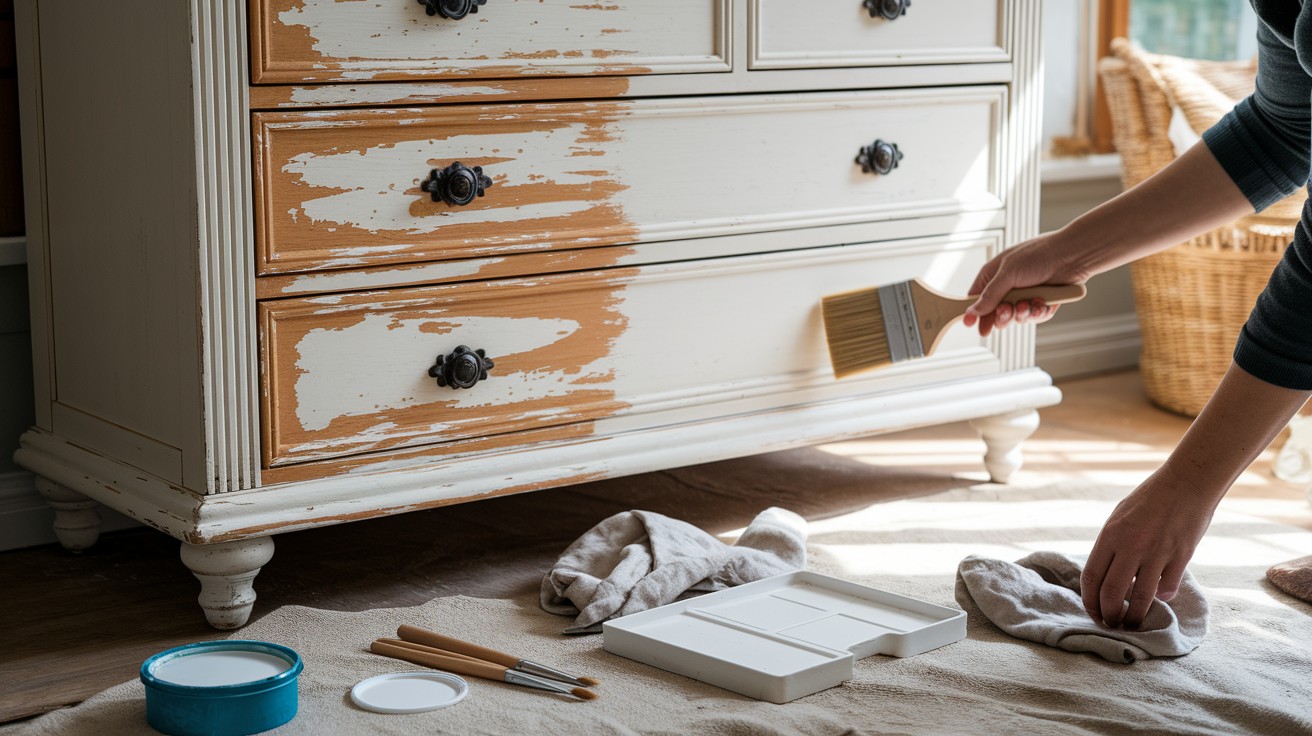
Step 5: Time to Paint!
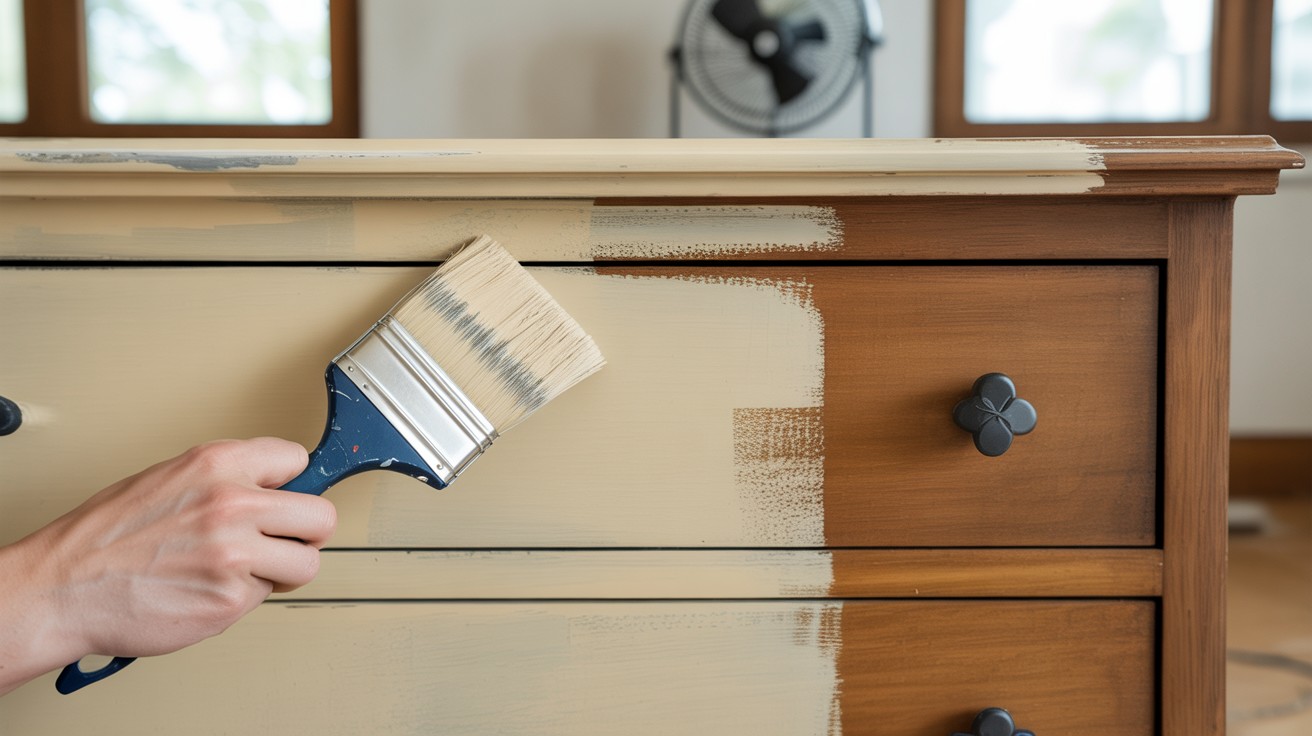
Proper application technique determines the quality and longevity of your finished project.
Apply thin, even coats rather than trying to achieve complete coverage in a single application.
Allow each coat to dry completely before applying the next layer. Work in the direction of the wood grain when it’s visible to maintain a natural appearance.
Watch carefully for signs of poor adhesion such as beading or separation, which indicate inadequate surface preparation that needs immediate attention.
Step 6: Consider a Topcoat
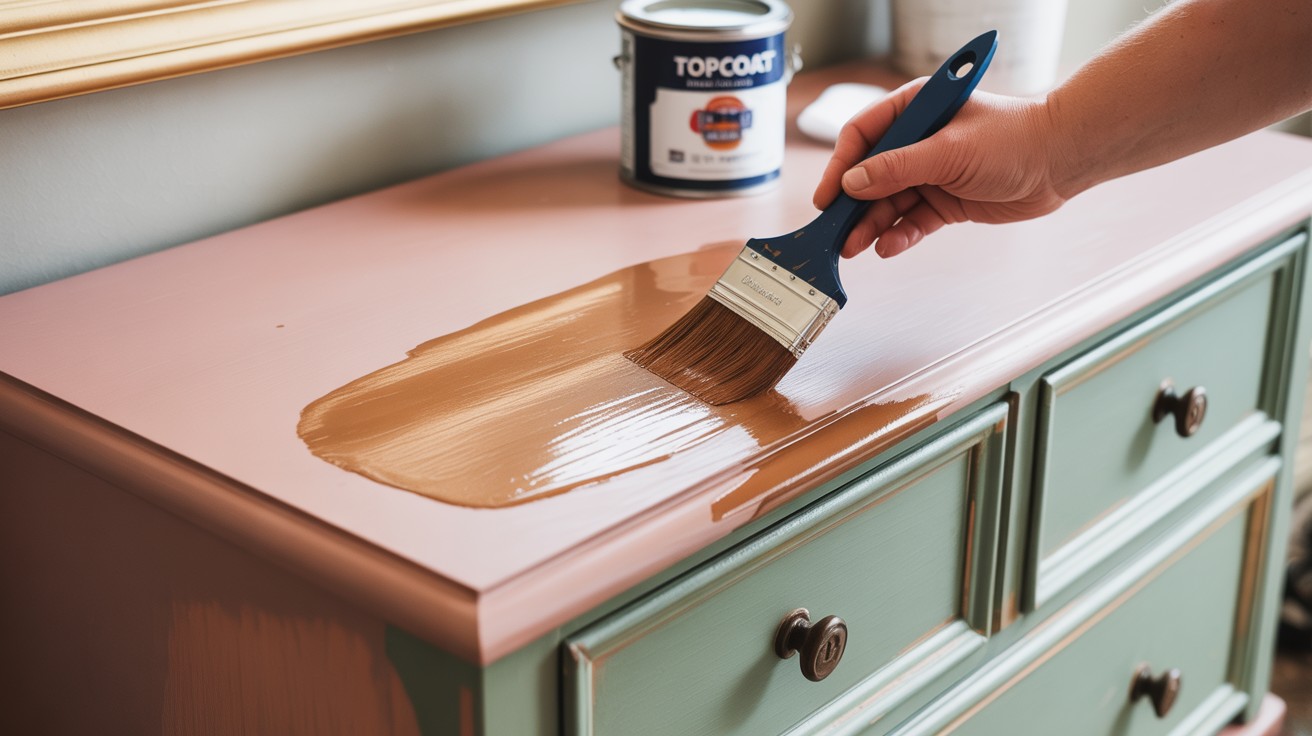
Protective topcoats become necessary for specific applications and usage patterns.
High-traffic furniture pieces and nursery items benefit significantly from protective sealants that resist wear and make cleaning easier.
Polycrylic provides a smooth satin or glossy finish that’s easy to clean and maintain. Wax adds a soft, velvety finish but requires more maintenance and periodic reapplication.
Tough Coat products offer excellent durability with straightforward application, making them ideal for busy households or commercial applications.
Tips for a Smooth Painting Process
- Professional techniques can make the difference between amateur and expert-looking results when painting over chalk paint.
- Use sponge-backed scrub pads during the cleaning process to reduce mess and maintain better control over solvent application.
- These pads hold cleaning solutions effectively while minimizing drips and splashes that can damage surrounding areas.
- Protect nearby surfaces with drop cloths or plastic sheeting before beginning any preparation work.
- Paint removal, sanding, and cleaning create debris that can stain floors, furniture, and walls.
- Proper protection saves significant cleanup time and prevents accidental damage to valuable items in your workspace.
- Always clean surfaces thoroughly both before and after sanding to ensure optimal paint adhesion.
- Pre-sanding cleaning removes accumulated dirt and grime, while post-sanding cleaning eliminates dust particles that can create texture problems in your final finish.
- This double-cleaning approach may seem excessive, but it prevents common adhesion failures that ruin otherwise careful work.
- When uncertainty exists about surface conditions or compatibility, test for wax presence and paint adhesion in an inconspicuous area first.
- Apply your intended paint system to a small, hidden section and allow it to cure completely.
- This test reveals potential problems before you commit to the entire project, saving time, materials, and frustration from having to start over.
Conclusion
Painting over chalk paint is entirely possible when you follow the proper preparation steps and choose appropriate materials for your project.
Success hinges on identifying existing topcoats, removing wax completely if present, and creating adequate surface texture through light sanding.
The key lies in thorough preparation rather than rushing to apply new paint directly over the old finish.
While the process requires more effort than standard repainting projects, the results can completely refresh your furniture and give new life to pieces that no longer match your style.
Whether you’re updating colors, fixing previous mistakes, or customizing thrift finds, understanding these techniques ensures professional-quality results.
Take time to test adhesion in hidden areas, use quality materials, and don’t skip preparation steps for lasting success.
Frequently Asked Questions
Do I need to remove all chalk paint before applying new paint?
No, you don’t need to remove all the chalk paint if it’s in good condition and properly adhered. However, you must remove any wax topcoat and lightly sand the surface to ensure proper adhesion of the new paint.
What happens if I paint over waxed chalk paint without preparation?
The new paint will likely peel, bubble, or fail to adhere properly since wax creates a barrier that prevents paint bonding. Always remove wax completely using mineral spirits before applying any new coating.
Can I use any type of paint over chalk paint?
Most paint types work over properly prepared chalk paint, including latex, hybrid alkyd, and specialty furniture paints. The key is adequate surface preparation and choosing the right primer when needed for optimal results.
How do I know if my chalk paint has a wax finish?
Rub the surface with your fingernail – if residue comes off, it’s wax. Wax also feels soft and smooth compared to the hard, glossy texture of polyurethane or other clear protective coatings.
Is primer always necessary when painting over chalk paint?
Primer isn’t always required but is recommended when painting over dark colors with lighter paint or when maximum adhesion is crucial. It helps prevent color bleeding and reduces the number of topcoats needed for complete coverage.