
Vinyl fences have become a popular choice for homeowners seeking a durable, low-maintenance fencing solution that offers both functionality and style.
These fences require minimal upkeep compared to traditional wood options, making them an attractive investment for busy property owners.
However, some homeowners eventually consider painting their vinyl fences for various reasons.
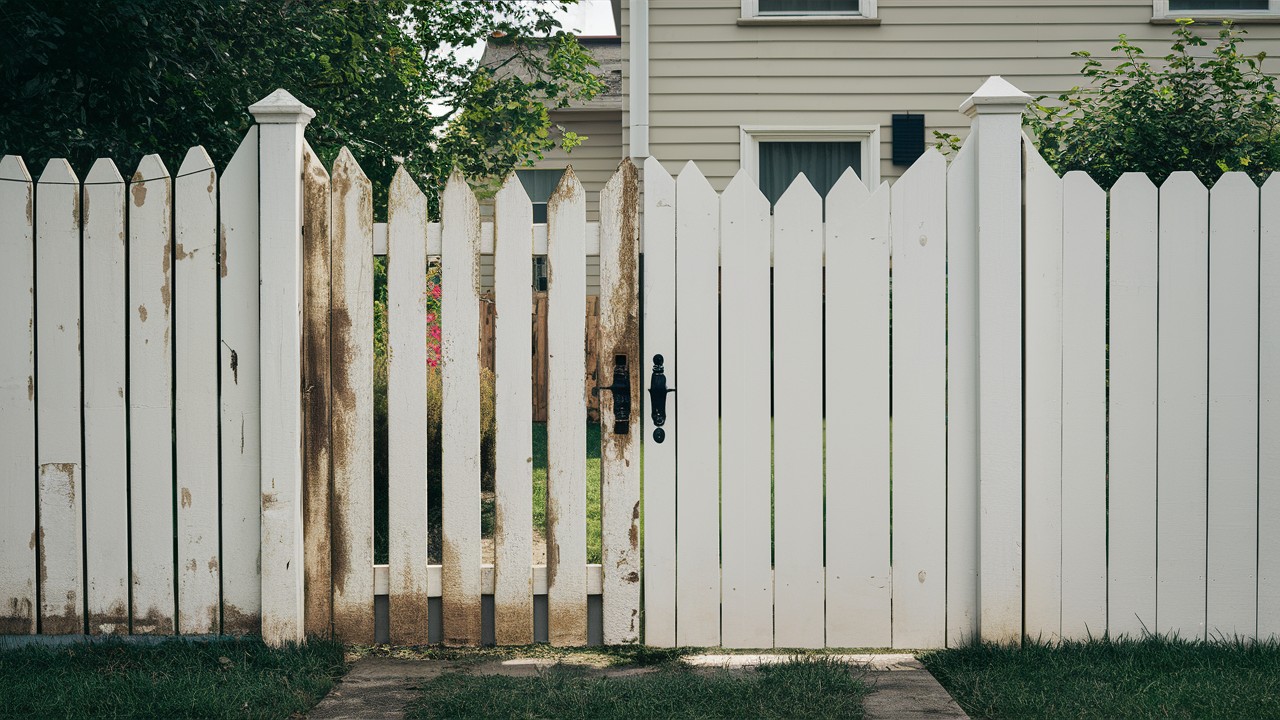
This might include updating the color to match new home exteriors, improving curb appeal, or refreshing the appearance of older fences that have begun to show signs of wear or fading.
While painting vinyl fencing is certainly possible, achieving professional-looking, long-lasting results requires careful preparation and the right products.
Success depends heavily on following proper techniques and using materials specifically designed for vinyl surfaces.
Should You Paint Your Vinyl Fence?
Key factors to consider when deciding whether painting your vinyl fence is the right choice for your specific situation and needs.
When Painting Makes Sense
Painting your vinyl fence becomes a practical choice when the fence has faded or become discolored over time, losing its original appearance and curb appeal.
If your home exterior has changed through renovations or updates and you want the fence color to match the new design scheme, painting offers an affordable solution.
Additionally, if you want a custom look without the expense of completely replacing the fence, painting allows you to achieve a personalized style that reflects your preferences.
When It’s Better to Avoid Painting
Consider avoiding painting if your fence is new and still under warranty, as painting may void the manufacturer’s coverage and leave you without protection for potential defects.
If you prefer a low-maintenance option and want to minimize ongoing upkeep requirements, keeping the original vinyl surface eliminates the need for future repainting cycles.
You should also reconsider painting if you’re thinking about dark paint colors, which may lead to warping due to increased heat absorption and thermal expansion of the vinyl material.
What You’ll Need to Paint a Vinyl Fence
Comprehensive list of essential tools, materials, and supplies needed to successfully paint a vinyl fence with professional results.
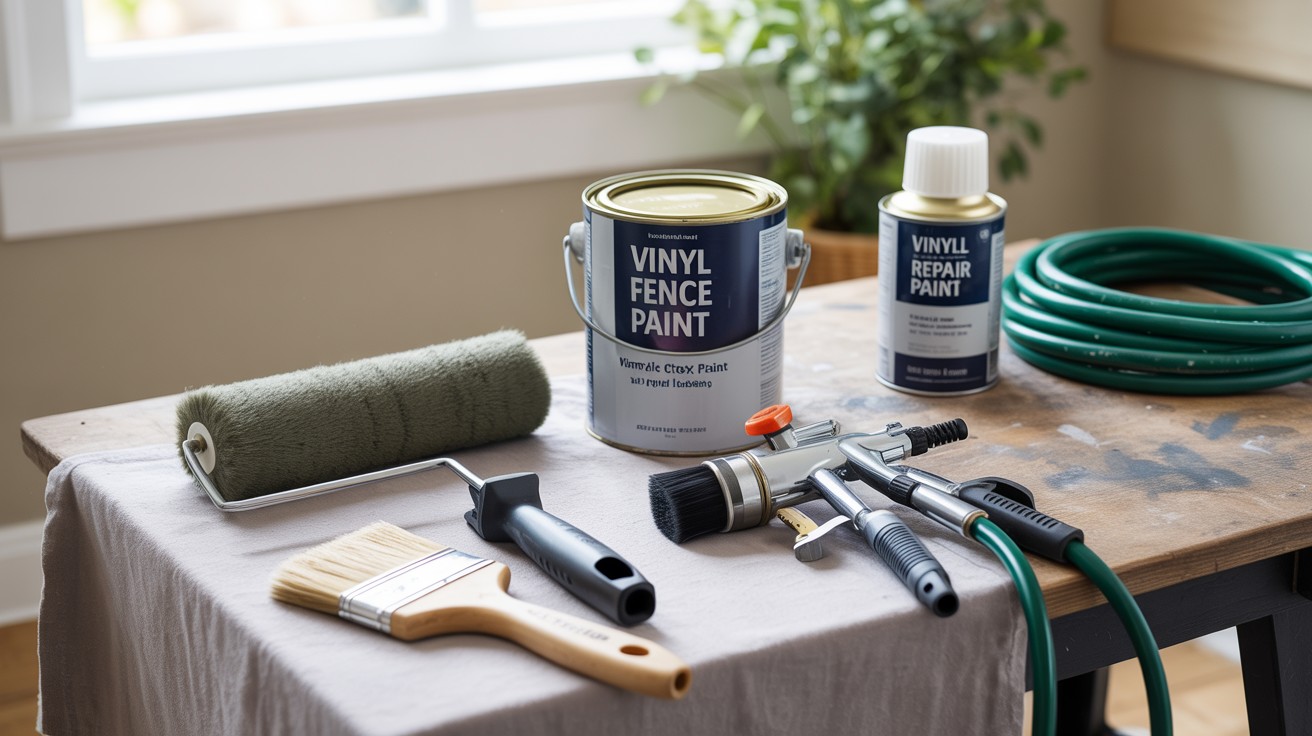
Essential Tools and Supplies
Before starting your vinyl fence painting project, gather these necessary materials to ensure smooth progress and professional results.
Paint Products:
- Vinyl-safe acrylic latex exterior paint designed to adhere properly to plastic surfaces
- Vinyl-specific or general-purpose primer that bonds effectively with synthetic materials
Application Tools:
- Paint roller for covering large, flat fence sections efficiently
- Paintbrush for detailed work around posts and decorative elements
- Paint sprayer as an alternative for faster coverage on extensive fence lines
Preparation Equipment:
- Sandpaper or wire brush to create surface texture for better paint adhesion
- Garden hose or power washer to remove dirt, mildew, and surface contaminants
Repair Materials:
- Vinyl repair kit to fix any cracks, holes, or damage before painting begins
Having all these supplies ready beforehand prevents interruptions during the painting process and helps achieve optimal results.
Step-by-Step Guide to Painting a Vinyl Fence
Complete instructions for painting vinyl fencing, covering cleaning, repairs, surface preparation, paint application, and proper curing techniques.
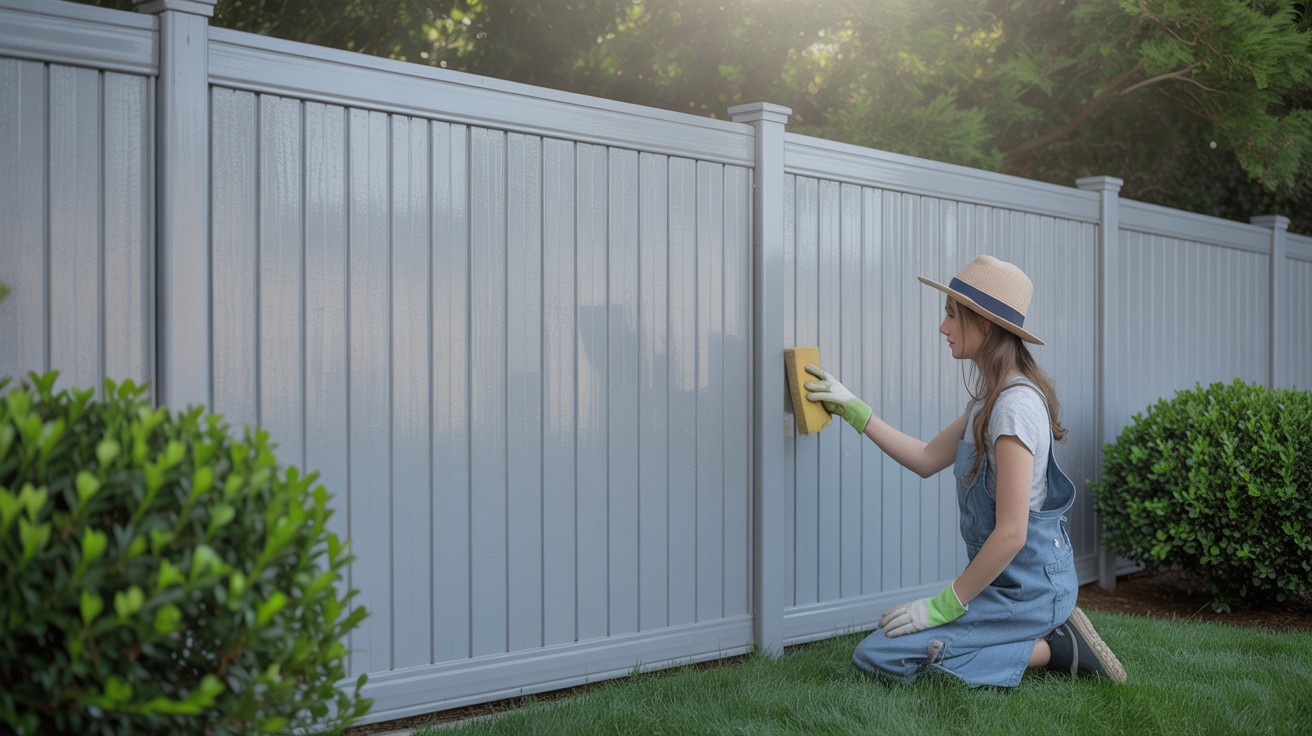
Step 1: Clean the Fence Thoroughly
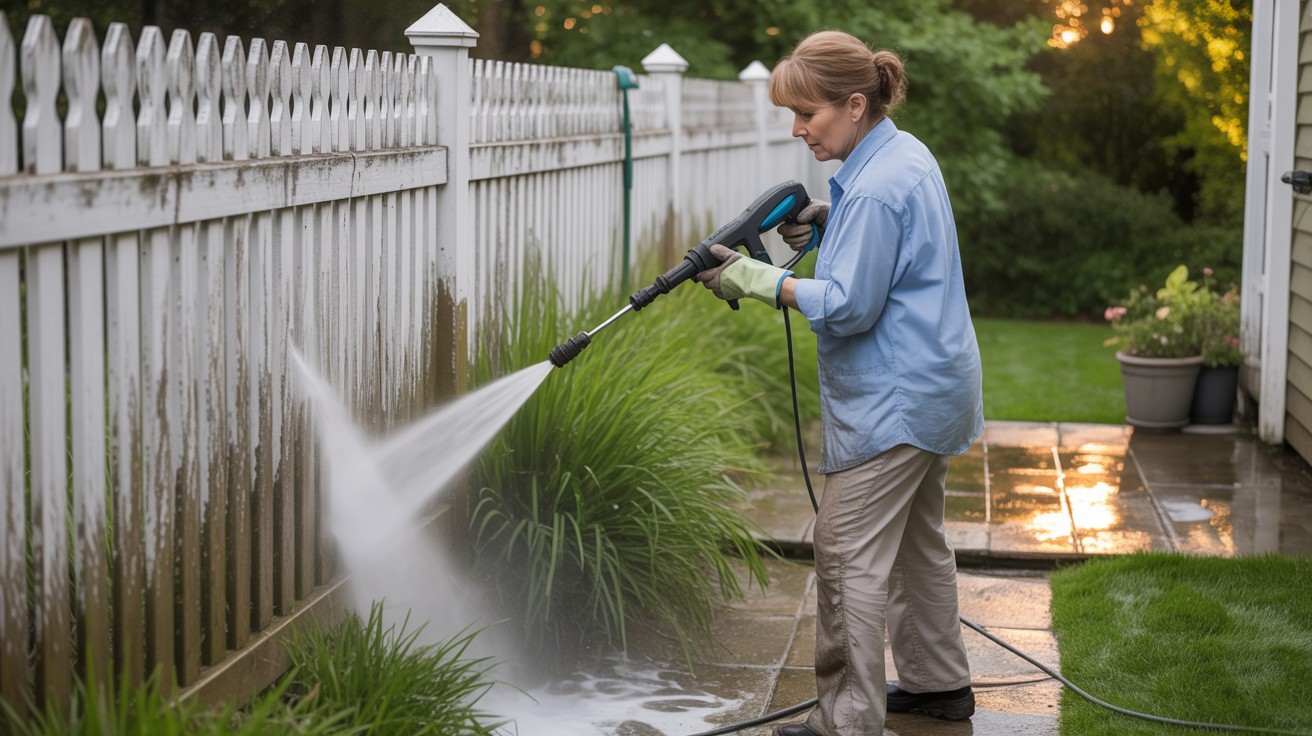
Begin by removing all dirt, grease, mold, or chalky residue from the fence surface.
Use a scrub brush combined with mild detergent and a garden hose to clean each section methodically.
If you opt for a power washer, maintain at least 6 inches distance from the vinyl to avoid damage while ensuring effective cleaning.
Step 2: Repair Any Damage
Carefully inspect the entire fence for cracks, chips, or holes that could affect the final appearance.
Use a vinyl repair kit to patch any damaged areas you find.
Allow all repaired sections to dry completely before moving forward with the painting process.
Step 3: Prep the Surface
Lightly sand the vinyl surface using fine-grit sandpaper or a wire brush to create texture for better paint adhesion.
Wipe away all dust particles and ensure the surface remains clean.
Apply primer evenly across all areas and allow it to dry according to the manufacturer’s specific instructions.
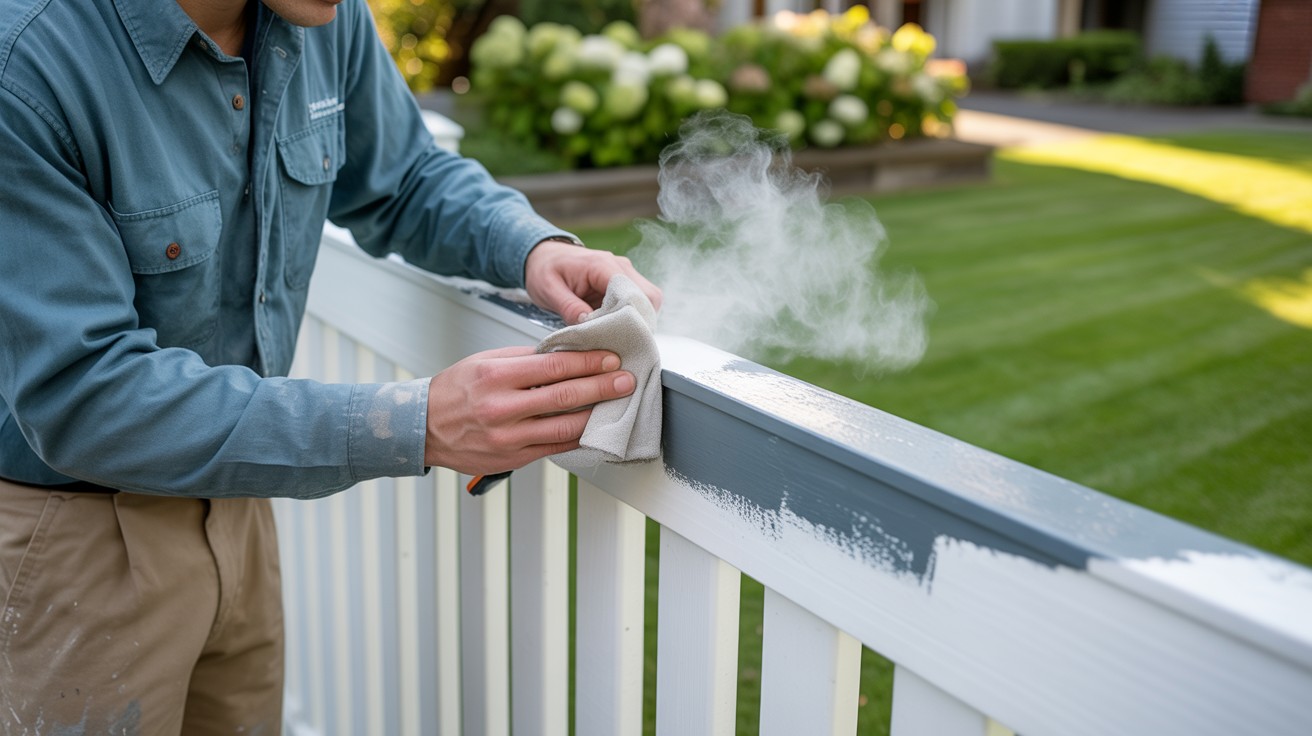
Step 4: Apply the Paint
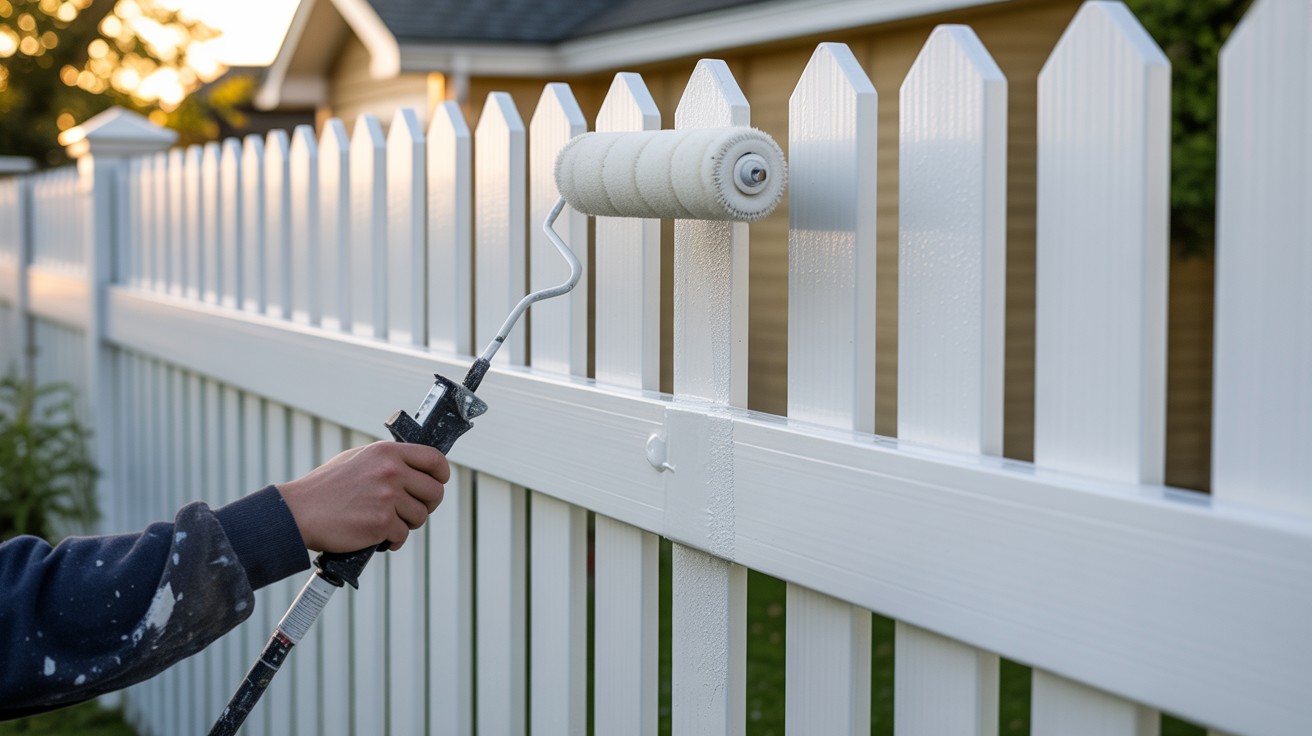
Use even brushstrokes, a sprayer, or roller to achieve a smooth, professional finish.
Start painting from the top sections and work downward to prevent unsightly drips.
Apply thin coats rather than thick ones, allowing each coat to dry fully before applying the next layer.
Step 5: Allow Proper Curing Time
Let the paint cure for at least 24 hours before touching or using the fence normally.
Avoid painting during extremely hot, cold, or humid weather conditions, as these can negatively impact the final results and drying process.
Tips for a Long-Lasting Finish
Choose light shades for your vinyl fence to reduce heat absorption and prevent potential warping, as darker colors can cause the vinyl to expand excessively in direct sunlight, leading to structural issues and compromised paint adhesion over time.
Consider adding a UV-resistant clear sealant over your painted surface to enhance durability and fade resistance, as this protective layer helps shield the paint from harsh weather conditions and prolongs the overall appearance of your fence.
Clean the painted fence regularly using gentle methods to extend its lifespan and maintain its fresh appearance, and be prepared for occasional touch-ups since paint may chip or peel over time due to weather exposure and normal wear.
Regular inspection allows you to address minor issues before they become major problems, ensuring your painted vinyl fence continues looking great for years to come while protecting your investment in materials and labor.
Conclusion
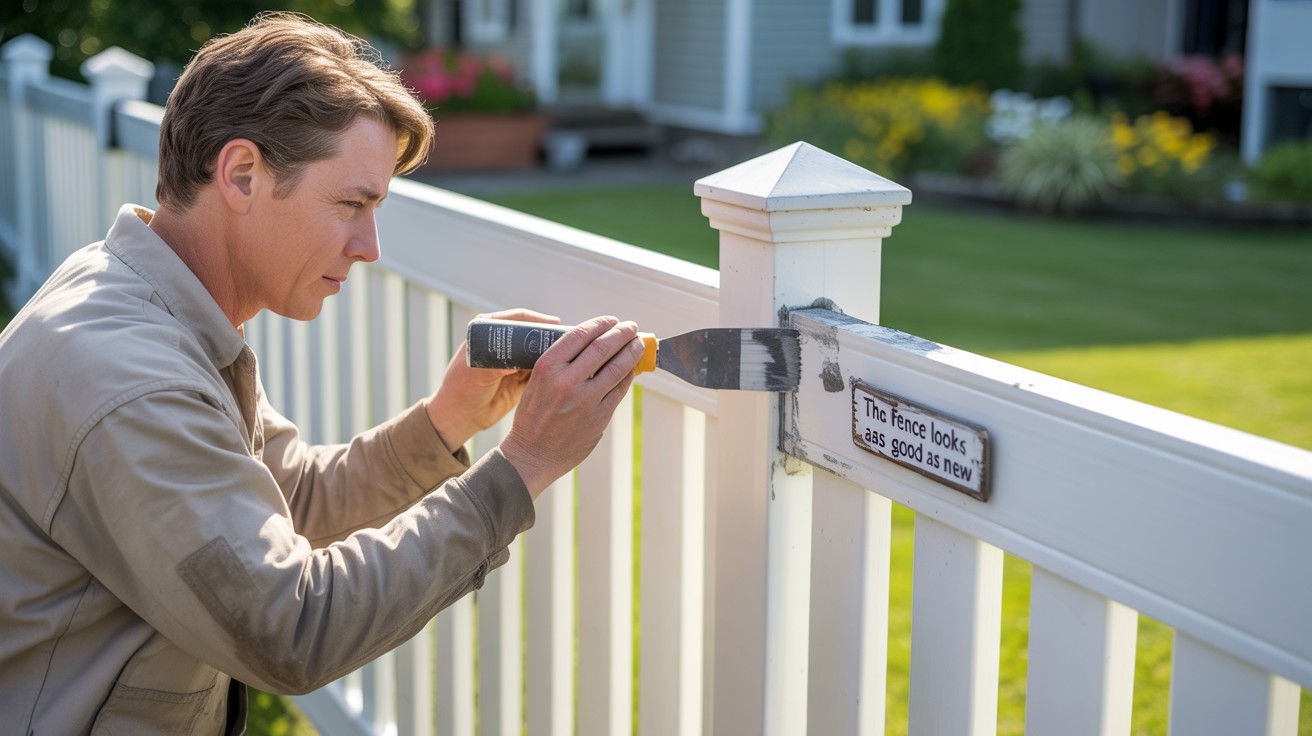
Painting your vinyl fence represents a DIY-friendly project that most homeowners can successfully complete with proper preparation and the right tools.
This approach works particularly well for reviving older fences that have lost their original luster or for achieving a personalized look that matches your specific design preferences.
The process requires patience and attention to detail, but the results can significantly improve your property’s appearance without the substantial cost of fence replacement.
However, if you want a lasting color solution without ongoing maintenance requirements, consider upgrading to pre-colored vinyl fencing instead.
This alternative provides the color you want while maintaining the low-maintenance benefits that make vinyl fencing so popular among homeowners seeking both durability and style for their outdoor spaces.
Frequently Asked Questions
Can you paint vinyl fencing?
Yes, vinyl fencing can be painted successfully with the right preparation and materials. Use vinyl-safe acrylic latex paint and proper primer for best results.
What type of paint works best on vinyl fences?
Vinyl-safe acrylic latex exterior paint is the recommended choice for painting vinyl fences. This paint type adheres well to plastic surfaces and provides long-lasting coverage.
Do I need to prime vinyl fencing before painting?
Yes, applying primer is essential for proper paint adhesion on vinyl surfaces. Use a vinyl-specific or general-purpose primer designed for plastic materials.
How long does paint last on vinyl fencing?
With proper preparation and quality materials, paint on vinyl fencing typically lasts 5-10 years. Regular maintenance and touch-ups can extend the paint’s lifespan significantly.
Should I avoid certain paint colors on vinyl fences?
Yes, avoid dark colors as they absorb more heat and can cause vinyl to warp. Light colors are recommended to prevent thermal expansion and maintain fence integrity.