
Are you staring at that outdated or stained sink in your bathroom or kitchen, wondering if there’s a way to give it new life without breaking the bank?
You’re absolutely right to consider your options before rushing into an expensive replacement.
Painting your sink might sound unconventional, but it’s actually a smart solution that many homeowners are choosing.
Instead of spending hundreds or thousands on a new sink and installation, you can transform your existing one for a fraction of the cost.
The best part? When done correctly, painted sinks can be surprisingly durable and last for years.
You’ll save money, avoid the hassle of plumbing work, and still get that fresh, updated look you’re after.
Ready to see if your sink is a good candidate for this budget-friendly makeover?
Why You Might Want to Paint a Sink

Sometimes your sink is perfectly functional, but it just doesn’t match your current style anymore. Painting allows you to update the color without committing to a full bathroom renovation.
You can easily coordinate your painted sink with new countertops, cabinetry, or tile work.
A new sink can cost anywhere from $100 to $1000 or more, plus installation fees.
Painting your existing sink typically costs under $50 in materials and can be completed in a weekend, making it ideal for tight budgets.
While painted sinks aren’t permanent like ceramic or porcelain, they can last for months to years, depending on preparation and paint quality.
This option works particularly well for guest bathrooms or low-traffic sinks that don’t see heavy daily use.
Materials and Tools You’ll Need
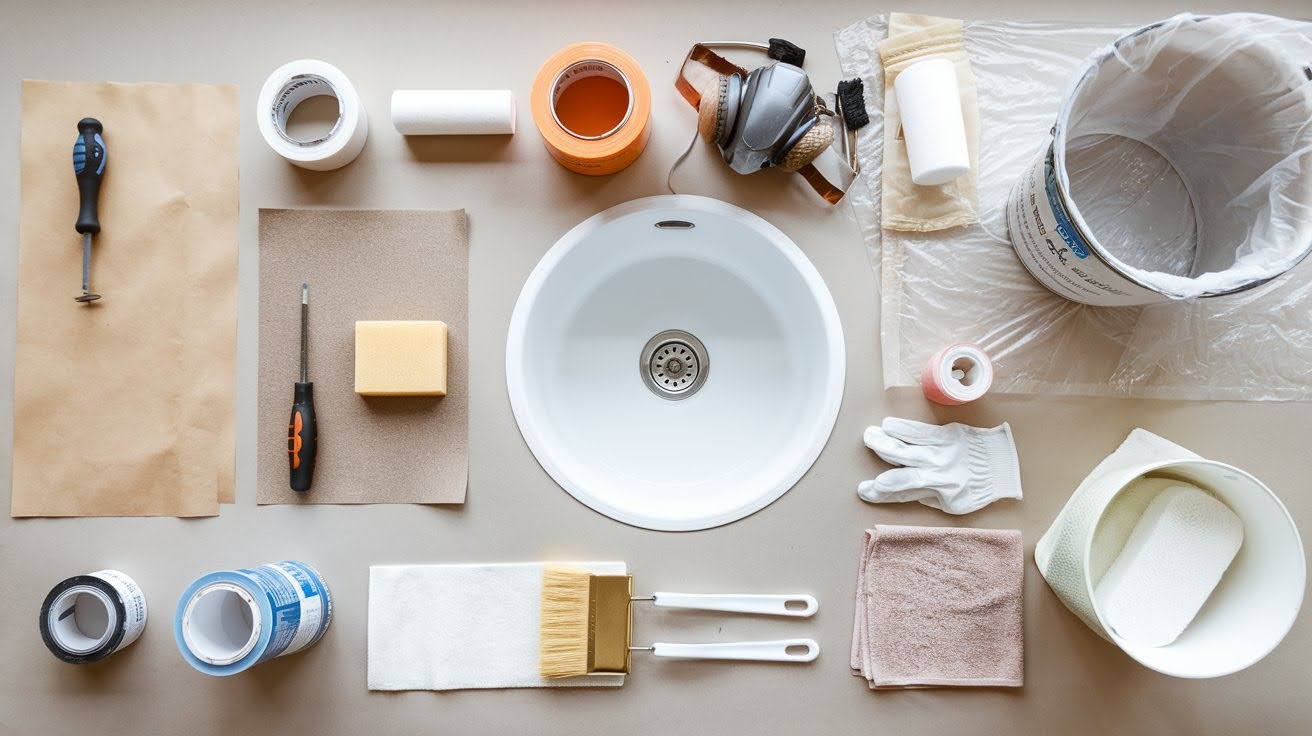
- Screwdriver, basin wrench, scraper: Basic hand tools for disconnecting plumbing and removing old caulk and debris from sink edges.
- Sandpaper or sanding sponge (400-600 grit): Roughens the surface for better paint adhesion and removes glossy finishes.
- Painter’s tape, plastic sheeting/drop cloth: Protects surrounding areas from overspray, drips, and accidental paint coverage.
- Bucket, tack cloth or microfiber towel: For holding water and cleaning supplies, plus removing dust particles between preparation steps.
- Gloves, respirator mask, eye protection: Essential safety gear to protect against chemicals, fumes, and airborne debris during the project.
- 2-part epoxy paint, specialty spray paint, latex paint: Various paint options ranging from highly durable epoxy formulations to easier-to-use alternatives.
Step-by-Step Guide to Painting a Sink
Detailed instructions covering area preparation, hardware removal, surface cleaning, sanding, paint application, curing time, and reassembly for successful sink painting.
1. Prep the Area

Start by clearing everything out of your bathroom or kitchen work area. You need plenty of room to move around without bumping into things. Protect your floors and walls with plastic sheeting or old towels.
Open windows and turn on exhaust fans. Good ventilation is crucial when working with paint fumes.
2. Remove Hardware
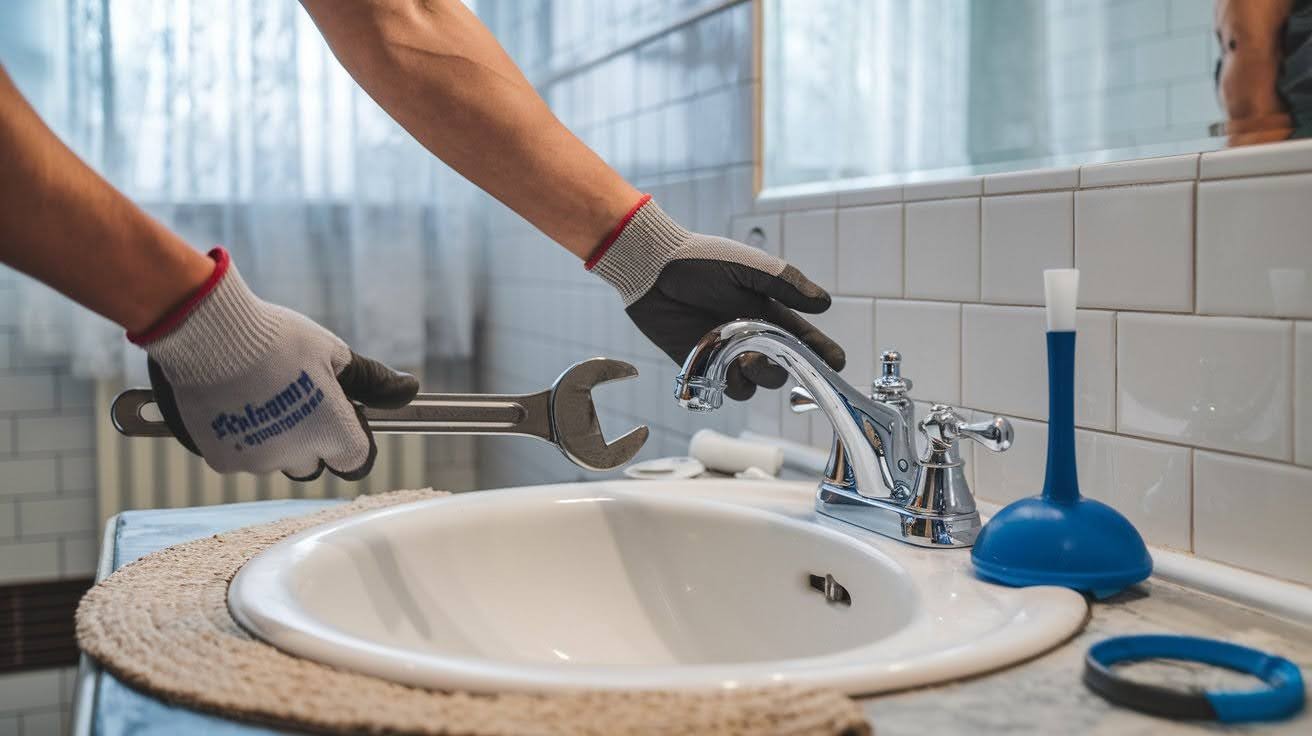
Turn off the water supply valves under the sink. You don’t want any surprises while you’re working. Remove the faucet, handles, and drain cover carefully. Keep all screws and small parts in a labeled container so you don’t lose them.
3. Clean and Sand the Sink
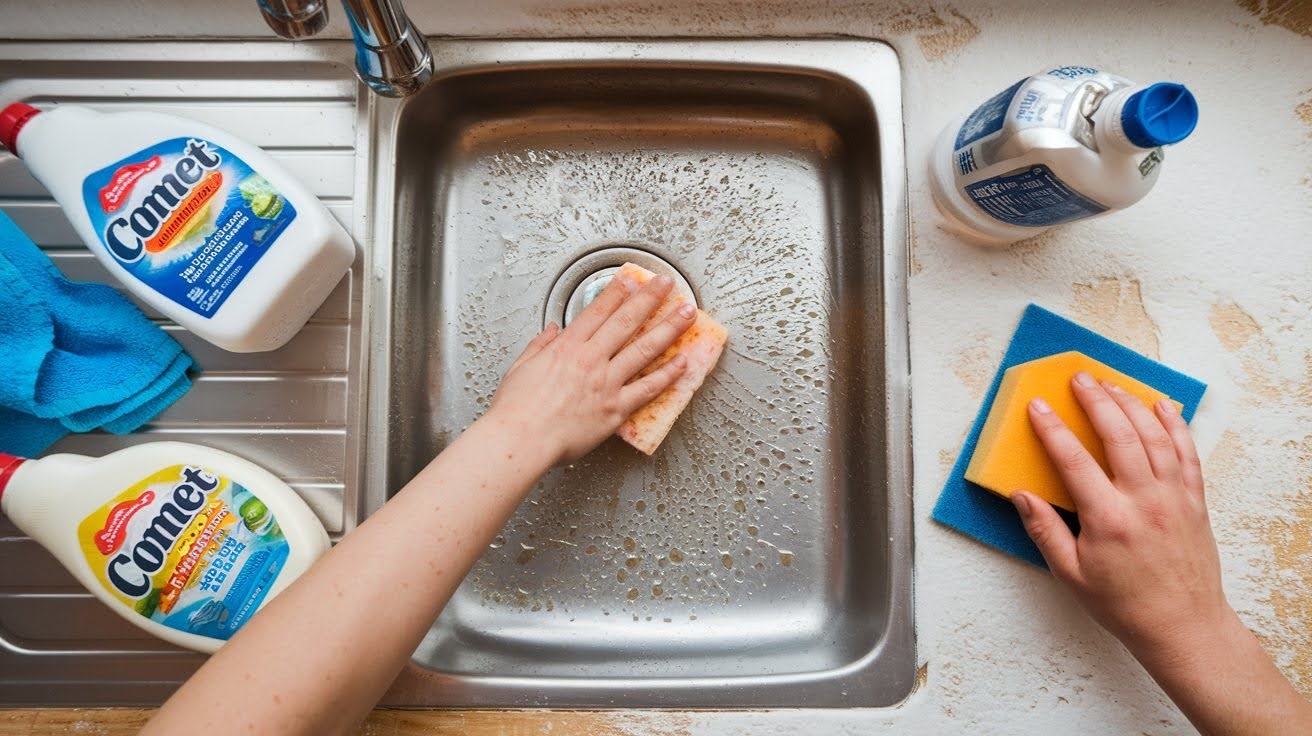
Here’s where the real work begins. Remove all old caulk around the edges with a scraper. Scrub the entire sink with a strong cleanser like Comet with bleach, Lime-Away, or TSP.
Now comes the sanding. Use 400-600 grit sandpaper to create a smooth, non-glossy surface. This step determines how well your paint will stick.
4. Tape and Protect Surrounding Areas
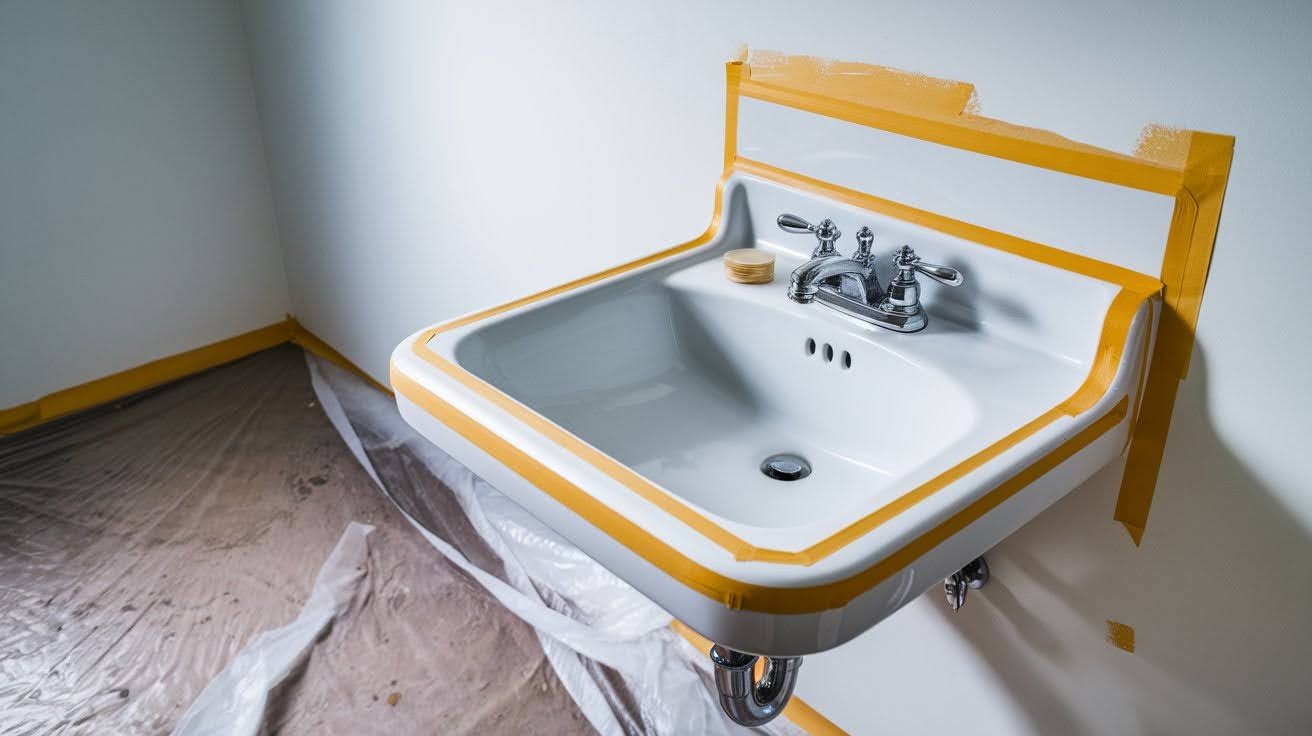
Apply painter’s tape carefully to walls, countertops, and edges. Take your time here. Rushed taping leads to messy paint lines. Lay drop cloths on the floor to catch any drips.
5. Apply the Paint
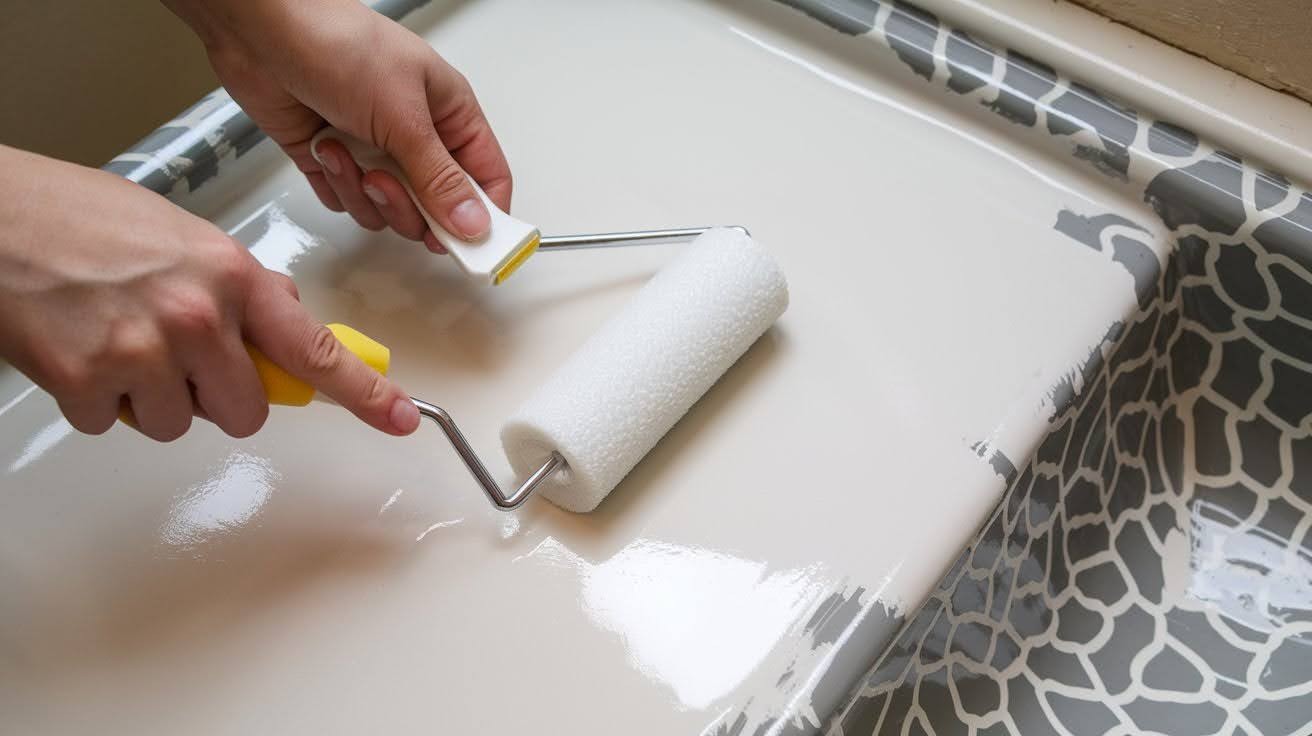
Mix your 2-part epoxy according to package directions if that’s your chosen paint. Use a mini roller for flat areas and a foam brush for corners and tight spots.
Apply 2-3 thin coats rather than one thick coat. Thin coats dry more evenly and last longer. Wait 1-2 hours between each coat.
6. Allow Paint to Cure

This is the hardest part. Wait. Let your painted sink cure for at least 72 hours before reinstalling hardware. I know it’s tempting to rush, but patience pays off with better durability.
7. Reinstall Hardware
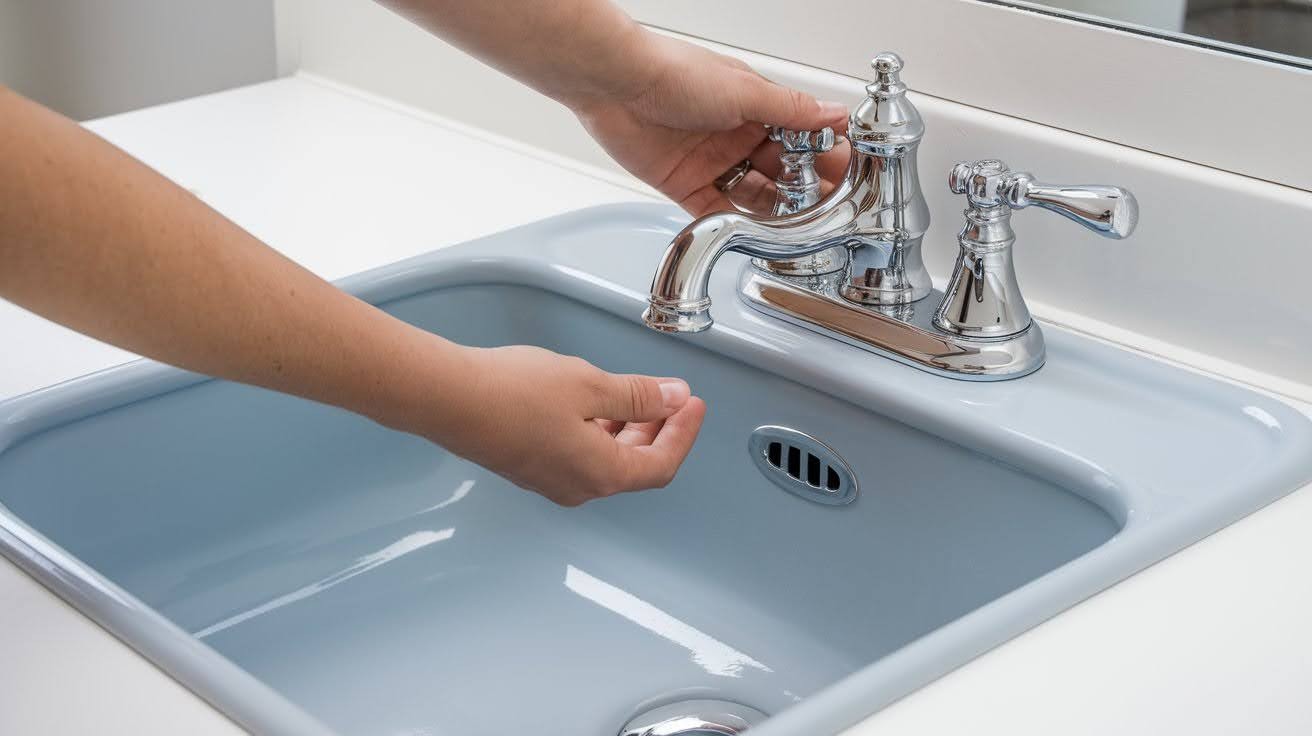
Carefully reinstall your faucet, handles, and drain. Check for any spots that need touch-ups. Apply new caulk around the edges for a finished look.
Tips for a Successful Painted Sink
- Apply Thin Coats Instead of Thick Ones: Multiple thin layers create a smoother, more durable finish than one heavy coat. Thick paint tends to drip, bubble, and peel over time.
- Take Your Time with Preparation: Proper cleaning, sanding, and priming create the foundation for a finish that won’t chip or wear away quickly.
- Ensure Adequate Ventilation Throughout the Project: Open windows and run exhaust fans to protect your health and help the paint cure properly.
- Choose Low-Traffic Locations for Best Results: Guest bathrooms and powder rooms are ideal candidates since they see less daily wear and tear.
Pros and Cons of Painting a Sink
Pros
- Affordable and Quick Update: Costs under $50 in materials and can be completed in a weekend without plumbing work.
- Customizable Colors: Choose any shade to match your decor and coordinate with existing design elements.
- Prevents Immediate Replacement Cost: Postpone expensive sink replacement while saving for higher-quality fixtures or larger renovations.
Cons
- Not Permanent Solution: Painted finishes may show wear, chips, or scratches over time with heavy use.
- Fumes Require Proper Ventilation: Paint fumes can be strong, and some people are sensitive to these chemicals.
- May Not Be Ideal for High-Use Sinks: Kitchen sinks and primary bathrooms see heavy use that reduces the painted finish’s lifespan.
Conclusion
After helping countless homeowners with budget-friendly bathroom updates, I can confidently say that painting a sink is not only possible but surprisingly practical.
I’ve seen amazing changes that lasted years when done correctly.
This project is perfect for DIYers working with tight budgets or anyone needing a temporary solution while planning larger renovations.
The key to success lies in following proper preparation, paint application, and care steps. Don’t rush the process.
I’ve watched too many people skip the sanding or apply paint too thickly, only to see their hard work peel away within months.
Take your time with each step, choose quality materials, and you’ll be amazed at how professional your results can look. Your wallet will thank you too.
Frequently Asked Questions
How long does a painted sink finish typically last?
A properly painted sink can last 1-3 years in low-traffic areas like guest bathrooms. High-use kitchen sinks may show wear within 6-12 months, depending on care.
What type of paint works best for painting sinks?
Two-part epoxy paints like Rust-Oleum Tub & Tile provide the most durable finish. Specialty appliance paints and tub refinishing kits also work well.
Can I paint over a porcelain or ceramic sink?
Yes, both can be painted successfully with proper preparation. Thorough cleaning, light sanding, and appropriate primer are key to success.
Do I need to remove the sink to paint it properly?
Removing isn’t necessary, but it makes the job easier with better access. You can paint installed sinks by carefully masking surrounding areas.
What’s the biggest mistake people make when painting sinks?
Skipping proper surface preparation is the most common error. Inadequate cleaning, insufficient sanding, or rushing drying time causes paint failure.