
Looking for box trim on walls ideas that actually work? You’ve found the right place.
I’ve helped hundreds of homeowners change their plain walls into beautiful focal points. Box trim is one of the most effective ways to add instant appeal without breaking the bank.
In this guide, you’ll learn:
- 20+ proven box trim designs for every style and budget
- Step-by-step installation instructions anyone can follow
- Real cost breakdowns and money-saving tips
- Expert advice to avoid expensive mistakes
I’ve tested these techniques in my own home and guided countless DIY projects. The results speak for themselves, dramatic changes that look professionally designed.
If you want classic appeal or modern minimalism, I’ll show you exactly how to achieve it. Your boring walls are about to become your home’s best feature.
What Is Box Trim on Walls?
Box trim (also called wainscoting or panel molding) creates rectangular frames on your walls using thin strips of wood or MDF. Think of it as creating picture frames directly on your wall. But instead of holding photos, these frames hold paint colors, wallpaper, or just empty space.
The technique adds depth and visual interest to flat surfaces. It makes rooms look more expensive and thoughtfully designed.
Here’s what makes box trim special:
- Creates architectural detail where none existed
- Works in any room of your house
- Fits both traditional and modern styles
- Costs a fraction of real wainscoting
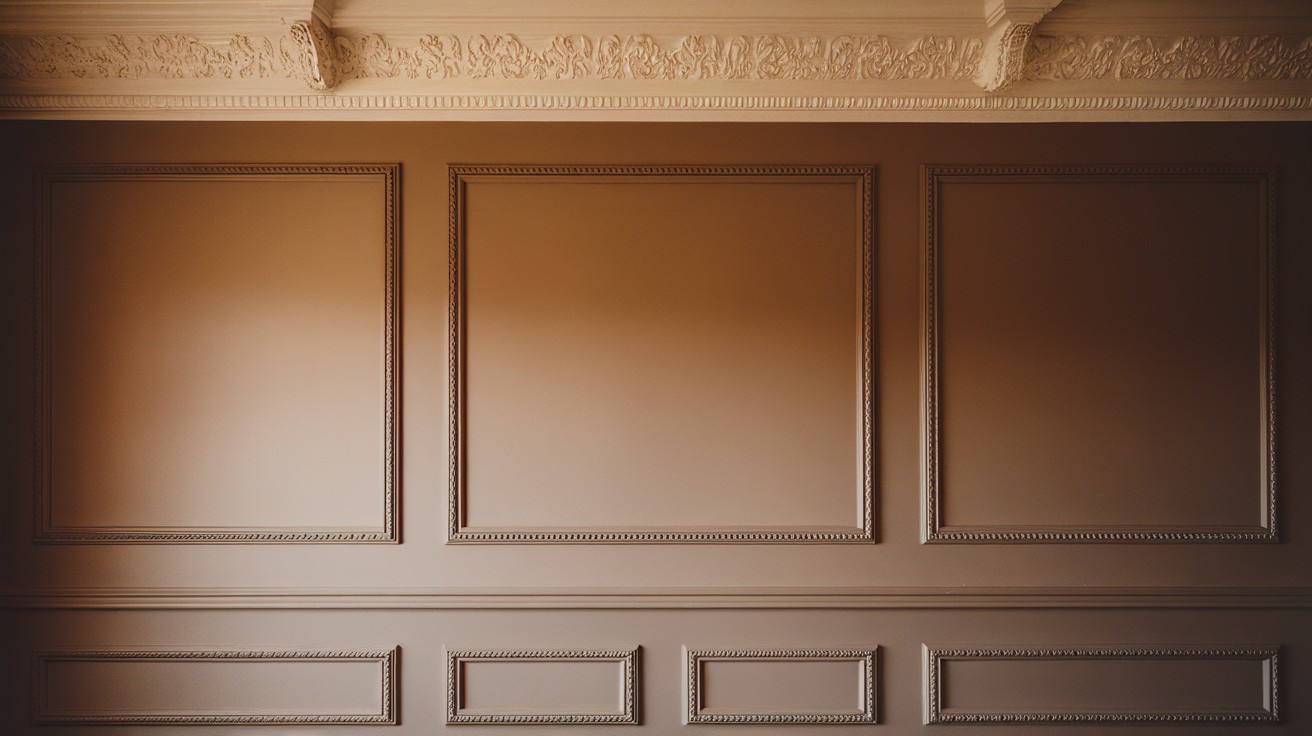
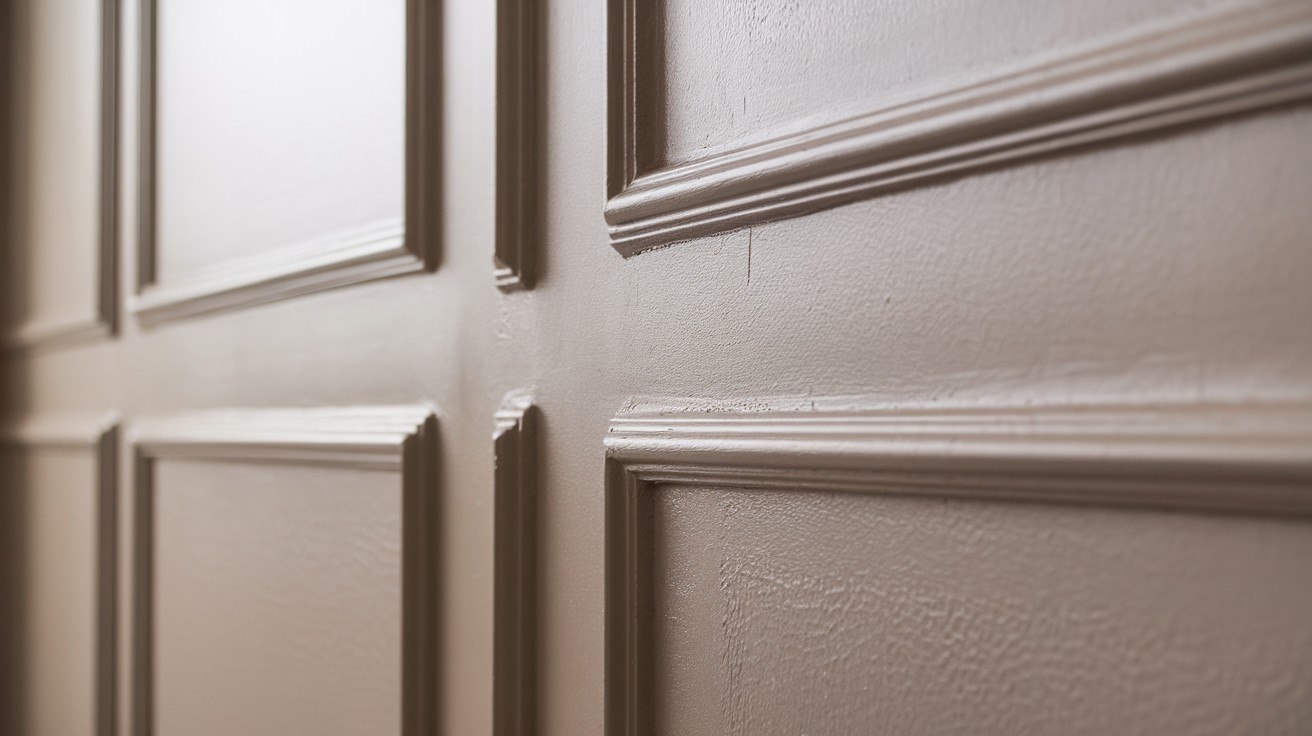
Classic & Polished Box Trim Designs
1. Half-Wall Box Trim with Chair Rail
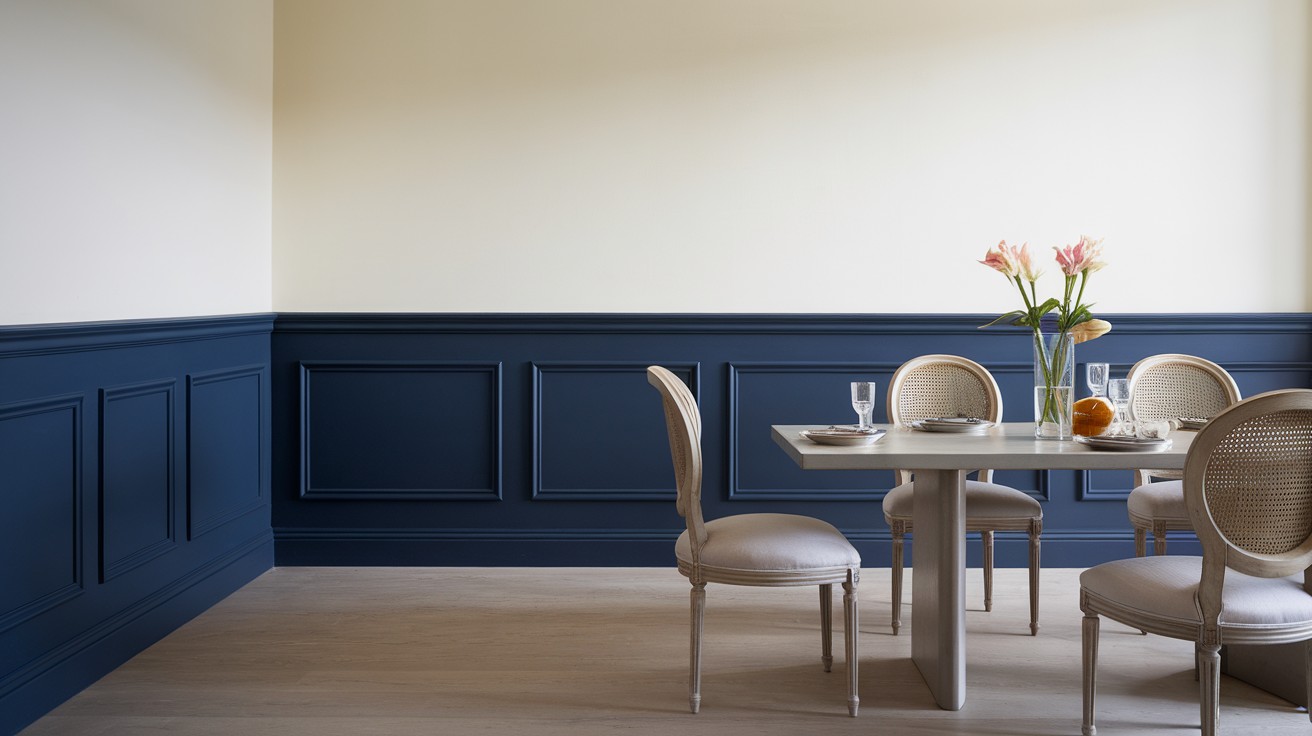
This timeless look stops halfway up your wall. Install your box trim panels below a chair rail (usually 36 inches from the floor). Paint the bottom section in a darker color than the top.
Why it works: Creates perfect proportions in dining rooms and hallways.
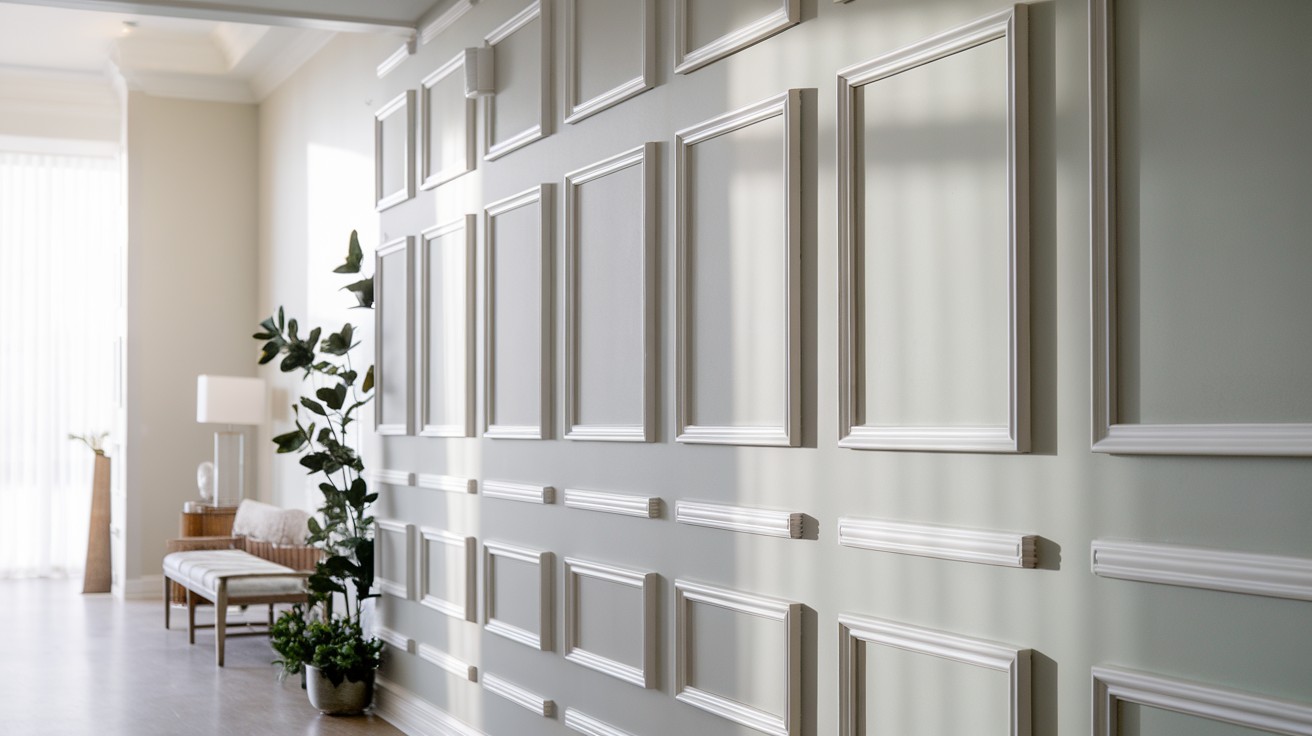
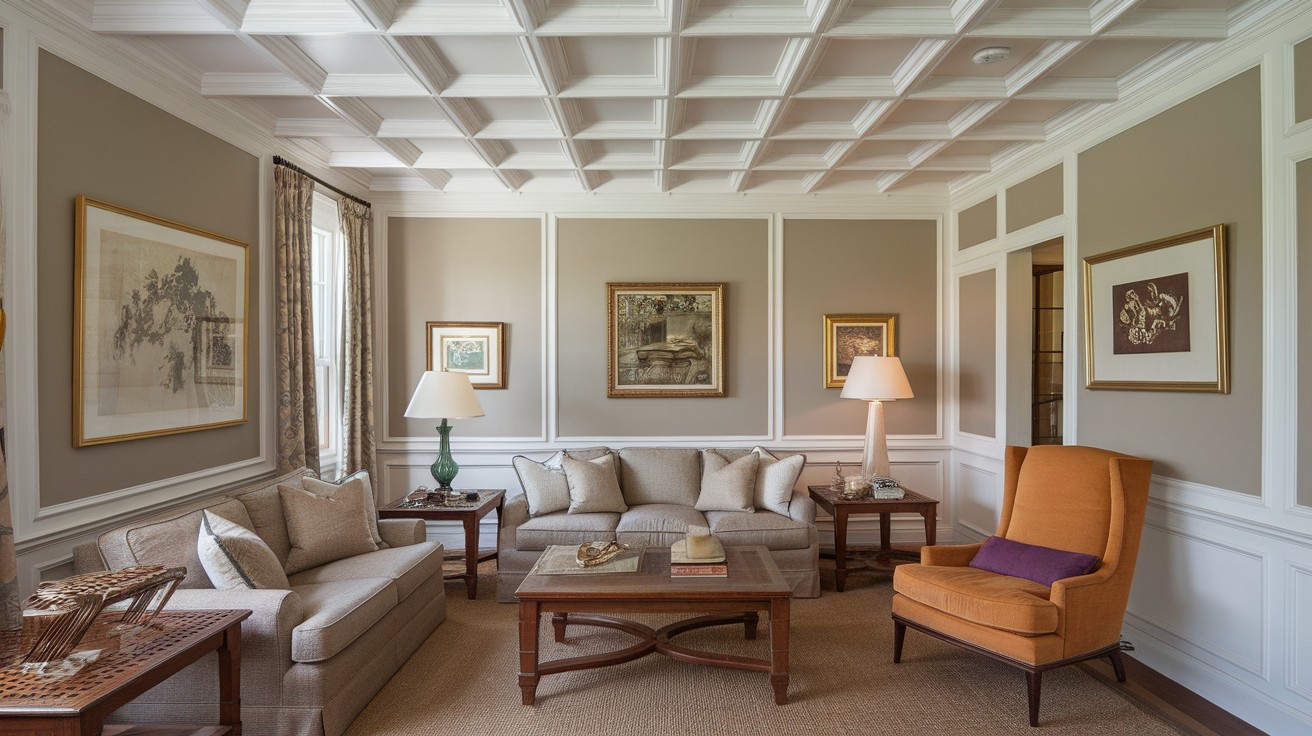
2. Refined Entryway Box Molding Panels
First impressions matter. Your entryway sets the tone for your entire home. Create three to five vertical panels on your main wall. Keep them evenly spaced and perfectly aligned.
Pro tip: Use a laser level to ensure straight lines.
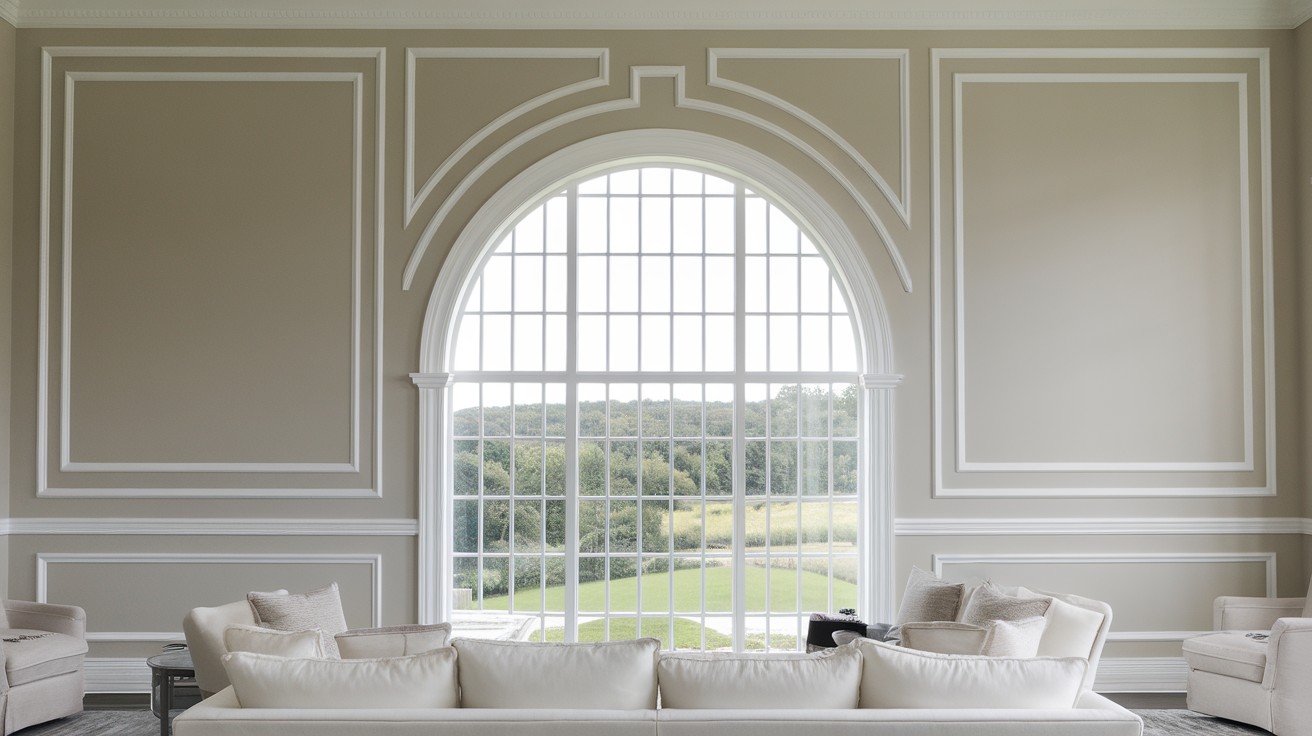
3. Ceiling-to-Floor Box Trim in a Dining Room

Go bold with floor-to-ceiling panels.
This creates dramatic height and makes your dining room feel like a fancy restaurant. Use wider trim (at least 3 inches) for maximum impact.
Color suggestion: Classic white trim with deep navy or forest green walls.
4. Double Layer Box Trim Layout
Want something unique? Layer your trim.
Create large rectangles first. Then add smaller rectangles inside each large one. This technique adds incredible depth and sophistication.
5. Mixing Box Trim with Crown and Base Molding
Combine box trim with existing molding for a custom millwork look.
Your crown molding becomes the top border. Your baseboards become the bottom border. The box trim fills the middle space.
Result: Expensive-looking built-ins without the cost.
6. Box Trim on Ceilings for Complete Style
Don’t stop at walls. Take your box trim to the ceiling.
Create matching rectangular panels above and below. This technique works especially well in bedrooms and living rooms.
Modern & Clean Box Trim Looks
7. Modern Living Room with Oversized Box Trim
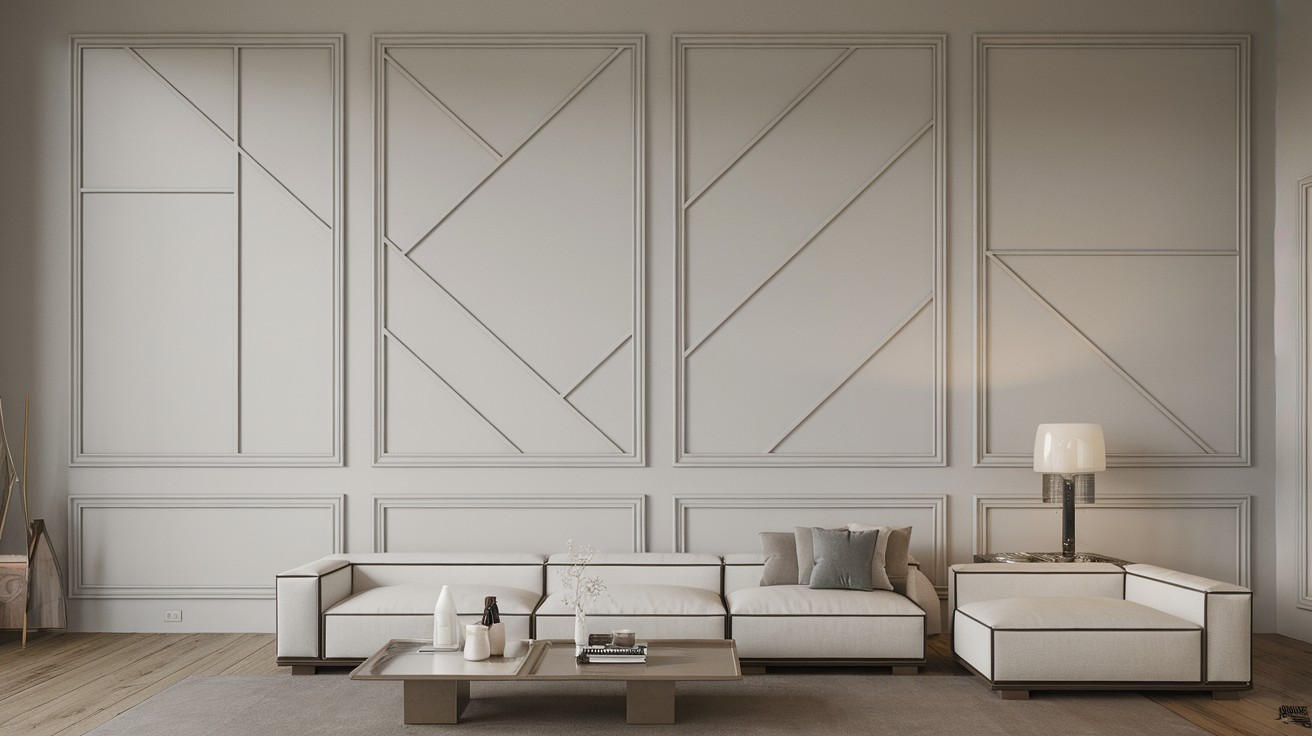
Bigger is better in modern design.
Create three large rectangles instead of many small ones. Keep spacing minimal and lines clean.
Paint tip: Use the same color for trim and walls. Vary the sheen instead (matte walls, satin trim).
8. Single-Color Box Trim for a Sleek Look
Forget contrast. Embrace tone-on-tone design. Paint everything the same color but use different sheens or slightly different tones of the same hue.
This creates subtle appeal without busy visual noise.
9. Black Box Trim for Bold, Contemporary Style
Black trim is having a moment.
Use matte black trim against white or light gray walls. The contrast is striking and modern.
Warning: This look is bold. Start with one accent wall if you’re unsure.
10. Simple Box Trim for Small Spaces
Small rooms need special treatment.
Use thin trim (1-2 inches wide) to avoid overwhelming the space. Create fewer, larger panels instead of many small ones.
Spacing rule: Keep panels at least 6 inches apart.
11. Tall Narrow Box Trim for Vertical Emphasis
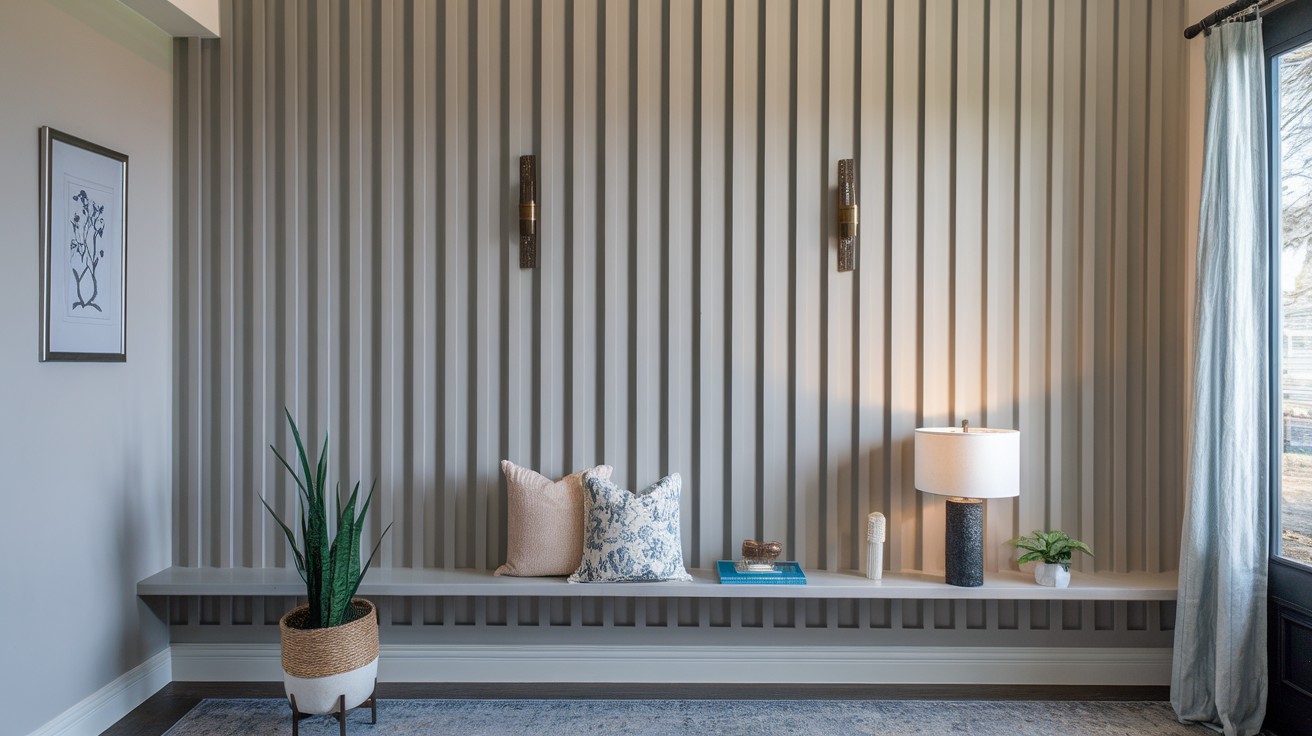
Make low ceilings look higher with vertical panels.
Create rectangles that are twice as tall as they are wide. This draws the eye upward and creates the illusion of height.
Creative & Custom Accents
12. Two-Tone Box Trim with Wallpaper Insets
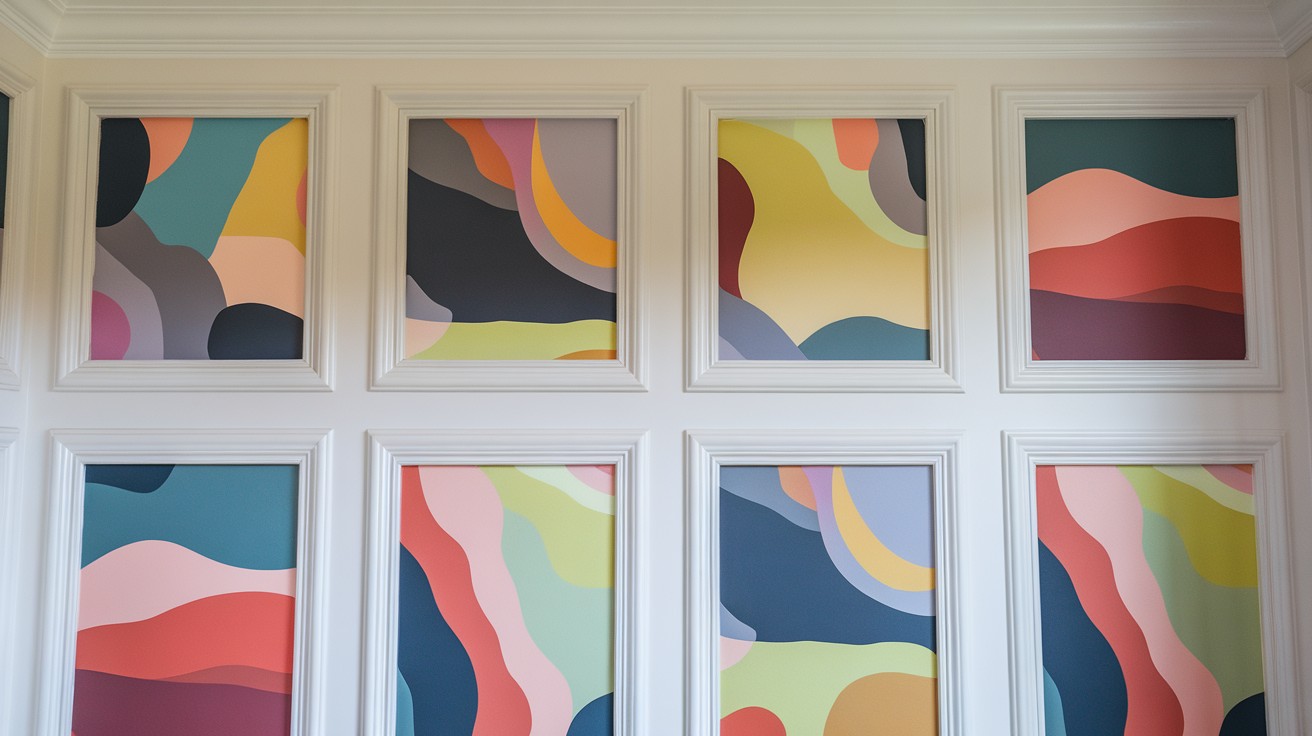
Combine trim with wallpaper for maximum impact.
Install your box trim first. Then add wallpaper inside each panel. Choose patterns that complement your room’s style.
Design tip: Use subtle patterns to avoid overwhelming the space.
13. Box Trim Painted the Same Color as the Wall
This creates texture without contrast.
Paint everything the same color but use different sheens. The trim will catch light differently, creating subtle definition.
This technique works beautifully in bedrooms and powder rooms.
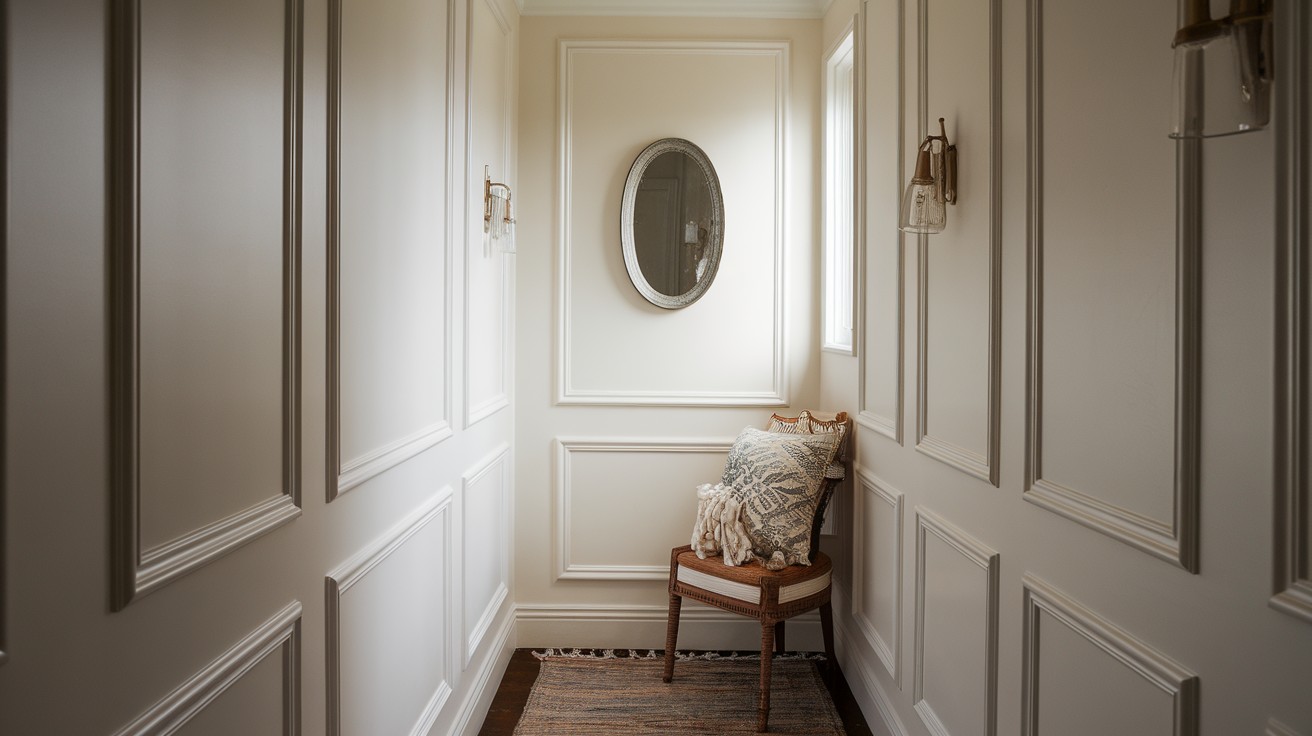
14. Box Trim Around Wall Art or Mirrors
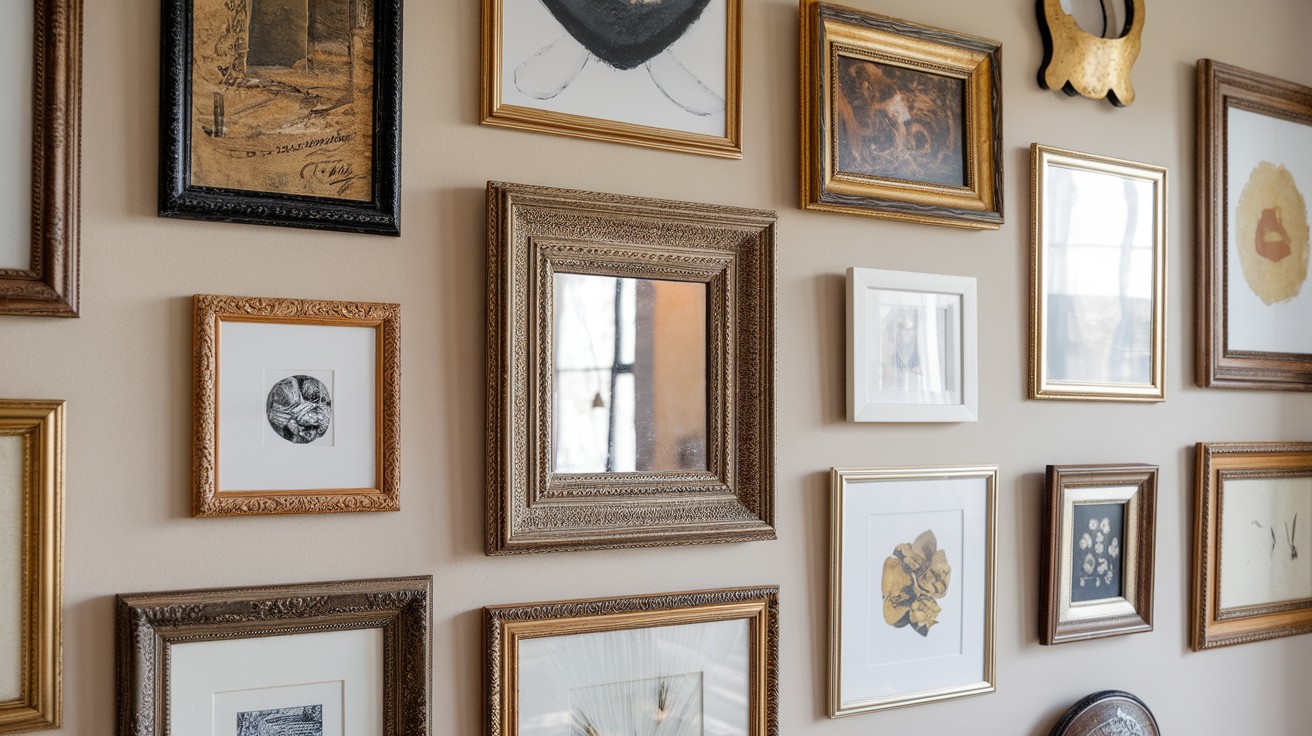
Frame your favorite pieces with trim.
Install box trim around existing artwork or mirrors. This creates a gallery wall effect and makes your pieces look more intentional.
15. Geometric Variations of Box Trim (Rectangles, Squares, Grids)
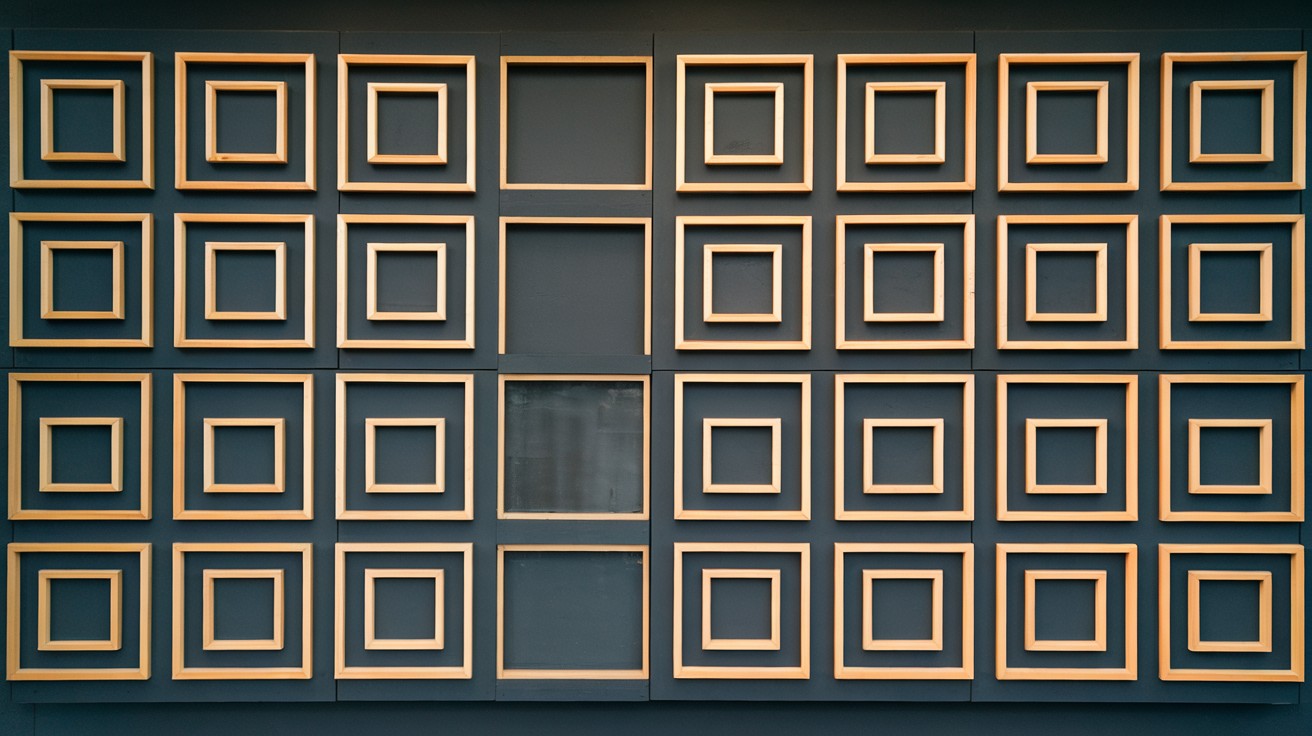
Break the rectangle rule.
Mix squares and rectangles for visual interest. Create a grid pattern or alternate sizes.
Layout tip: Plan your design on paper first. Measure twice, cut once.
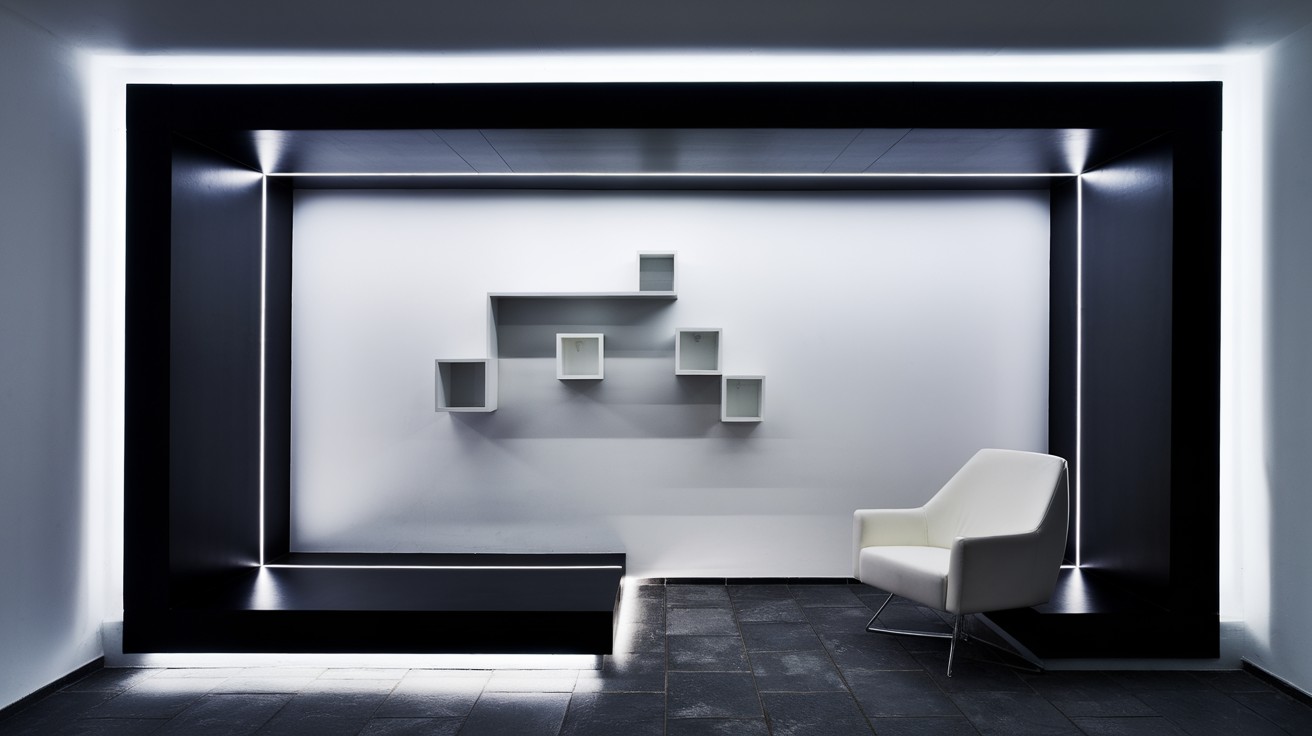
16. Box Trim with LED Accent Lighting
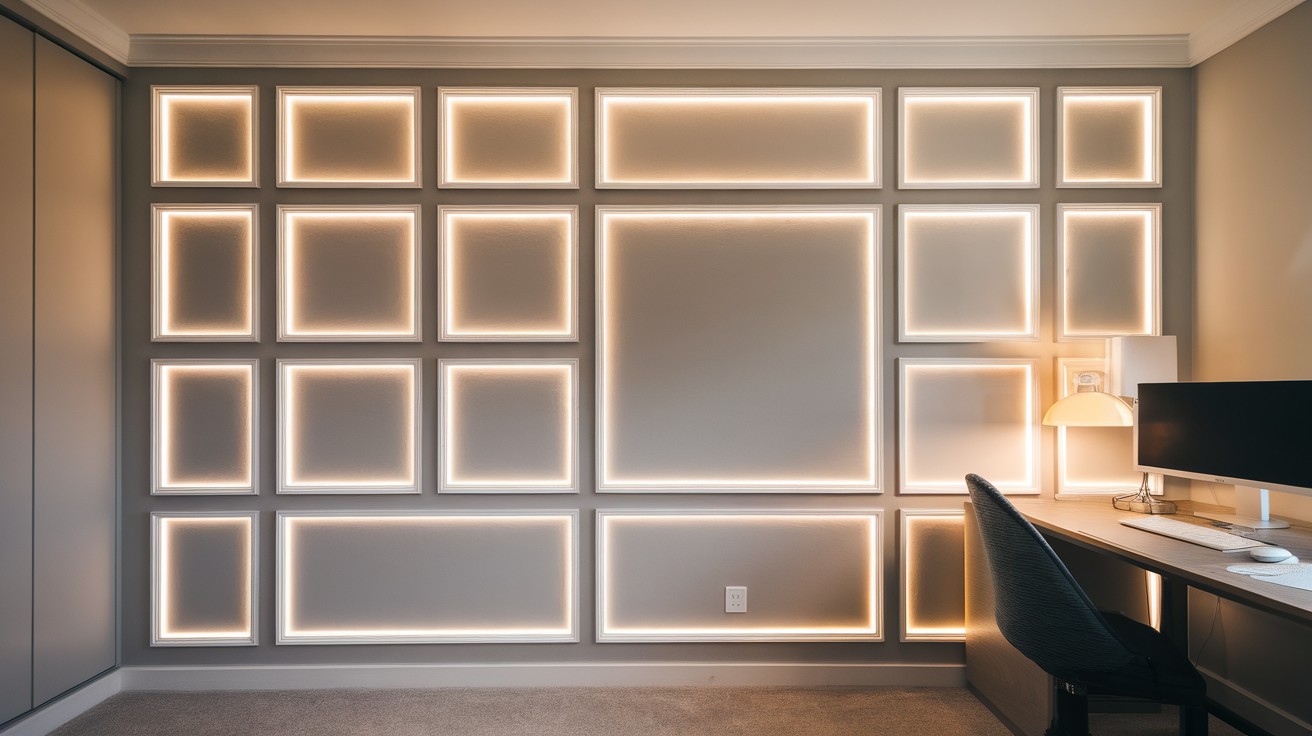
Add drama with hidden lighting.
Install LED strip lights behind your trim pieces. This creates a floating effect and adds ambiance.
Works especially well in home theaters and bedrooms.
Budget-Friendly & DIY Variations
17. DIY Faux Box Trim with Paint or Vinyl Tape

No carpentry skills? No problem.
Use painter’s tape to create the outline of box trim. Paint the interior a different color. Remove the tape for crisp lines.
Cost: Under $50 for most rooms.
18. Mudroom Bench Area with Framed Box Trim
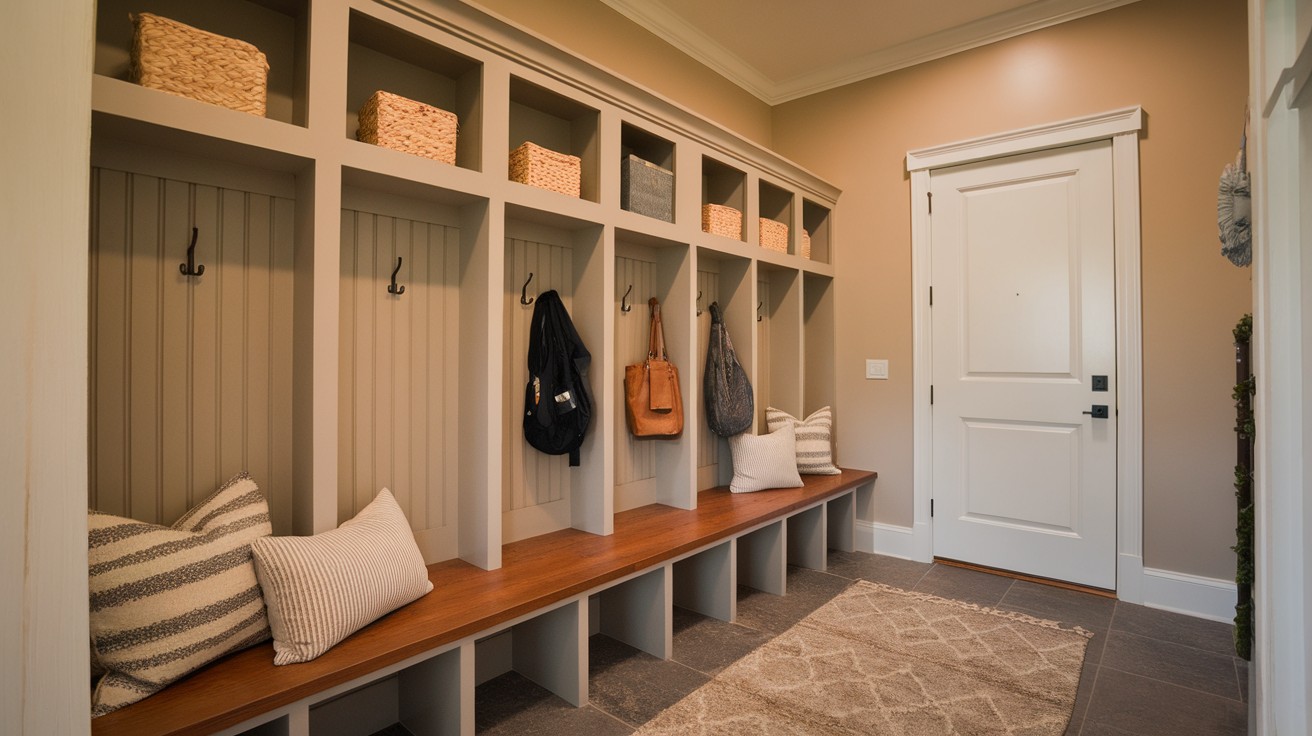
Create functional beauty in your mudroom.
Install box trim above a built-in bench. Add hooks inside each panel for coats and bags.
Bonus: Paint the interior panels with chalkboard paint for family messages.
19. Box Trim in Kids’ Rooms or Nurseries
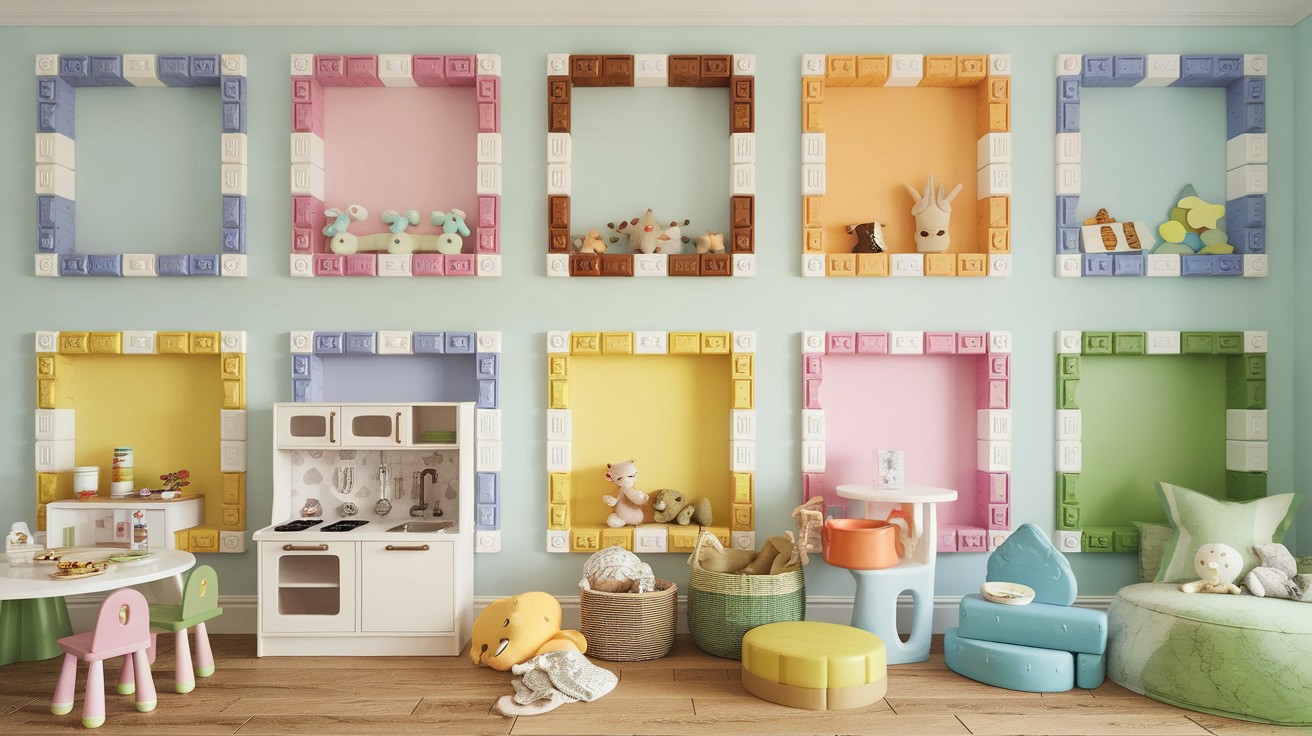
Make children’s rooms special.
Use colorful paint inside each panel. Let kids choose their favorite colors.
Safety note: Sand all edges smooth and use low-VOC paint.
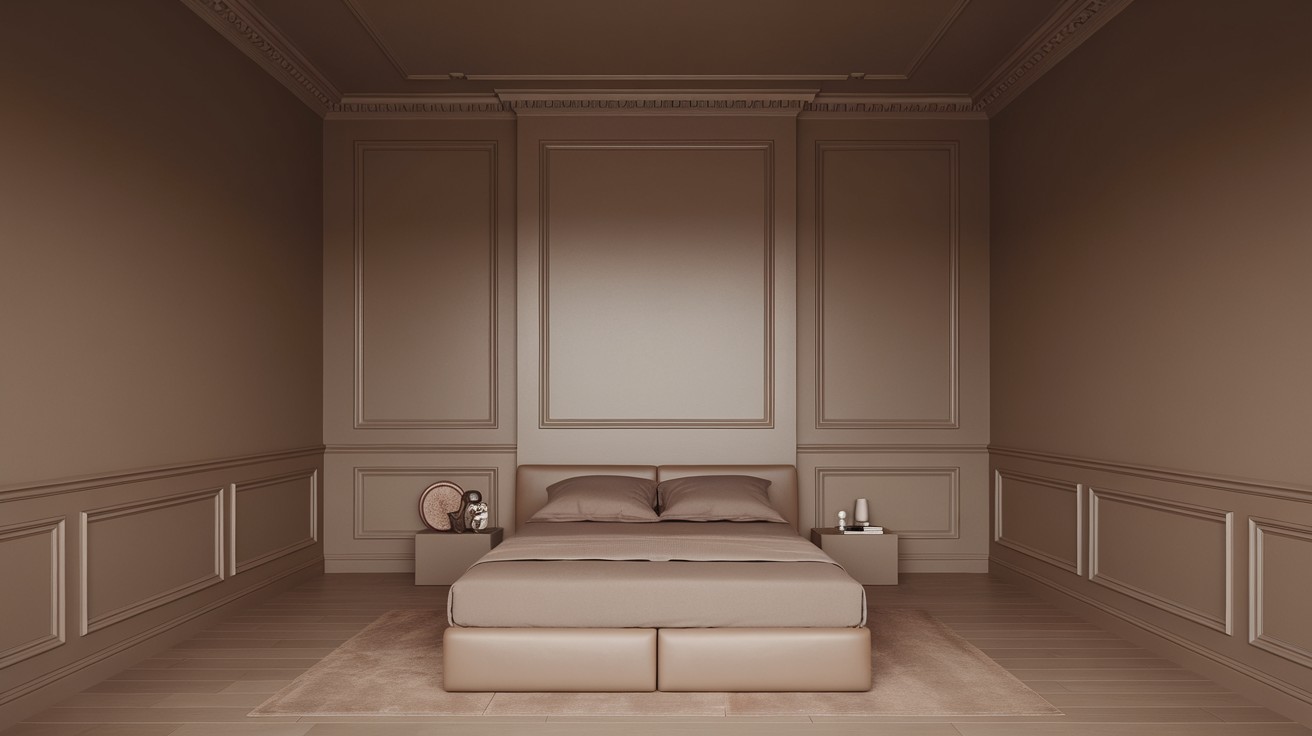
20. Accent Wall Behind the Bed Using Box Trim
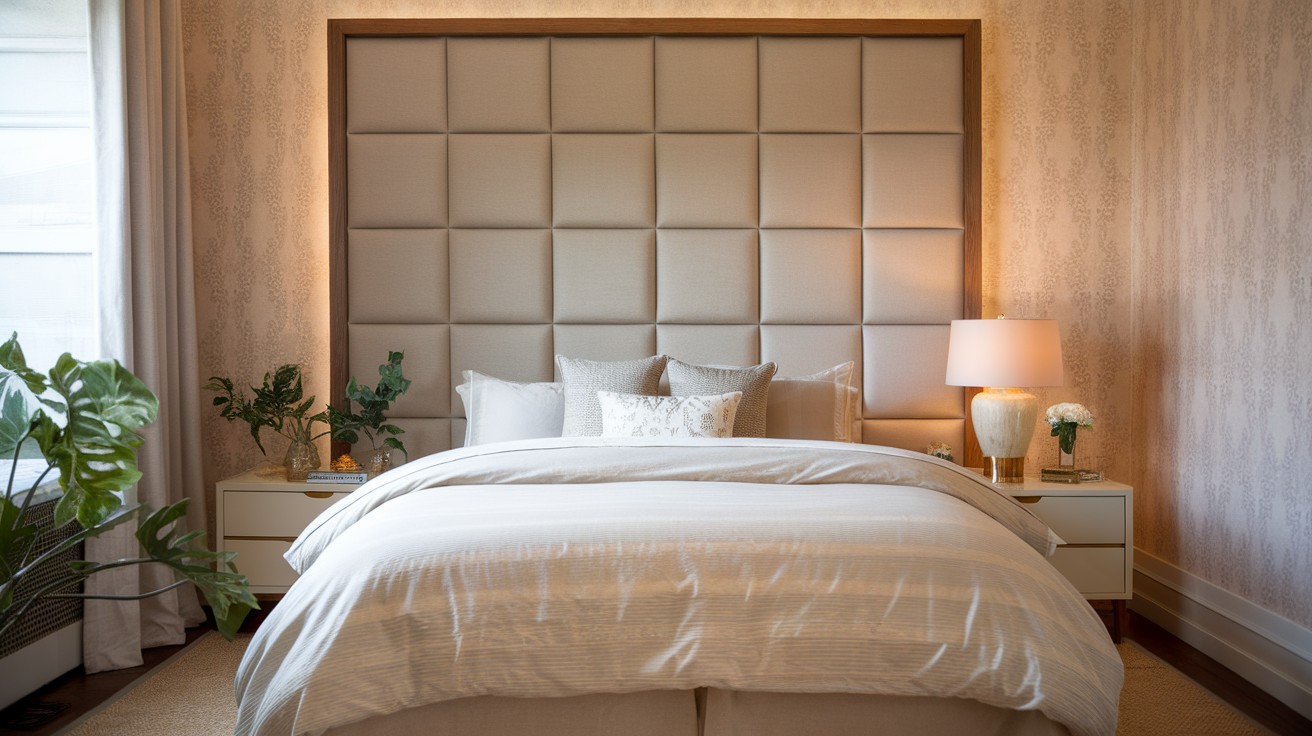
Create a DIY headboard effect.
Install box trim on the wall behind your bed. Paint the interior panels a complementary color.
Tip: Center the largest panel behind your headboard.
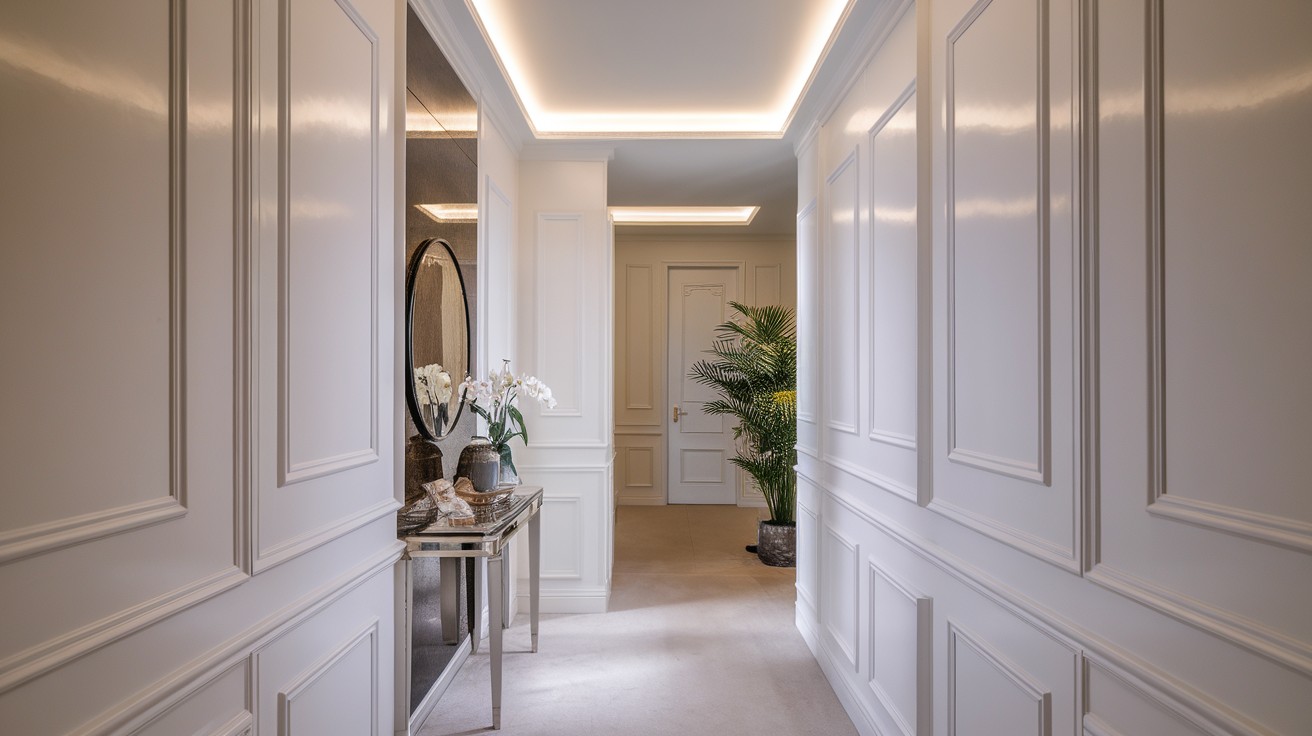
21. Box Trim in Unexpected Places (Closets, Hallways, Nooks)
Don’t limit yourself to the main rooms.
Add box trim to:
- Coat closets
- Narrow hallways
- Reading nooks
- Powder rooms
- Laundry rooms
Small spaces often benefit most from this treatment.
How to Install Box Trim on Walls: Step-by-Step DIY Guide
Ready to tackle this project yourself? I’ll walk you through every step of the installation process. With basic tools and patience, you can achieve professional-looking results in just one weekend.
Tools you’ll need:
- Miter saw or miter box
- Nail gun or hammer
- Level
- Measuring tape
- Pencil
- Sandpaper
- Wood glue
- Painter’s caulk
Materials:
- 1×2 or 1×3 pine boards
- Wood filler
- Primer
- Paint
- 1.5-inch finish nails
Step 1: Plan Your Layout
Measure your wall and sketch your design. Use graph paper to keep proportions accurate.
Golden rule: Keep panels roughly the same size for the best look.
Step 2: Mark Your Lines
Use a level to mark horizontal and vertical lines where your trim will go.
Double-check: Measure diagonally across each rectangle. Equal measurements mean perfect rectangles.
Step 3: Cut Your Trim
Measure each piece individually. Cut 45-degree angles for corners that will meet.
Tip: Label each piece as you cut it. This prevents confusion during installation.
Step 4: Install Horizontal Pieces First
Start with your top and bottom horizontal pieces. Use a nail gun to attach them to wall studs when possible.
Spacing: Place nails every 16 inches for solid attachment.
Step 5: Add Vertical Pieces
Install your vertical pieces between the horizontals. Check that everything is level and plumb.
Step 6: Fill and Sand
Use wood filler on nail holes and gaps. Sand smooth when dry.
Step 7: Caulk the Seams
Apply painter’s caulk where trim meets the wall. Smooth with your finger for professional-looking joints.
Step 8: Prime and Paint
Use high-quality primer and paint. Apply thin, even coats for the best finish.
Paint tip: Use a semi-gloss finish on trim for durability and easy cleaning.
Cost Breakdown & Budget Tips
Wondering how much this project will cost? I’ve broken down both DIY and professional installation prices. Plus, I’ll share my favorite money-saving tricks to get high-end looks on any budget.
Professional Installation Costs:
- High-end: $15-25 per linear foot
- Mid-range: $8-15 per linear foot
- Basic: $5-10 per linear foot
DIY Material Costs:
- Pine trim: $2-4 per linear foot
- MDF trim: $1-3 per linear foot
- Paint and supplies: $50-100 per room
Money-Saving Tips:
Smart shopping makes a huge difference in your project cost. Purchase all your lumber at once to qualify for bulk discounts at most home improvement stores. Choose MDF over hardwood, it costs significantly less and takes paint beautifully for a professional finish.
Keep an eye on seasonal lumber sales throughout the year, especially during spring and fall when stores clear inventory.
Don’t invest in expensive tools you’ll only use once. Rent specialized equipment like miter saws and nail guns from your local hardware store. This approach saves hundreds of dollars while giving you access to professional-grade tools.
Start with a small space like a closet or powder room to practice your technique before tackling main living areas.
Before & After Photos for Ideas
Sometimes you need to see the magic happen. These real changes show box trim’s incredible impact. From builder-grade boring to designer-worthy appeal – these makeovers will motivate your next project.
Living Room Makeover
Before: Plain beige walls with no character After: Beautiful navy panels with white trim
The room went from boring to magazine-worthy. The box trim added depth and made the space feel more intentional.
Dining Room Makeover
Before: Builder-grade white walls After: Classic wainscoting effect with chair rail
The half-wall treatment made the room feel more formal and expensive. Perfect for dinner parties.
Bedroom Accent Wall
Before: Blank wall behind the bed After: Geometric box trim pattern in soft gray
The accent wall became the room’s focal point. It looks like custom millwork but cost under $200.
Expert Advice & Common Mistakes
Learn from the pros and avoid costly errors. I’ve gathered wisdom from experienced carpenters and designers. These insider tips will save you time, money, and frustration on your box trim project.
What the Pros Say:
“Measure three times, cut once.” – Sarah, Professional Carpenter
“Don’t rush the planning phase. A good layout makes all the difference.” – Mike, Interior Designer
“Use a laser level. It’s worth the investment.” – Jessica, DIY Expert
Common Mistakes to Avoid:
Mistake #1: Making panels too small Solution: Bigger panels look more sophisticated
Mistake #2: Uneven spacing Solution: Measure carefully and mark everything before cutting
Mistake #3: Skipping the primer Solution: Always prime before painting for best results
Mistake #4: Using cheap trim Solution: Invest in quality materials for professional results
Mistake #5: Not checking for level Solution: Use a level on every piece
Mistake #6: Forgetting about electrical outlets Solution: Plan around switches and outlets in your design
Conclusion
Box trim on walls delivers maximum impact for minimal investment. You’ve seen 20+ proven ideas that work in real homes.
This isn’t just another design trend. It’s a timeless technique that adds genuine value to your space. If you choose classic wainscoting or bold geometric patterns, the results will impress.
Start small. Pick one accent wall for your first project. You’ll gain confidence and skills before tackling larger spaces.
Remember the key points:
- Plan your layout carefully
- Use quality materials
- Take time with measurements
- Don’t rush the installation
I’ve guided you through every step. You have the knowledge, ideas, and expert tips to succeed. Your plain walls won’t stay boring much longer. Box trim will change them into features you’ll love for years.
Time to make it happen.
Frequently Asked Questions
What’s the ideal spacing between box trim panels on a wall?
Keep 18-24 inches between panels for the most balanced look. This spacing works well in most rooms and prevents the wall from looking cluttered.
Can I use box trim in bathrooms and high-moisture areas?
Yes, but choose moisture-resistant materials like PVC or primed MDF. Seal all joints with a paintable caulk and use bathroom-grade paint for long-lasting results.
How do I cut box trim around curved walls or archways?
Use a flexible molding strip or create small relief cuts on the back of rigid trim. Sand the cuts smooth and bend the trim to match your wall’s curve.
What’s the minimum ceiling height needed for floor-to-ceiling box trim?
You need at least 8-foot ceilings for full-height panels to look proportional. Lower ceilings work better with half-wall or chair rail height installations.
Should I install box trim before or after installing new flooring?
Install after flooring is complete for the cleanest look. This allows your trim to sit directly on the finished floor and covers any expansion gaps