
Choosing the right sander is essential for cabinet refinishing projects, as it directly affects both the quality of your work and the longevity of the final finish.
The impact of proper sanding cannot be overstated – it determines how well primer and paint adhere to the surface, influences the smoothness of the final coat, and affects overall durability of your refinished cabinets.
Different cabinet materials, from solid wood to laminate, require specific sanding approaches and tools to achieve professional results.
The wrong sander can leave visible scratches, create uneven surfaces, or damage delicate cabinet details.
This comprehensive overview covers various sander types, key features to consider, and expert tips that will help you select the perfect sanding tool for your specific cabinet refinishing needs and skill level.
Understanding the Importance of Sanders for Cabinet Projects
Proper sanding forms the foundation of any successful cabinet refinishing project, determining both the appearance and longevity of your finished work.
Quality sanding ensures better paint and stain adhesion by creating the ideal surface texture for coatings to bond effectively.
This preparation step directly contributes to a smooth, professional-grade finish that rivals factory-quality results.
Additionally, thorough sanding extends the life of your cabinets by preventing premature coating failure and reducing the need for frequent touch-ups or complete refinishing.
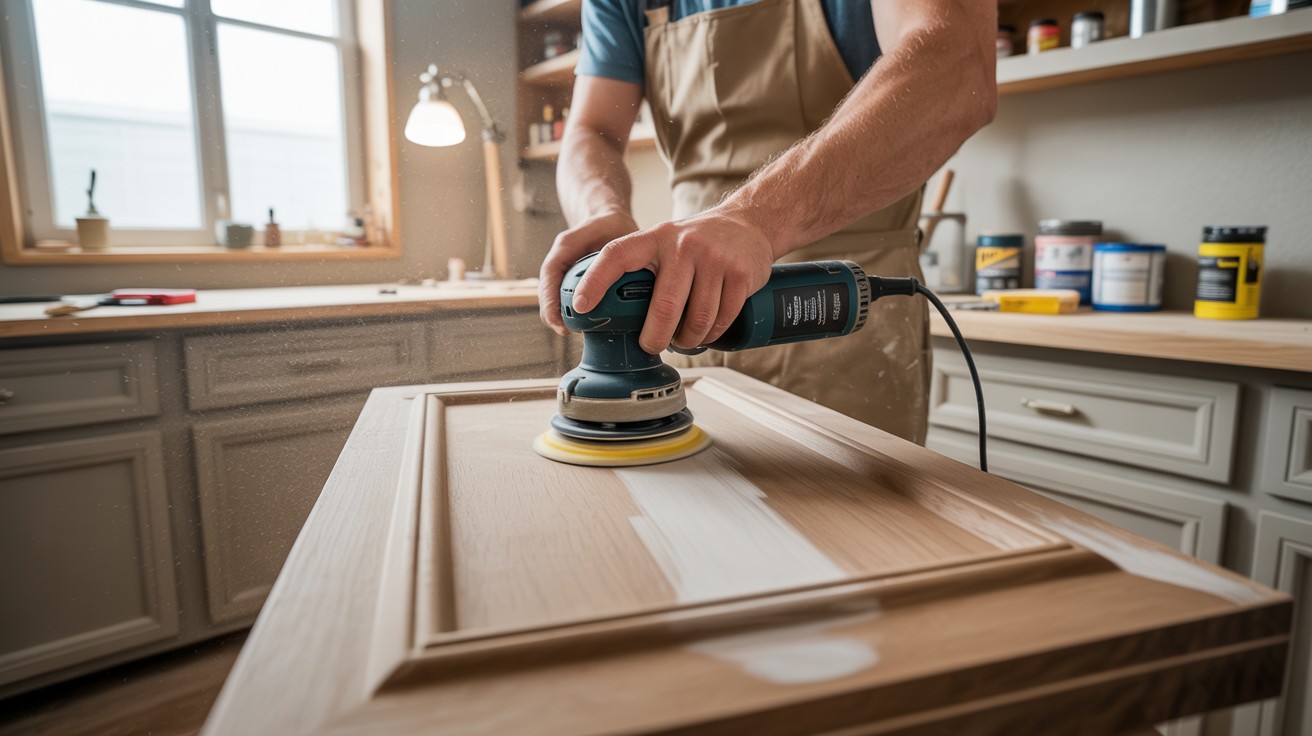
Sanders played a crucial role throughout the cabinet refinishing process by preparing surfaces through the systematic removal of imperfections, old finishes, and surface irregularities.
This preparation work goes beyond simple surface smoothing – it creates uniform texture that allows stains to penetrate evenly and paints to level properly.
The result significantly enhances overall visual appeal and provides a pleasant tactile experience.
Properly sanded cabinets feel smooth to the touch and display consistent sheen levels across all surfaces, creating the polished appearance that distinguishes professional work from amateur attempts.
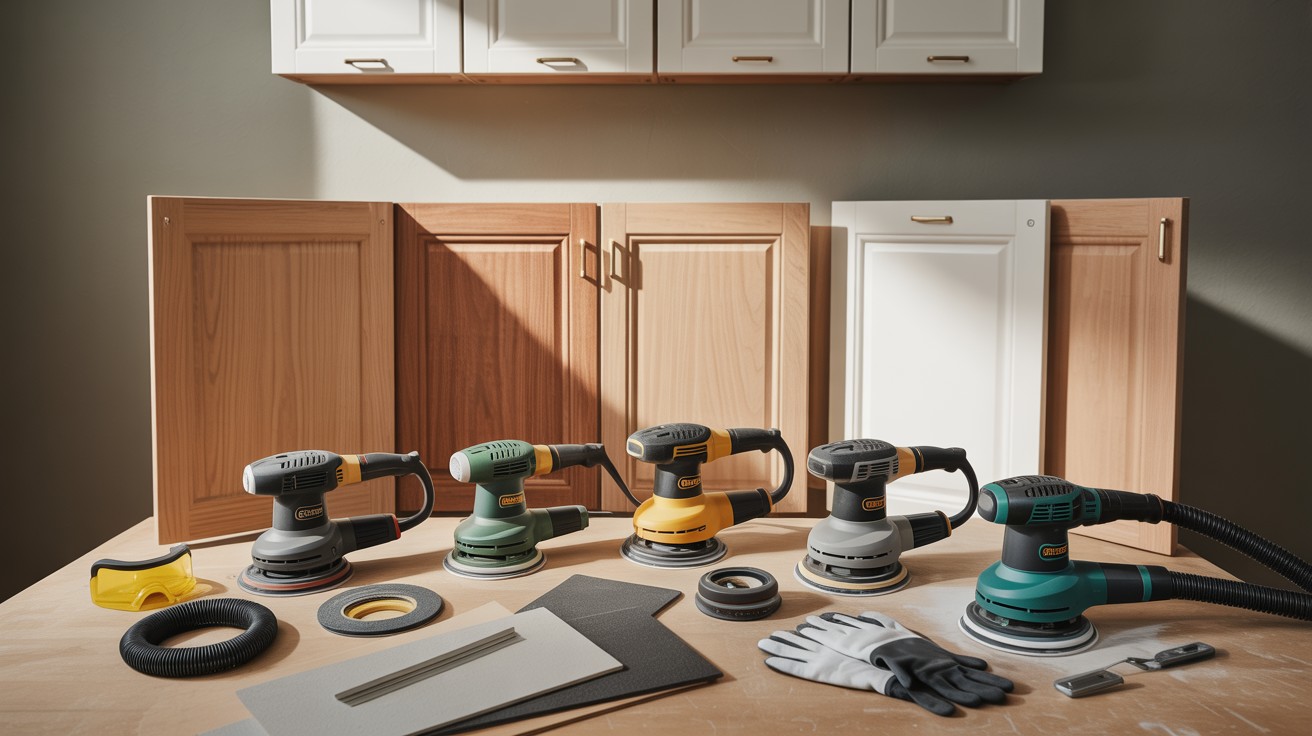
Types of Sanders Suitable for Cabinet Work
Different sander types offer specific advantages for cabinet refinishing, from aggressive material removal to precision detail work and final finishing.
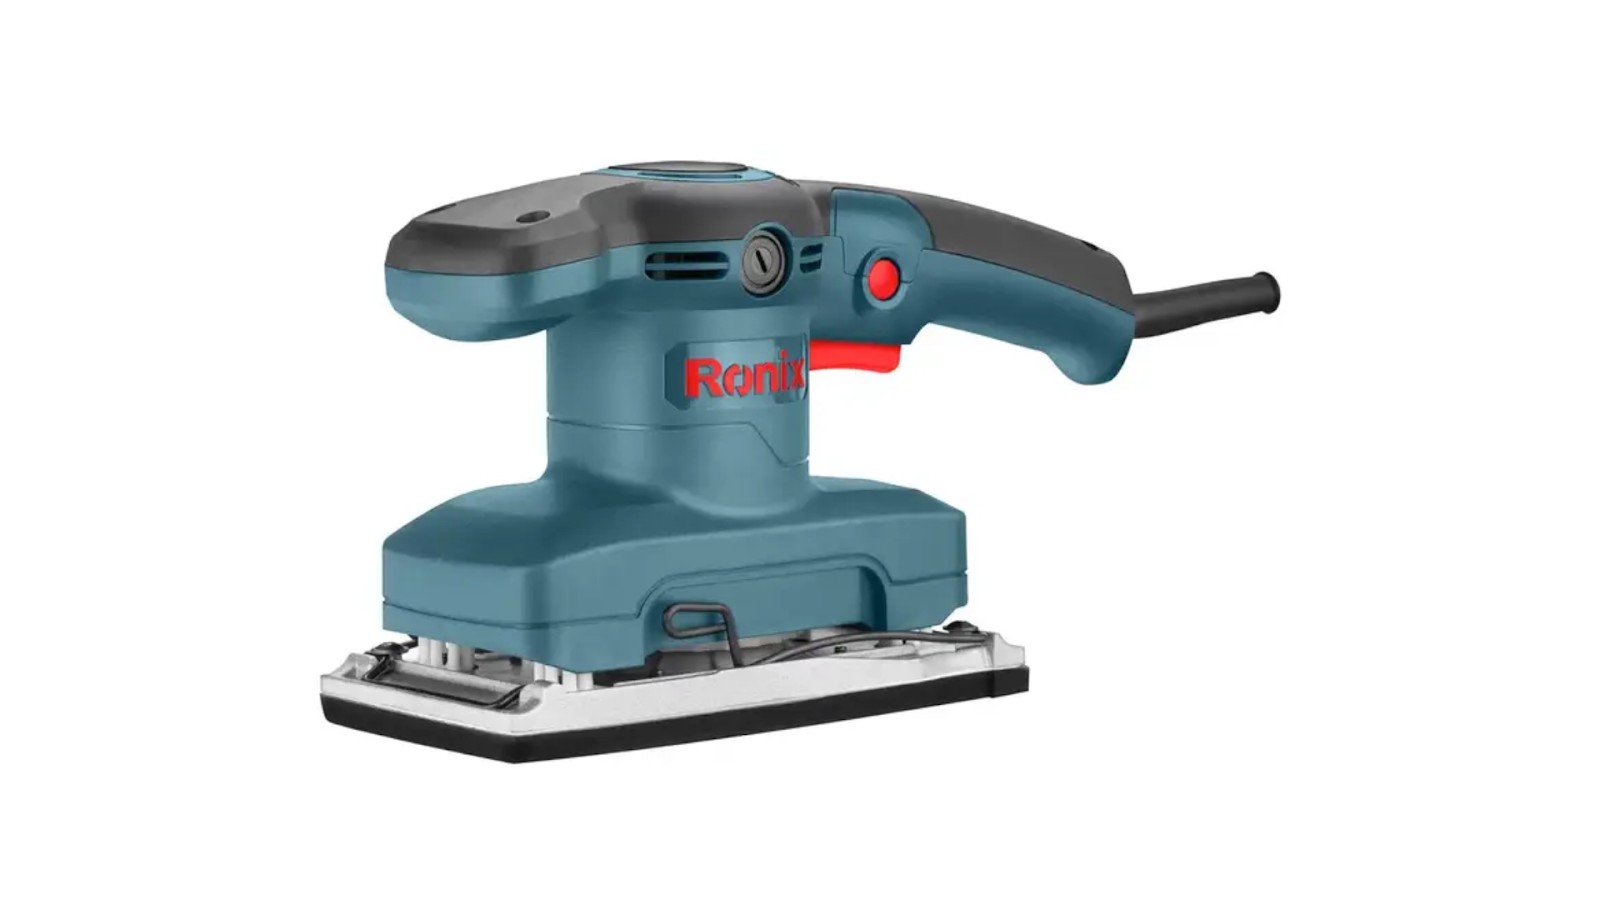
Orbital Sanders

Orbital sanders excel at general-purpose sanding tasks and offer exceptional control for cabinet refinishing projects.
These tools provide smooth finishes through their circular sanding motion, making them ideal for preparing flat cabinet doors and face frames.
Their manageable size and weight allow for extended use without excessive fatigue, while the controlled material removal prevents accidental gouging or over-sanding of delicate cabinet surfaces.
Random Orbit Sanders

Random orbit sanders combine speed with finesse, making them versatile choices for various cabinet refinishing stages.
These sanders are ideal for removing material efficiently without leaving the swirl marks that traditional orbital sanders sometimes create.
The random motion pattern ensures even material removal across the surface, producing consistently smooth results on both solid wood and engineered cabinet materials.
Detail Sanders
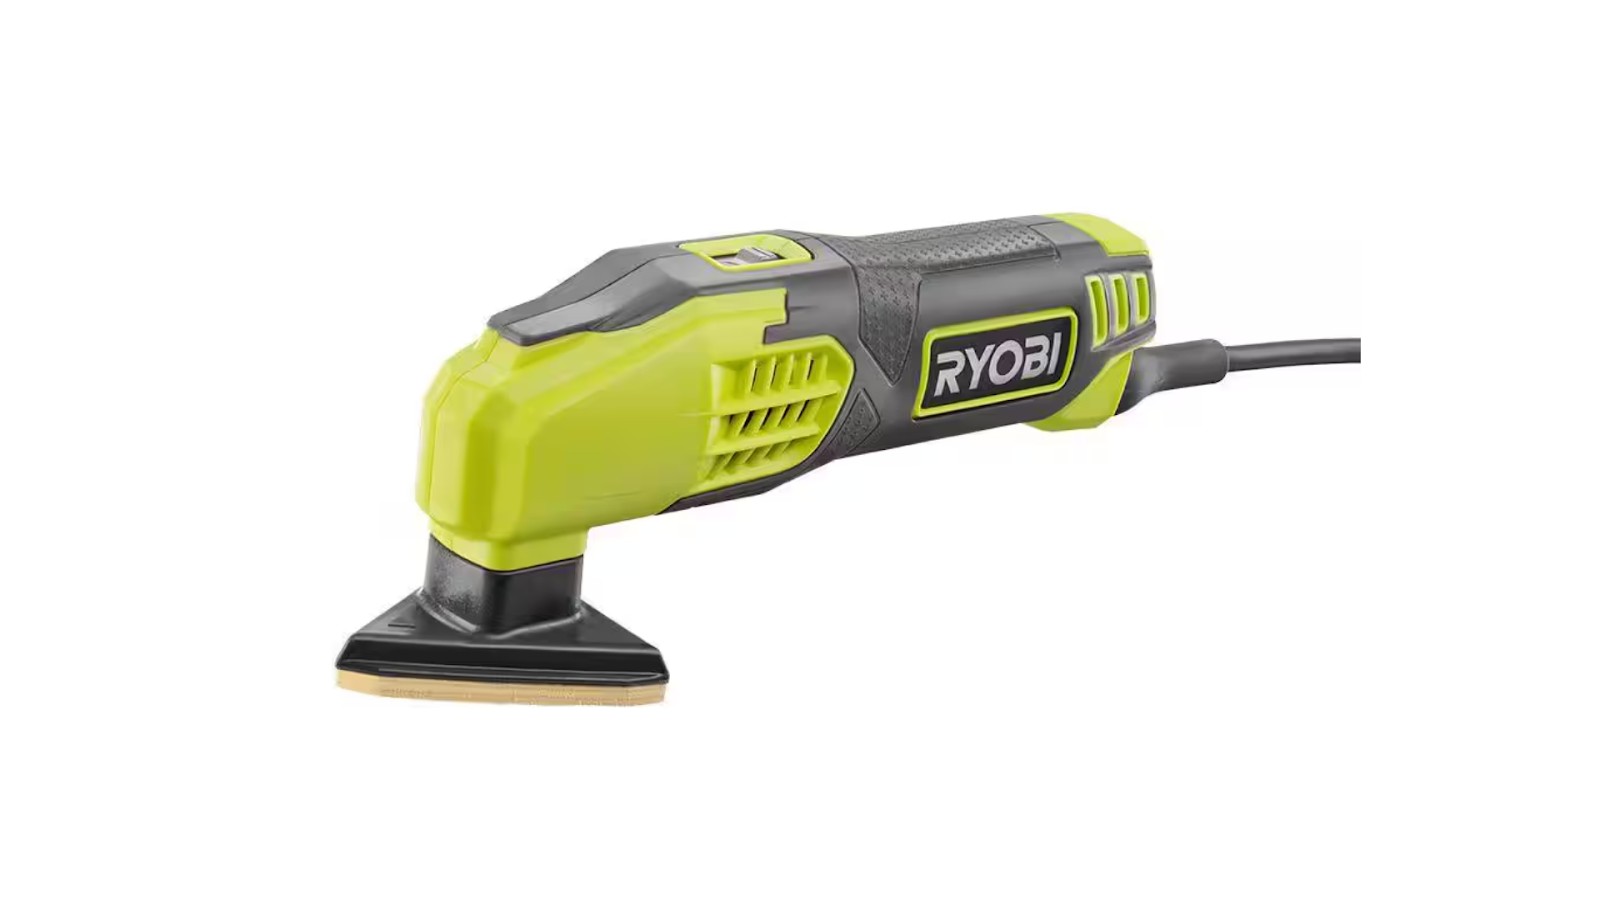
Detail sanders are specifically designed for tight corners and intricate cabinet trim work that larger sanders cannot reach effectively.
These compact tools excel at sanding raised panels, decorative edges, and inside corners where precision is essential.
Their triangular or finger-like attachments allow access to narrow spaces while maintaining control over material removal in delicate areas.
Belt Sanders

Belt sanders provide aggressive material removal capabilities, making them perfect for large, flat cabinet sections that require significant surface preparation.
These powerful tools quickly strip old finishes and level uneven surfaces, though they require careful technique to avoid over-sanding.
Belt sanders work best on substantial cabinet components like large door panels and drawer fronts.
Finishing Sanders

Finishing sanders are ideal for the final preparation stage before painting or staining, creating the smooth surface necessary for professional results.
These tools leave a consistent, fine finish that provides optimal adhesion for topcoats while eliminating any remaining scratches from coarser sanding steps.
Their gentle action makes them perfect for final touch-ups and detailed work.
Factors to Consider When Choosing Sanders for Kitchen Cabinets
Selecting the right sander involves evaluating multiple performance and comfort factors that directly impact your cabinet refinishing project’s success and efficiency.
Power and Performance
Matching motor power to your specific cabinet material ensures optimal results without damage or inefficiency.
Hardwood cabinets require more powerful motors to remove material effectively, while softer woods or laminate surfaces need gentler approaches to prevent gouging.
Variable speed settings provide crucial flexibility for working with different surfaces throughout your project.
Lower speeds work best for delicate areas and final finishing stages, while higher speeds handle aggressive material removal on flat surfaces.
Dust Collection System
Effective dust management through built-in dust bags or vacuum ports significantly improves both workspace conditions and health safety.
Quality dust collection systems keep your work area clean by capturing particles at the source, reducing cleanup time and preventing dust from settling on freshly sanded surfaces.
This feature becomes especially important when working in enclosed kitchens where airborne particles can contaminate other areas of your home.
Size and Weight
Lightweight sanders provide superior ease of control, reducing hand fatigue during extended sanding sessions.
Compact models work particularly well for upper cabinets and tight spaces where maneuverability is limited.
The balance between power and portability becomes crucial when working overhead or in awkward positions, making ergonomic design a priority for cabinet work.
Ergonomics and Comfort
Soft-grip handles and effective vibration control become essential features for longer cabinet refinishing projects.
Comfortable grip surfaces prevent hand cramping and improve control precision, while vibration dampening reduces fatigue and allows for more accurate work.
These comfort features directly impact the quality of your results by enabling steady, controlled sanding motions throughout the project.
Versatility and Attachments
Compatibility with various pads and sanding sheets maximizes your investment by allowing one tool to handle multiple project phases.
Swiveling heads or interchangeable bases add significant convenience by adapting to different cabinet angles and surfaces.
This versatility reduces the need for multiple tools while ensuring you have the right attachment for every sanding challenge your cabinets present.
Top Picks: Best Sanders for Cabinets (Based on Use Case)
Professional cabinet refinishing requires reliable tools that balance power, precision, and user comfort for optimal results across different project phases.
Best Orbital Sander: Ronix 6406

The Ronix 6406 features a robust 320W motor that provides consistent power while maintaining a lightweight design for extended use.
Its soft grip handle reduces hand fatigue during long sanding sessions, making it an excellent choice for general cabinet preparation work.
This orbital sander excels at smoothing cabinet surfaces and preparing them for primer or stain application.
The balanced power-to-weight ratio allows for precise control when working on cabinet doors, face frames, and drawer fronts without causing unwanted gouging or surface damage.
Best Belt Sander: Ronix 9103

The Ronix 9103 delivers impressive 1050W motor performance for aggressive material removal on large cabinet surfaces.
Its adjustable handle accommodates different user preferences and working angles, while the included dust bag helps maintain a cleaner workspace during intensive sanding operations.
This belt sander handles tough jobs like removing multiple layers of old paint or leveling uneven cabinet surfaces efficiently.
The powerful motor makes quick work of extensive surface preparation while the ergonomic design ensures user comfort during demanding projects.
Best Finishing Sander: Ronix 6403v
The Ronix 6403v offers low vibration operation that enables precise control during final surface preparation stages.
Its easy sandpaper replacement system saves time and reduces frustration when switching between different grit levels.
This finishing sander creates the smooth, consistent surface texture essential for professional paint and stain adhesion.
The reduced vibration feature allows for detailed work around cabinet hardware areas and ensures even surface preparation across all cabinet components before applying final coatings.
Tips for Using Sanders Effectively on Cabinets
- Proper sanding technique forms the foundation of successful cabinet refinishing and requires attention to detail throughout the entire process.
- Always sand with the grain direction to avoid creating cross-grain scratches that become visible under stain or clear finishes.
- Apply even pressure across the sander’s base and keep the tool moving continuously to prevent creating dips or uneven spots in the cabinet surface.
- Maintaining consistent motion and pressure ensures uniform material removal and creates the smooth foundation necessary for professional-quality results.
- Choosing the right sandpaper grit sequence determines both efficiency and final surface quality in your cabinet project.
- Start with coarse grits ranging from 80 to 100 when removing old finishes, heavy scratches, or significant surface imperfections.
- Progress systematically through medium grits before finishing with fine 180 to 220 grit paper to create the smooth surface texture required for optimal paint or stain adhesion.
- This progressive approach removes material efficiently while gradually refining the surface to professional standards.
- Avoiding common sanding mistakes protects your cabinets from irreversible damage and ensures consistent results across all surfaces.
- Never oversand delicate veneers, as excessive material removal can break through to the substrate and ruin the cabinet permanently.
- Wipe off all dust thoroughly between grit changes to prevent coarse particles from scratching the surface during finer sanding stages.
- Always test your sanding approach and grit selection on hidden cabinet areas before proceeding with visible surfaces, allowing you to adjust technique and prevent costly mistakes on prominent cabinet faces.
Conclusion
Successful cabinet refinishing begins with understanding your specific project requirements and the materials you’re working with.
Different cabinet types, from solid hardwood to laminate surfaces, demand different approaches and tool selections.
Choose a sander that effectively balances power for efficient material removal, precise control for detailed work, and user comfort for extended project sessions.
The combination of the right tool and proper technique makes the difference between amateur and professional-looking results.
Quality sanders, when used correctly with appropriate grit progression and careful attention to detail, can produce factory-quality finishes on your existing cabinets.
Investing time in tool selection and mastering proper sanding methods ensures your refinished cabinets will have the smooth, durable finish that enhances your kitchen’s appearance and value for years to come.
Frequently Asked Questions
What type of sander is best for cabinet doors and flat surfaces?
Random orbit sanders work exceptionally well for cabinet doors and large flat surfaces because they remove material efficiently without leaving swirl marks. Their balanced combination of speed and smooth finish quality makes them ideal for most cabinet refinishing projects.
Can I use a belt sander on kitchen cabinets?
Belt sanders are suitable for aggressive material removal on large, flat cabinet sections but require careful technique to avoid over-sanding. They work best on substantial cabinet components like large door panels but should be avoided on delicate areas or thin veneers.
How important is dust collection when sanding cabinets?
Dust collection is crucial for maintaining a clean workspace and protecting your health during cabinet refinishing projects. Built-in dust bags or vacuum ports capture particles at the source, preventing contamination of freshly sanded surfaces and reducing cleanup time.
What grit sandpaper should I start with for cabinet refinishing?
Start with coarse grit paper (80-100) when removing old finishes or heavy imperfections from cabinet surfaces. Progress through medium grits and finish with fine grit (180-220) to create the smooth surface needed for optimal paint or stain adhesion.
Do I need different sanders for different parts of my cabinets?
While one versatile sander can handle most cabinet work, detail sanders become necessary for tight corners, raised panels, and intricate trim work. Consider your cabinet style and complexity when deciding whether multiple sanders will improve efficiency and results.