
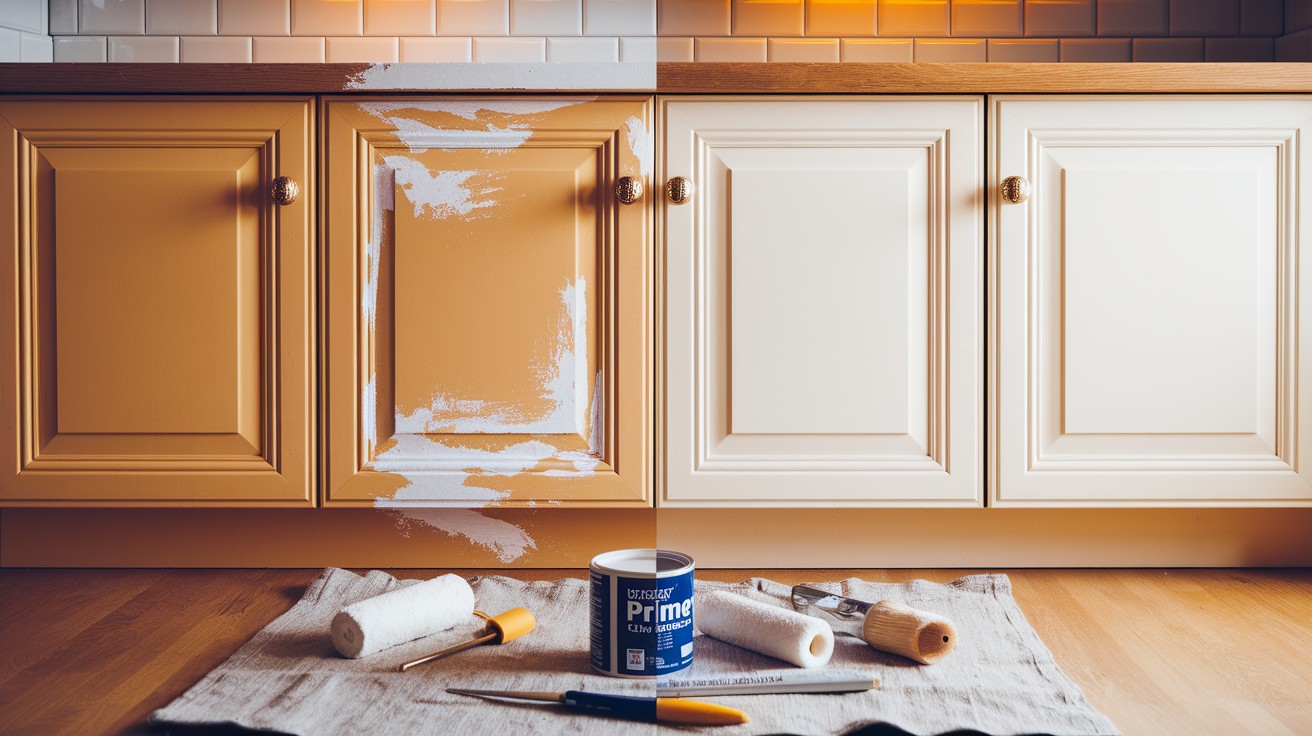
Ever stared at your kitchen cabinets, paintbrush in hand, wondering why your last paint job peeled faster than an onion? The secret isn’t in the paint but it’s in the primer you choose.
Kitchen cabinets take a beating. Grease splatters, sticky fingers, and steam clouds create a challenging surface for paint to stick. That’s where primer becomes your best friend.
I’ve been refinishing cabinets for over a decade, and I’ve seen the disasters that happen when people skip this crucial step. In this guide, I’ll walk you through selecting the perfect primer for your kitchen cabinets, saving you from costly mistakes and disappointing results.
By the end, you’ll know exactly which primer will give your cabinets that smooth, lasting finish you’ve been dreaming about, no professional help needed.
Why Priming Your Kitchen Cabinets Matters
I learned this lesson the hard way. Ten years ago, I skipped primer on my own cabinets. Three months later, the paint started bubbling up.
Think of primer as the foundation of your paint job. Without it, you’re building on shaky ground.
When you prime your cabinets, you’re creating a surface that paint loves to stick to. This means less peeling and chipping down the road.
But that’s not all primer does:
- It seals wood grain, preventing those ugly tannin stains from bleeding through
- It blocks old finishes from affecting your new color
- It creates a uniform base so your paint color looks the same everywhere
- It helps your paint stand up to grease, steam, and cleaning products
Remember those fingerprints around your cabinet handles? Primed surfaces are easier to wipe clean without damaging the finish.
The small effort of priming now saves you from repainting your entire kitchen next year. Trust me, I’ve seen both sides of this story.
Types of Primers: Pros and Cons
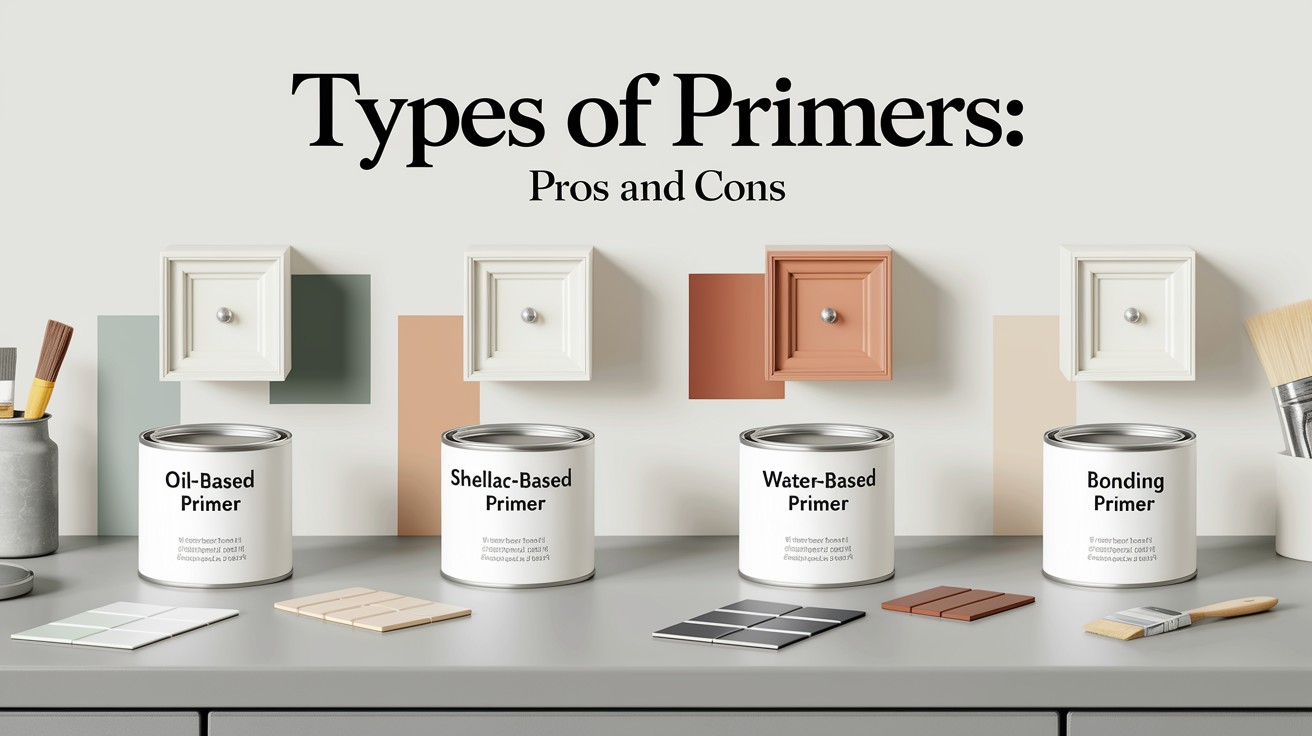
Let’s break down your primer options. Each has its sweet spots and drawbacks. I’ve used them all, so let me share what I’ve learned.
|
Primer Type |
Pros |
Cons |
|
Oil-Based |
Excellent adhesion, Blocks stains, Works on most surfaces |
Strong odor, 24-hour dry time, Requires mineral spirits for cleanup |
|
Shellac-Based |
Fastest drying, Best stain blocker, Seals knots and water damage |
Requires denatured alcohol cleanup, Strong fumes, More expensive |
|
Water-Based |
Low odor, Easy soap and water cleanup, Dries quickly |
Poor adhesion to glossy surfaces, Less durable, Multiple coats often needed |
|
Bonding |
Sticks to slick surfaces, Minimal sanding required, Good on laminate |
Higher cost, Limited stain-blocking, Specific application requirements |
Key Factors to Consider When Choosing a Primer
Finding the right primer isn’t just about grabbing whatever’s on sale. I’ve learned this lesson the hard way.
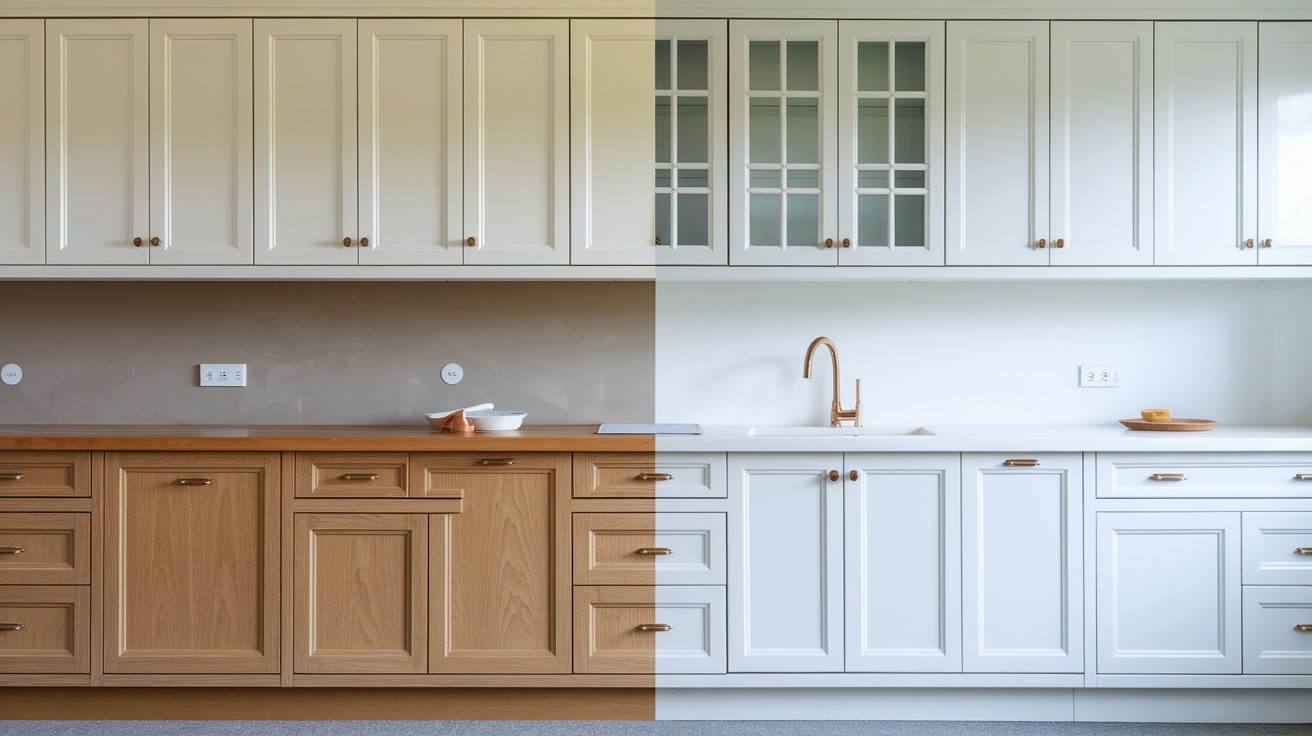
Cabinet Material
Wood cabinets? You’re in luck. Almost any good-quality primer will work. MDF soaks up moisture like a sponge. You’ll need a primer specifically made for this thirsty material.
Got laminate cabinets? Regular primers will peel right off. Look for primers labeled “bonding” or “adhesion promoter.”
Existing Finish
Raw wood needs different preparation than cabinets that already have paint or stain. Painted cabinets require light sanding and a good bonding primer.
Those dark stained cabinets? You’ll need a stain-blocking primer to prevent bleed-through that ruins your final color.
Kitchen Conditions
Is your kitchen steamy from cooking? High humidity demands a mildew-resistant primer. Does your family cook fried foods often? Grease-resistant primers will save your finish from breaking down.
Paint Type Compatibility
Planning to use oil-based paint? Make sure your primer works with it. Water-based paints need compatible primers too. Mixing the wrong types leads to peeling and cracking.
Drying Time & Odor
Need to use your kitchen quickly? Fast-drying primers can be ready for painting in just an hour. Sensitive to smells? Low-odor primers let you breathe easy during your project.
VOC Levels
If you are Worried about indoor air quality, Look for primers labeled “low VOC” or “zero VOC.” Pregnant or have small children? Eco-friendly primers keep your family safe while delivering great results.
Remember that the right primer might cost more upfront, but it saves you from having to redo your cabinets next year!
Pro Tips for Priming Kitchen Cabinets
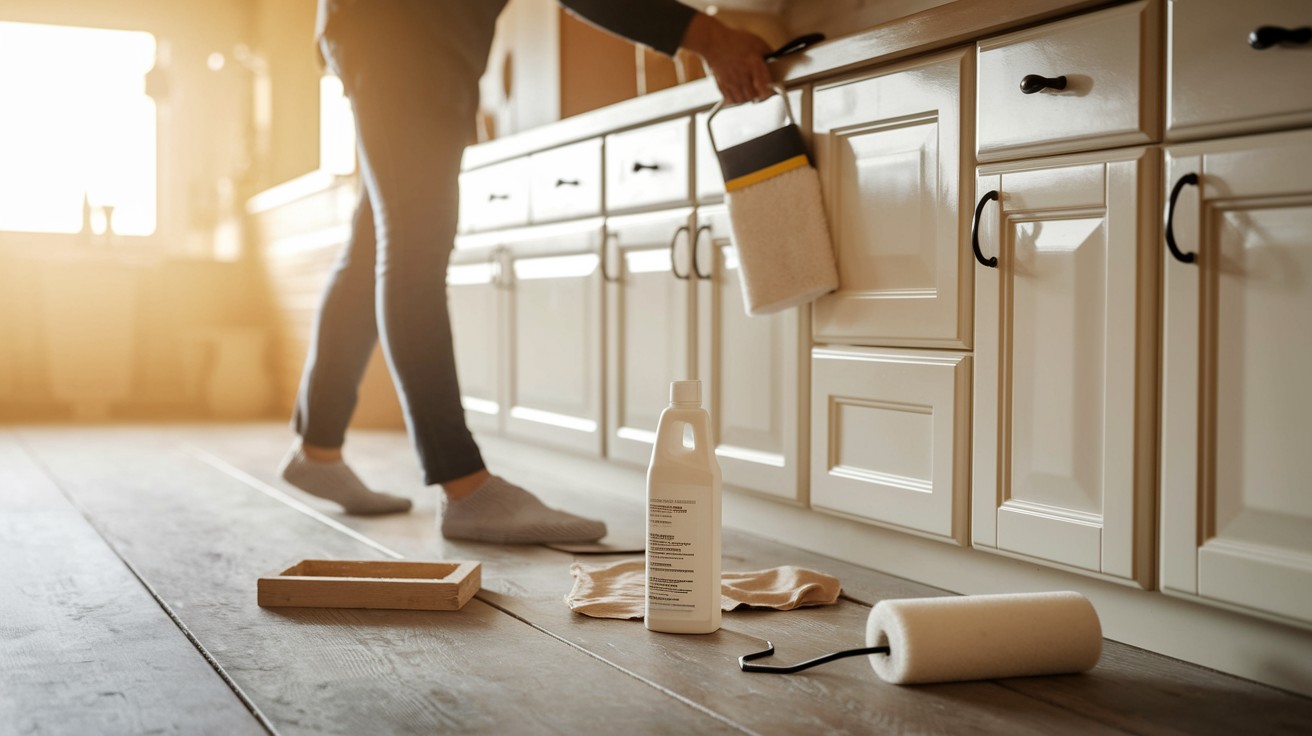
After years of priming cabinets, I’ve learned tricks that save hours of frustration:
- Clean thoroughly with a degreaser. Kitchen grease is stubborn! Wipe with TSP substitute to remove hidden grime from “clean” cabinets.
- Lightly sand glossy surfaces. The primer needs something to grip. A quick once-over with 150-220 grit sandpaper is all you need.
- Use a tack cloth to remove dust. This $2 tool picks up tiny particles regular rags miss, preventing bumps in your finish.
- Apply thin, even coats. I use a quality brush or foam roller for light coats. Two thin layers work better than one thick one.
- Let the primer cure fully before painting. Wait the full time on the can. Rush this step, and your paint job might fail months later.
Common Mistakes to Avoid
- I once had a client who insisted on priming without cleaning first. Six months later, every cabinet door showed bubbles where grease blocked adhesion. Always clean with a degreaser and lightly sand before priming.
- Not all primers work on all surfaces. When you put water-based primer on oily wood or glossy surfaces, it just won’t stick. I learned this the hard way when my first cabinet job started peeling after just one month.
- Patience saves you time in the long run. When you apply paint before the primer dries fully, you’ll create a gummy mess that takes hours to fix. Give each coat the full drying time on the can.
- Thick primer coats crack and peel. You’ll get better results with two thin coats than one thick one. I use a high-quality brush and keep my strokes even and light.
Conclusion
Choosing the right primer for your kitchen cabinets isn’t just a step but it’s the foundation of a beautiful finish that lasts for years.
I’ve seen the difference proper priming makes, turning tired cabinets into showpieces that stand up to all the cooking, cleaning, and commotion that happens in your kitchen.
Remember, a little extra time spent on prep and primer selection now saves you from redoing the entire project next year. Your cabinets deserve this care, and you deserve results that make you smile every time you reach for a coffee mug.
Trust me when your friends ask how you got such a professional-looking finish, you’ll be glad you took the primer selection seriously. Now grab that brush and transform your kitchen with confidence!
Frequently Asked Questions
Do I need to prime kitchen cabinets if they’re already painted?
Yes, you still need primer even over existing paint. It creates a bond between the old and new layers, preventing peeling and ensuring better coverage. Without this bonding layer, your new paint may chip or flake within months, especially around handles and high-touch areas.
How long should primer dry before painting kitchen cabinets?
Most primers need 24 hours to dry completely. Check your specific product label, but resist the urge to rush this step—full drying prevents tacky surfaces and improves durability. In humid environments, you might need to add a few extra hours to ensure the primer has fully cured.
Can I use leftover wall primer on my kitchen cabinets?
I don’t recommend it. Wall primers aren’t formulated to handle kitchen grease and moisture. Cabinet-specific primers contain special adhesion promoters and stain blockers designed for high-use surfaces. Using wall primer might save money initially but could cost you the entire project when it fails prematurely.
What’s the difference between water-based and oil-based primers for cabinets?
Water-based primers dry faster and have less odor but may not seal stains as well. Oil-based primers provide superior stain blocking and adhesion, especially on wood cabinets, but require longer drying time and proper ventilation. Your cabinet material should guide this choice, laminate often works better with water-based, while natural wood benefits from oil-based.
How many coats of primer do kitchen cabinets need?
Most cabinets need two thin coats of primer. Dark cabinets going light may need a third coat. Remember, multiple thin coats perform better than one thick coat. Each layer should be allowed to dry completely before applying the next for maximum durability and a smooth finish.