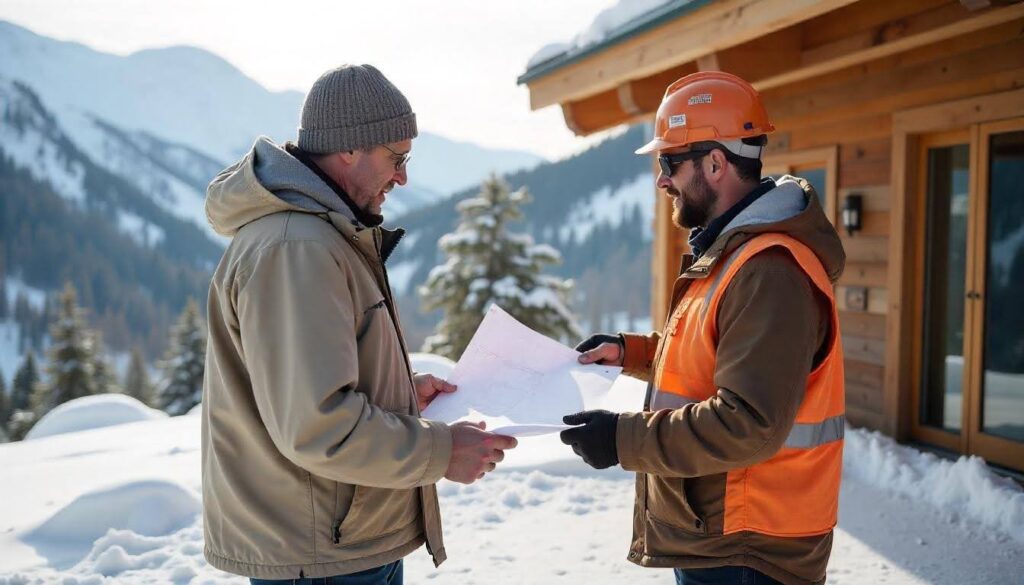
Design in a mountain town rewards clear thinking and solid basics. Homeowners search for ideas that fit real weather, steep sites, and long winters. Firms like Poss Architecture Aspen set a high bar for homes that sit well on the land, use light with care, and stand up to snow and sun.
Understand mountain conditions in Aspen
Start with climate and topography. Aspen brings cold nights, strong UV, deep snow, and quick shifts in wind. You plan for orientation, solar gain, and access in all seasons. You study slope stability and drainage before you draw a wall.
Plan the site and layout for comfort and views
Place daily spaces where the light works for you. Put the kitchen and living area on the south or southeast side to catch morning sun. Stack service zones, like garage and storage, to shield winter wind. Use a compact footprint to cut heat loss. Keep circulation short and direct.
Choose exterior materials that last
Pick materials that handle freeze and thaw. Stone, fiber cement, thermally modified wood, and standing seam metal all show strong performance in alpine settings. Select UV stable finishes and detail them so water moves away from joints. Use rainscreens so walls dry out after storms.
Design the roof and windows for snow and sun
A roof carries the most mountain work. Use a pitch that sheds snow in controlled paths, or engineer a low slope roof with strong structure and snow retention. Build generous eaves to move meltwater clear of siding. Choose windows rated for high altitude, with warm edge spacers and low solar heat gain on west glass. Add overhangs to block summer sun and allow winter sun to enter.
Build a warm envelope
Your shell does the heavy lifting on comfort. Aim for continuous exterior insulation, careful air sealing, and verified results with a blower door test. Use insulated headers and align the air barrier at every transition. Protect the slab edge with rigid insulation. Insulate the roof above the deck to keep structure warm and dry.
Heat and ventilate for steady comfort
Radiant hydronic heat works well for cold floors and large volumes. Zone by use and exposure, and size manifolds with access for service. Pair the tight shell with balanced ventilation. A heat recovery ventilator delivers fresh air without wasting energy. Add a small, clean wood or gas stove for backup heat during storms.
Create interiors that fit mountain life
Plan for gear and wet boots near the entry. A mudroom with floor drains, boot dryers, and closed storage keeps grit out of living areas. Choose durable surfaces like porcelain tile, oiled oak, and wool rugs that bounce back after snow days. Use layered lighting, with dimmable ceiling fixtures, task lights at counters, and warm ambient glow in the evening.
Reduce risk from fire and wildlife
Treat the site with care. Clear defensible space, select Class A roofing, and use ember resistant vents. Screen under decks and store refuse in bear resistant bins. Choose plants with low fuel loads near the house and place firewood away from walls.
Control water and freeze
Move water off the roof and away from the foundation. Heat cables solve ice at stubborn valleys, but design to avoid them when you can. Use large gutters with snow guards, strong brackets, and wide downspouts. Grade the site for positive drainage and protect window wells with covers.
Manage sound and large spaces
Tall rooms can feel loud. Soften them with wood ceilings backed by acoustic panels, fabric wall sections, bookshelves, and heavy drapery at large glass. Break up long spans with beams and ceiling coffers. Keep hard surfaces in balance with soft finishes.
Plan for energy and future upgrades
Reserve south roof area for solar. Conduit runs and a clear roof layout make a later array simple. Add space in the mechanical room for a future battery. Rough in EV charging in the garage with a dedicated circuit. Specify smart thermostats that respond by zone and keep logs you can read.
Budget and schedule in line with local factors
Mountain projects call for careful logistics. Factor in snow removal, staging limits, and delivery windows. Price cranes for set days and protect the access road. Prefabricated wall panels or trusses can reduce site time and improve quality. Order windows and exterior doors early, and store them in a dry, secure space.
Work with a team that knows the place
Local insight saves time and money. A builder who works the valley knows soil, utility taps, and permit steps. An engineer who has stamped roofs for big snow loads will help you keep framing lean and strong. A landscape designer who understands elk paths and snow storage will guide plant choices and grading.
Key checklist you can use
- Confirm solar orientation and wind exposure during site walk.
- Set roof strategy, pitch or engineered low slope, before massing.
- Detail continuous insulation and air barrier at every transition.
- Choose high altitude rated windows with the right coatings.
- Specify radiant heat with zoning and an HRV for fresh air.
- Design a gear ready mudroom with drains and storage.
- Plan defensible space and ember resistant details.
- Reserve roof area and conduit for future solar.
Conclusion
A strong mountain home grows from climate, site, and simple building science. You place rooms for light, you shape roofs for snow, and you invest in a tight, insulated shell. You heat and ventilate with steady systems, and you fit the plan to daily life in winter and summer. Follow these steps, and your home will feel warm, quiet, and ready for Aspen weather for years to come.

