
Picking the wrong paint sprayer can turn your weekend project into a messy nightmare. Trust me, I’ve been there.
Paint sprayers cut your painting time in half and give you smooth, even coverage that brushes and rollers can’t match. They’re perfect for furniture, cabinets, fences, and whole rooms.
But with so many options, how do you choose?
This guide breaks down everything you need to know. I’ll walk you through the different types of sprayers, what to look for, and which ones work best for specific projects. No confusing jargon or sales pitches, just straight answers from someone who’s tested dozens of these tools.
By the end, you’ll know exactly which paint sprayer fits your needs and budget.
Why Use a Paint Sprayer at Home?
I used to spend entire weekends painting with brushes and rollers. My back ached. My arms felt like jelly. The finish looked okay, but never great.
Then I tried a paint sprayer.
Faster than brushes and rollers, what took me two days now takes four hours. A sprayer covers large areas in minutes, not hours. You move quickly across surfaces without stopping to reload your brush or roller every few seconds.
Smoother, more professional finish, no brush marks. No roller texture. Just smooth, even coverage that looks like a professional did the work. The paint goes on uniformly, creating that flawless surface you see in magazines.
Perfect for walls, furniture, fences, and cabinets. One tool handles everything. Kitchen cabinets get a factory-smooth finish. Fence posts that would take hours with a brush are done in minutes. Furniture pieces transform without visible brush strokes.
Know Your Project First
Don’t buy a race car to drive to the grocery store.
Paint sprayers work the same way. Match your tool to your task, and you’ll save money and frustration.
Painting a single piece of furniture? A small handheld sprayer does the job perfectly. These cost less and store easily in your garage.
Painting your entire house exterior? You need serious power. Large sprayers move more paint faster. They handle thick coatings without clogging.
Cabinets and fine furniture demand control. Look for sprayers with adjustable settings. You want to control exactly how much paint comes out and where it goes.
Types of Best Paint Sprayers for Home Use
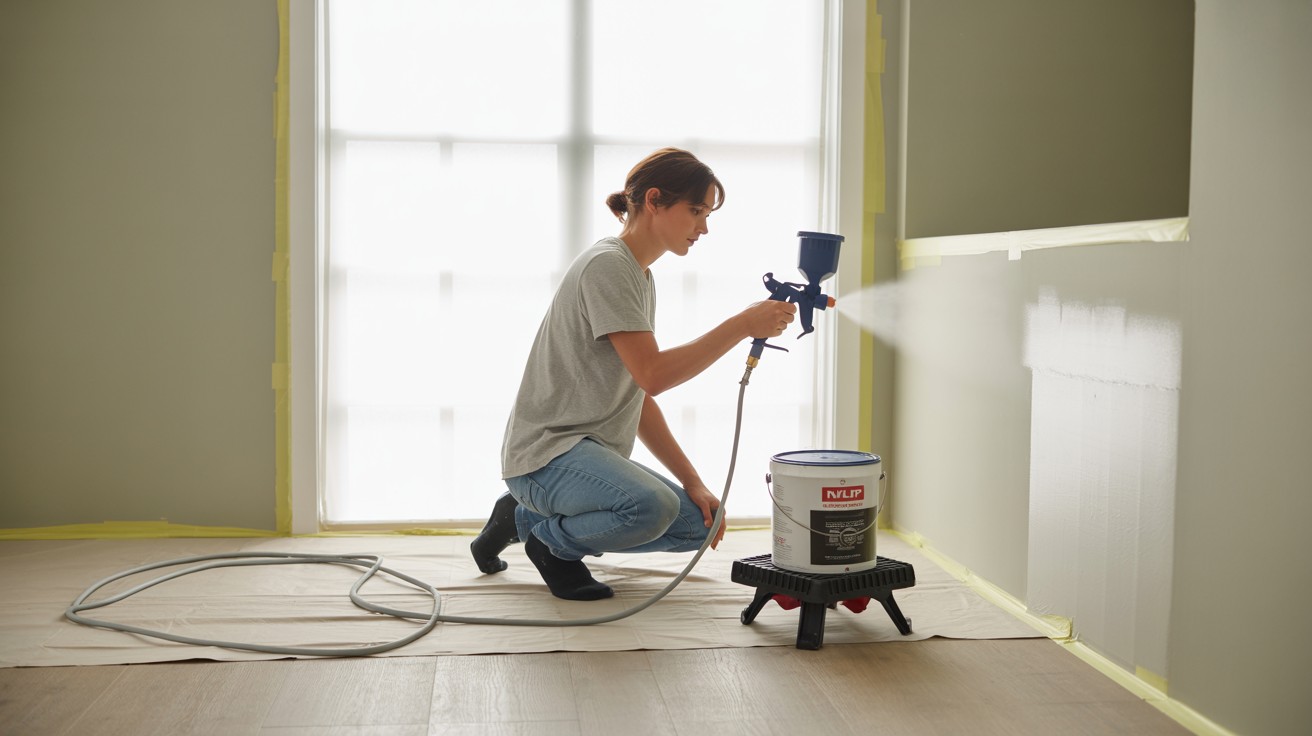
1. Airless Paint Sprayers
These are the workhorses of the paint world.
Best for large surfaces like walls, fences. They push paint through a tiny hole at high pressure. No air needed. Just pure paint power. Perfect when you have a lot of ground to cover.
Powerful and fast, an airless sprayer can paint an entire room in the time it takes to set up your brushes and rollers. They don’t mess around.
Great for thick paints like latex. Regular house paint? No problem. These sprayers handle heavy latex paint like it’s water. They push through thick coatings that would clog other sprayers.
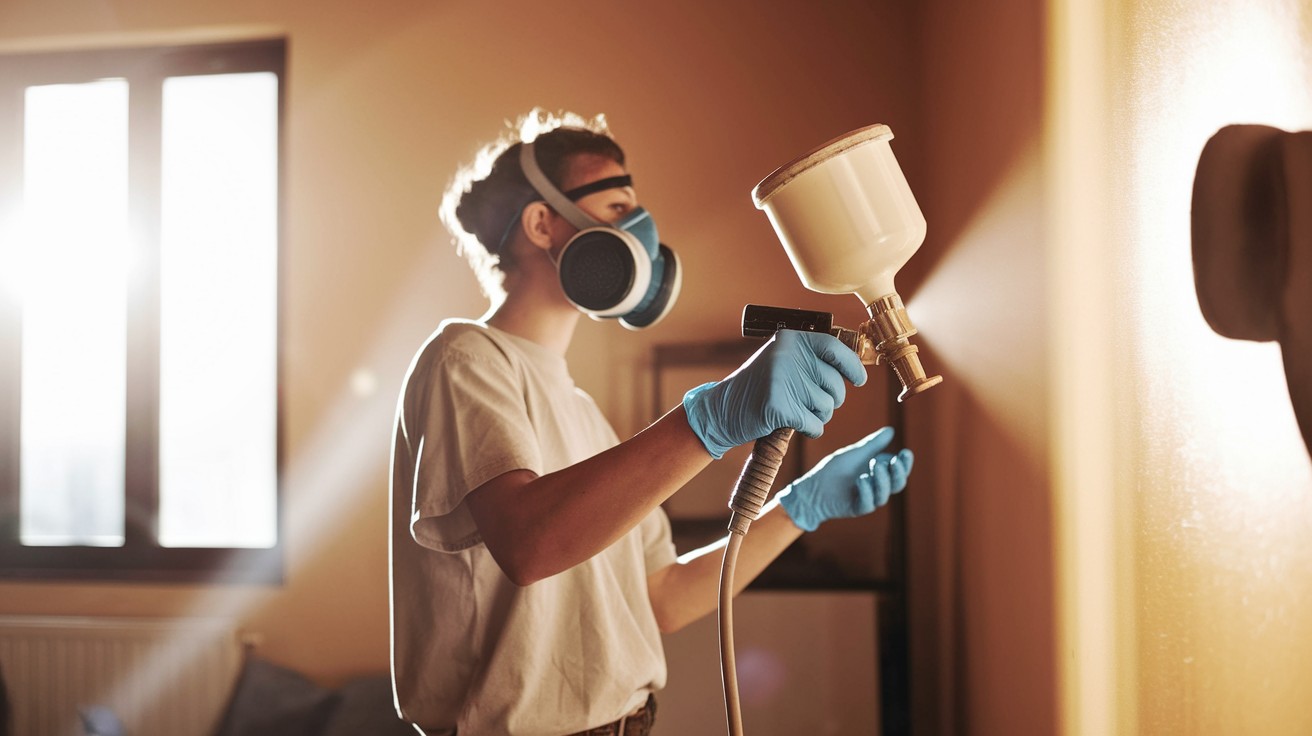
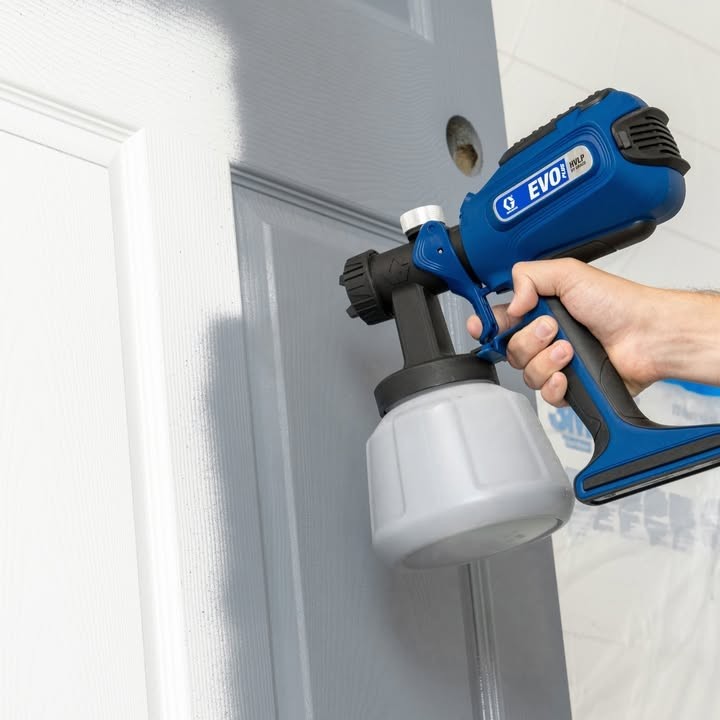
2. HVLP (High Volume Low Pressure) Sprayers
Think of these as the precision instruments.
Best for cabinets, furniture, and trim. When you need control, HVLP wins. They use lots of air at low pressure to create a soft, controlled spray. Perfect for detailed work.
Smooth finish, less overspray, Less paint ends up on your drop cloths and more on your project. The low pressure means better control and less waste.
Ideal for stains and thinner paints. Wood stains, lacquers, and thin paints work beautifully with HVLP systems. They handle delicate finishes that need gentle application.
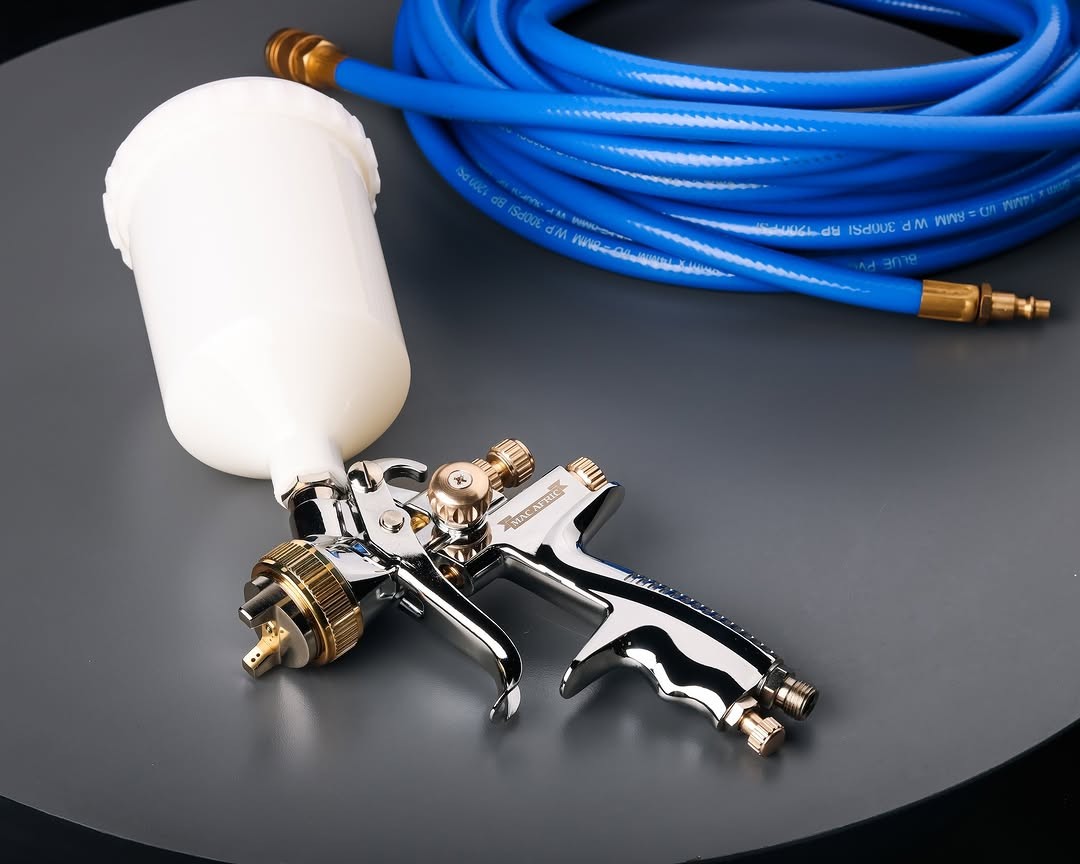
3. Compressed Air Sprayers
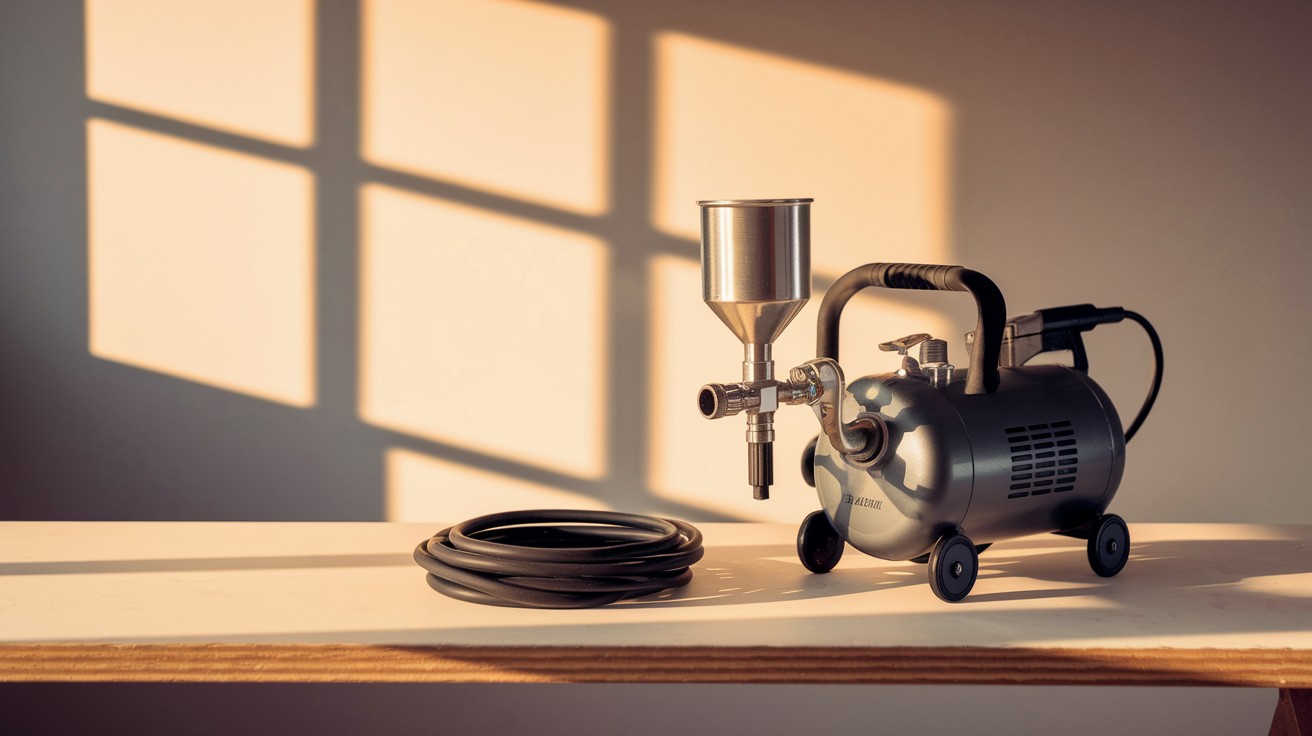
The budget-friendly option that still gets results.
Budget-friendly. If you already own an air compressor, these cost very little. They’re basic but effective for many home projects.
Good for small, detailed work, Touch-ups, small furniture pieces, and craft projects. They give you spray capability without breaking the bank.
Requires an air compressor. Here’s the catch. You need a separate air compressor to run them. If you don’t have one, factor that into your budget.
Key Features to Look For
Features matter more than brand names.
- Adjustable pressure settings. Different paints need different pressure. Thin stains require gentle pressure. Thick latex needs more power. Adjustable pressure lets you handle both.
- Different spray pattern options. Round patterns for detail work. Wide patterns for large areas. Horizontal patterns for fences. Vertical patterns for walls. Options give you control.
- Easy cleaning system. Cleaning takes longer than painting if you choose the wrong one. Look for sprayers with quick-connect fittings and flush systems. Your future self will thank you.
- Lightweight and portable design. Heavy sprayers tire you out quickly. Your arms will ache after an hour of holding a heavy gun. Choose something comfortable to hold and carry.
Balance Budget and Quality
You don’t need to spend a fortune, but don’t buy junk either.
Entry-level: expect to spend $100-300. These handle occasional use perfectly. If you paint once or twice a year, this range works well.
Mid-range: $300-600 gets you better motors, more control, and easier cleanup. Worth it if you tackle several projects annually.
Pro-grade: $600+ buys professional-level performance. Only worth it if you use your sprayer regularly or tackle huge projects.
Easy to Clean and Maintain
Quick flush systems save time. The best sprayers clean themselves. You connect a hose, run clean water or solvent through the system, and you’re done in minutes.
Choose models with:
- Simple designs with fewer parts
- Easy access to filters and tips
- Quick-connect fittings
- Removable paint cups
- Clear cleaning instructions
- Tool-free disassembly
- Dishwasher-safe parts
Conclusion
You now know exactly what to look for in a paint sprayer.
Stop dreading your next painting project. Stop accepting brush marks and uneven coverage. Stop spending entire weekends on jobs that should take hours.
The right sprayer changes everything.
Your walls will look professional. Your cabinets will have that smooth, factory finish. Your outdoor projects will get done before lunch instead of consuming your entire weekend.
Choose based on your actual needs, not the fanciest features. Match your sprayer to your projects. Clean it properly after each use.
Do this, and you’ll wonder why you ever picked up a brush in the first place.
Your next painting project is waiting. Make it your best one yet.
Frequently Asked Questions
1. How much paint do I save with a sprayer compared to brushes and rollers?
You use about 20-30% more paint with a sprayer due to overspray. But you save 60-70% of your time. Most people find the time savings worth the extra paint cost, especially on large projects.
2. Can I use any type of paint in a sprayer?
Not all paints work in all sprayers. Thick latex paints need airless sprayers. Thin stains work best in HVLP systems. Always check your sprayer’s manual for recommended paint viscosity. Some paints may need thinning.
3. How long does it take to clean a paint sprayer?
With a good flush system, 5-10 minutes. Without one, 20-30 minutes of scrubbing and soaking. This is why easy cleaning features matter so much. Skipping cleanup ruins your sprayer permanently.
4. Do I need to thin the paint before using a sprayer?
Depends on your sprayer type. Airless sprayers handle most paints straight from the can. HVLP and compressed air sprayers often need paint thinned by 10-20%. Check your paint’s label and sprayer manual for specific guidance.
5. Is it worth buying a paint sprayer for just one project?
If it’s a large project, yes. For small jobs like one accent wall, probably not. Consider the time savings, finish quality, and whether you’ll use it again. Rental might make more sense for one-time use.