
Your queen bed looks boring. Nothing pulls the room together. I get it. You want your bedroom to feel put-together. But pillow styling feels confusing.
Here’s what you’ll find in this guide:
- 21 proven pillow arrangements for queen beds
- Step-by-step styling instructions
- Common mistakes to avoid
- Pro tips from real bedroom designers
My arrangements have been featured in home magazines and design blogs. I know what works. This isn’t a theory. These are real solutions I use with clients every day. You’re looking for pillow arrangement ideas that actually work in your space. Not Pinterest fantasies that fall apart after one night’s sleep.
Let me solve your pillow styling problems right now.
The Basics of Queen Bed Pillow Styling
First things first. You need the right foundation.
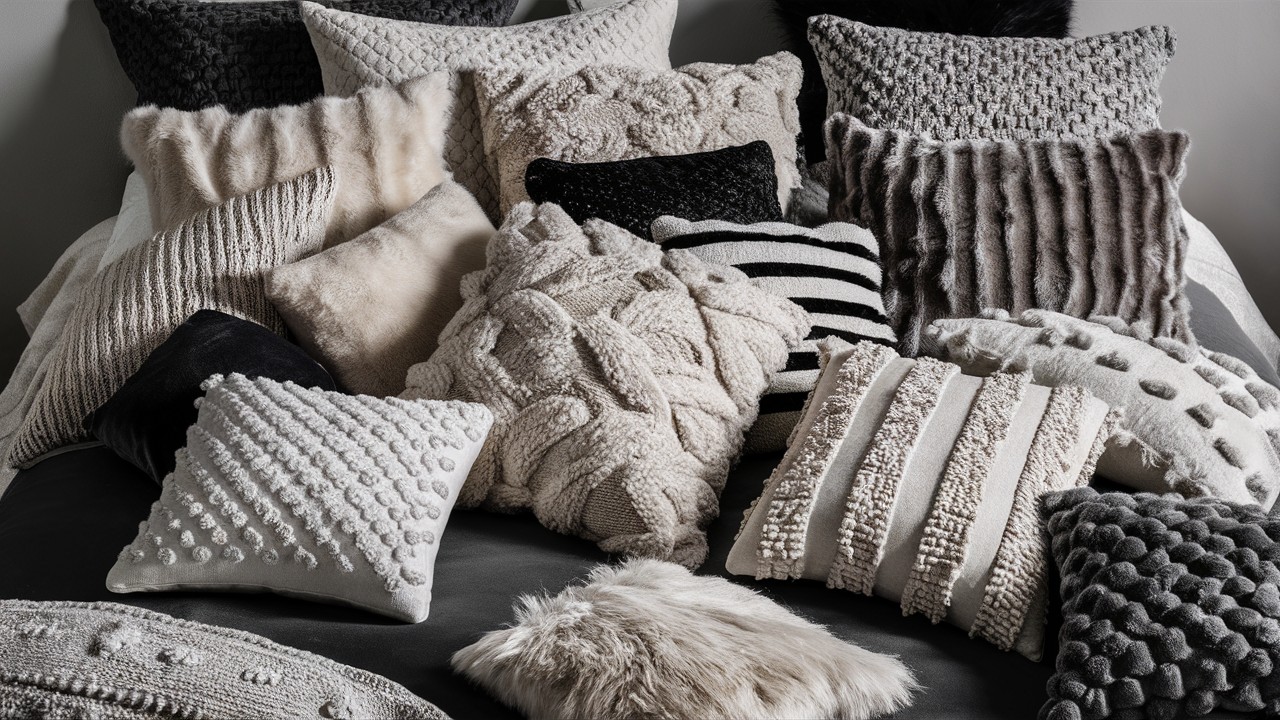
Standard pillow sizes for queen beds:
- 2 standard pillows (20″ x 26″)
- 2 queen pillows (20″ x 30″)
- 1-2 Euro squares (26″ x 26″)
- 1-2 lumbar pillows (12″ x 20″)
Think of pillows like building blocks. Each serves a purpose. Sleeping pillows go in back. Decorative pillows layer in front. The golden rule? Odd numbers create visual interest. Even numbers feel formal.
But here’s what most people get wrong. They use too many pillows. Your bed becomes a pillow fort. Nobody wants that.
Classic Pillow Arrangements for Queen Beds
1. The Hotel Standard
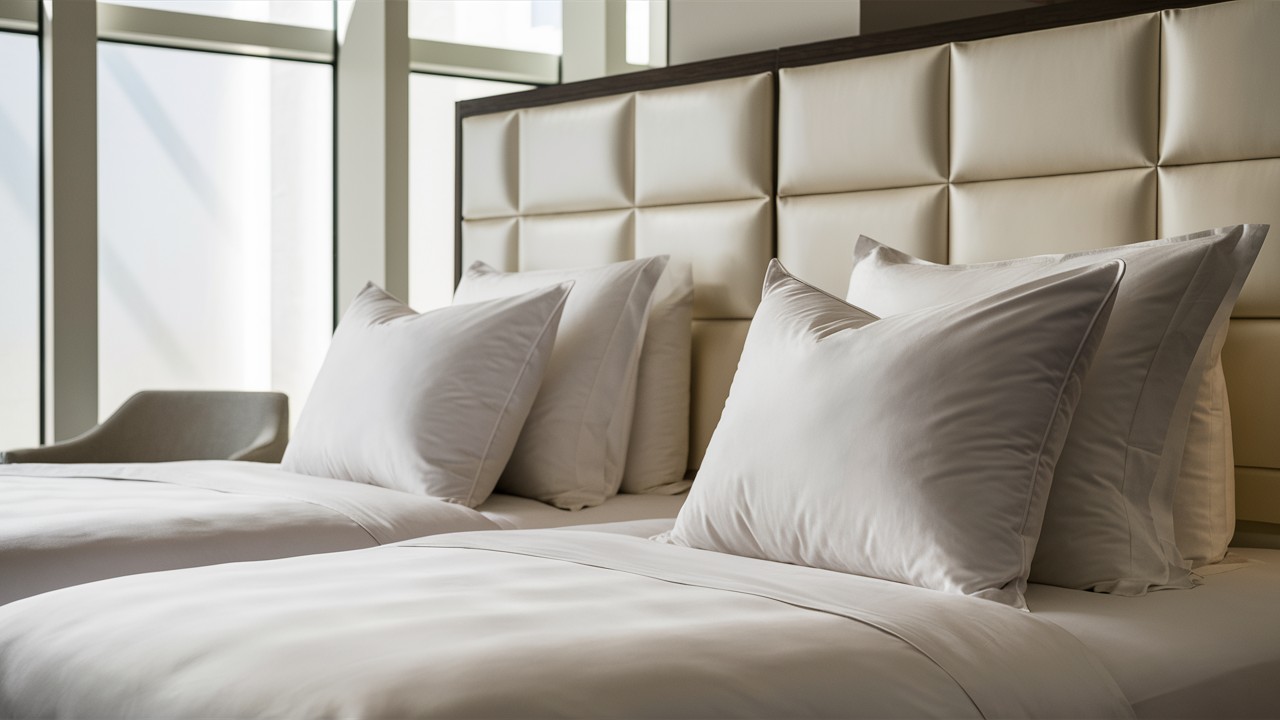
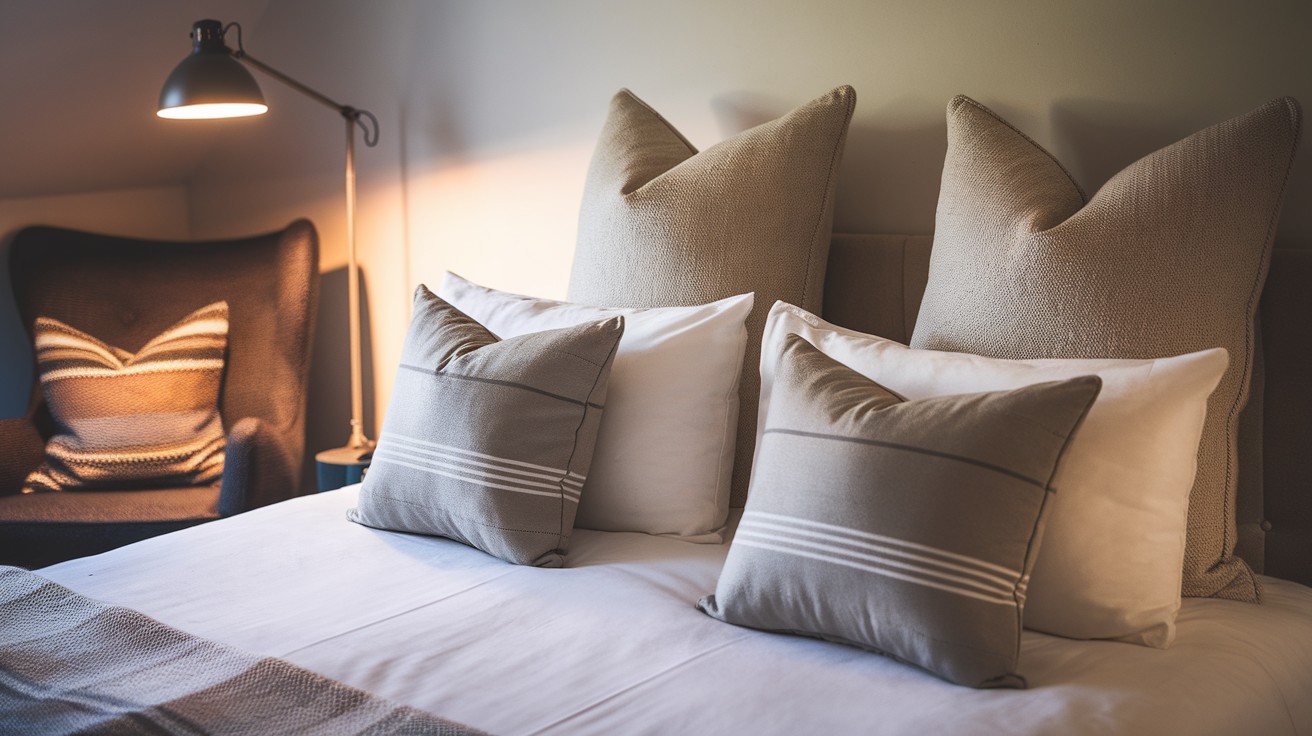
This is your safe bet. Hotels use this arrangement because it’s foolproof. Two queen pillows against the headboard. Two Euro squares behind them.
DIY tip: Buy white Euro pillow covers. They hide stains better than colored ones.
I use this setup in guest bedrooms. No one ever complains. It looks expensive without the high cost.
2. The Symmetrical Stack
Perfect for people who love order. Everything has its place. Four pillows total. Two sleeping pillows in back. Two smaller accent pillows in front.
DIY tip: Use different textures in the same color family. Velvet and linen work great together.
My client Sarah was obsessed with symmetry. This arrangement made her bedroom feel like a luxury suite.
3. The Traditional Triangle

Creates a focal point without trying too hard. Your eye naturally goes to the center. Start with two Euro squares. Add two standard pillows. Finish with one lumbar pillow centered in front.
DIY tip: Make the lumbar pillow yourself. Just sew a rectangle and stuff it.
I found this arrangement by accident. A client’s pillow fell off the bed. The remaining triangle looked perfect.
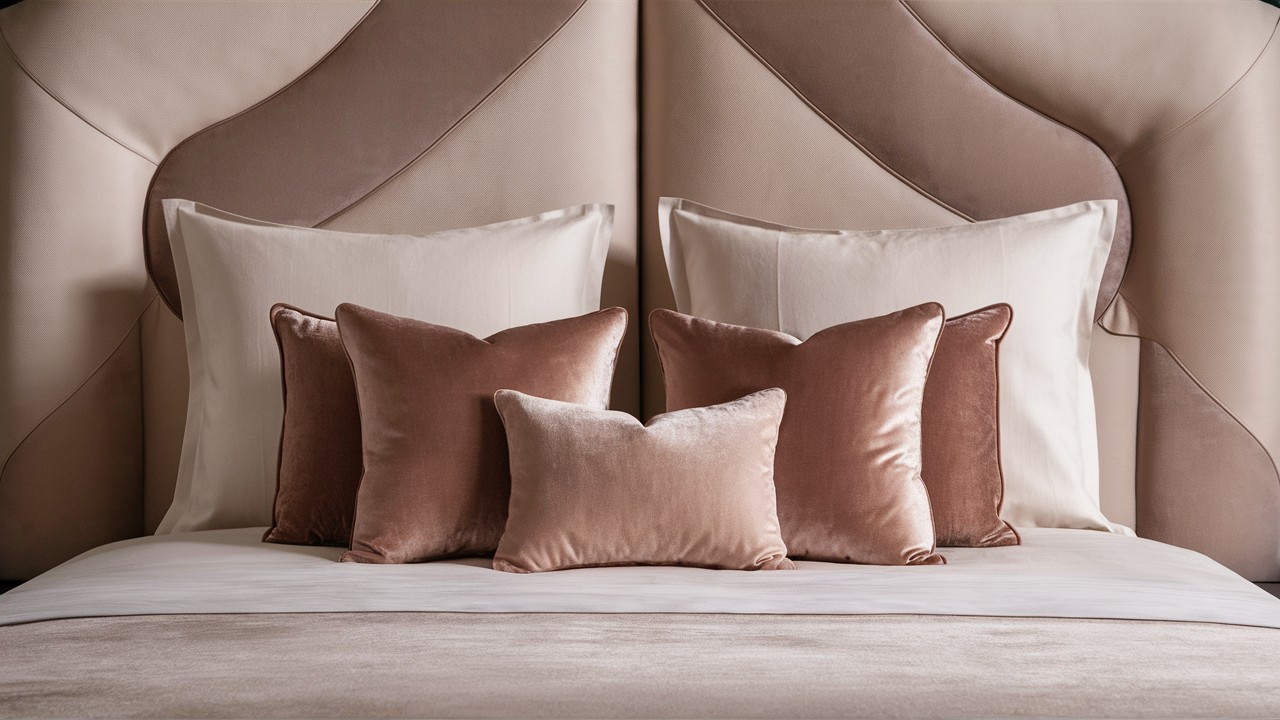
4. The Layered Classic

For people who want luxury but not chaos. Each layer serves a purpose.
- Back row: 2 Euro squares
- Middle row: 2 queen pillows
- Front row: 2 accent pillows
DIY tip: Use pillow inserts one size bigger than the covers. They look fuller and more expensive.
My most popular arrangement with interior design clients. It photographs beautifully for home tours.
5. The Simple Pair
Sometimes you just want to sleep. No fuss. No extra pillows to move. Just two pillows. That’s it.
DIY tip: Invest in really nice pillowcases here. They’re doing all the visual work.
Perfect for my minimalist clients. One couple told me it changed their morning routine completely.
Modern Queen Bed Pillow Arrangement Ideas
Time to break some rules.
6. The Asymmetrical Mix

Breaks all the traditional rules. Perfect for creative personalities. Three pillows of different sizes. Place them off-center.
DIY tip: Start with one large pillow on one side. Add two smaller ones on the other side for balance.
A young artist hired me for her loft. This arrangement matched her creative chaos perfectly.
7. The Color Block
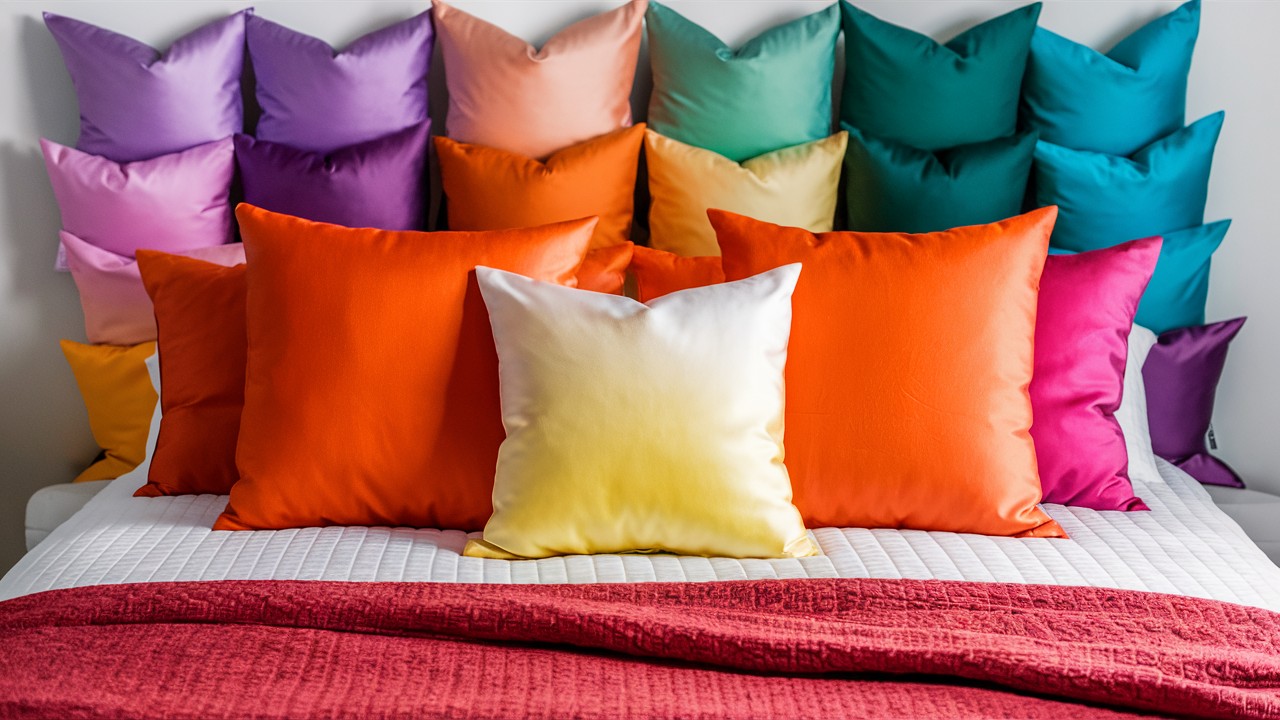
Creates a gradient effect that’s Instagram-worthy. But it’s easier than it looks. Use pillows in the same shape but different colors. Group them by shade.
DIY tip: Buy pillows in one color family. Arrange from lightest to darkest across the bed.
I used this in a teenage girl’s room. She said it looked like a sunset every morning.
8. The Texture Play
For people who love to touch everything. Your fingers can’t resist. Same color. Different textures.
DIY tip: Hit up thrift stores for vintage fabrics. Recover old pillows for different textures.
My client with visual impairment loved this arrangement. She could identify each pillow by touch.
9. The Bold Statement
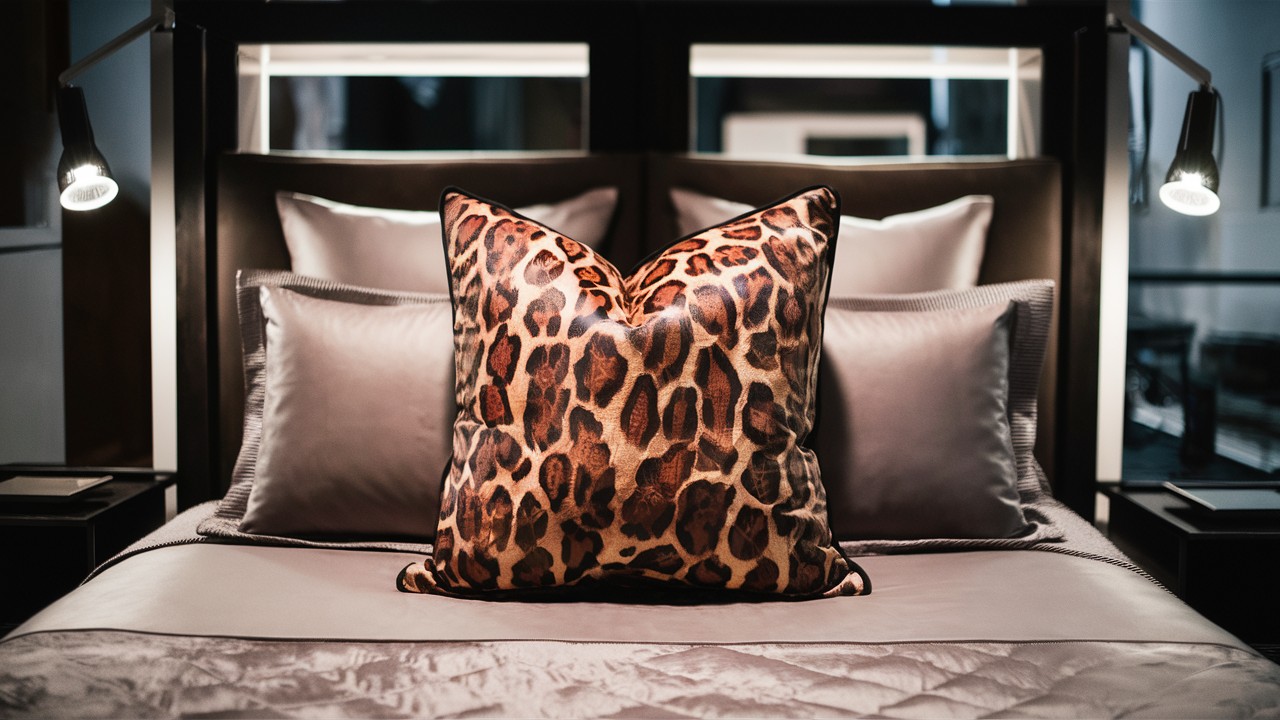
One pillow does all the talking. Everything else stays quiet. One oversized pillow. That’s your focal point.
DIY tip: Make a giant pillow cover from a vintage scarf or fabric remnant.
Used this in a bachelor’s apartment. One leopard print pillow changed his entire bedroom.
10. The Geometric Mix
Creates visual rhythm without being too busy. Your eye moves across the bed naturally. Circles, squares, rectangles. Different shapes create movement.
DIY tip: Cut foam into different shapes. Cover with coordinating fabrics.
A math teacher client loved this arrangement. She said it made geometry fun for her kids.
Functional Pillow Setups for Daily Use
Pretty pillows are nice. But you actually sleep here.
11. The Easy Access
Perfect for lazy people. Like me on Sunday mornings. Two sleeping pillows stay put. Decorative pillows come off at night.
DIY tip: Keep a wicker basket beside your bed. Toss pillows in before sleep. Grab them in the morning.
My busiest clients love this setup. A CEO told me it saves her 5 minutes every morning.
12. The Quick Flip

Smart solution for small spaces. Two pillows do double duty. Reversible pillows. One side for sleeping. One side for show.
DIY tip: Sew two different fabrics together. One cozy side, one pretty side.
Perfect for studio apartments. My client flips them while her coffee brews.
13. The Nested Setup
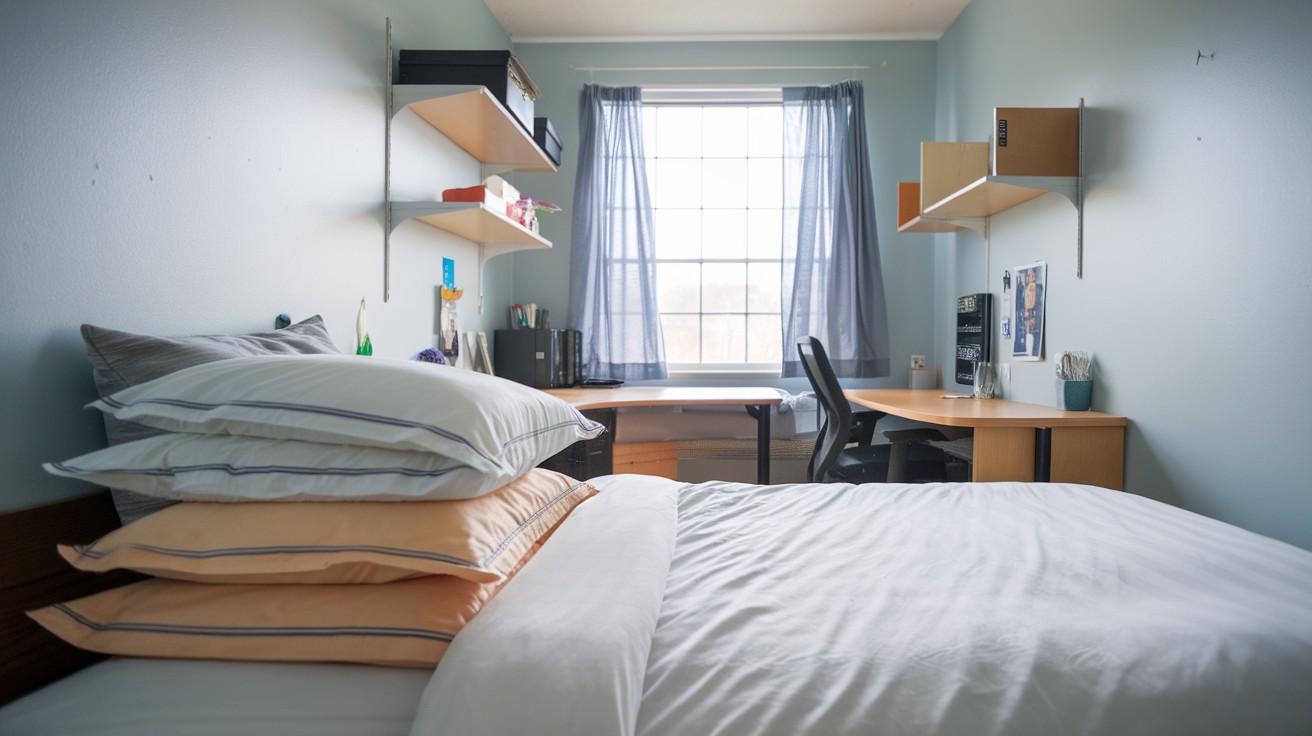
Genius space-saving trick. I learned this from a tiny house owner. Smaller pillows nest inside larger pillowcases.
DIY tip: Buy pillowcases 4 inches bigger than your pillows. The smaller ones hide inside perfectly.
Used this for a college dorm room. The student’s mom was amazed at the space we saved.
14. The Dual Purpose
For people who actually use their bedrooms. Not just photograph them. Pillows that work for sitting up in bed. And for decoration.
DIY tip: Fill pillows with a mix of down and foam. Soft enough for comfort, firm enough to hold shape.
My client loves reading in bed. These pillows support her back perfectly during book club meetings.
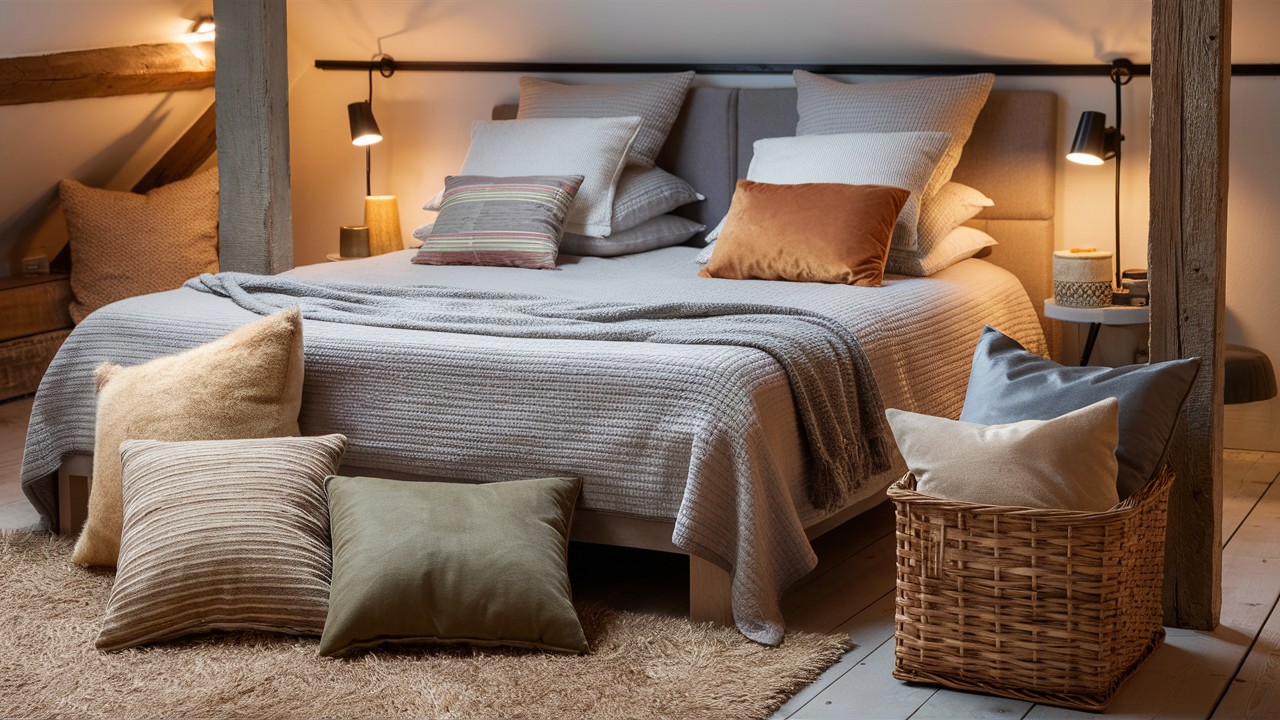
15. The Reading Nook
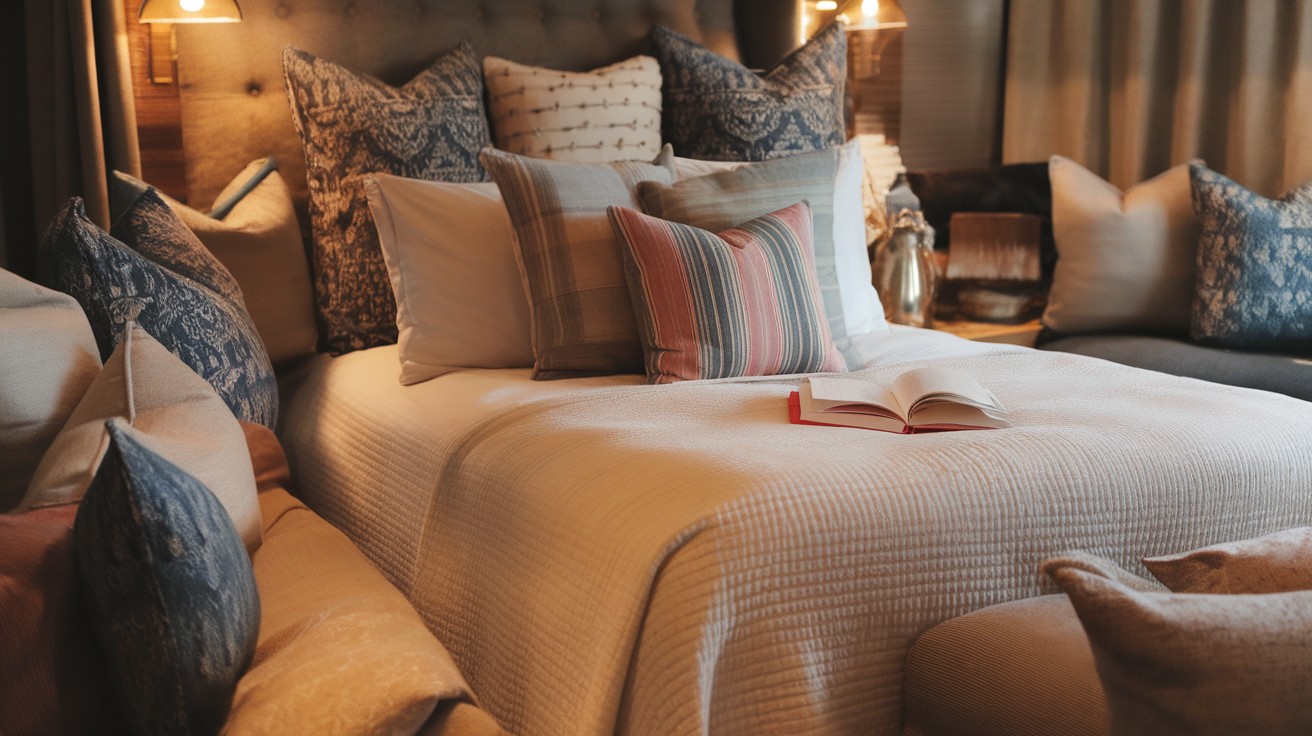
Turn your bed into a comfortable workspace. Essential for book lovers. Extra pillows for propping yourself up.
DIY tip: Store extra pillows in a nearby chair or ottoman. They become part of the room’s decor.
I’m guilty of this one myself. My bedroom has a dedicated reading pillow stash.
Customizing Your Queen Bed Arrangement by Bedroom Theme
Your pillows should match your style.
16. The Bohemian Stack

For free spirits who love color and pattern. Rules don’t apply here. Mix patterns freely. Paisley with stripes. Florals with geometrics.
DIY tip: Keep the color palette to three colors maximum. More than that becomes visual chaos.
My artist client in Brooklyn loved this style. Her bedroom looked like a cozy marketplace.
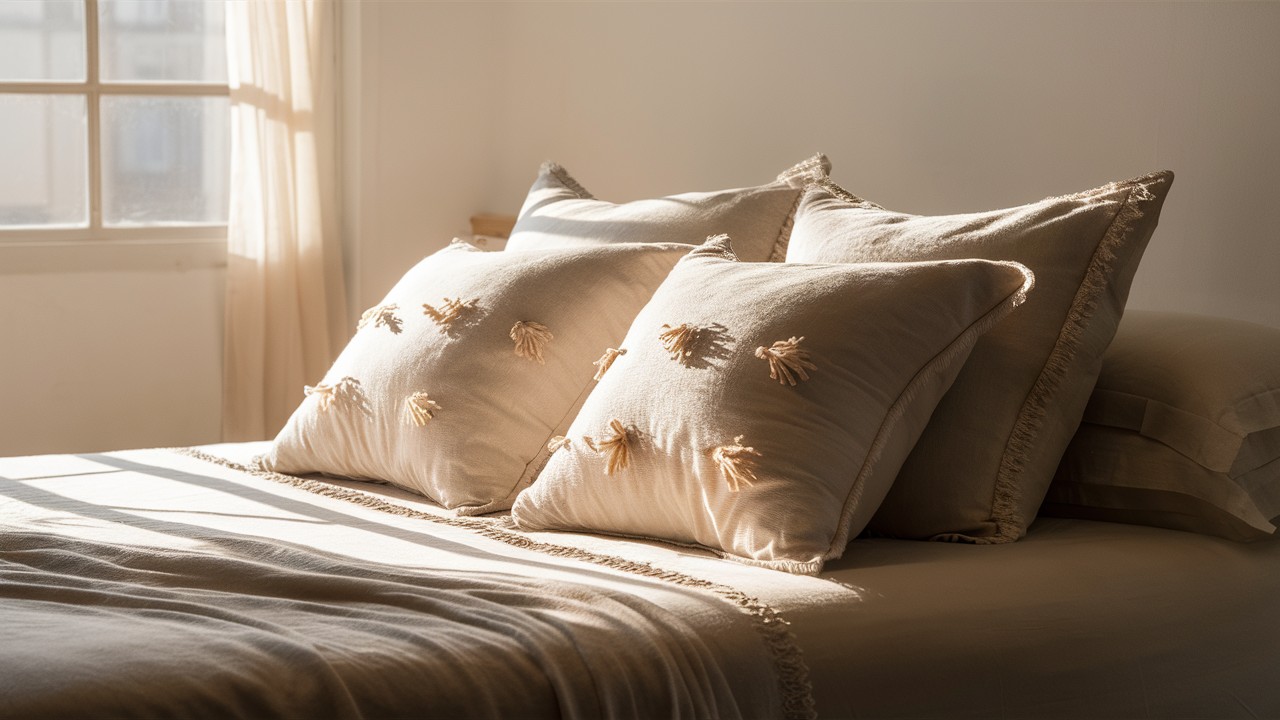
17. The Minimalist Approach
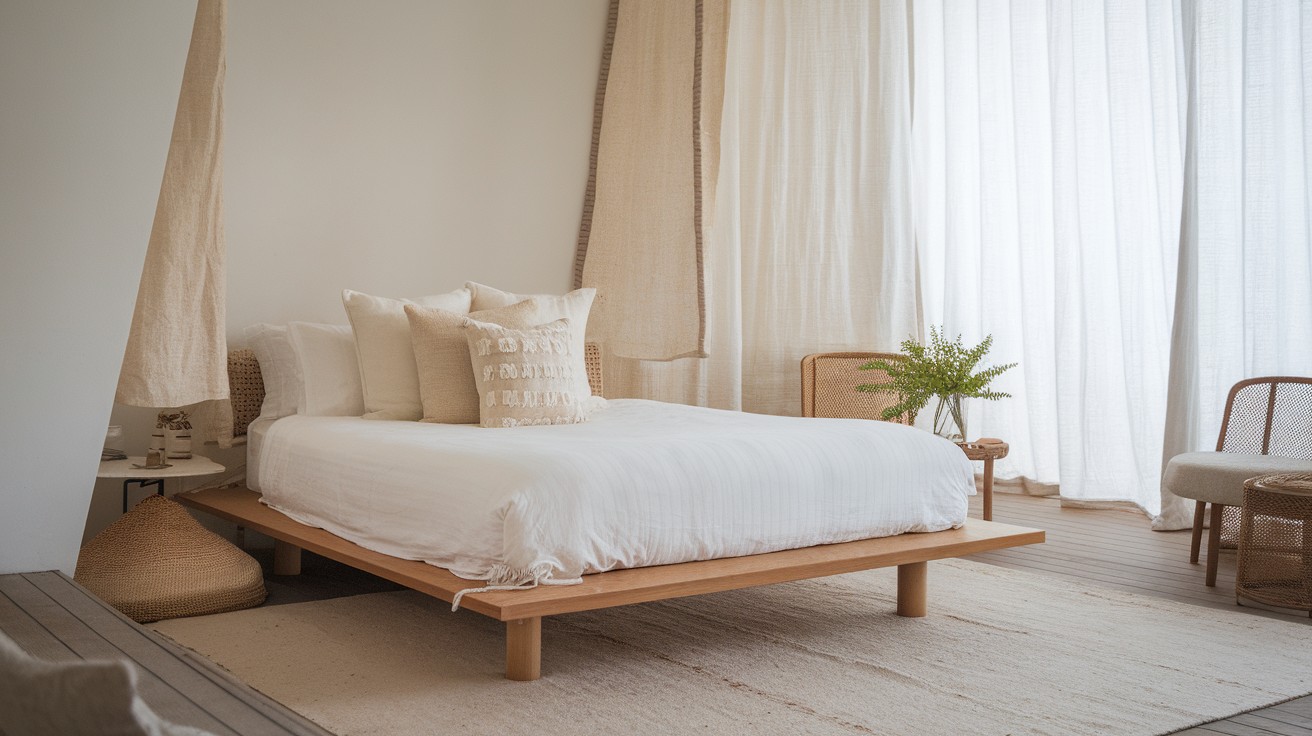
Clean lines and calm vibes. Perfect for stressed-out professionals. White or cream pillows only. Different textures add interest without color.
DIY tip: Use natural fabrics like linen and cotton. They get softer with each wash.
This arrangement helped my insomniac client sleep better. Less visual stimulation before bed.
18. The Farmhouse Feel
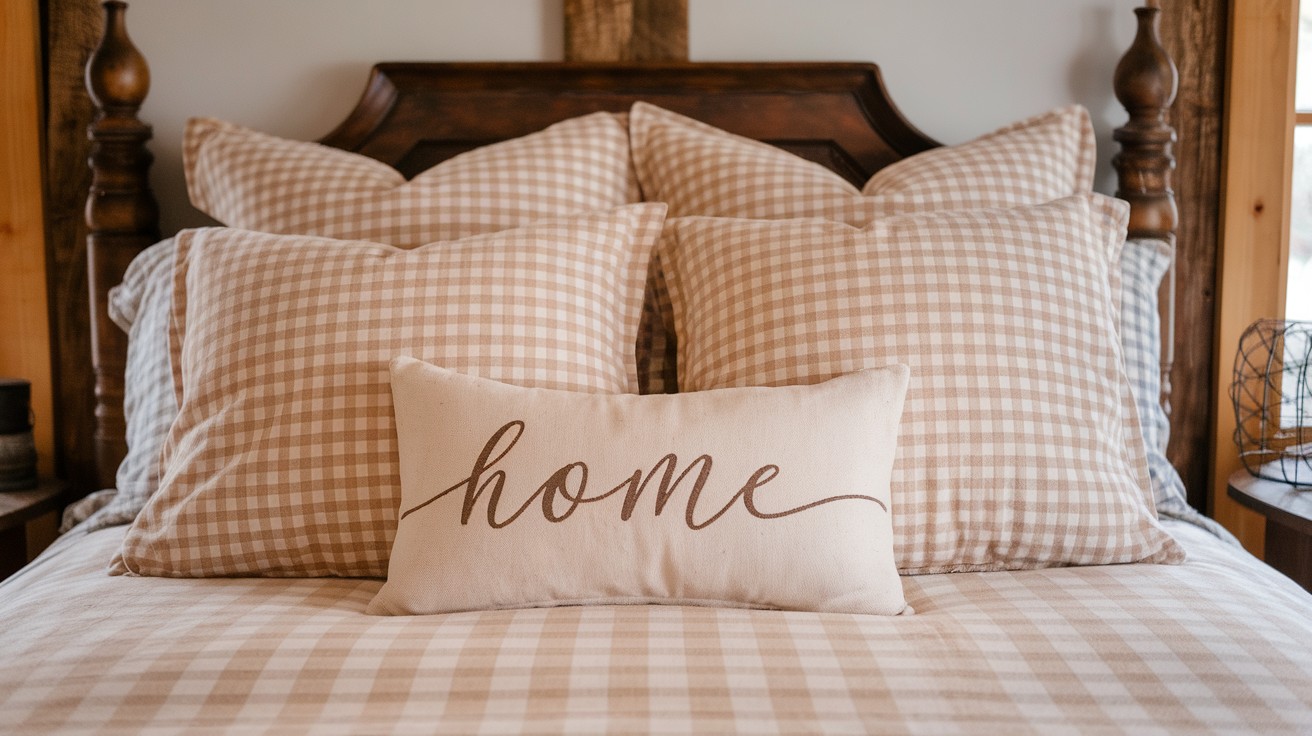
Cozy country vibes without leaving the city. Comfort is key here. Gingham and plaid patterns. Neutral earth tones.
DIY tip: Add one pillow with script writing. “Home” or “Blessed” work well without being cheesy.
Perfect for my client’s weekend cabin. Guests always comment on how welcoming the bedroom feels.
19. The Modern Glam
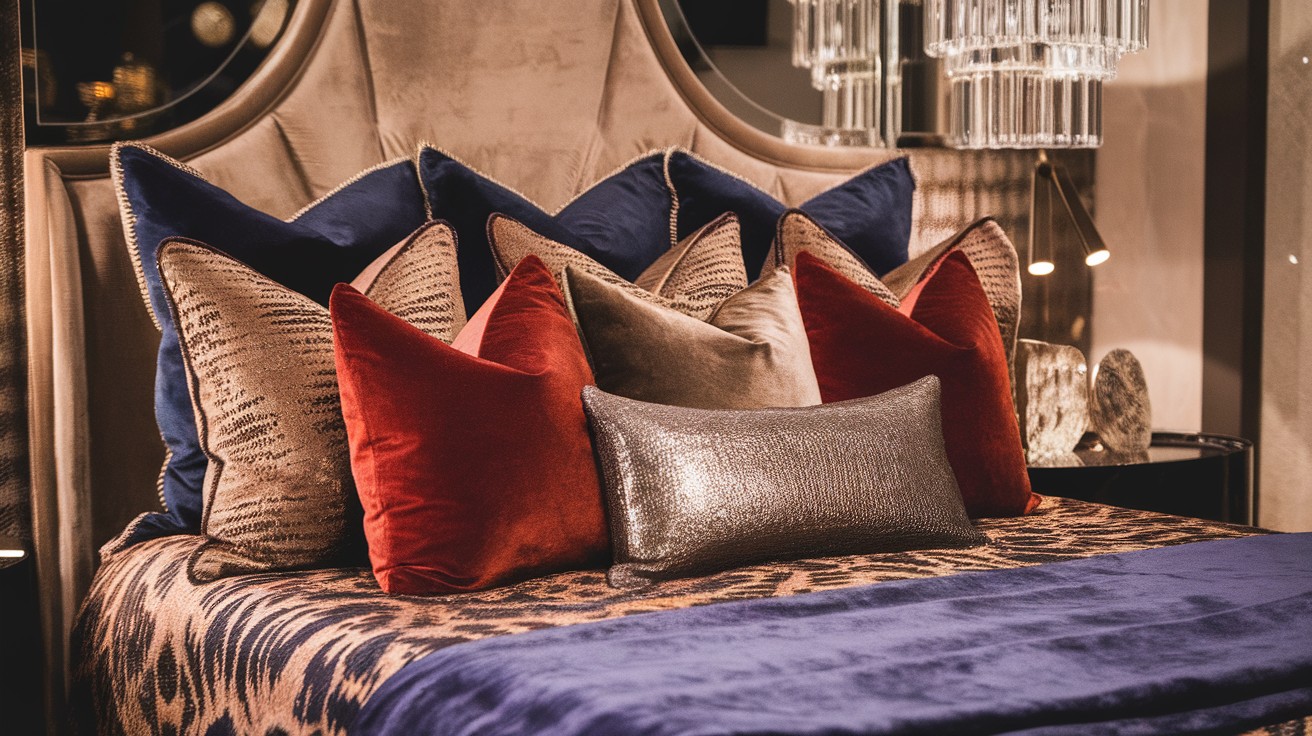
For people who want their bedroom to feel like a luxury hotel suite. Metallic accents. Sequins or beading. Rich jewel tones.
DIY tip: Remember – one statement pillow per arrangement. More feels like a disco ball exploded.
Used this for a client’s master suite. Her husband initially resisted but now loves the glamour.
20. The Coastal Vibe
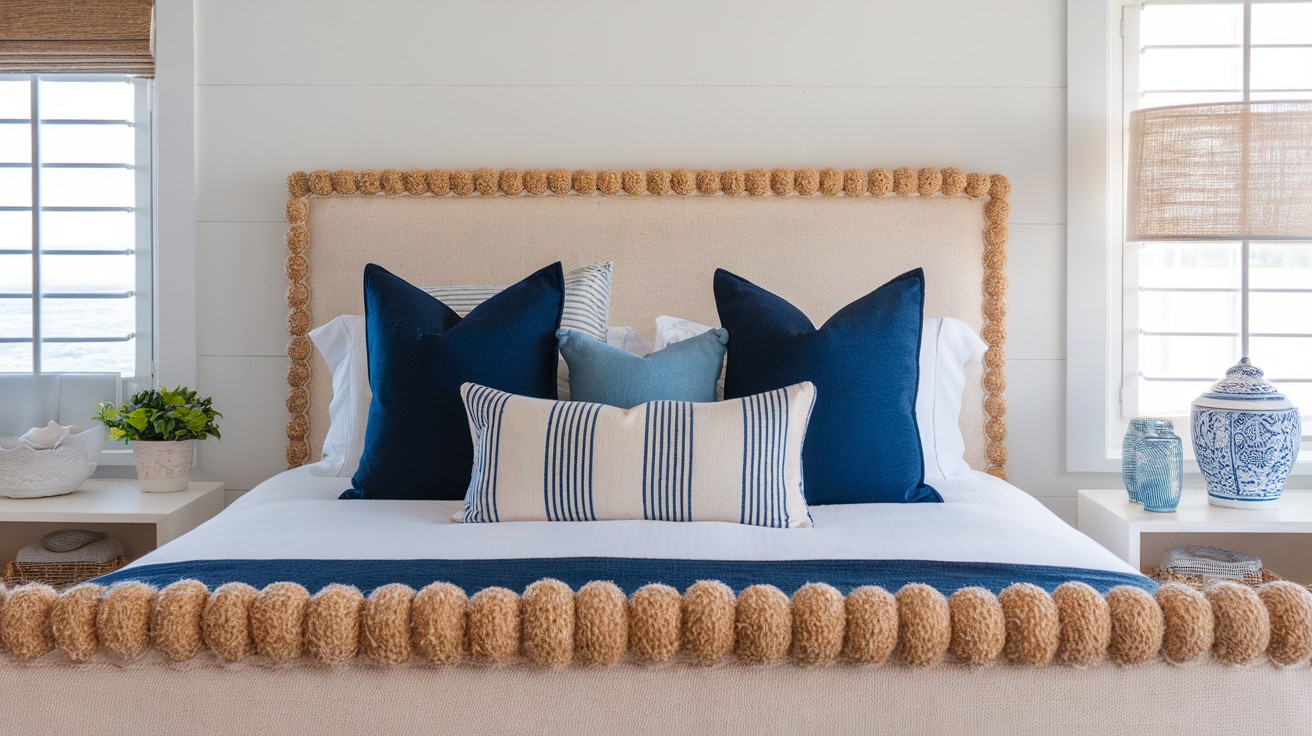
Brings beach house vibes to any bedroom. Instant vacation feeling. Blues and whites. Natural textures like jute or rope trim.
DIY tip: Throw in one pillow with nautical stripes. Instant beach house feel without the cliché anchors.
My landlocked clients in Kansas love this arrangement. They say it makes them dream of ocean vacations.
21. The Seasonal Switch
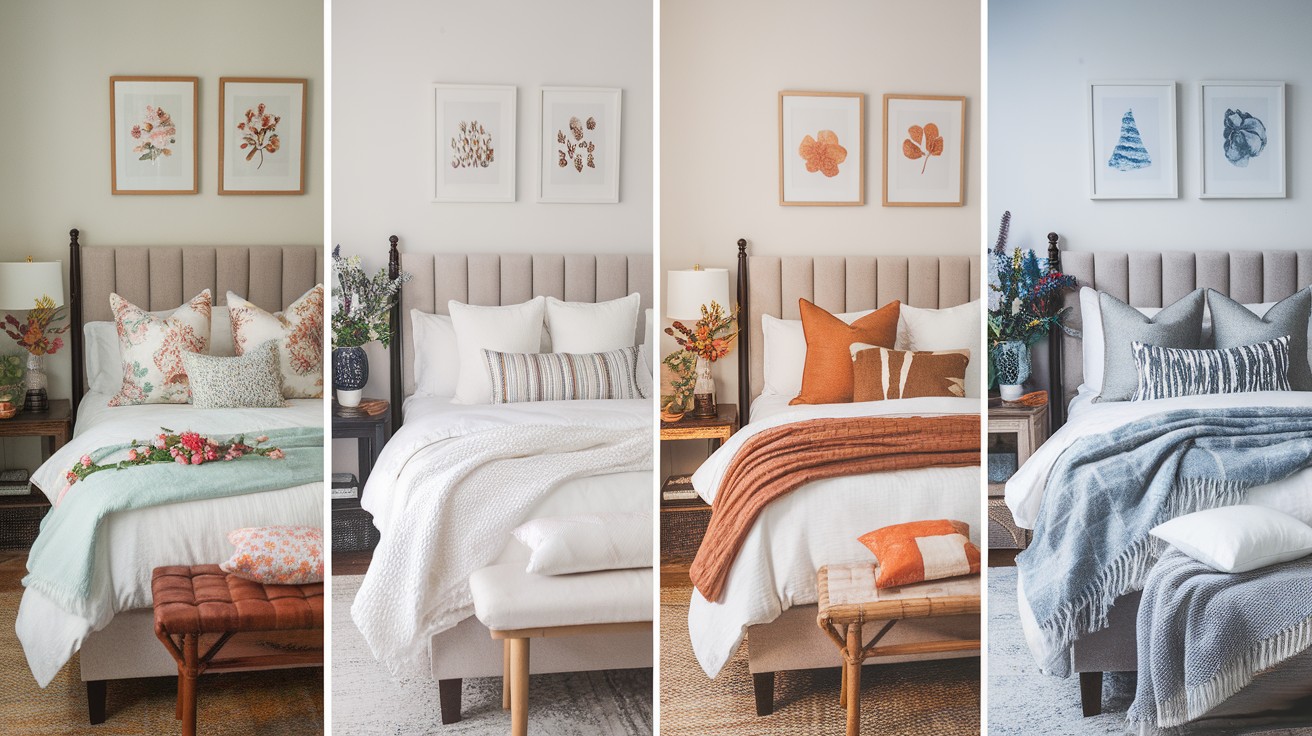
This is your bonus arrangement. Keep your bedroom fresh all year.
- Spring: Pastels and florals
- Summer: Bright whites and natural textures
- Fall: Rich oranges and deep browns
- Winter: Deep blues and plush fabrics
DIY tip: Switch out 2-3 pillows each season. Your bedroom feels fresh without a complete overhaul.
I do this in my own bedroom. My neighbors always ask how I afford to redecorate so often. The secret? Just changing pillows.
Common Pillow Arrangement Mistakes to Avoid
I see these errors constantly.
- Mistake 1: Too many pillows Your bed isn’t a pillow store. Five to seven pillows maximum.
- Mistake 2: All the same size Variety creates interest. Mix large and small.
- Mistake 3: Ignoring your headboard High headboards need taller arrangements. Low headboards need shorter ones.
- Mistake 4: Matching everything perfectly Some contrast prevents boredom. Change one element – size, color, or texture.
- Mistake 5: Forgetting about function, beautiful pillows mean nothing if you can’t sleep comfortably.
Pro Styling Tips for a Polished Look
Want your arrangement to look professional?
Fluff every pillow daily. Flat pillows kill the whole look. Angle your pillows slightly. Perfect rows feel stiff and formal. Mix pillow fills. Down feels luxurious. Synthetic holds its shape better.
Consider your lighting. Dark pillows disappear in dim rooms. Change seasonally. Velvet for winter. Linen for summer.
Conclusion
You now have 21 pillow arrangements that actually work. No more guessing. Start simple. Pick one arrangement from the classic section. See how it feels in your space.
Remember these key points:
- Use 4-6 pillows maximum
- Mix different sizes for interest
- Keep sleeping pillows accessible
- Change decorative pillows seasonally
I’ve given you real solutions. Not complicated theories. Your bedroom should make you happy. The right pillow arrangement does that. Don’t overthink it. Pick one idea and try it tonight. Small changes create big results. Your queen bed change starts now.
Sweet dreams in your newly styled space.
Frequently Asked Questions
How many pillows should be on a queen bed?
4-6 pillows work best for most queen beds. This includes 2 sleeping pillows and 2-4 decorative ones.
What size pillows look best on a queen bed?
Queen pillows (20″ x 30″) or standard pillows (20″ x 26″) work well. Add Euro squares (26″ x 26″) for layering.
Should all pillows match on a queen bed?
No, mixing 2-3 coordinating colors or patterns looks better. All matching pillows appear flat and boring.
How do you arrange pillows for both sleeping and style?
Keep 2 comfortable sleeping pillows accessible at the back. Store decorative pillows in a basket or nearby chair.
What’s the biggest pillow arrangement mistake people make?
Using too many pillows is the most common error. Your bed shouldn’t look like a pillow store display.