
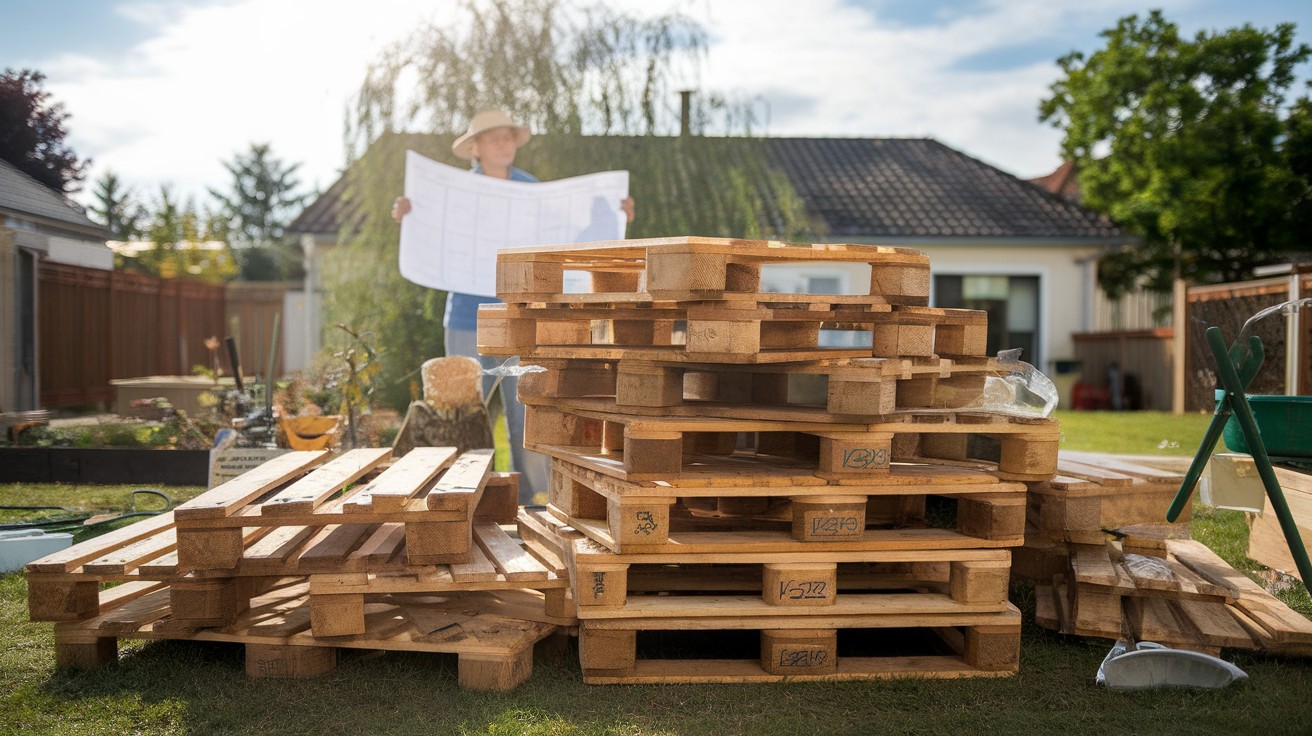
Building a shed doesn’t have to drain your wallet. Free wooden pallets can create sturdy, functional storage spaces for a fraction of traditional costs.
But here’s the problem: most pallet shed guides are garbage. They skip crucial details. Use unsafe materials. Leave you with wobbly structures that collapse.
This article solves that. You’ll get 17 complete pallet shed plans with exact dimensions, tool lists, and build times.
Inside you’ll find:
- Safety tips for choosing the right pallets
- Step-by-step building instructions
- Finishing techniques that last
- Answers to common questions
I’ve made every mistake so you don’t have to. These plans work because real builders use them successfully. Ready to build your perfect pallet shed? Let’s start with the basics.
Why Build a Shed with Pallets?
Free materials are hard to beat. Most businesses throw away pallets daily. A quick phone call usually nets you enough pallets for any project.
But free isn’t the only advantage:
- Quick builds: Most pallet sheds go up in a weekend
- No special skills needed: Basic tools and patience work fine
- Eco-friendly: You’re recycling instead of buying new lumber
- Easy modifications: Pallets are modular by design
The catch? Not all pallets work for building. Some are treated with nasty chemicals. Others fall apart when you look at them sideways.
What to Know Before You Start (Planning & Prep)
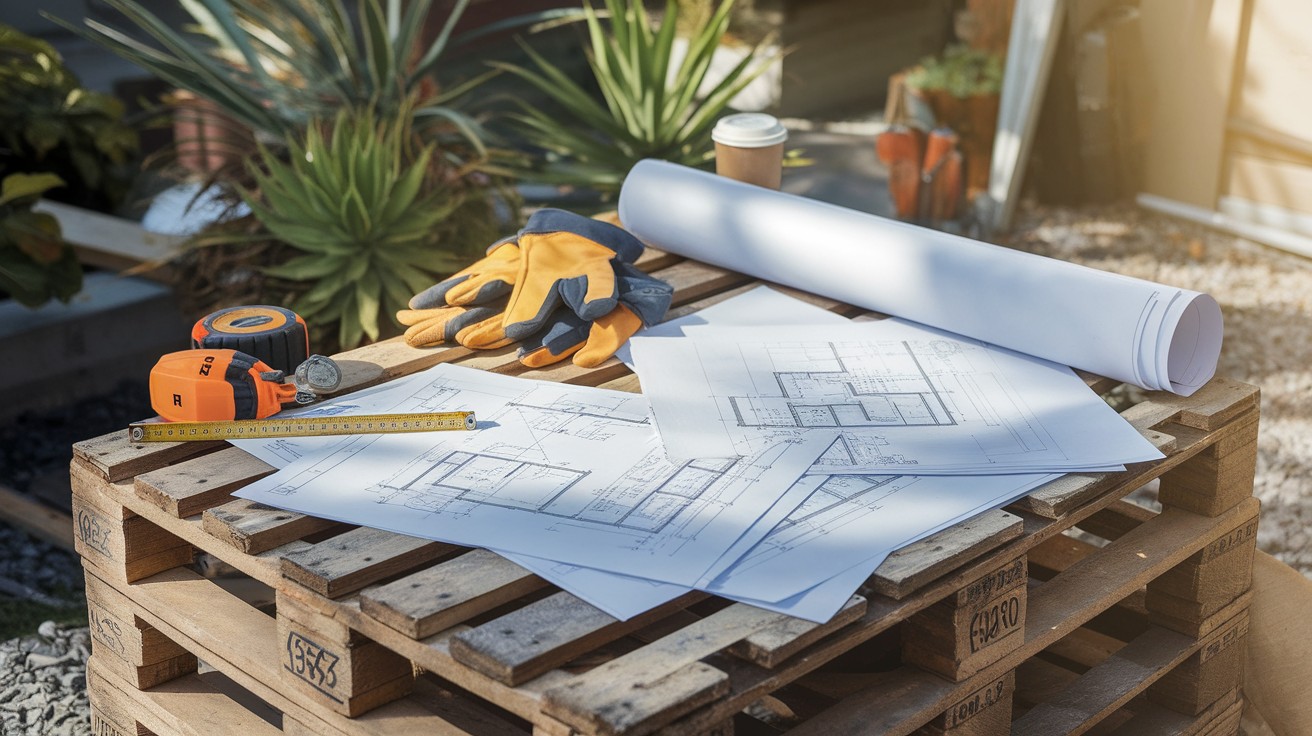
Check Your Local Building Codes
Some areas require permits for sheds over 100 square feet. Others have setback requirements from property lines. Call your city hall first. A $50 permit beats a $5,000 fine.
Choose the Right Pallets
Look for these markings on pallet wood:
- HT (Heat Treated): Safe to use
- KD (Kiln Dried): Also safe
- DB (Debarked): Good option
Avoid these markings:
- MB (Methyl Bromide): Toxic chemical treatment
- Any colored stains: Unknown chemical treatments
- Oil stains: Fire hazard and toxic fumes
Essential Tools You’ll Need
Basic tool list:
- Hammer or nail gun
- Circular saw
- Drill with bits
- Level
- Measuring tape
- Safety glasses
- Work gloves
Pro tip: Rent a nail gun if you’re building anything larger than 8×8 feet. Your hands will thank you.
Safety Tips for Working with Pallets
Pallet wood loves to splinter. I learned this the hard way during my first build. Wear gloves always. Even when you think you don’t need them. Sand rough surfaces before assembly. A belt sander makes quick work of weathered pallet boards.
Check for nails before cutting. Hidden nails destroy saw blades and create dangerous projectiles. Test each pallet before using it. Stand on it. Jump on it. Weak pallets break during assembly, not after.
DIY Pallet Shed Plans
1. Basic Garden Tool Shed from Pallets
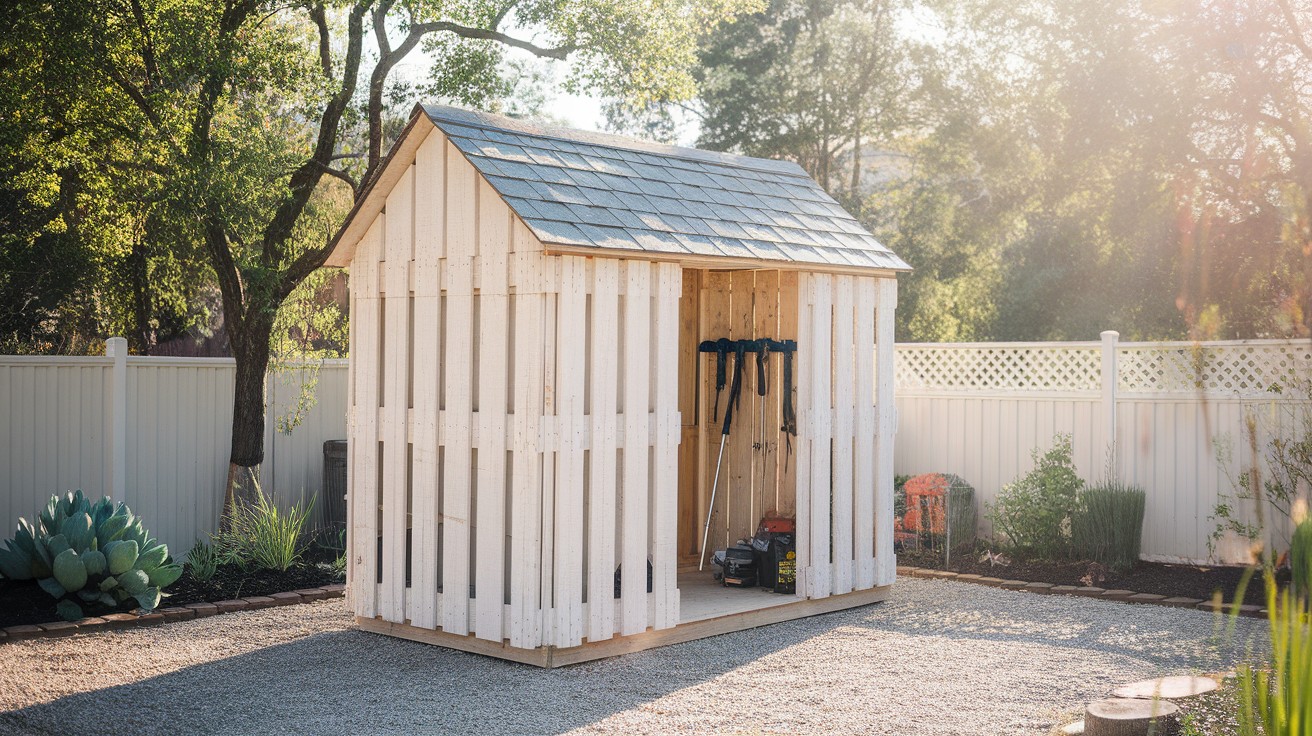
Difficulty: Beginner
Dimensions: 4×6 feet
Build Time: 4-6 hours
Best For: Hand tools, fertilizer, small equipment
This starter shed uses 8-12 pallets depending on your design. Stack pallets vertically for walls. Add a simple sloped roof using plywood and shingles.
Tools needed: Hammer, saw, drill, level
Materials: 10 pallets, roofing material, hinges, latch
Perfect for first-time builders. The small size keeps costs low and mistakes manageable.
2. Pallet Firewood Storage Shed
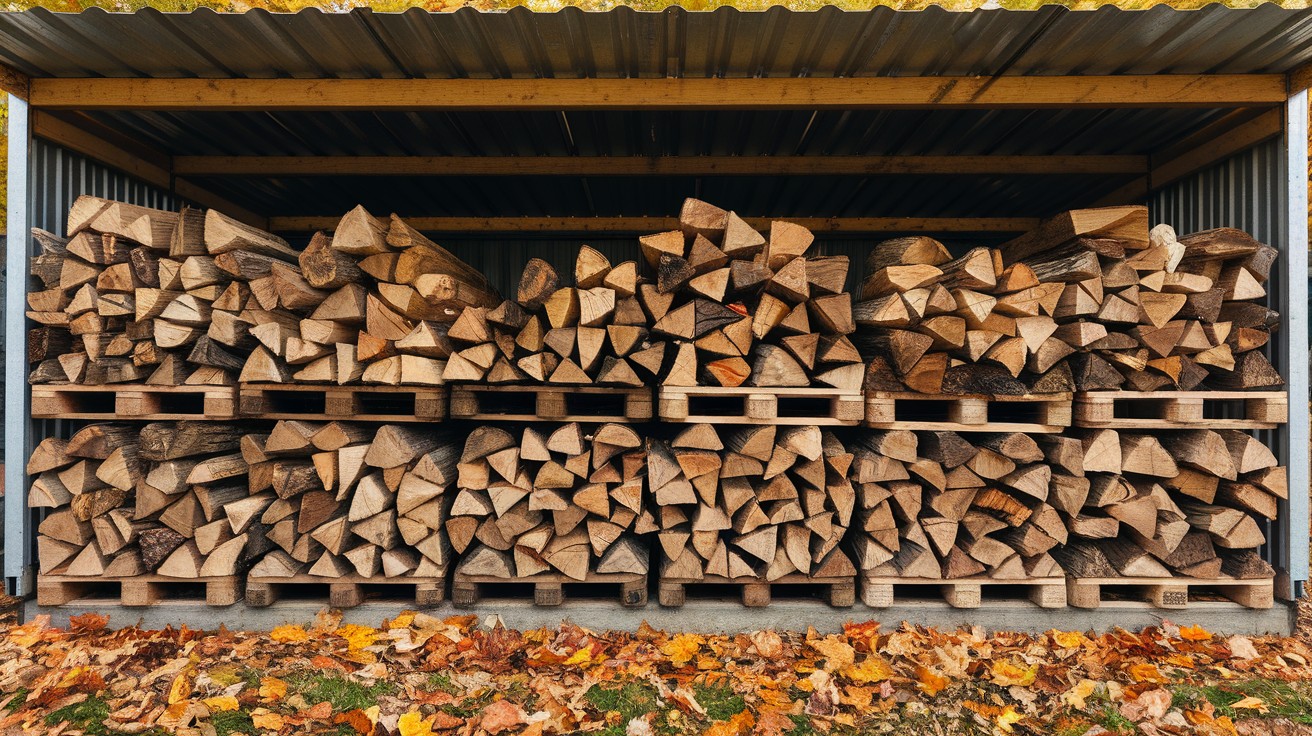
Difficulty: Beginner
Dimensions: 8×4 feet
Build Time: 6-8 hours
Best For: Seasoned firewood, kindling storage
Open-air design lets wood dry naturally. Use pallets as-is for maximum airflow. No floor needed – dirt base works fine.
Tools needed: Circular saw, drill, hammer
Materials: 8 pallets, metal roof sheets, brackets
Key feature: Sloped roof sheds rain while allowing air circulation.
3. Mini Greenhouse with Pallet Frame
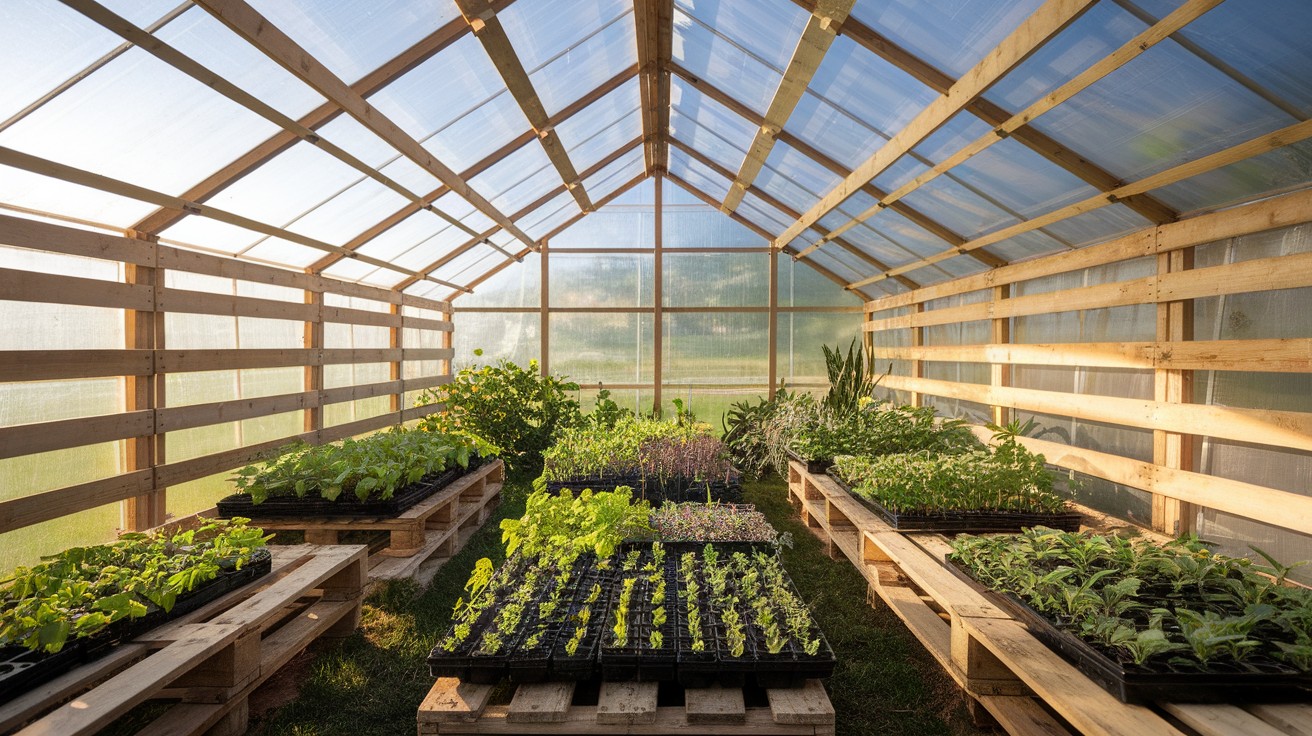
Difficulty: Intermediate
Dimensions: 6×8 feet
Build Time: 12-16 hours
Best For: Starting seeds, extending growing season
The frame uses pallet wood. Cover with clear polycarbonate panels or greenhouse plastic. Include ventilation windows for temperature control.
Tools needed: Saw, drill, staple gun, level
Materials: 12 pallets, clear panels, hinges, vents
Works best in sunny locations with good drainage.
4. Rustic Pallet Potting Shed
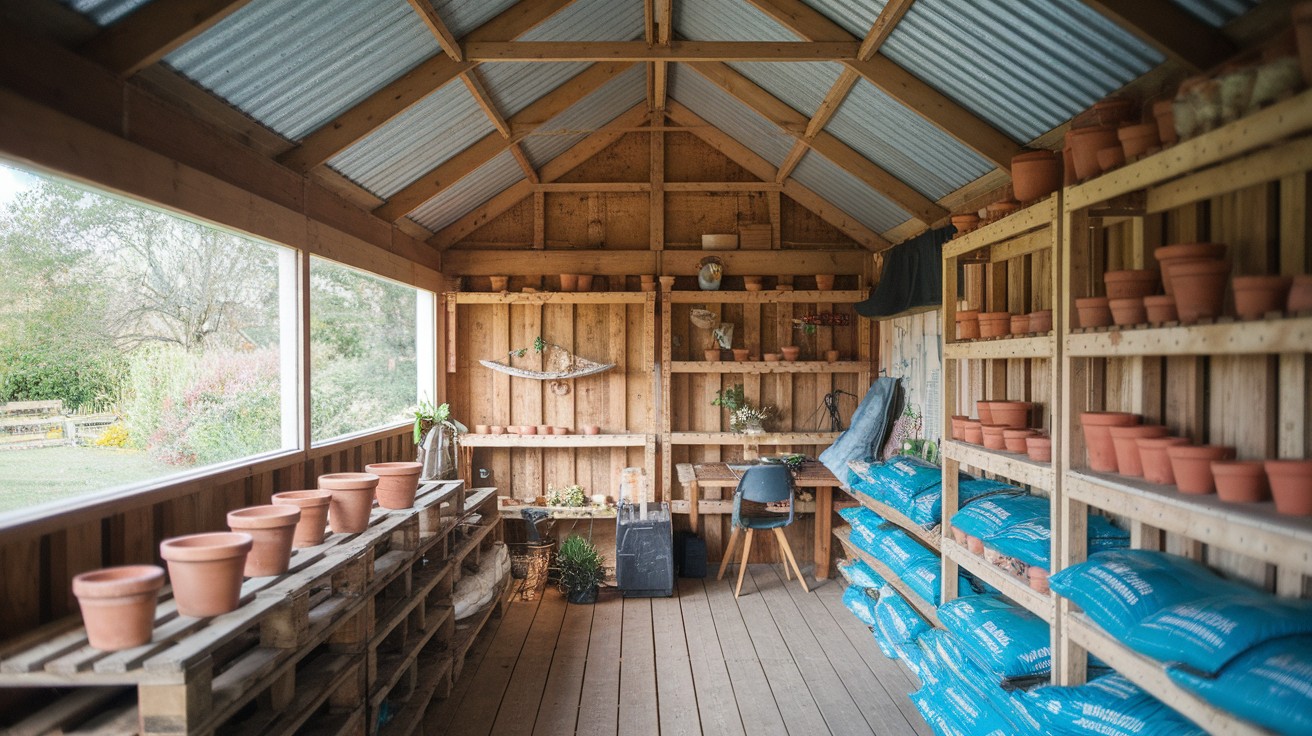
Difficulty: Intermediate
Dimensions: 6×6 feet
Build Time: 10-14 hours
Best For: Garden workspace, tool storage, potting plants
Include built-in workbench made from pallet wood. Add shelving for pots and supplies. Large windows provide natural light.
Tools needed: Circular saw, drill, level, router
Materials: 15 pallets, windows, door, roofing
Design tip: Orient windows to face north for consistent light without overheating.
5. Pallet Bike Shed with Lockable Doors
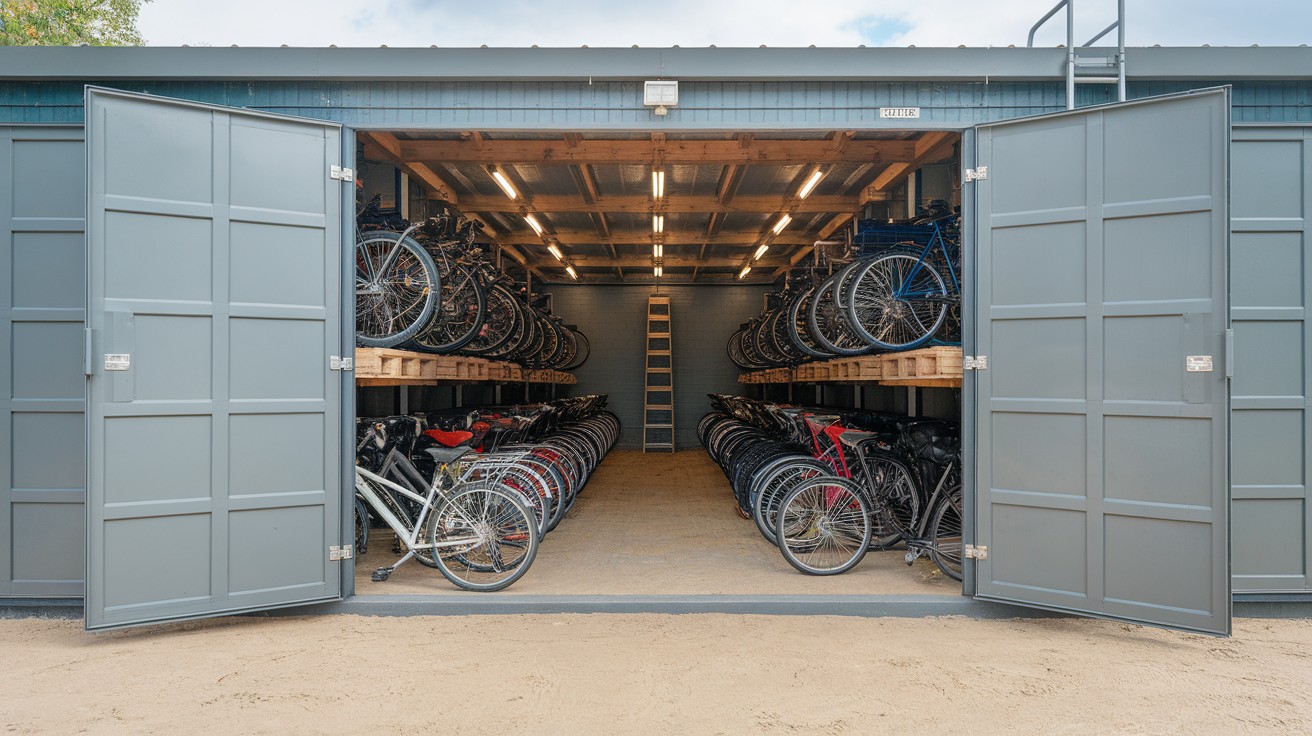
Difficulty: Intermediate
Dimensions: 8×6 feet
Build Time: 16-20 hours
Best For: Bicycle storage, outdoor gear
Secure storage with heavy-duty doors. Include bike racks made from pallet slats. Concrete floor recommended for stability.
Tools needed: Saw, drill, level, concrete mixer
Materials: 18 pallets, heavy hinges, lock hardware, concrete
Security feature: Reinforce door frame with 2×4 lumber for added strength.
6. Vertical Pallet Storage Shed
Difficulty: Beginner
Dimensions: 3×8 feet
Build Time: 8-10 hours
Best For: Long tools, fishing poles, lumber storage
Tall and narrow design maximizes storage in small spaces. Use full pallets as wall panels. Add internal dividers for organization.
Tools needed: Hammer, saw, level, drill
Materials: 10 pallets, roofing, door hardware
Perfect for narrow side yards or tight spaces.
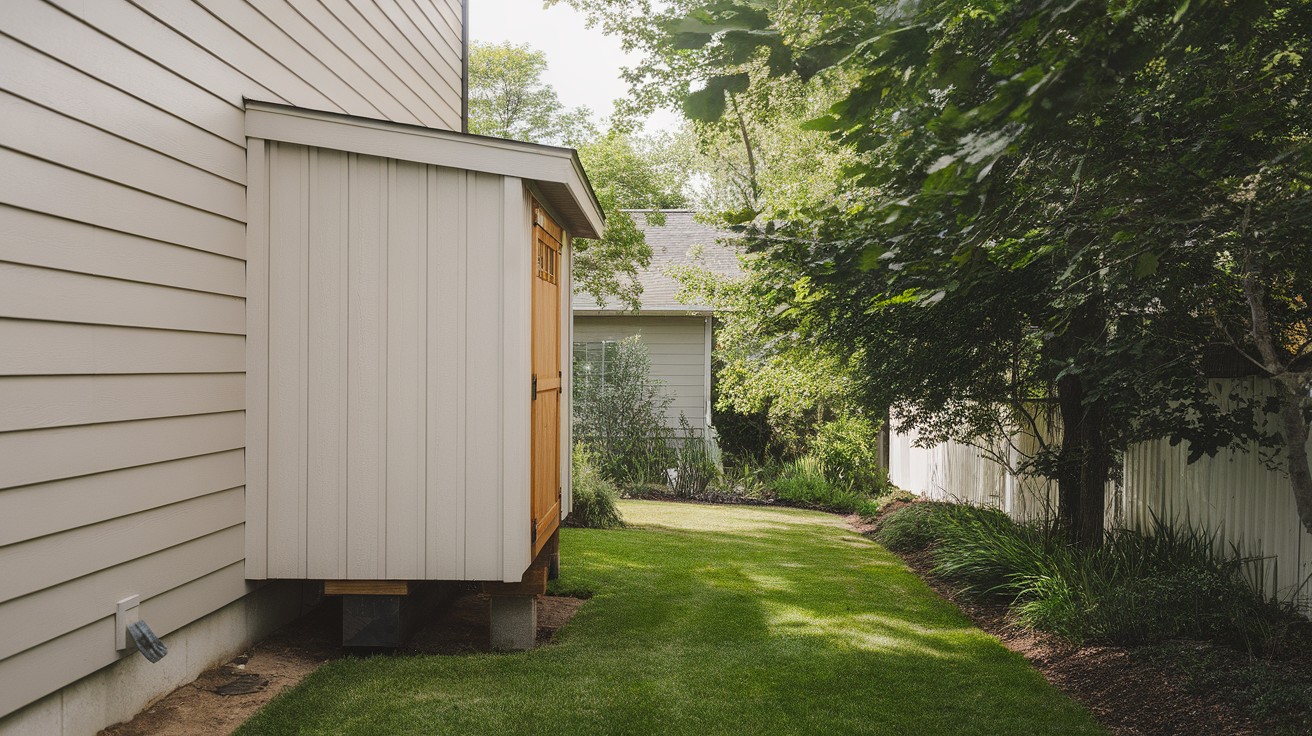
7. Lean-To Pallet Shed
Difficulty: Beginner
Dimensions: 10×6 feet
Build Time: 6-8 hours
Best For: Equipment storage against existing structures
Attached to the house, garage, or fence. One wall already exists, so you build three sides and a roof. Most cost-effective option.
Tools needed: Drill, saw, level, hammer
Materials: 8 pallets, roofing, brackets, flashing
Important: Proper flashing prevents water damage to existing structures.
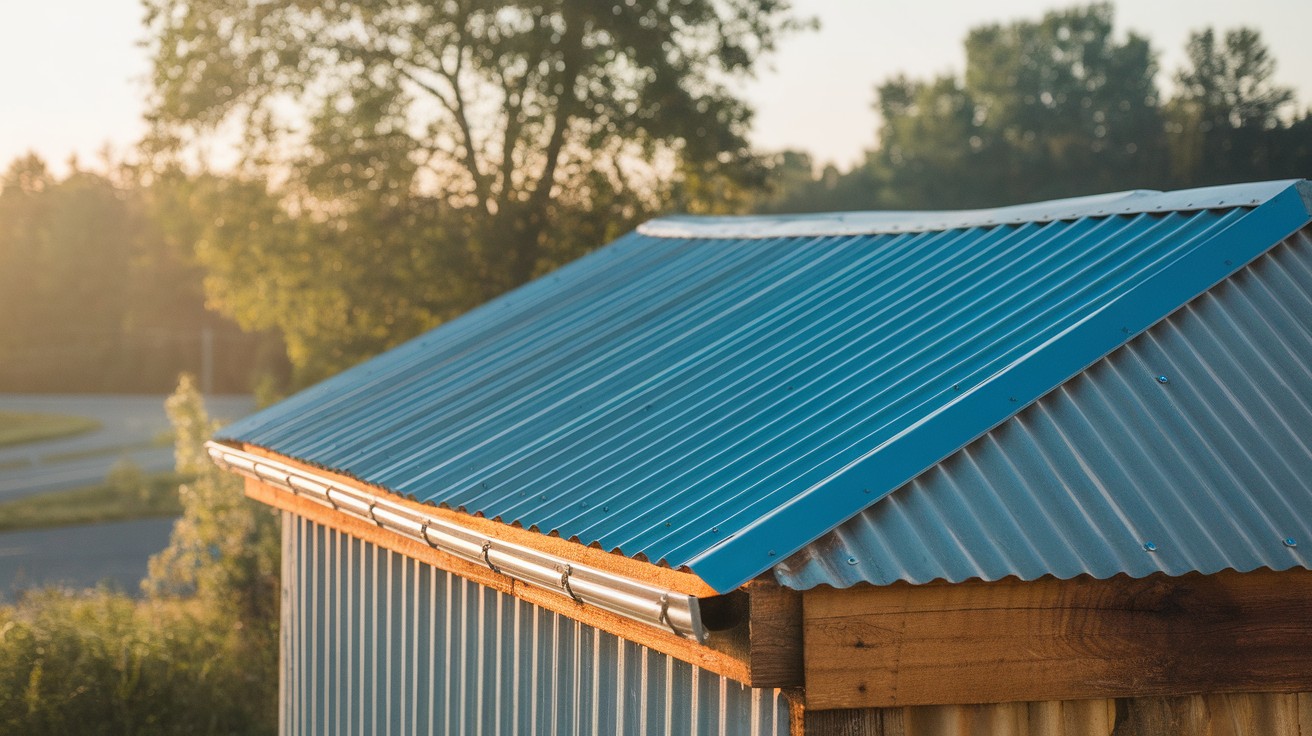
8. Pallet Storage Shed with Tin Roof
Difficulty: Intermediate
Dimensions: 8×10 feet
Build Time: 20-24 hours
Best For: General storage, weather protection
Metal roofing lasts decades with minimal maintenance. Pallet walls provide good ventilation. Include gutters for water collection.
Tools needed: Metal cutting tools, drill, level, saw
Materials: 20 pallets, metal roofing, gutters, screws
Weather tip: Metal roofs get loud during rain. Add insulation to reduce noise.
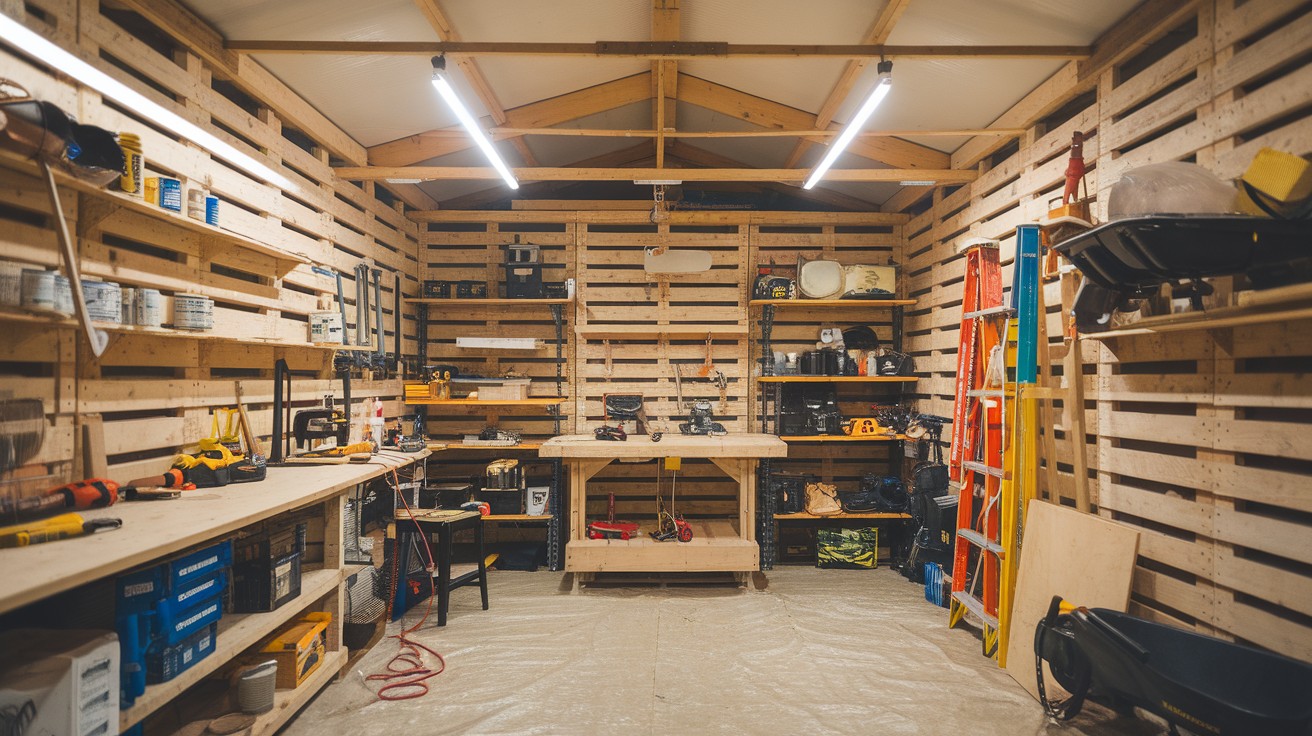
9. Walk-In Pallet Workshop Shed
Difficulty: Advanced
Dimensions: 12×16 feet
Build Time: 40-50 hours
Best For: Woodworking, repairs, hobbies
Full-size workspace with electrical outlets and good lighting. Insulated walls and proper ventilation. The concrete floor handles heavy equipment.
Tools needed: Full workshop setup, electrical tools
Materials: 35+ pallets, insulation, electrical, concrete
Permit required in most areas due to size and electrical work.
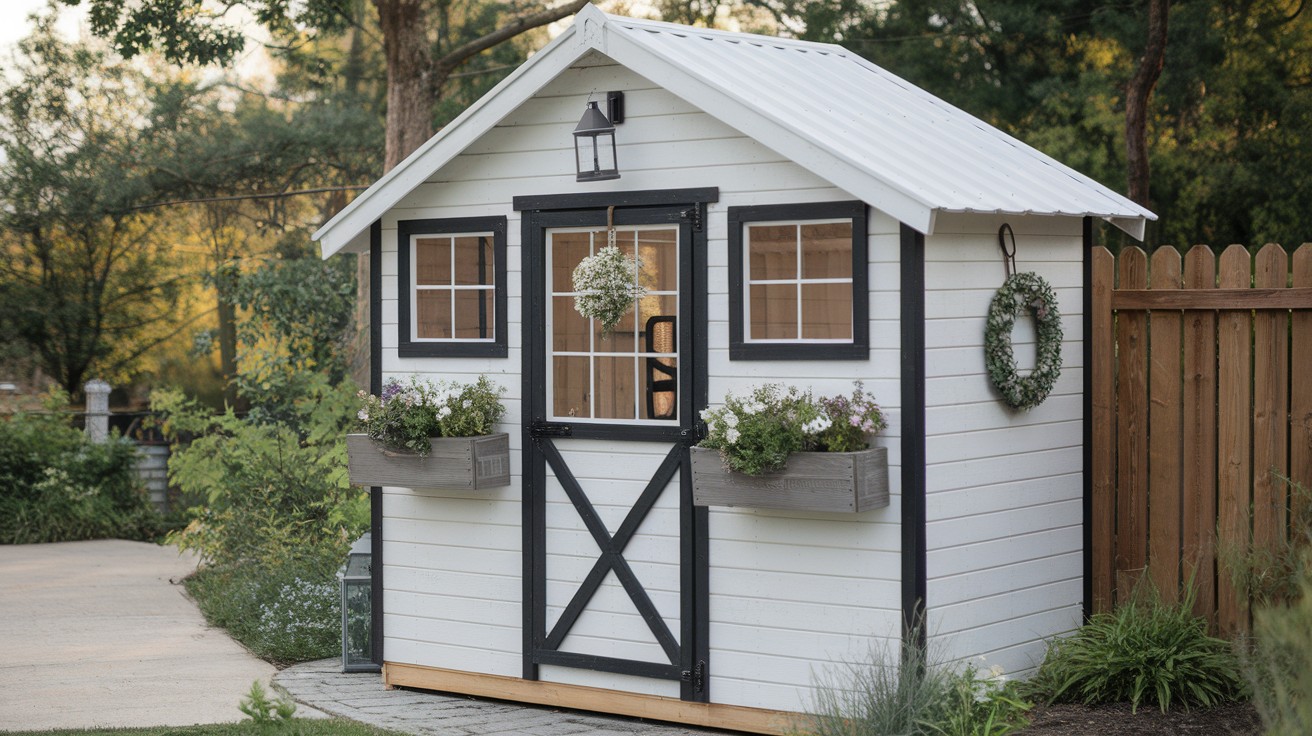
10. Modern Farmhouse-Style Pallet Shed
Difficulty: Advanced
Dimensions: 10×12 feet
Build Time: 30-40 hours
Best For: Stylish storage, property enhancement
Clean lines and attractive finish. Use pallet wood for siding over traditional framing. Include decorative elements and quality hardware.
Tools needed: Full carpentry tools, paint sprayer
Materials: 25 pallets, trim lumber, paint, quality hardware
Design focus: Appearance matters as much as function.
11. Two-Story Pallet Shed for Storage

Difficulty: Advanced
Dimensions: 8×12 feet
Build Time: 50-60 hours
Best For: Maximum storage, small footprints
Double your storage space without doubling your footprint. Upper level accessed by ladder or stairs. Requires a strong foundation.
Tools needed: Advanced carpentry tools, safety equipment
Materials: 40+ pallets, flooring, stairs/ladder, reinforcement
Safety critical: Proper framing prevents collapse.
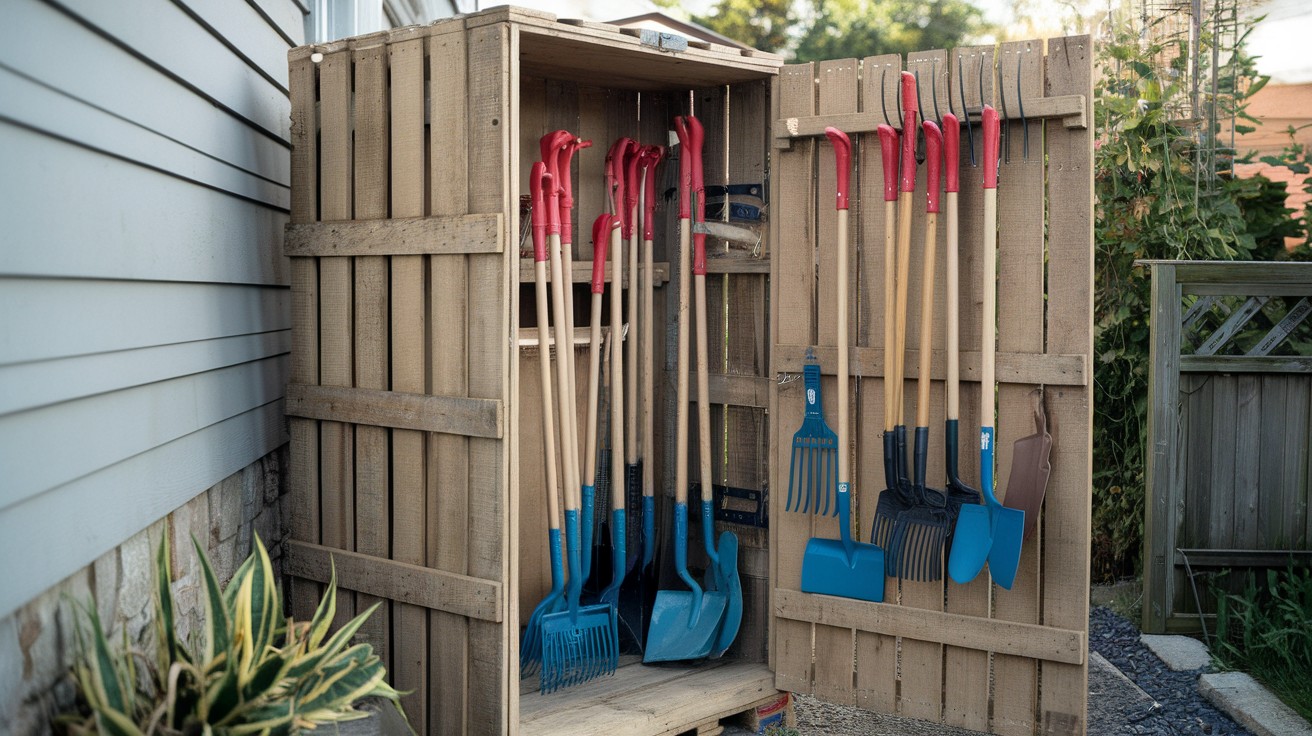
12. Open-Air Pallet Tool Station
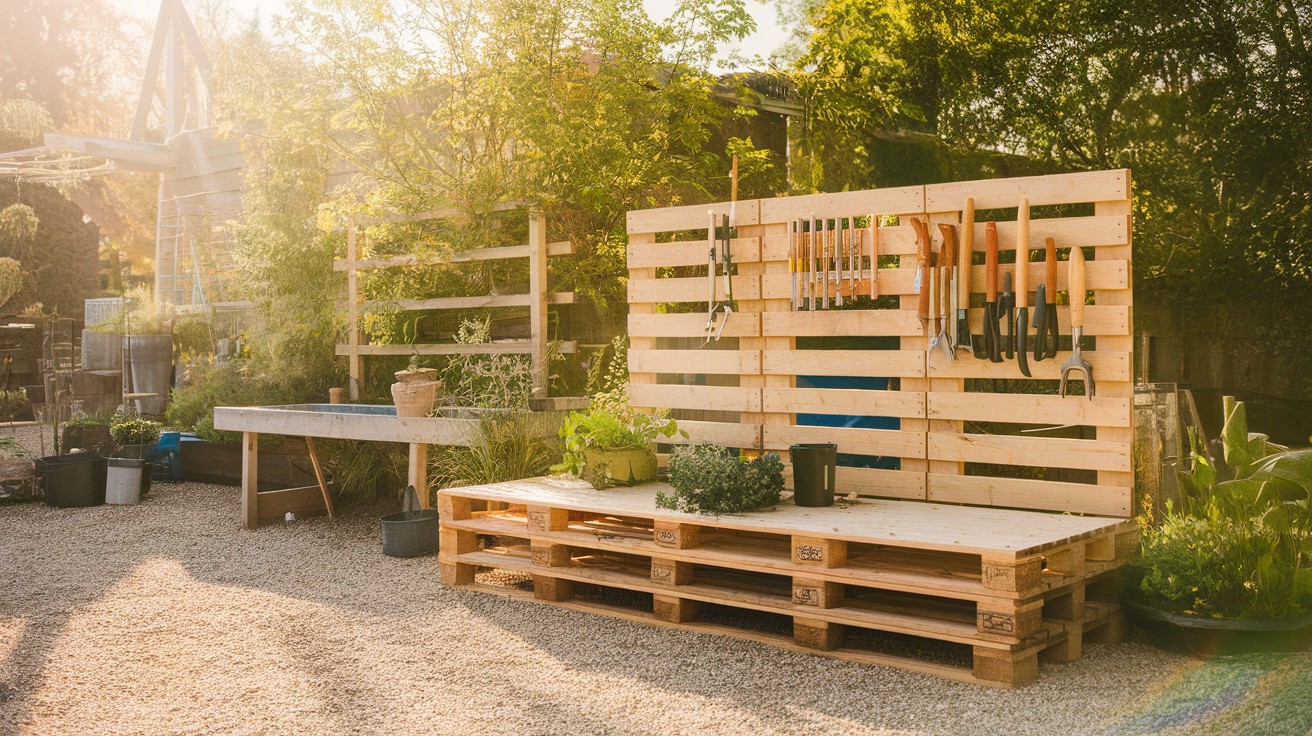
Difficulty: Beginner
Dimensions: 6×4 feet
Build Time: 4-6 hours
Best For: Frequently used tools, quick access
No walls or doors. Covered workspace with tool hanging systems. Perfect near gardens or work areas.
Tools needed: Basic hand tools
Materials: 6 pallets, roofing, hooks, hangers
Weather consideration: Tools need rust protection in wet climates.
13. Pallet Chicken Coop & Garden Shed Combo
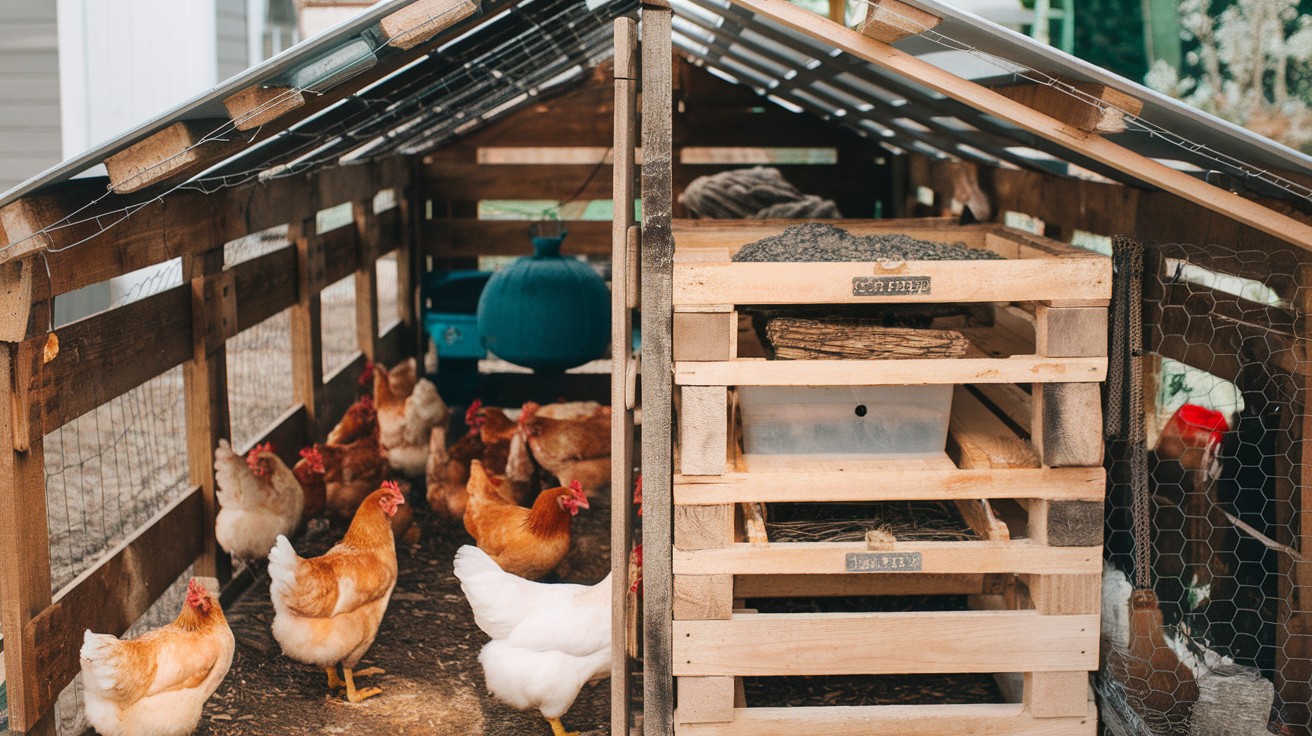
Difficulty: Advanced
Dimensions: 12×8 feet
Build Time: 35-45 hours
Best For: Small farms, homesteaders
Split design: chickens on one side, storage on the other. Include nesting boxes and proper ventilation for chickens.
Tools needed: Carpentry tools, wire cutting tools
Materials: 30 pallets, chicken wire, nesting boxes, roofing
Legal note: Check local regulations about keeping chickens.
14. Pallet Shed with Attached Green Roof
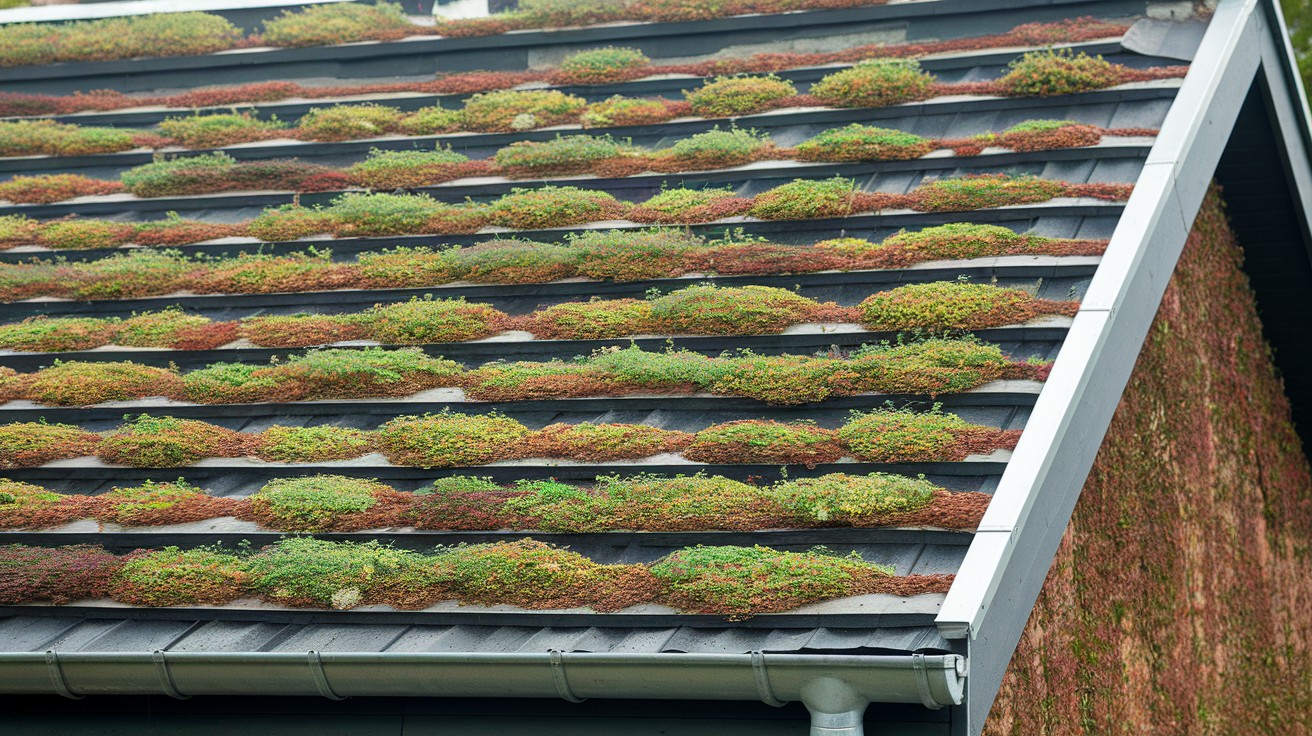
Difficulty: Advanced
Dimensions: 10×8 feet
Build Time: 25-35 hours
Best For: Eco-friendly storage, garden integration
Living roof with plants. Requires waterproof membrane and proper drainage. Adds insulation and looks amazing.
Tools needed: Roofing tools, gardening tools
Materials: 20 pallets, waterproof membrane, soil, plants
Maintenance: Green roofs need regular care like any garden.
15. Pallet Playhouse Shed

Difficulty: Intermediate
Dimensions: 8×6 feet
Build Time: 20-25 hours
Best For: Kids’ play area, toy storage
Fun design with windows and bright colors. Include safety features like rounded corners and splinter-free surfaces.
Tools needed: Standard carpentry tools, sanders
Materials: 15 pallets, windows, paint, safety hardware
Safety first: Sand all surfaces smooth and use non-toxic finishes.
16. Enclosed Pallet Shed with Windows
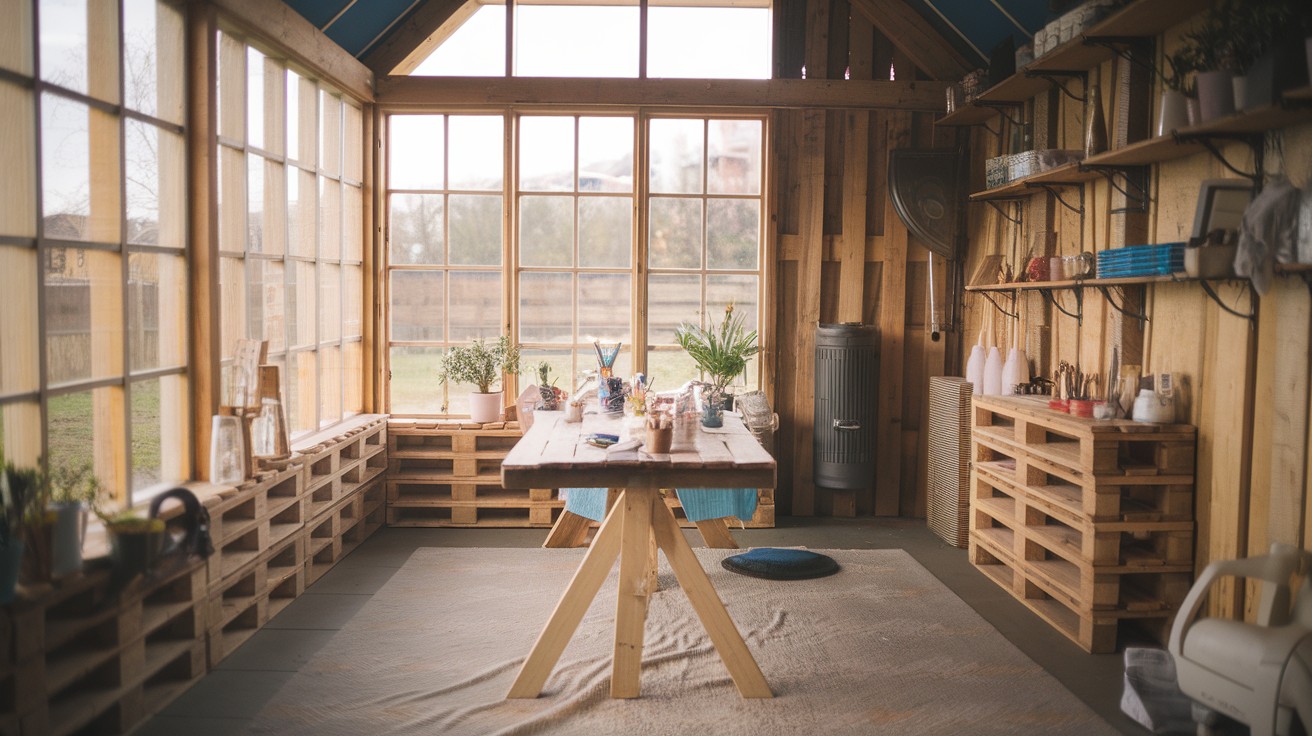
Difficulty: Intermediate
Dimensions: 10×8 feet
Build Time: 25-30 hours
Best For: Workshop, studio, weather-sensitive storage
Natural light from multiple windows. Insulated for year-round use. Include electrical for lights and outlets.
Tools needed: Carpentry tools, electrical tools
Materials: 22 pallets, windows, insulation, electrical
Comfort feature: Good lighting makes any workspace more pleasant.
17. Heavy-Duty Pallet Garage Shed
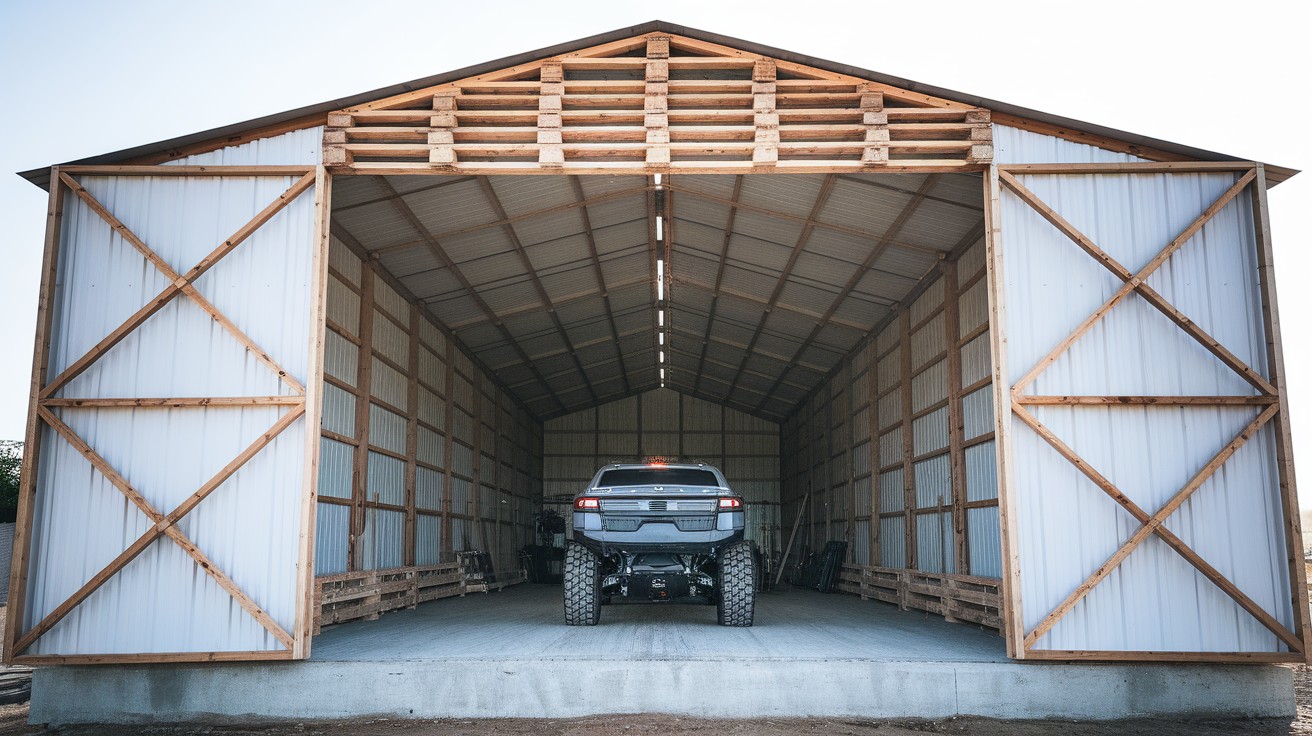
Difficulty: Advanced
Dimensions: 16×20 feet
Build Time: 60-80 hours
Best For: Vehicle storage, large equipment
Full garage-size structure. Requires concrete foundation and proper engineering. Large doors for vehicle access.
Tools needed: Full construction tools, concrete equipment
Materials: 50+ pallets, concrete, large doors, electrical
Professional help recommended for foundation and electrical work.
Step-by-Step: How to Build a Basic Pallet Shed
Let me walk you through building the most popular design – the basic garden tool shed.
Step 1: Prepare Your Foundation
Level the ground where your shed will sit. A gravel base works for most climates. In wet areas, pour a concrete pad.
Foundation options:
- Gravel base (cheapest)
- Concrete blocks (good drainage)
- Poured concrete (best durability)
Step 2: Build the Floor Frame
Use your strongest pallets for the floor. Place them side by side and secure with deck screws. Check for level – this affects everything else.
Pro tip: Double up pallets for the floor if you’re storing heavy items.
Step 3: Raise the Walls
Stand pallets on end for walls. Secure corner connections with 2×4 braces. Check each wall for plumb before moving on.
Spacing matters: Leave gaps for doors and windows at this stage.
Step 4: Install the Roof Frame
Simple shed roof slopes from front to back. Use 2×6 rafters spaced 16 inches apart. Attach to top plates of walls.
Slope calculation: 1 inch of drop per foot of depth sheds water properly.
Step 5: Add Roofing
Plywood sheathing goes on first. Then I felt paper. Finally, shingles or metal roofing.
Weather seal: Proper flashing around edges prevents leaks.
Step 6: Install Doors and Hardware
Pre-hung doors save time and ensure proper fit. Add hinges, handles, and locks as needed.
Security tip: Reinforce door frames if storing valuable items.
Best Finishing Ideas for Your Pallet Shed
Raw pallet wood weathers to gray over time. That’s fine for rustic looks. But you have other options.
Stain for Natural Wood Look
Semi-transparent stains let wood grain show through. Reapply every 3-5 years depending on climate.
Color choices:
- Cedar tone (warm brown)
- Gray stain (modern look)
- Natural (clear protection)
Paint for Bold Colors
Solid colors hide wood imperfections. Use exterior-grade paint designed for rough surfaces.
Popular colors:
- Barn red (classic farm look)
- Forest green (blends with landscape)
- White (clean, modern appearance)
Clear Sealers for Weather Protection
Preserve natural wood color while protecting from moisture. Reapply annually in harsh climates.
Types available:
- Water-based (easy cleanup)
- Oil-based (deeper penetration)
- Polyurethane (maximum protection)
Conclusion
You now have 17 proven pallet shed plans that actually work. No more guessing or failed projects. These designs save you thousands compared to buying new sheds. More importantly, they solve real storage problems without breaking your budget.
Start with the basic garden tool shed. It’s beginner-friendly and teaches core skills. Master that build first. Then move up to bigger projects like the workshop or two-story designs.
Remember the essentials:
- Use only heat-treated pallets
- Build proper foundations
- Don’t skip safety steps
- Take time with finishing
Your perfect pallet shed is waiting. Pick a plan. Gather your materials. Start building this weekend.
Which shed will you build first?
Frequently Asked Questions
How much weight can a pallet shed hold?
A properly built pallet shed handles 40-50 pounds per square foot on shelving. Floor loads can support up to 100 pounds per square foot with reinforced foundations.
What’s the cheapest pallet shed to build?
The lean-to design costs at least around $150-200 total. You only build three walls since it attaches to the existing structure.
Can I build a pallet shed without concrete?
Yes, gravel foundations work fine for most climates and shed sizes. Only large sheds or wet areas really need concrete bases.
How do I keep mice out of my pallet shed?
Seal all gaps with steel wool and caulk, especially around the foundation. Store items in metal containers rather than cardboard boxes.
Will my pallet shed pass the building inspection?
Basic pallet construction meets most residential codes for small sheds. Larger sheds may need engineered plans and traditional framing supplements.