
Have you ever walked into a bathroom and been immediately impressed by a beautifully tiled shower that looks like it was done by a professional?
Learning how to tile a shower is a game-changer for your home renovation projects, allowing you to update an ordinary bathroom into a luxurious space without breaking the bank.
Whether you’re looking to change an outdated shower, increase your home’s value, or simply tackle a rewarding DIY project, tiling your own shower gives you creative control while saving thousands compared to hiring contractors.
In this guide, I’ll walk you through simple methods to tile your shower using basic tools and materials available at any home improvement store.
By the end, you’ll have the knowledge to confidently tackle this project and enjoy the satisfaction of saying, “I tiled that myself!”
Understanding Shower Tiling Basics
Tiling a shower involves more than just sticking tiles to a wall. It’s about creating a waterproof, durable surface that can withstand daily use while looking beautiful.
Unlike regular wall tiling, how to tile a shower requires special preparation, waterproofing, and finishing techniques.
This process protects your home from water damage while creating a surface that’s easy to clean and maintain.
Many people think shower tiling is only for professionals, but with the right tools and instruction, you can easily do it yourself!
By understanding the layering system of shower construction and taking time with the preparation, you can create a professional-looking shower that will last for years.
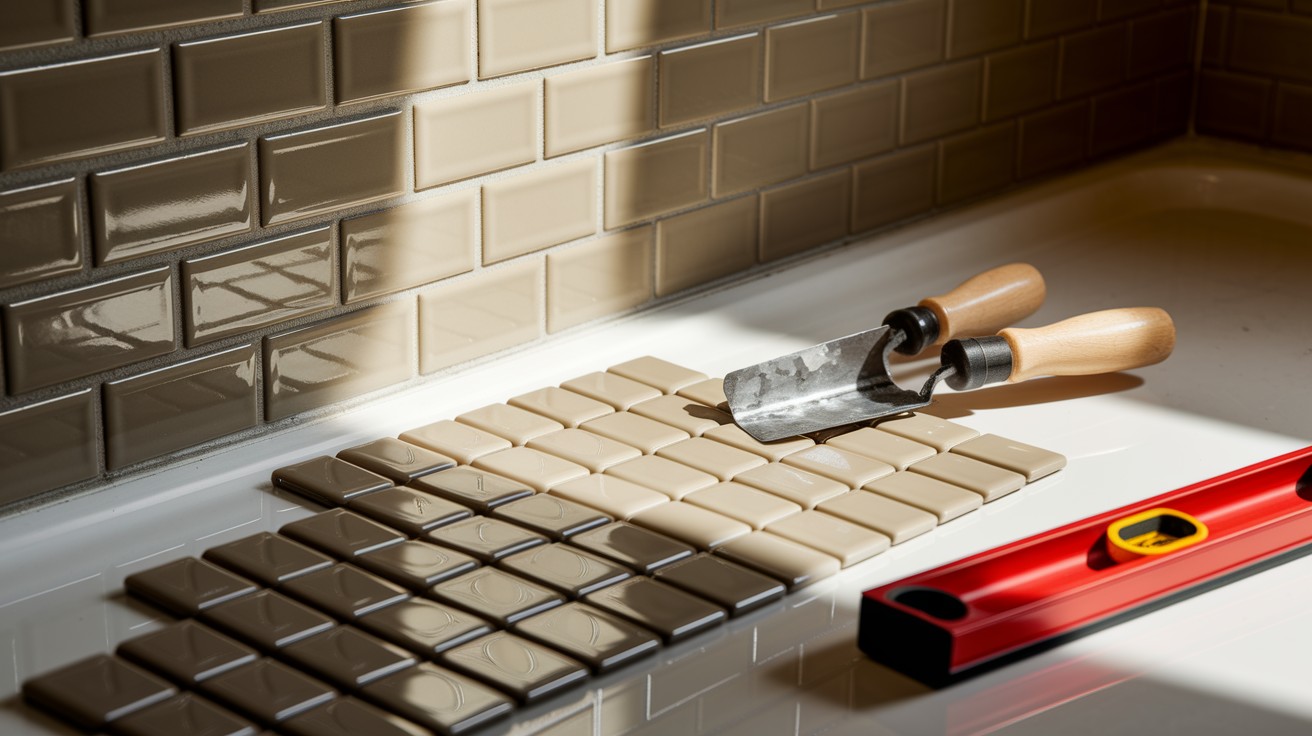
Shower tiling works well with ceramic, porcelain, natural stone, and even glass tiles. Whether you want a classic subway tile pattern or a bold mosaic design, learning how to tile a shower gives you endless creative options for your bathroom renovation.
Tools and Materials You’ll Need
Essential Tools:
- Tile cutter or wet saw
- Notched trowel (1/4″ x 1/4″ for walls, 1/2″ x 1/2″ for floors)
- Rubber float for grout
- Drill with mixing paddle
- Level (2-foot and 4-foot)
- Tape measure
- Pencil or tile marker
- Utility knife
- Rubber mallet
- Sponges
- Buckets
- Safety glasses and gloves
- Knee pads
Materials Required:
- Shower tiles of your choice
- Cement backer board
- Waterproofing membrane
- Thinset mortar
- Grout (sanded for floors, unsanded for walls)
- Silicone caulk (matching your grout color)
- Cement board screws
- Fiberglass mesh tape
- Tile spacers (1/16″ – 1/8″ depending on desired look)
Step-by-Step Guide: How to Tile a Shower
Tiling a shower can instantly upgrade the look and feel of your bathroom. Follow these steps for a clean, durable, and professional-looking result.
Step 1: Prepare the Shower Area
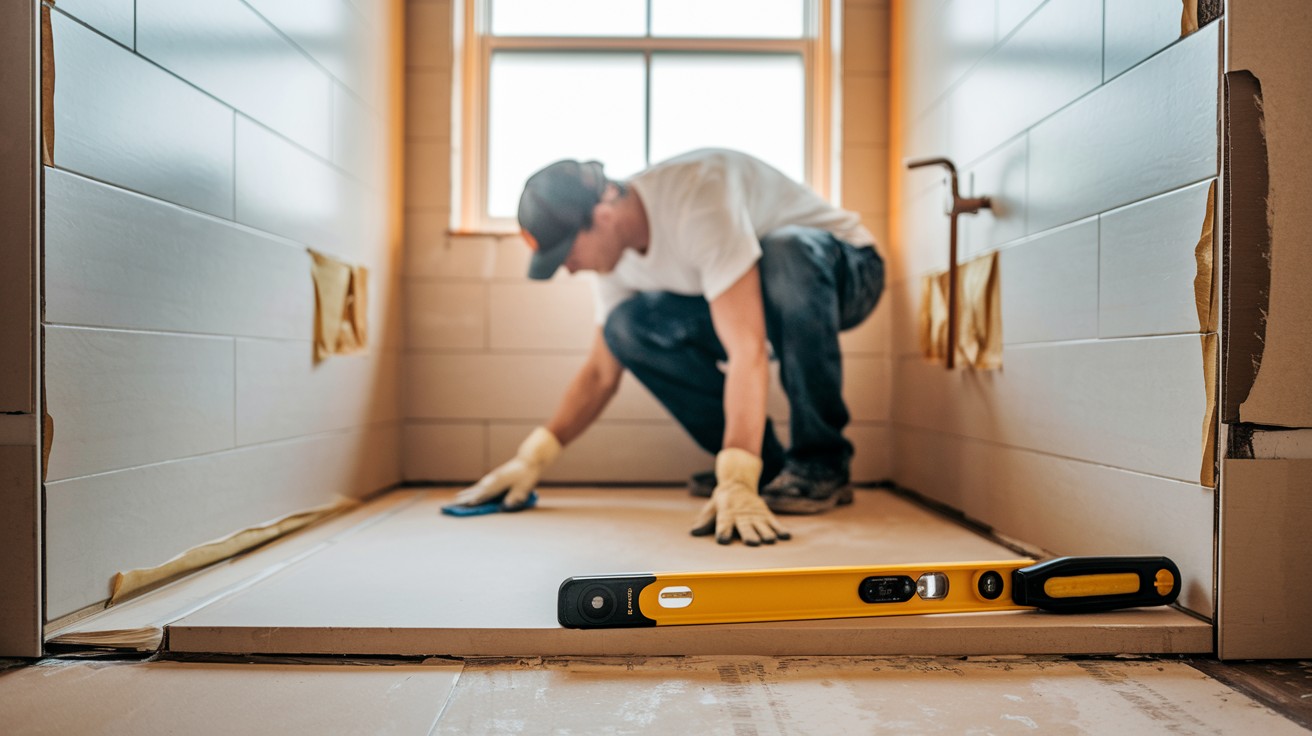
- Remove any existing fixtures, tiles, or wallboard to get down to the studs
- Inspect for water damage or mold and repair if necessary
- Install cement backer board using cement board screws (NOT drywall screws)
- Measure carefully and cut backer board with a utility knife or cement board cutter
- Leave a 1/4″ gap between boards and 1/8″ gap where board meets tub or shower pan
- Apply fiberglass mesh tape over all seams
- Apply thinset mortar over the taped seams
Pro Tip: Never use regular drywall in a shower, even “greenboard” or water-resistant drywall. Only use cement backer board or other approved waterproof substrates.
Step 2: Waterproof the Shower
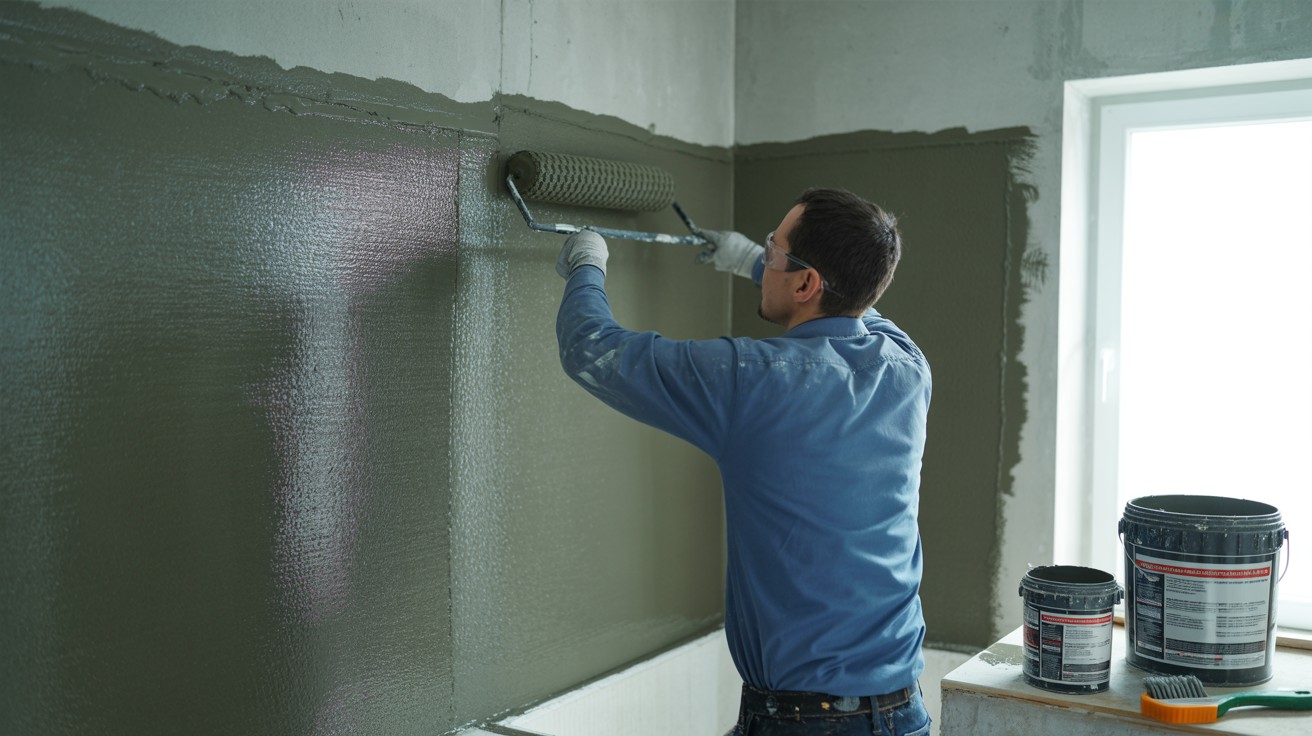
- Apply a waterproofing membrane according to manufacturer’s instructions
- Pay special attention to corners, seams, and areas around fixtures
- For liquid membranes, apply 2-3 coats with drying time between each
- For sheet membranes, carefully overlap sections and seal seams
- Waterproof at least 6 inches beyond where water will hit
- Allow waterproofing to fully cure before proceeding (usually 24 hours)
Pro Tip: Don’t skip this step! Proper waterproofing prevents costly water damage and mold issues down the road.
Step 3: Plan Your Tile Layout
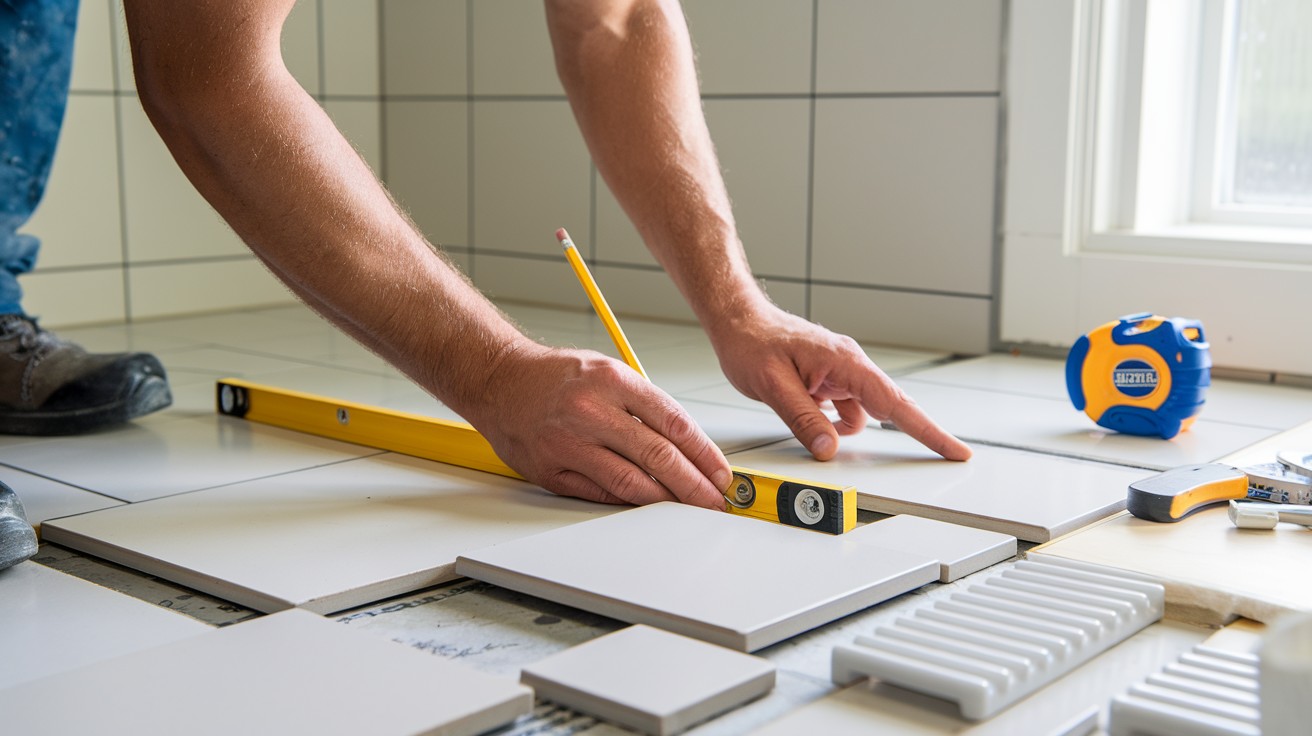
- Measure your shower area and make a sketch with dimensions
- Determine the starting point (typically center of the back wall or bottom of the main wall)
- Do a dry layout on the floor to check your pattern and cuts
- Plan to avoid small slivers of tile at edges if possible
- Mark reference lines on the shower walls using a level
- Calculate how many tiles and other materials you’ll need, then add 10% extra for waste
Pro Tip: Taking time to plan your layout prevents awkward cuts and creates a more professional look.
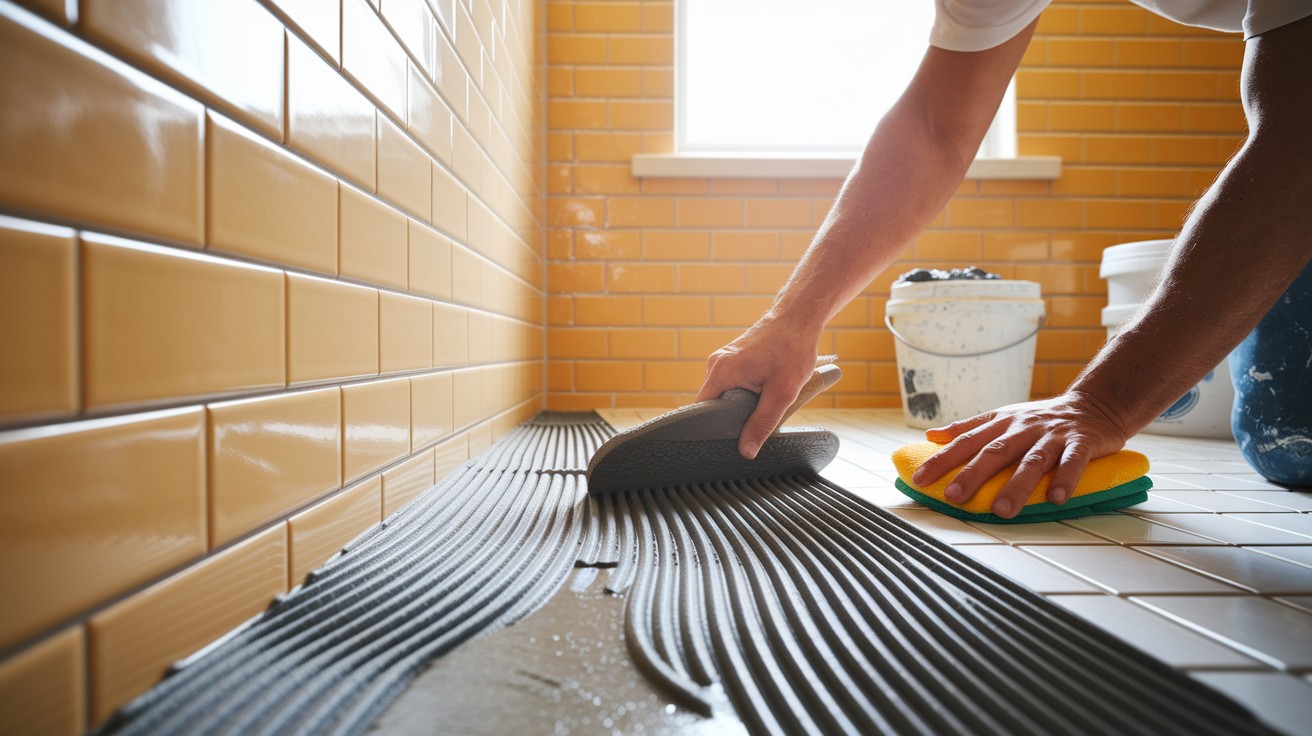
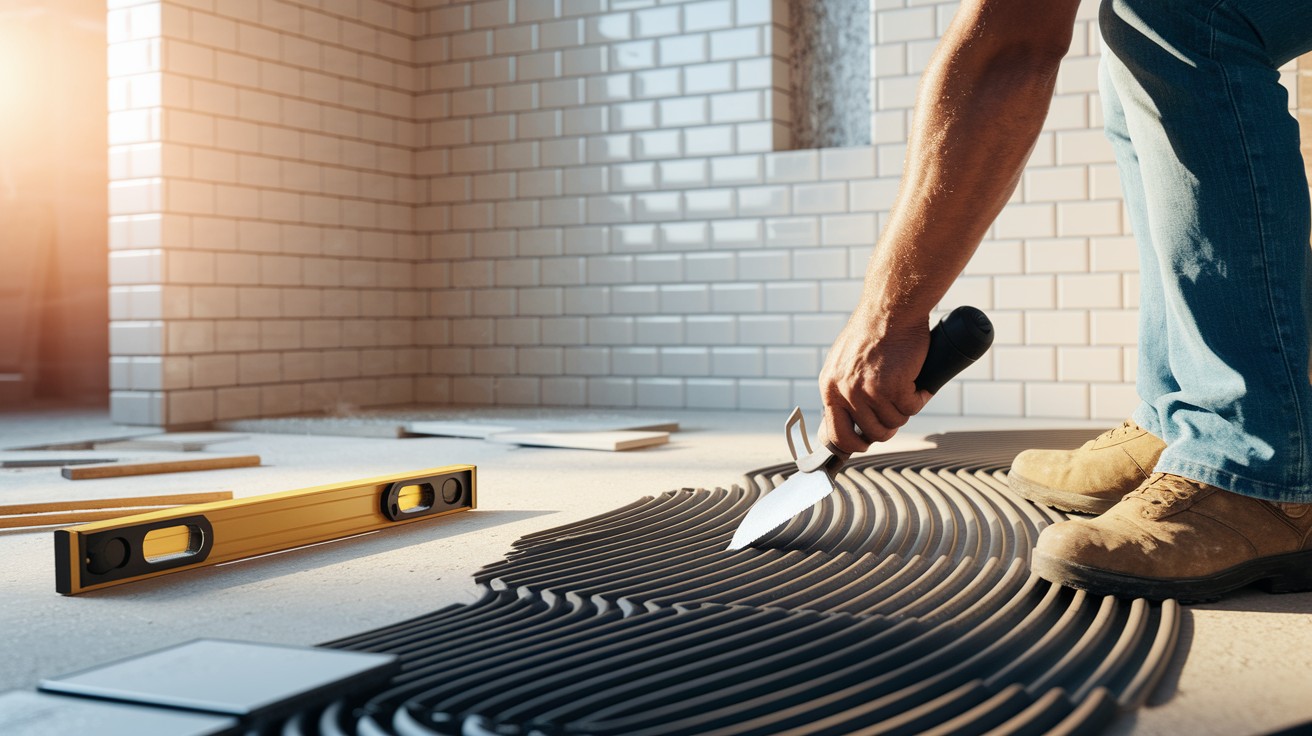
Step 4: Mix and Apply Thinset
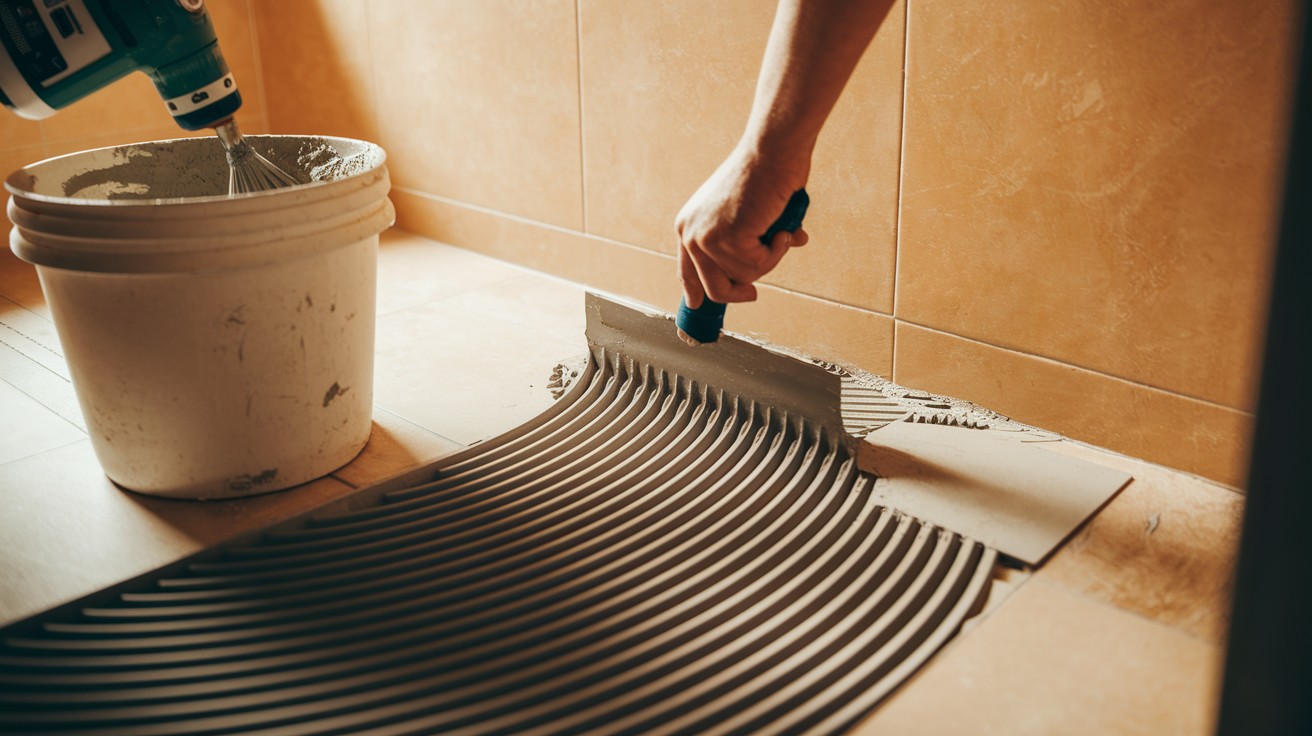
- Mix thinset mortar according to package directions using a drill with mixing paddle
- Only mix what you can use in 30-45 minutes
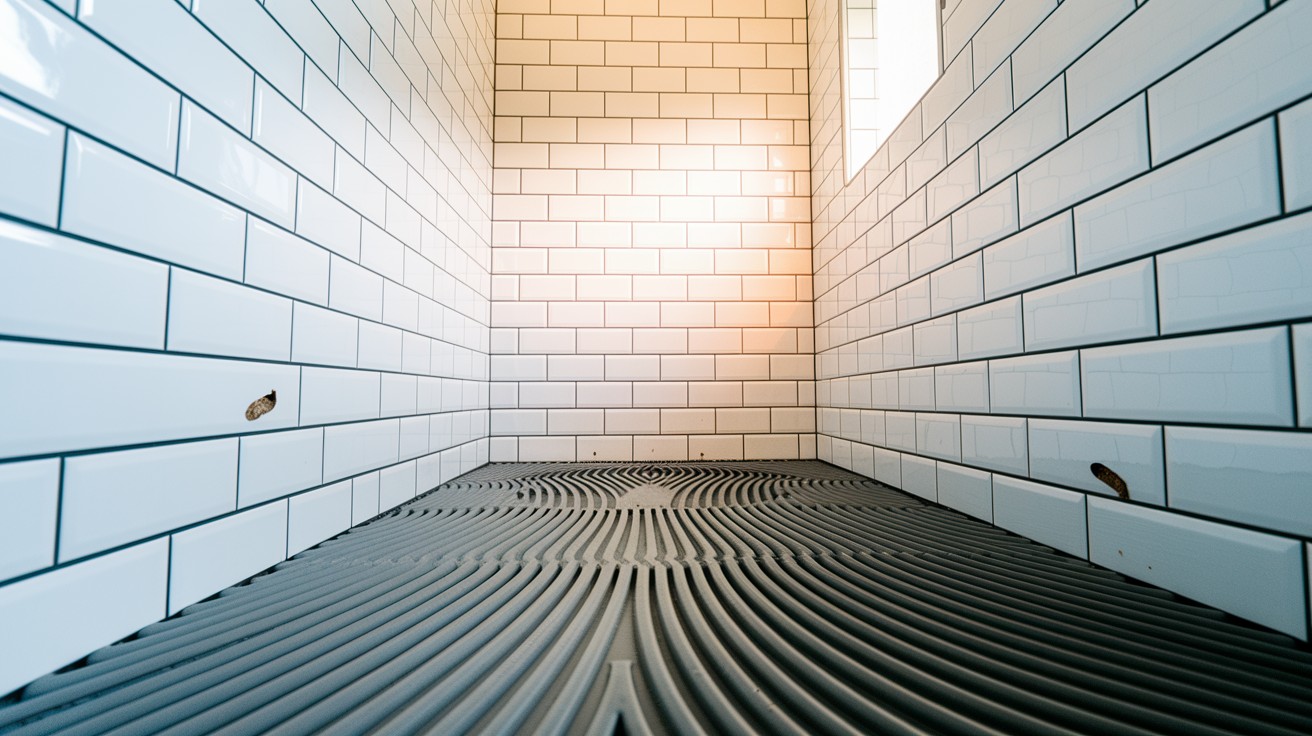
- Apply thinset to a small section of wall using the flat side of the trowel first
- Then use the notched side to create even ridges in the thinset
- Hold the trowel at a 45-degree angle and make consistent strokes in one direction
Pro Tip: Thinset should have the consistency of peanut butter. If it’s too runny or too stiff, it won’t adhere properly.
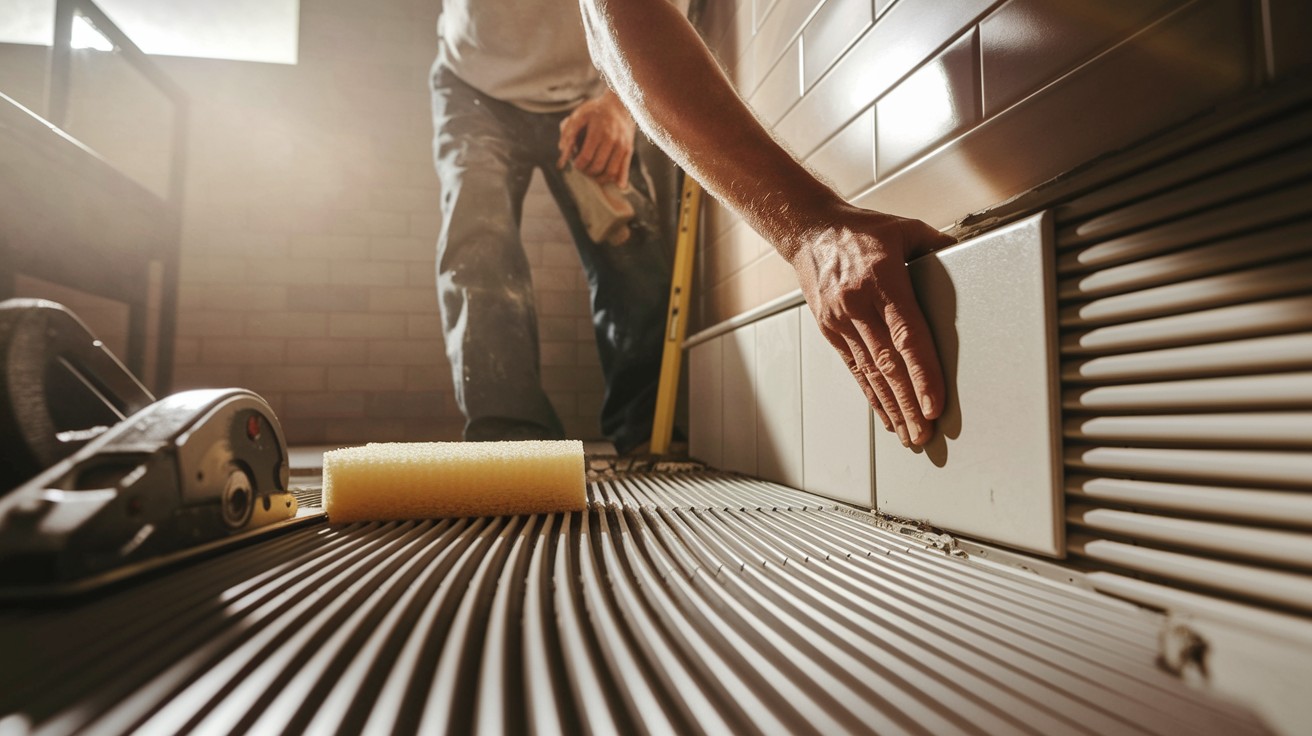
Step 5: Set the Tiles
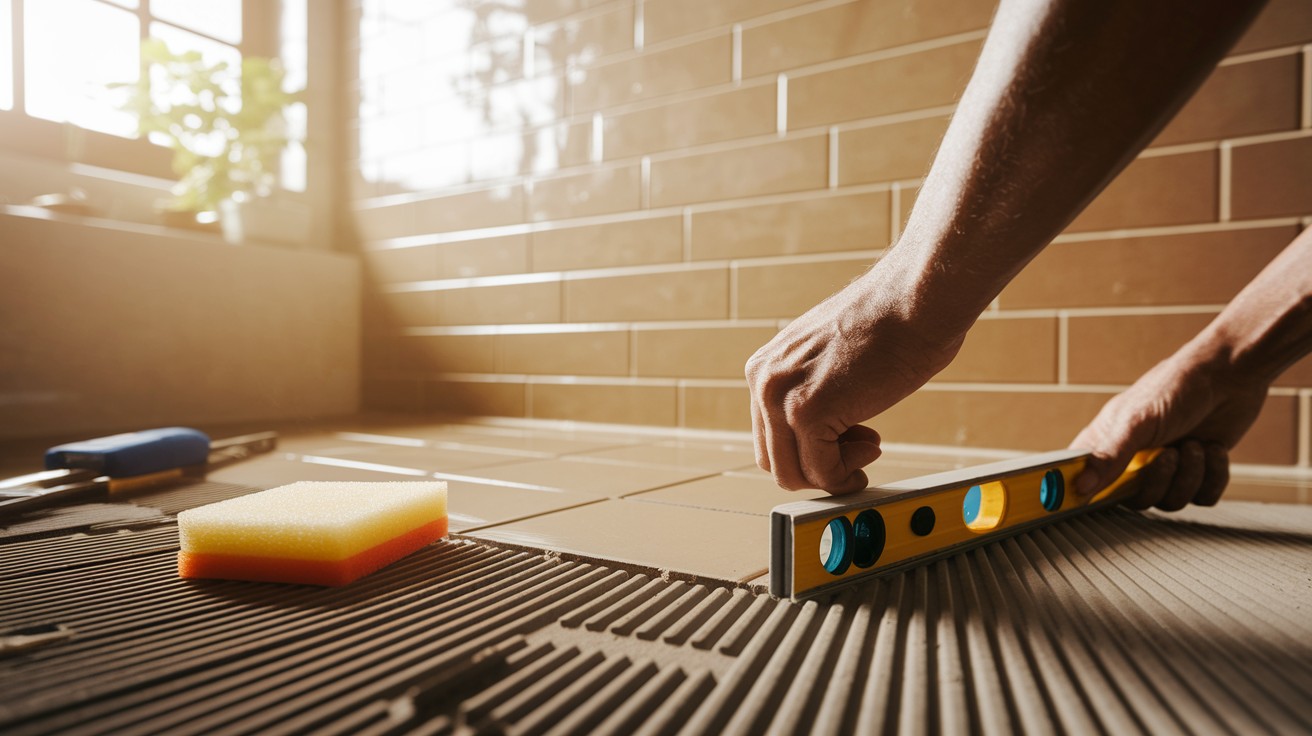
- Start at your predetermined starting point, following your reference lines
- Press tiles firmly into the thinset with a slight twisting motion
- Use tile spacers between tiles for even grout lines
- Check frequently with a level to ensure tiles are flat and evenly aligned
- Wipe away any excess thinset from tile faces before it dries
- Cut tiles as needed using a wet saw or tile cutter
Pro Tip: When tiling shower walls, start from the bottom row and work up. Use a ledger board (temporary support) if needed to keep the first row from sliding.
Step 6: Cut and Place Edge Tiles
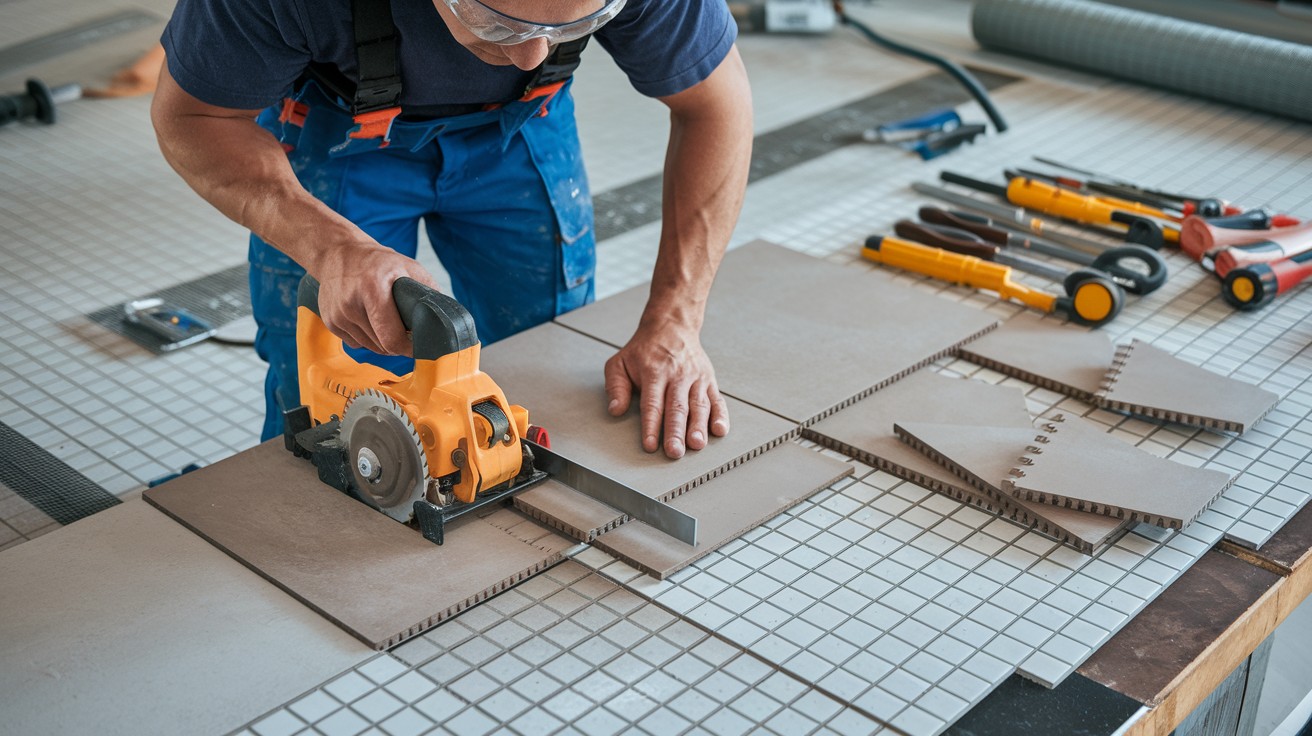
- Measure and mark tiles that need to be cut for edges and corners
- For straight cuts, use a manual tile cutter or score-and-snap cutter
- For curved cuts around fixtures, use a wet saw or tile nippers
- For holes for shower fixtures, use a diamond hole saw attachment for your drill
- Test fit cut tiles before applying thinset
- Apply thinset and set cut tiles with the same technique used for whole tiles
Pro Tip: When cutting tiles, always wear safety glasses and cut with the finished side up.
Step 7: Allow Thinset to Cure
- Let the thinset cure for at least 24 hours before grouting
- Keep the area clean and avoid any contact with the newly set tiles
- Remove all tile spacers once thinset has partially set but before it fully hardens
Step 8: Apply Grout
- Mix grout according to package directions (sanded for floors/larger gaps, unsanded for walls/smaller gaps)
- Apply grout using a rubber float, pressing firmly into all joints
- Hold the float at a 45-degree angle and work diagonally across the tiles
- Remove excess grout from tile surfaces as you go
- After 15-20 minutes, use a damp sponge to clean the tile faces with light, diagonal strokes
- Rinse the sponge frequently and change water as needed
Pro Tip: Don’t grout inside corners, where walls meet, or where walls meet the floor. These areas should be caulked later.
Step 9: Seal Grout and Caulk Edges
- Allow grout to cure for 72 hours (follow manufacturer’s recommendations)
- Apply grout sealer with a small brush or applicator
- Caulk all inside corners and where the shower meets the floor with silicone caulk
- Use masking tape on either side of joints for clean caulk lines
- Smooth the caulk with a wet finger or caulk smoothing tool
- Let caulk cure completely before using the shower (typically 24 hours)
Pro Tip: Choose a silicone caulk that matches your grout color for a seamless look.
Step 10: Install Fixtures and Final Touches
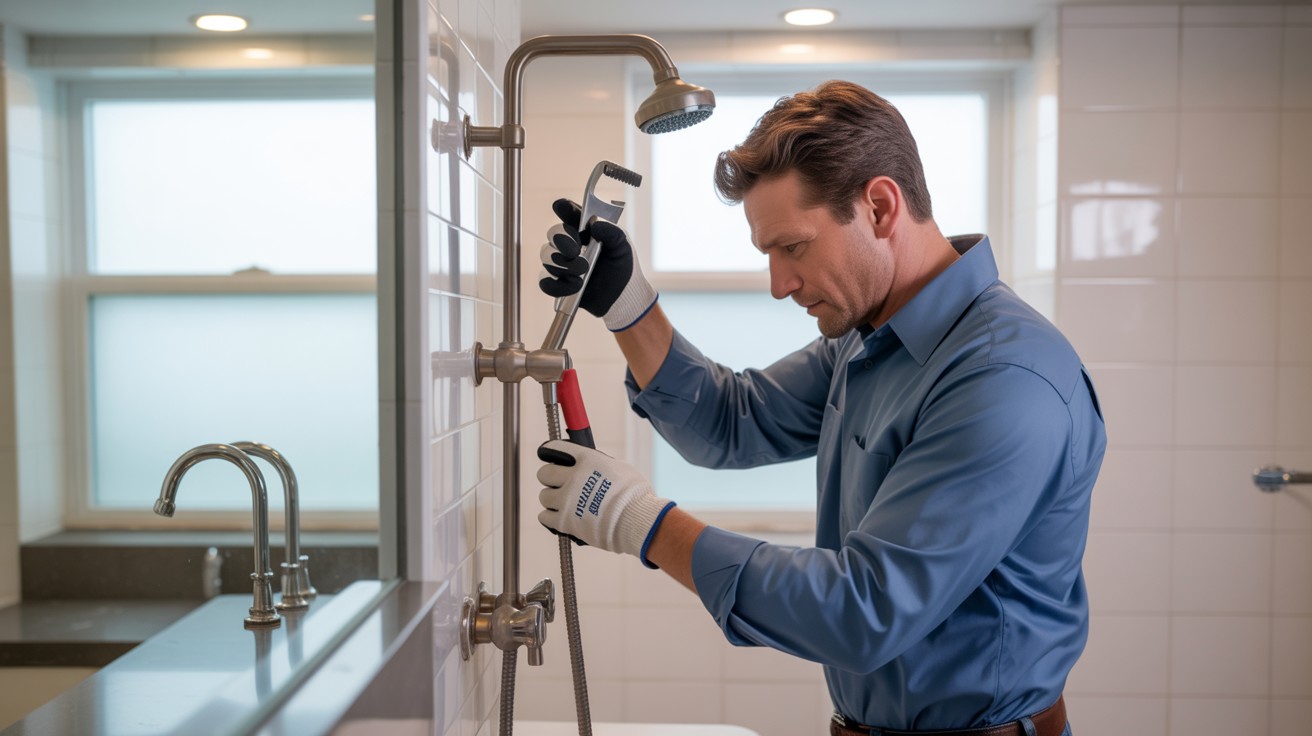
- Reinstall shower fixtures over the tile
- Add any accessories like soap dishes, shelves, or grab bars
- Clean the entire shower one final time
- Wait at least 48 hours before using the shower
Pro Tip: Take photos of your completed project! You’ll want to show off your handiwork.
Tips and Tricks for Best Results
When tiling a shower, these simple tips will help you achieve professional-looking results.
- Keep things even: Make sure your tile spacing and alignment stay consistent for a clean, professional look.
- Work in small areas: Only spread thinset on what you can tile within 15–20 minutes to prevent it from drying too fast.
- Don’t rush: Take your time—going too fast can lead to mistakes that are hard to fix later.
- Use fresh materials: Always mix fresh thinset and grout. Old or hardened products won’t bond well.
- Clean as you go: Wash your tools often while working to keep thinset and grout from drying on them.
- Plan for a shower niche: If you want a recessed shelf, frame it before installing the backer board.
- Finish edges neatly: Use bullnose tiles or trim pieces to give exposed edges a polished finish.
- Use quality tools: A reliable wet saw will make tile cutting easier and more accurate.
- Save extra tiles: Store leftover tiles in case you need to make repairs later.
- Start with the right base: Install a pre-sloped shower pan for proper drainage and long-term waterproofing.
Troubleshooting Common Issues
When learning how to tile a shower, watching out for common issues can save you time and money. Let’s look at the biggest problems you might face and how to prevent them.
1. Lippage (Uneven Tile Edges)
Uneven tile edges can ruin the look of your shower and create tripping hazards. Using a tile leveling system is essential, especially with larger format tiles that tend to warp slightly.
Make sure your substrate is completely flat before you start laying any tiles. Take time to check with a level and fix any uneven spots that could cause problems later.
2. Cracking Grout
Nothing’s more frustrating than seeing cracks in your fresh grout. Always give your thinset enough time to properly cure before you start grouting – rushing this step causes most failures.
Using flexible grout additives in areas that might experience movement will help prevent cracks. Also check that your shower base is solid without any flex that could stress your tilework.
3. Water Leaking Through Shower
Always test your waterproofing before installing a single tile. A simple leak test can save you from having to tear everything out later because of hidden damage.
Pay special attention to waterproofing corners and places where pipes come through walls. These are the most common failure points in shower waterproofing systems.
4. Efflorescence (White Residue)
That annoying white powder that sometimes appears on grout comes from minerals in your materials. Using high-quality thinset and grout helps reduce this unsightly problem.
Make sure you mix your materials exactly according to manufacturer directions. After your grout has fully cured, applying a good grout sealer provides extra protection against efflorescence.
Conclusion
Now that you know how to tile a shower, you’re ready to transform your bathroom into a beautiful, functional space you can be proud of. We’ve covered everything from preparation and waterproofing to tile setting and finishing touches.
By tiling your shower yourself, you’ll save hundreds or even thousands of dollars while gaining complete creative control over your bathroom’s design.
Whether you’re choosing classic white subway tiles, colorful mosaics, or luxurious natural stone, your tiled shower will add value and enjoyment to your home for years to come.
The key to success is proper preparation, patience, and attention to detail. Take your time with each step, especially waterproofing, as this will determine the longevity of your shower.
Don’t be intimidated by the process, break it down into manageable steps and celebrate your progress along the way.
Have you tried tiling a shower yourself? Share your projects and questions in the comments below, or subscribe for more DIY home improvement tutorials delivered straight to your inbox!
Frequently Asked Questions
How Long Does It Take to Tile a Shower?
For a first-time DIYer, expect to spend 2-3 weekends completing the project. The actual tiling might take 1-2 days, but you’ll need additional time for preparation, drying periods between steps, and finishing work.
Do I Need Special Tools to Tile a Shower?
While you can complete basic shower tiling with common DIY tools, investing in a quality wet saw will make cutting tiles much easier. You can rent one from most home improvement stores if you prefer not to buy.
Can I Tile Over an Existing Shower Tile?
It’s generally not recommended. Removing old tile ensures you can properly waterproof the shower and check for any water damage that needs repair. Tiling over existing tile can also create problems with fixture placement and door clearance.
How Much Does It Cost to Tile a Shower Yourself?
DIY shower tiling typically costs between $400-$1,200 depending on the size of your shower and the type of tile you choose. Premium materials like natural stone will increase costs. This is still a significant savings compared to professional installation, which can run $1,500-$3,500.
What’s the Best Tile for a Shower?
Porcelain tile is generally considered the best choice for showers due to its low water absorption, durability, and variety of designs. Ceramic is a good budget option, while natural stone like marble provides luxury but requires more maintenance.