
Dreaming of a beautiful stone exterior but worried about cost and complexity? I’ve got you covered! In this step-by-step guide, I’ll show you exactly how to install stone veneer on your exterior walls.
You’ll learn:
- Every tool and material you need
- How to prepare your wall surface properly
- The secret to getting stones to stick permanently
- Professional techniques for that perfect finished look
I’ve installed stone veneer on over 50 homes, including my own, so I know what works and what doesn’t. Many homeowners think this job requires a mason, but with the right instructions, you can absolutely do this yourself.
The best part? Your home will look like it’s built from expensive natural stone, but at a fraction of the cost. Let’s transform your exterior from ordinary to extraordinary!
Step-by-Step Instructions for Installing Stone Veneer
Tools & Materials You’ll Need
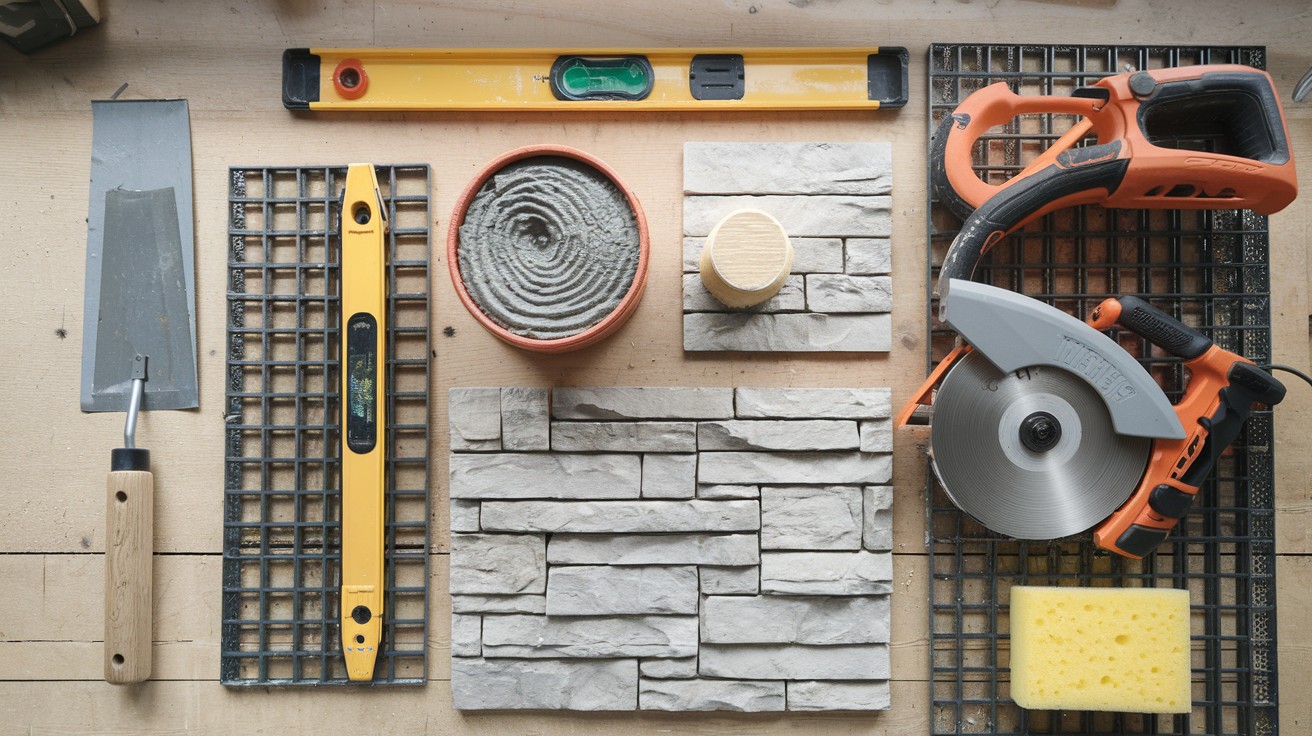
Before you start, gather everything you’ll need:
Tools:
- Trowel (notched and pointing)
- Level
- Circular saw with masonry blade
- Wheelbarrow or large bucket for mixing
- Drill with mixing paddle
- Wire cutters
- Grout bag
- Soft brush
- Sponge
Materials:
- Stone veneer
- Weather-resistant barrier (if not already installed)
- Metal lath (for wood or smooth surfaces)
- Roofing nails or staples
- Mortar mix (specifically for stone veneer)
- Mortar color (if desired)
- Masonry sealer (optional)
Got everything? Let’s get started!
Step 1: Assess and Prepare the Surface
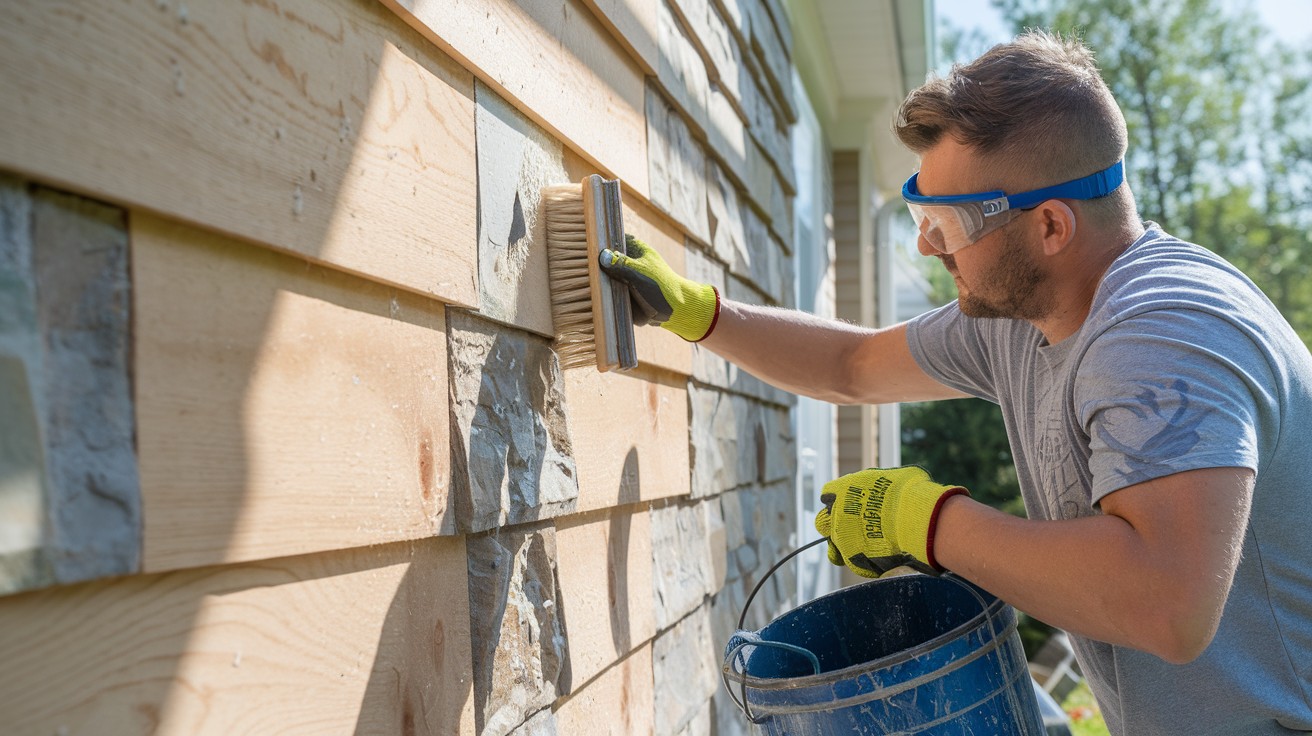
First things first. I need to make sure my wall surface is ready for veneer installation:
- For wood or smooth surfaces, I’ll need to apply a weather-resistant barrier and metal lath.
- For masonry surfaces like concrete or brick, I might be able to apply the veneer directly if the surface is rough enough.
- Before anything else, clean the wall thoroughly. Remove any dirt, loose paint, or debris. The surface needs to be clean and stable for proper adhesion.
Pro tip: If your wall has any water damage or structural issues, fix those problems before starting your veneer project!
Step 2: Install Metal Lath (If Required)
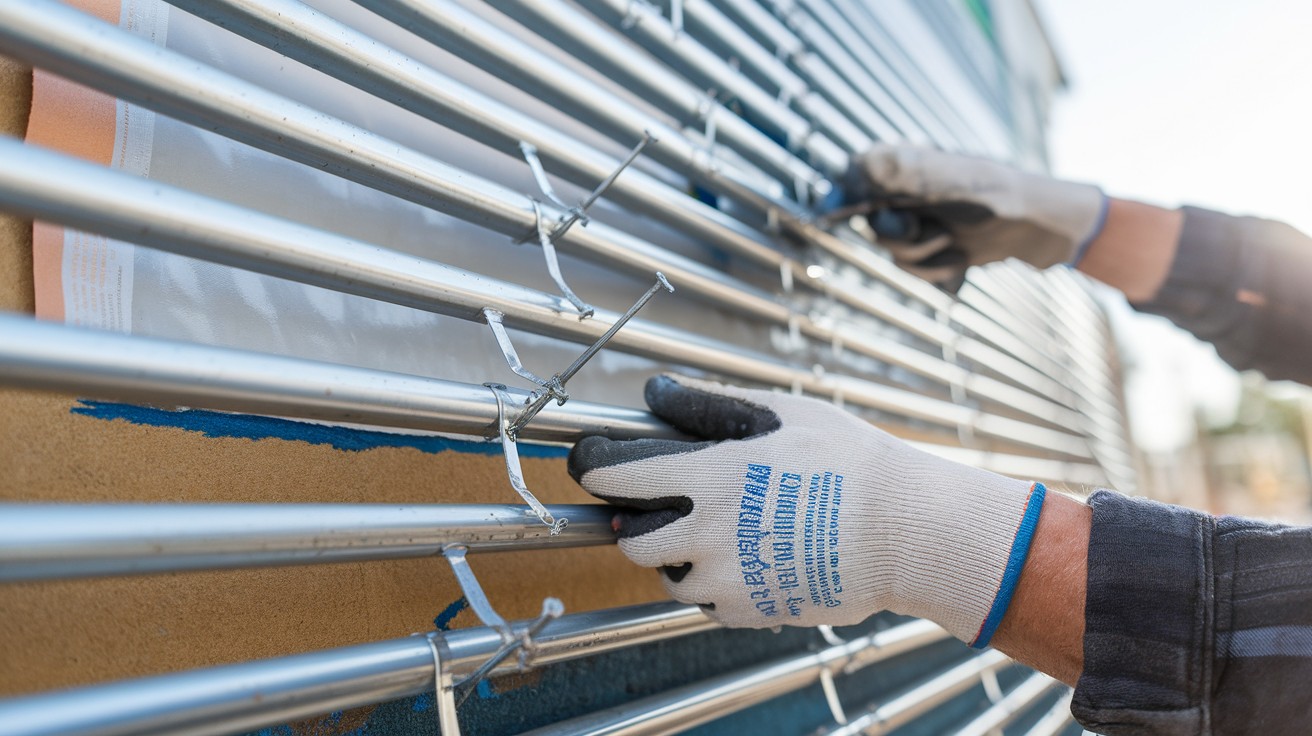
For wood surfaces or any smooth surface that won’t provide good adhesion:
- Apply a weather-resistant barrier (like house wrap) over the entire area.
- Overlap seams by at least 2 inches.
- Attach metal lath over the barrier using roofing nails or staples every 6 inches.
- Make sure the lath’s “cups” face upward to hold the mortar.
- Overlap lath pieces by at least 2 inches at seams.
Remember: The lath gives the mortar something to grip onto, so don’t skip this step!
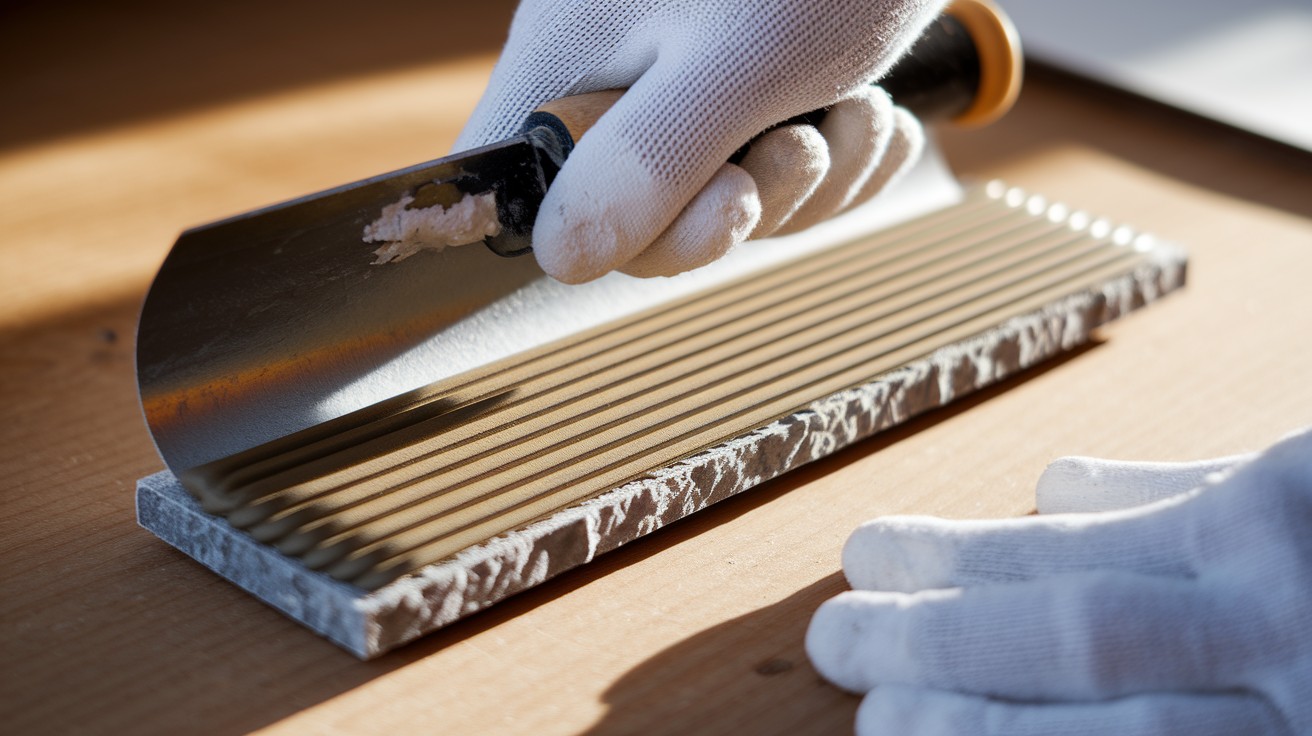
Step 3: Apply the Scratch Coat
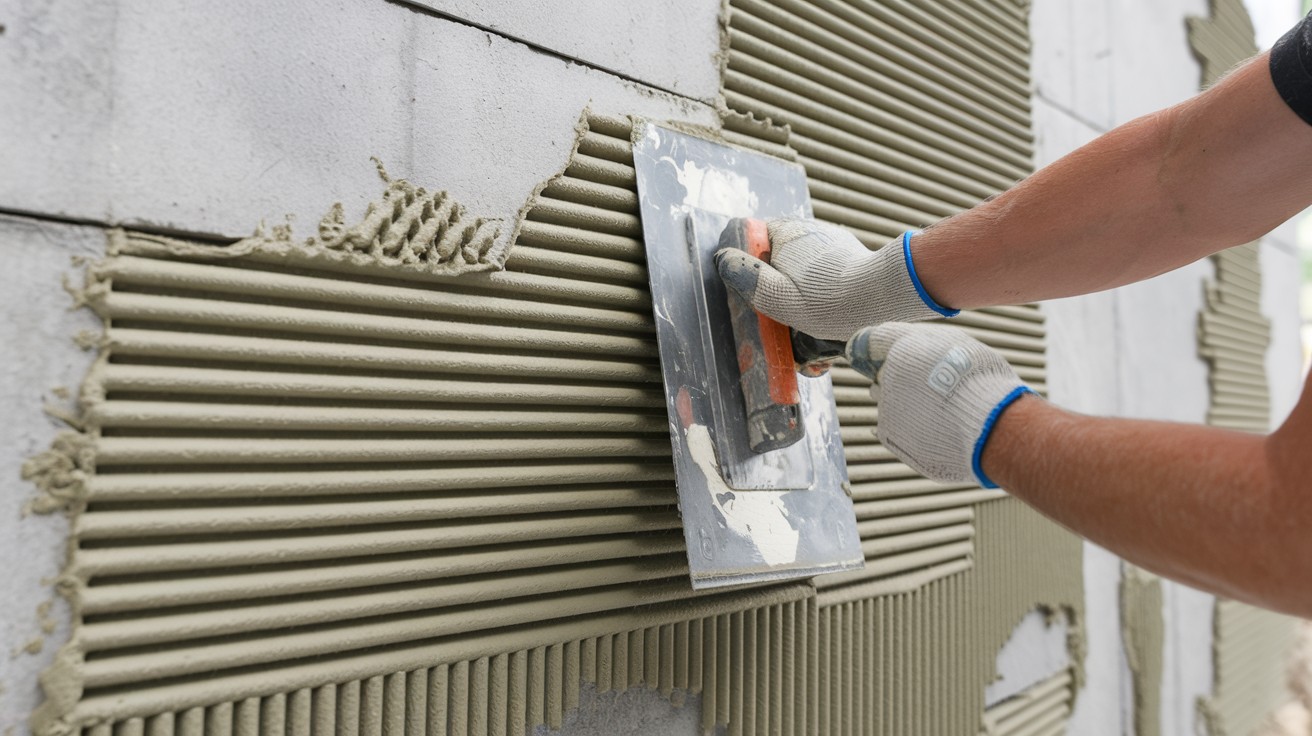
Now for the foundation of my veneer – the scratch coat:
- Mix mortar according to package directions. It should be about the consistency of peanut butter.
- Apply a 1/2-inch layer of mortar to the entire surface using a trowel.
- While the mortar is still wet but firm, use a notched trowel or stick to create horizontal grooves across the surface.
- Let this scratch coat set up but not fully cure (usually 24 hours).
These grooves might look weird, but they’re super important! They help the next layer of mortar bond properly.
Step 4: Plan Your Stone Layout
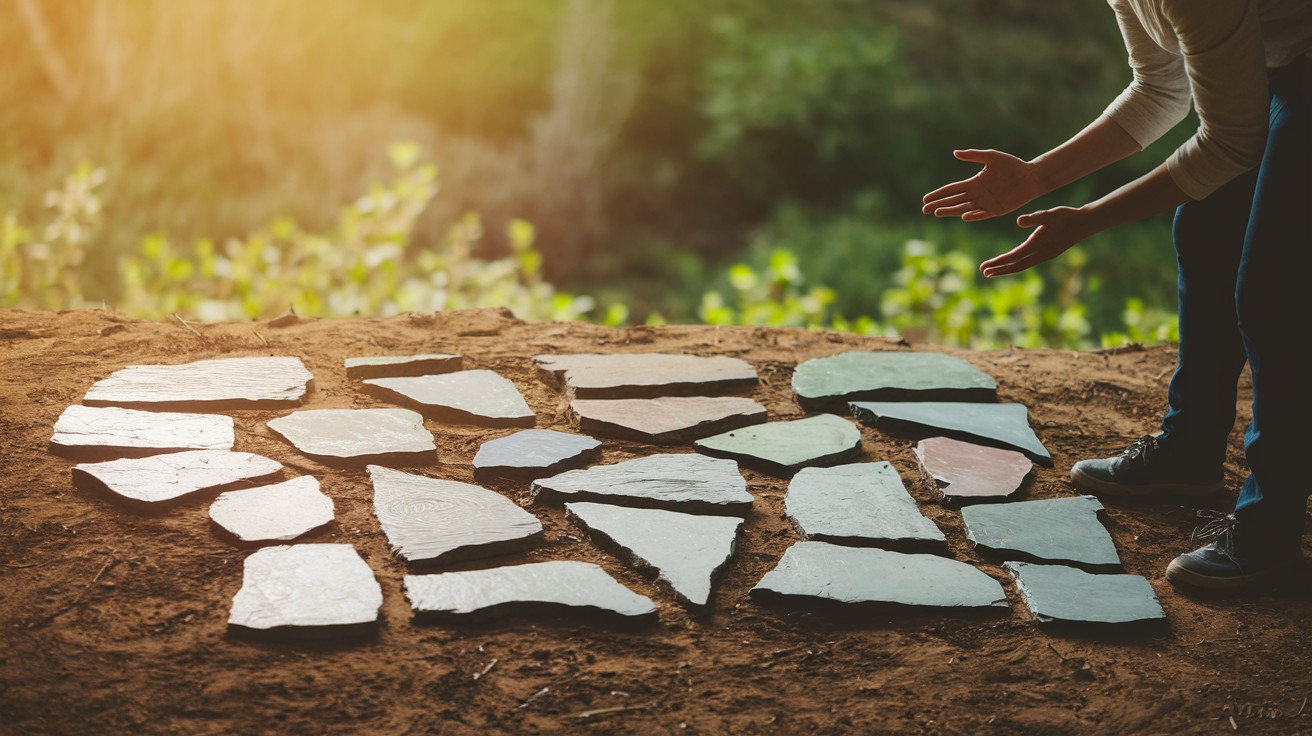
Before I start sticking stones to the wall, I need a plan:
- Lay out stones on the ground to get a feel for patterns and colors.
- Always start from the bottom and work up.
- Mix stones from different boxes to ensure color variety.
- Cut some stones in half or quarters for filling smaller spaces.
- Consider starting with corner pieces if you’re wrapping around corners.
This step saved me so much frustration! Taking time to plan means less cutting and better results.
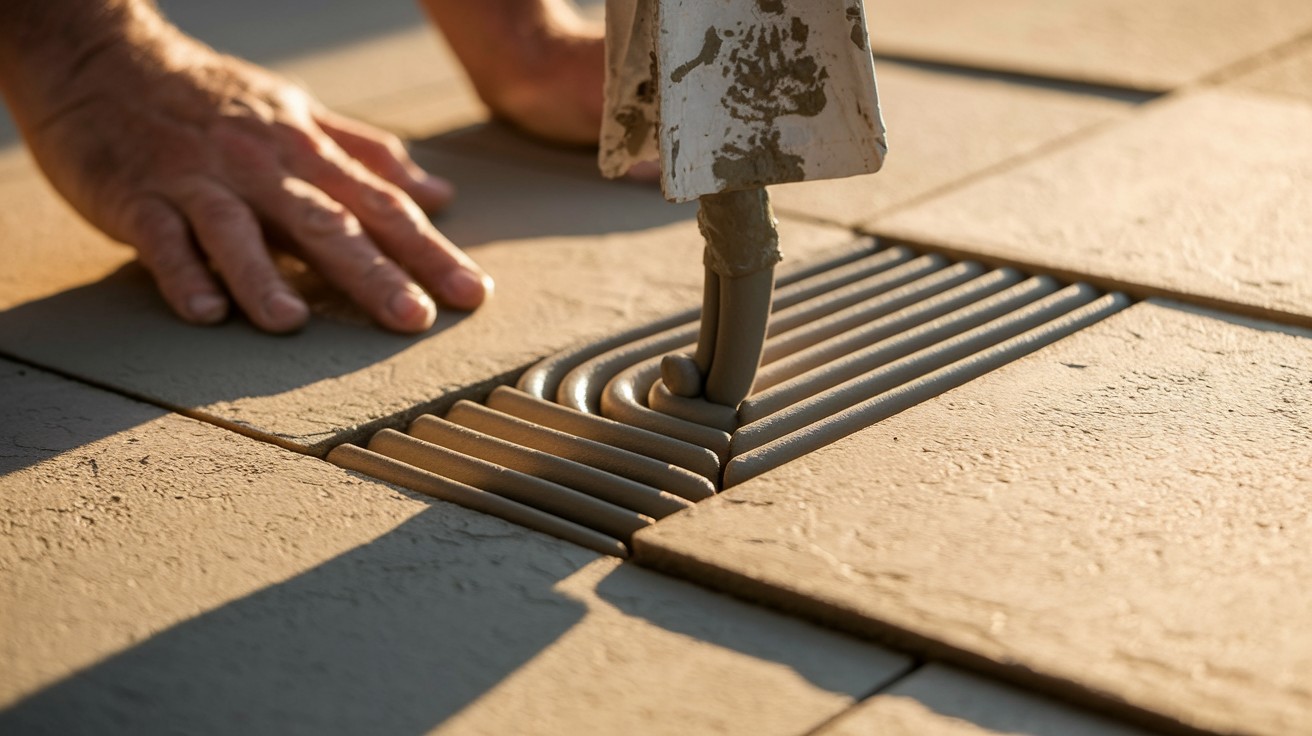
Step 5: Apply Mortar to the Back of the Stone
Now the fun begins:
- Mix a fresh batch of mortar.
- “Butter” the back of each stone with about 1/2 inch of mortar.
- Use the trowel to create a small ridge around the edge of the stone.
- Make sure the entire back is covered with mortar.
Important tip: Work with small batches of mortar so it doesn’t dry out before you use it.
Step 6: Press Stones Into Place

Time to start creating my stone wall:
- Press the stone firmly against the scratch coat, wiggling slightly to ensure good contact.
- Use a level frequently to keep everything straight.
- Maintain consistent joint widths between stones (usually 1/2 to 1 inch).
- If mortar squeezes out, leave it for now.
- Work in small sections, stepping back occasionally to check the overall pattern.
Don’t rush this step! I like to take my time and make adjustments as I go. If a stone doesn’t look right, remove it and try again before the mortar sets.
Step 7: Fill the Joints
After the stones are in place and the mortar has set for about 24 hours:
- Mix mortar for joints (slightly wetter than before).
- Fill a grout bag with the mortar.
- Squeeze mortar into all the joints between stones.
- Fill joints completely, working from bottom to top.
- Let the mortar set up until firm but not hard (about 30-60 minutes).
The joints might not seem important, but they actually make a huge difference in the final look!
Step 8: Clean and Finish
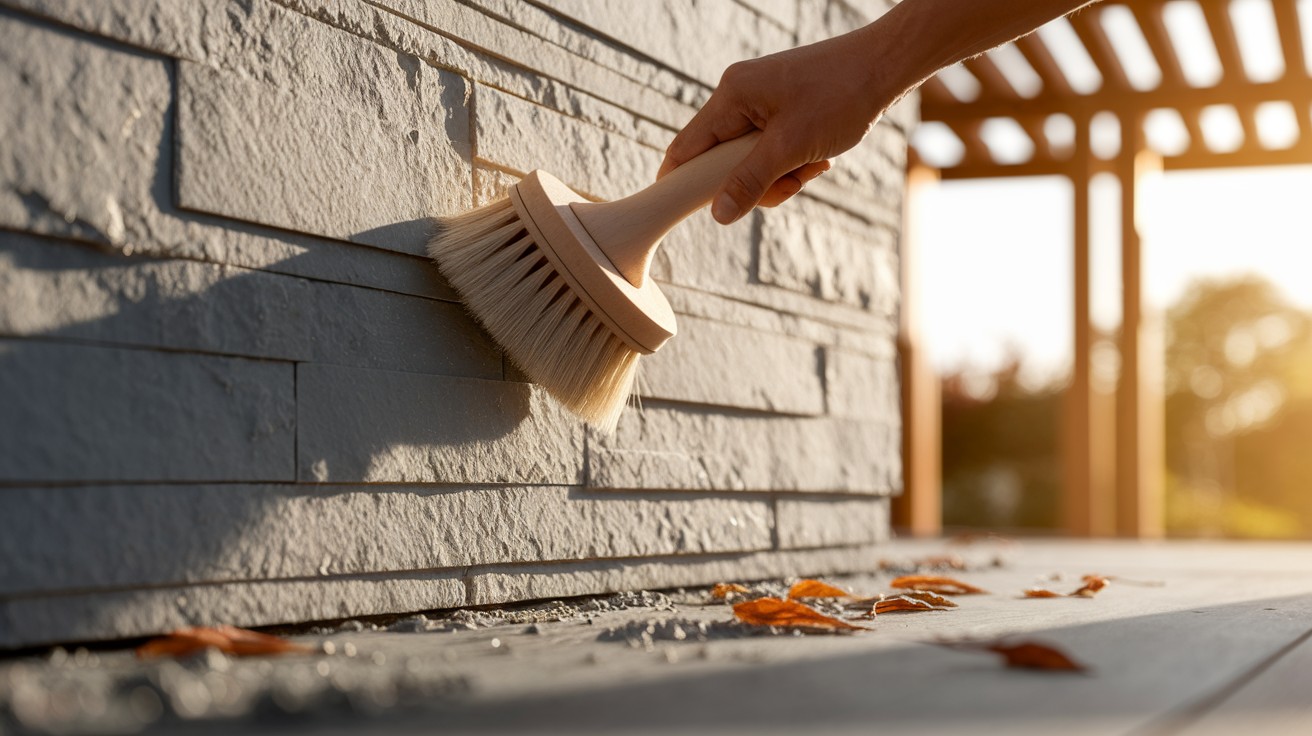
Almost done:
- Once the joint mortar has set up (but before it fully hardens), use a jointing tool or wooden stick to press and shape the joints.
- Brush away excess mortar with a soft brush.
- If needed, gently clean stone faces with a damp sponge.
- Let everything dry completely (at least 48 hours).
Be careful not to get the joints too wet during cleaning. Just remove any mortar that’s on the face of the stones.
Step 9: Optional – Seal the Stone
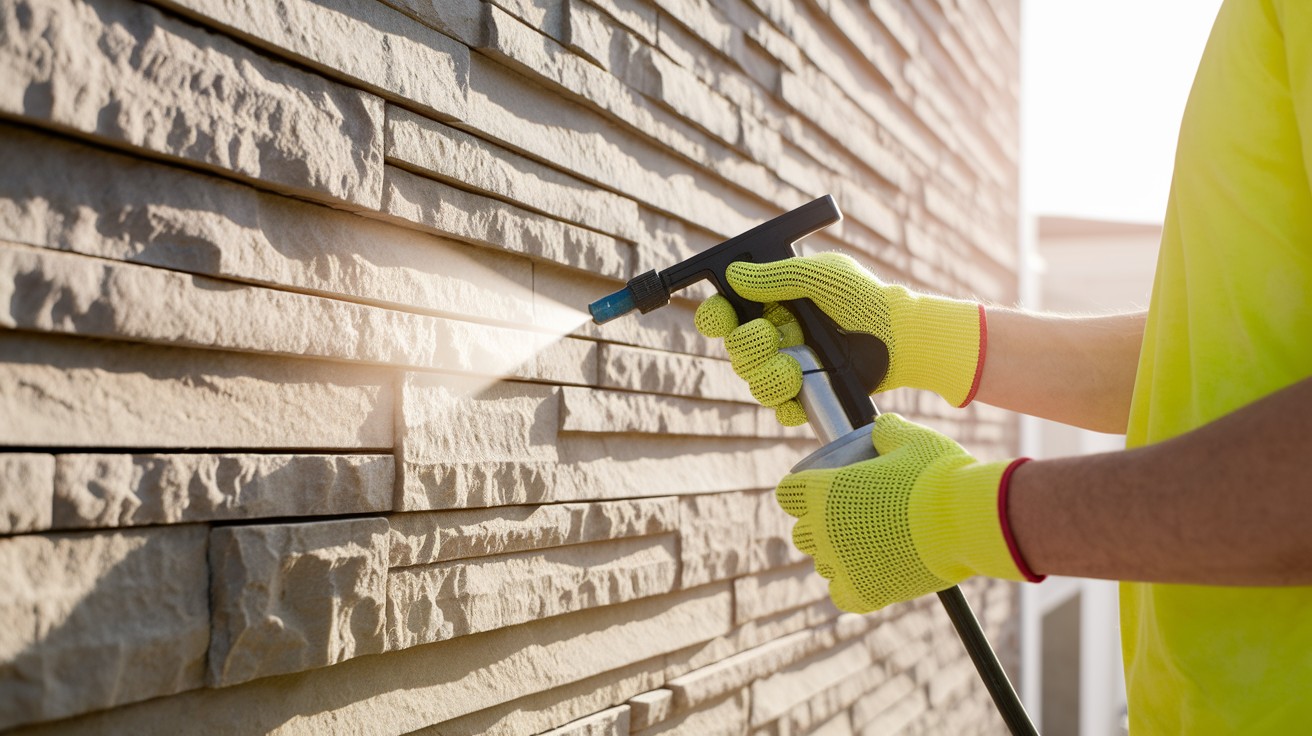
For extra protection, especially in harsh climates:
- Make sure the stone and mortar are completely dry (wait at least a week).
- Apply masonry sealer according to product directions.
- Use a brush or sprayer for even coverage.
- Apply in thin coats, allowing drying time between coats.
Sealing isn’t always necessary, but it can help your veneer last longer and stay beautiful.
Cost Breakdown & Savings Tips
Want to know what this project will cost? Here’s a realistic breakdown for a typical 100 square foot exterior wall:
Materials Cost:
- Stone veneer: $600-$900 (varies by type and quality)
- Mortar and additives: $75-$100
- Metal lath and fasteners: $50-$75
- Moisture barrier: $30-$50
- Sealer (optional): $40-$60
- Tools (if you need to buy them): $100-$200
Total DIY Cost: About $900-$1,400 for 100 square feet
Professional Installation: $2,500-$4,000 for the same area
That’s a savings of $1,600-$2,600 by doing it yourself!
Money-Saving Tips:
- Look for stone veneer sales at the end of building season (late fall)
- Ask about “seconds” or slightly imperfect veneer at reduced prices
- Rent specialty tools instead of buying them
- Buy slightly more than needed (10% extra) to avoid costly returns for more material
- Consider manufactured veneer for a similar look at 30-40% less cost than natural stone
- Use corner pieces only where needed, as they cost significantly more per linear foot
Remember: while saving money is great, don’t compromise on quality for your moisture barrier or mortar mix – these are critical for a long-lasting installation.
Common Mistakes to Avoid
After installing stone veneer on dozens of homes, I’ve seen the same issues pop up again and again. Here’s how to avoid them:
Skipping the prep work: Taking shortcuts with surface preparation leads to veneer that cracks or falls off. Always clean the wall and install proper moisture barriers.
Using the wrong mortar: Regular mortar isn’t designed for stone veneer. Always use mortar specifically made for stone veneer applications.
Installing in extreme temperatures: Working in very hot, cold, or wet conditions affects how mortar cures. Aim for mild weather between 50-80°F.
Creating a pattern that looks too uniform: Natural stone has random placement. Avoid lining up joints or creating obvious repeating patterns.
Applying stones too close together: Tight joints without enough mortar create a fake, manufactured look. Maintain consistent joint spacing.
Not mixing from multiple boxes: Stone veneer varies in color. Mix stones from several boxes for a natural color distribution.
Avoiding these mistakes will save you time, money, and frustration while ensuring your stone veneer looks great for decades.
Conclusion
Congratulations! You’ve now learned how to transform an ordinary wall into a stone showcase.
While this project takes some time and effort, the results are absolutely worth it. Your home will gain instant curb appeal and significant value with this upgrade. Plus, unlike painted surfaces, properly installed stone veneer can last 50+ years with minimal maintenance.
Remember the key steps: proper surface preparation, careful stone layout planning, and thorough mortar application. Take your time, especially with the joint finishing—it’s what separates amateur work from professional-looking results.
I’ve seen first-time DIYers achieve amazing transformations with these techniques. Trust the process, follow these steps, and you’ll soon be admiring your home’s beautiful new stone exterior that looks like it cost thousands more!
Frequently Asked Questions
Can I install stone veneer over existing brick or siding?
Yes, as long as the surface is structurally sound. For brick, you can often apply directly; for siding, you’ll need to install a weather barrier and metal lath first.
How do I calculate how much stone veneer I need?
Measure your wall’s square footage and add 10% for cuts and waste. For complex walls with many windows or doors, add 15% to account for additional cuts.
Will stone veneer increase my home’s value?
Absolutely! Stone veneer typically offers 95% ROI (return on investment), making it one of the highest-value exterior upgrades you can make.
How do I clean stone veneer if it gets dirty?
Use a soft brush and mild soap with water for regular cleaning. Avoid high-pressure water or harsh chemicals that can damage the mortar or stone surface.
Can I mix different stone veneer styles on the same wall?
Yes, mixing styles can create unique, appealing designs. Just plan your pattern carefully beforehand and maintain consistent joint widths for a cohesive look