
Looking to upgrade your kitchen with stylish new cabinet doors? You’re in the right place. In this guide, I’ll walk you through exactly how to build Shaker cabinet doors from scratch. The clean lines and simple design make them perfect for any kitchen style.
Here’s what you’ll learn:
- All the tools and materials you need
- Step-by-step instructions anyone can follow
- Tips to avoid costly mistakes
You don’t need fancy woodworking skills to make beautiful, durable cabinets. With this guide, you’ll save thousands of dollars compared to buying custom doors.
Ready to transform your kitchen this weekend? Let’s get started!
What Makes a Cabinet Door ‘Shaker’?

Ever wonder where the name comes from? The Shakers were a religious group known for their simple, functional furniture. They believed in making things that were useful, beautiful, and built to last.
A true Shaker cabinet door has:
- A four-piece frame (two rails and two stiles)
- A flat center panel
- No ornate details or carvings
- Clean, 90-degree corners
Sounds simple, right? That’s the beauty of it.
Step-by-Step: How to Make Shaker Cabinet Doors
I remember feeling overwhelmed the first time I tried to make these doors. Don’t worry – I’ve broken it down into manageable steps.
Tools & Materials Checklist
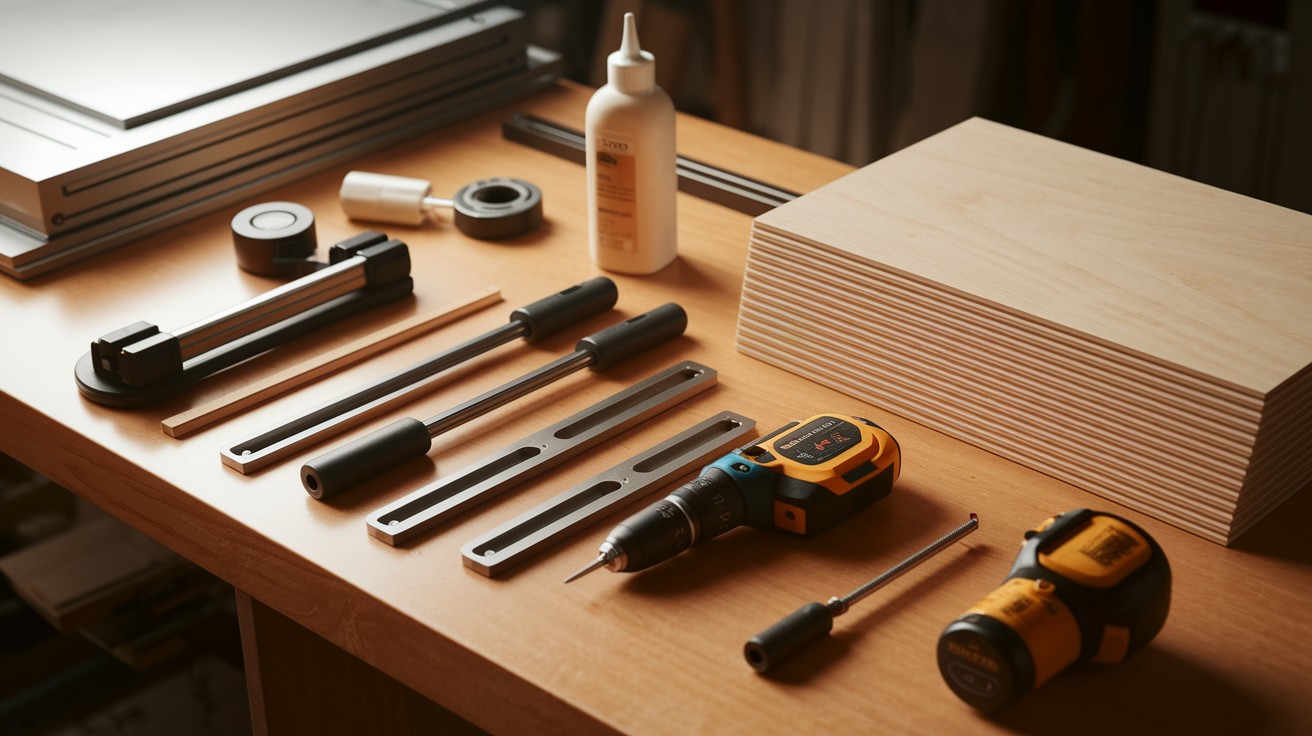
Before we start, gather these items:
Tools:
- Table saw (or circular saw with a guide)
- Router with a straight bit
- Drill
- Clamps (at least 4)
- Sanding block or orbital sander
- Measuring tape and square
Materials:
- Hardwood for rails and stiles (I like maple or oak)
- 1/4″ plywood for center panel
- Wood glue
- Wood filler
- Sandpaper (120 and 220 grit)
- Paint or stain
- Cabinet hinges
Got everything? Let’s build!
Step 1: Plan and Measure

Measure twice, cut once. This old saying has saved me countless times.
For each door, you need to know:
- Overall door dimensions (height and width)
- Rail width (typically 2-2.5 inches)
- Stile width (usually the same as rail width)
I use this formula:
- Stile length = door height
- Rail length = door width – (2 × stile width)
Draw a sketch and write down all measurements. This simple step will save you loads of headaches later.
Step 2: Cut the Rails and Stiles
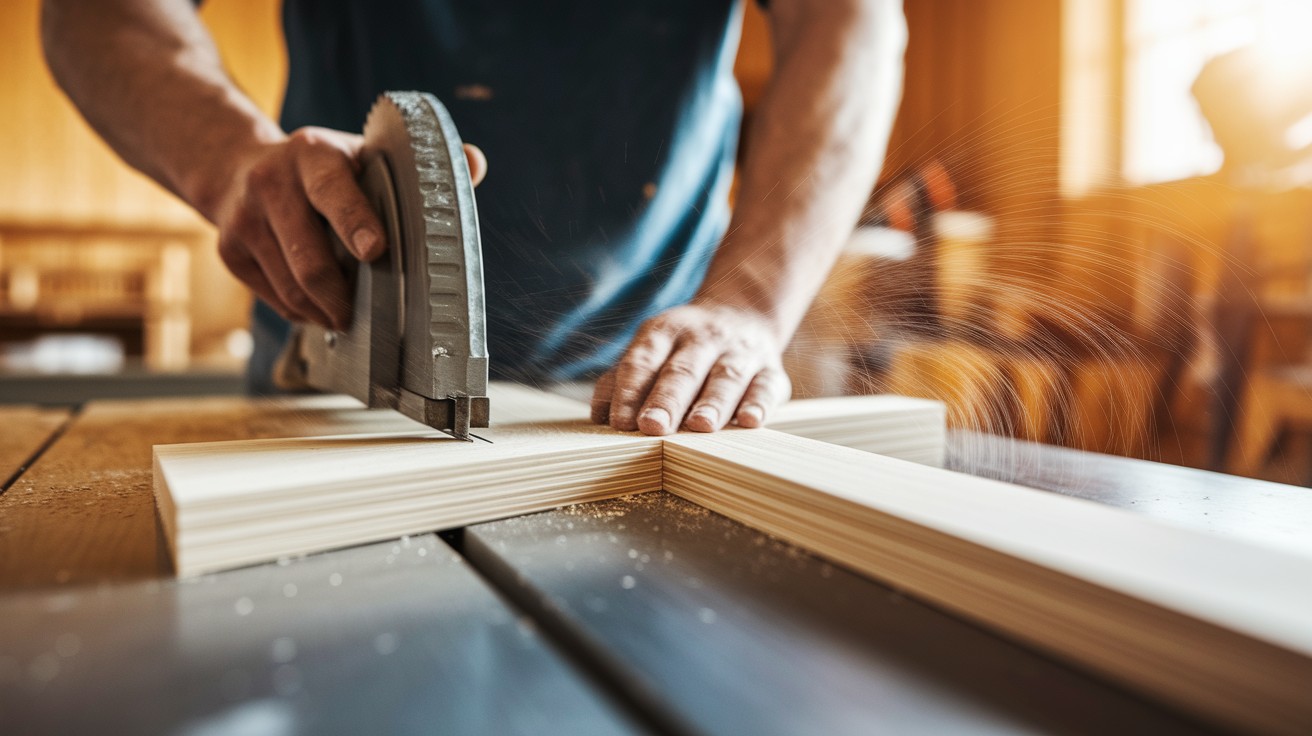
Time to make some sawdust!
- Set your table saw fence to the width you want (usually 2-2.5 inches).
- Cut your stiles first (the vertical pieces) to the full height of your door.
- Cut your rails (the horizontal pieces) to the calculated length.
Be extra careful with measurements here. Even 1/8″ off can make your door look uneven.
Step 3: Make the Grooves
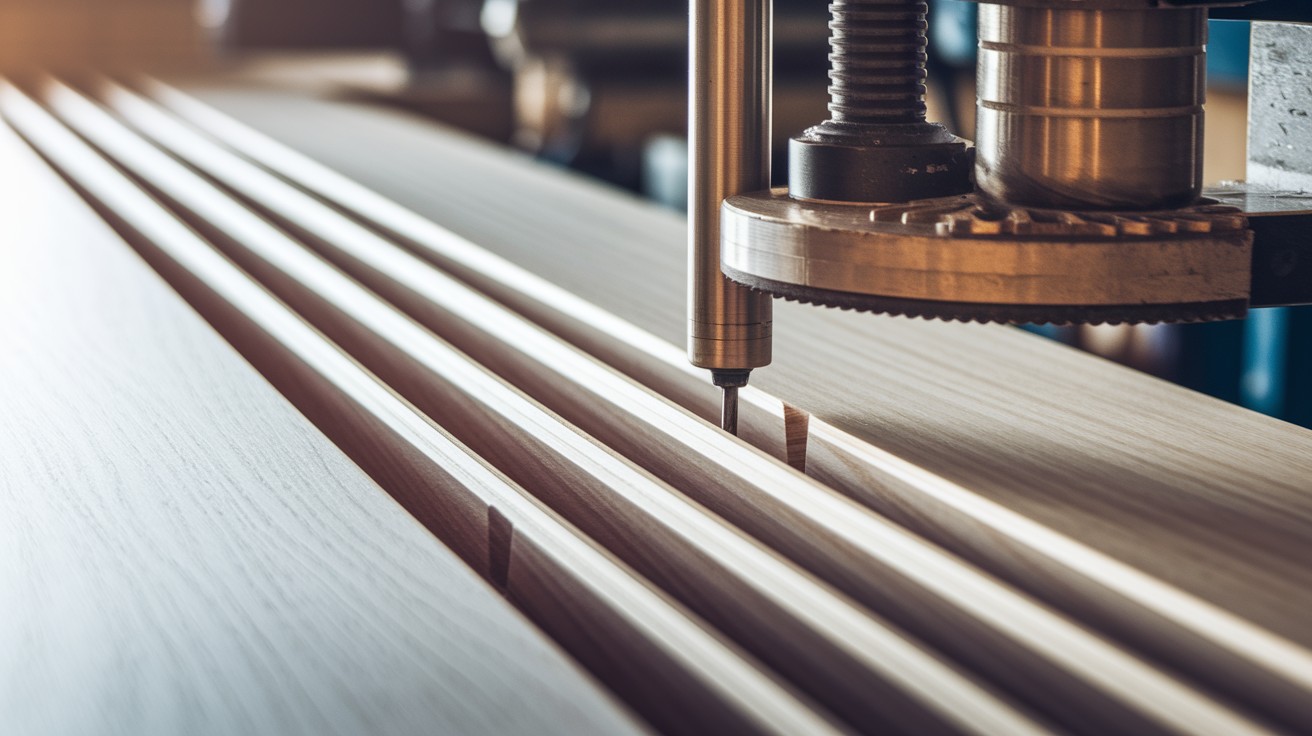
Here’s where the magic happens.
- Set up your router with a 1/4″ straight bit.
- Adjust the depth to about 3/8″.
- Make a groove along the inside edge of all rails and stiles.
- Always test on scrap wood first!
The groove serves two purposes: it holds the center panel and creates space for the rail and stile joints.
Step 4: Prepare the Center Panel
This step is easier than you might think.
- Measure the opening size (door height minus 2× rail width, door width minus 2× stile width).
- Add 1/2″ to both dimensions (to fit into the grooves).
- Cut your plywood panel to this size.
I like to lightly sand the edges so they slide into the grooves smoothly.
Step 5: Assemble the Frame
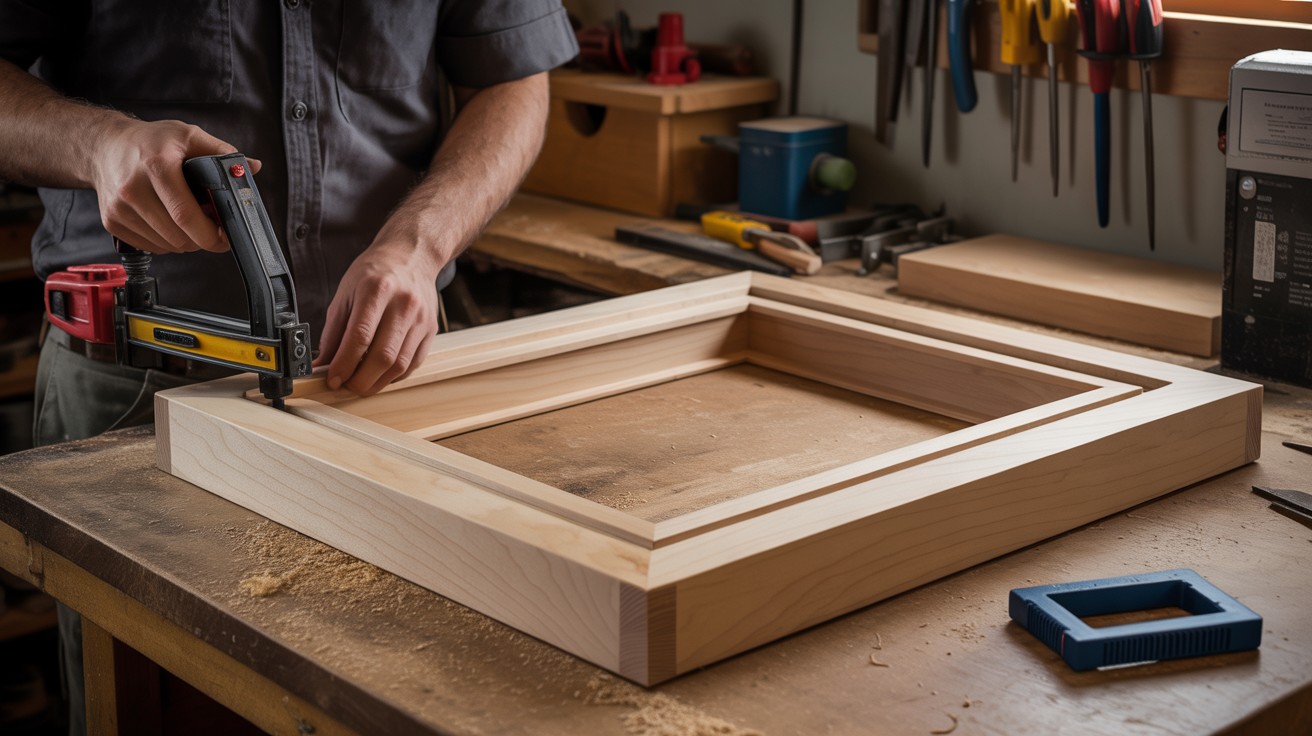
This is my favorite part – watching the door come together!
- Apply wood glue to the ends of the rails where they meet the stiles.
- Slide the center panel into the grooves of one stile.
- Connect the rails to this stile.
- Add the second stile.
- Check that corners are square.
- Clamp everything tightly and wipe away excess glue.
- Let dry overnight. Don’t rush this step.
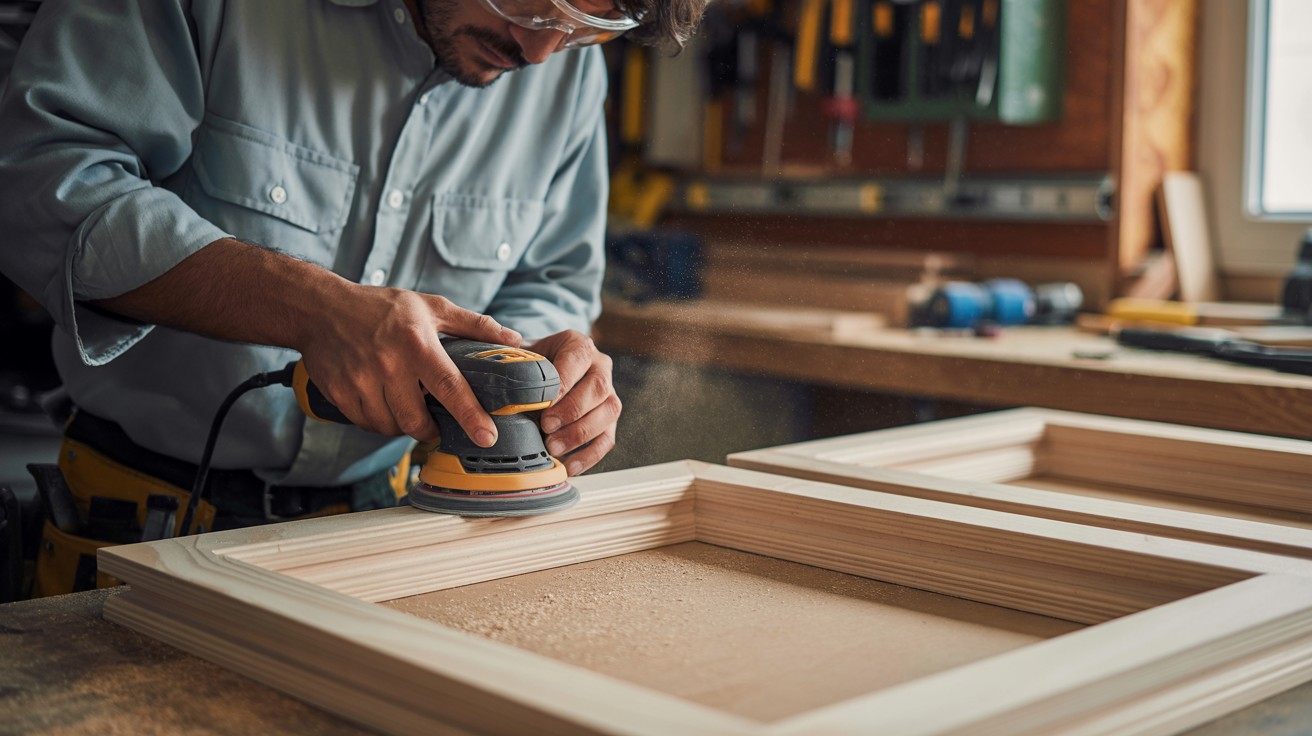
Step 6: Fill, Sand, and Prep
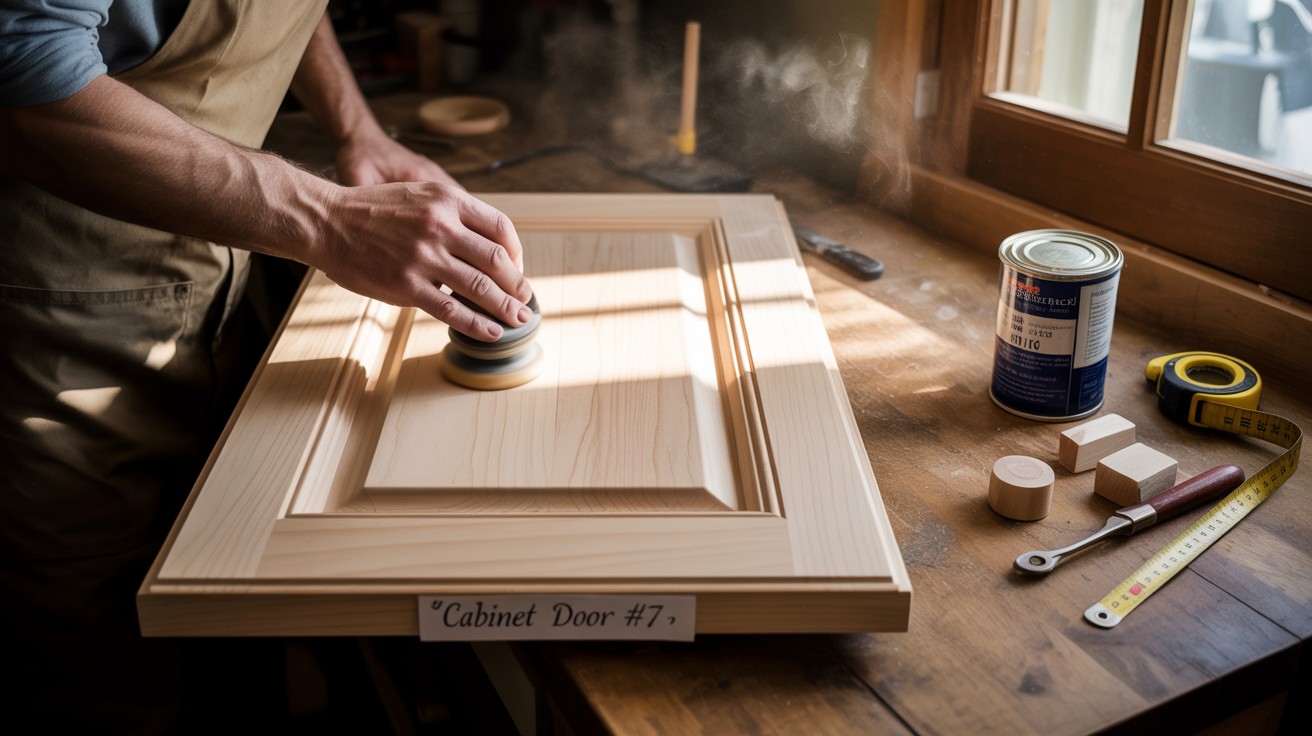
Almost there! After the glue dries:
- Remove clamps.
- Fill any gaps with wood filler.
- Sand everything with 120-grit sandpaper.
- Follow with 220-grit for a smooth finish.
Run your hand over the surface. Feel any rough spots? Sand them again.
Step 7: Paint or Stain
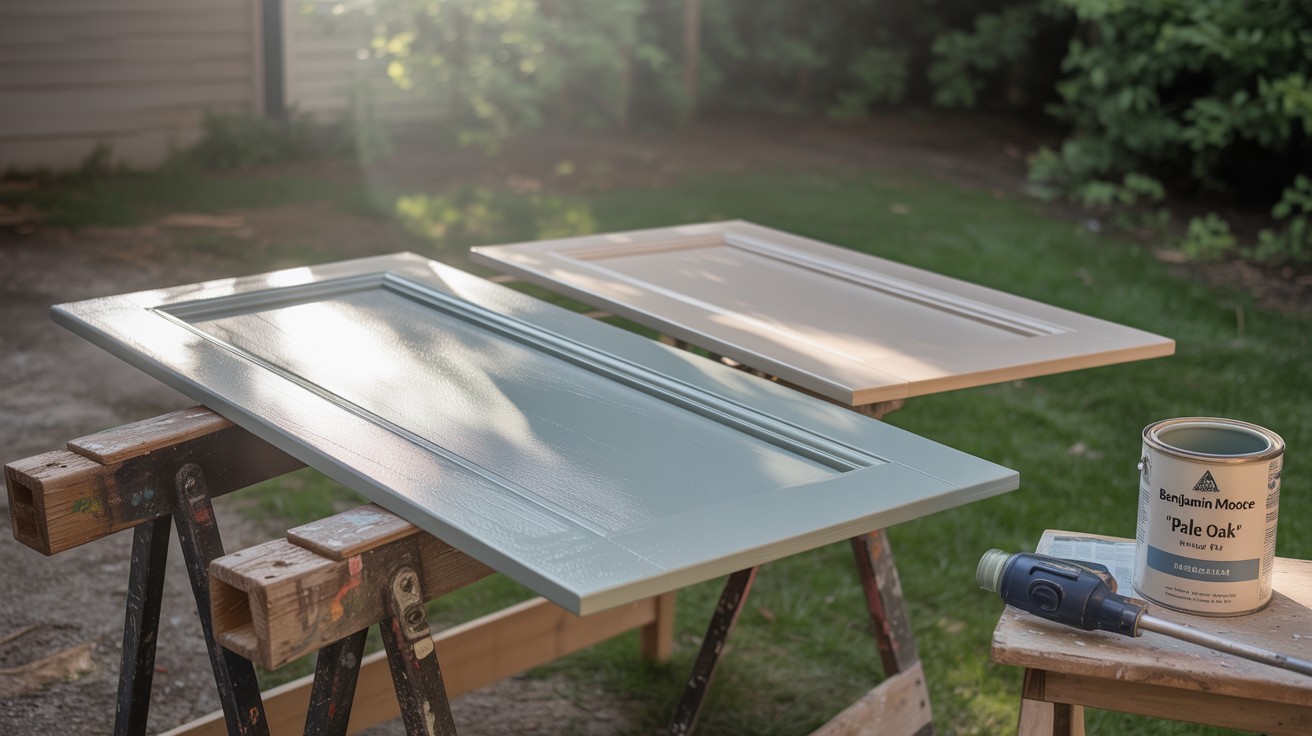
Decision time – paint or stain?
For paint:
- Apply primer first.
- Use 2-3 coats of quality cabinet paint.
- Sand lightly between coats.
For stain:
- Apply a pre-stain conditioner.
- Wipe on stain with a cloth.
- Apply polyurethane for protection.
Traditional Shaker doors were often painted. But your kitchen, your rules!
Step 8: Attach Hinges and Install
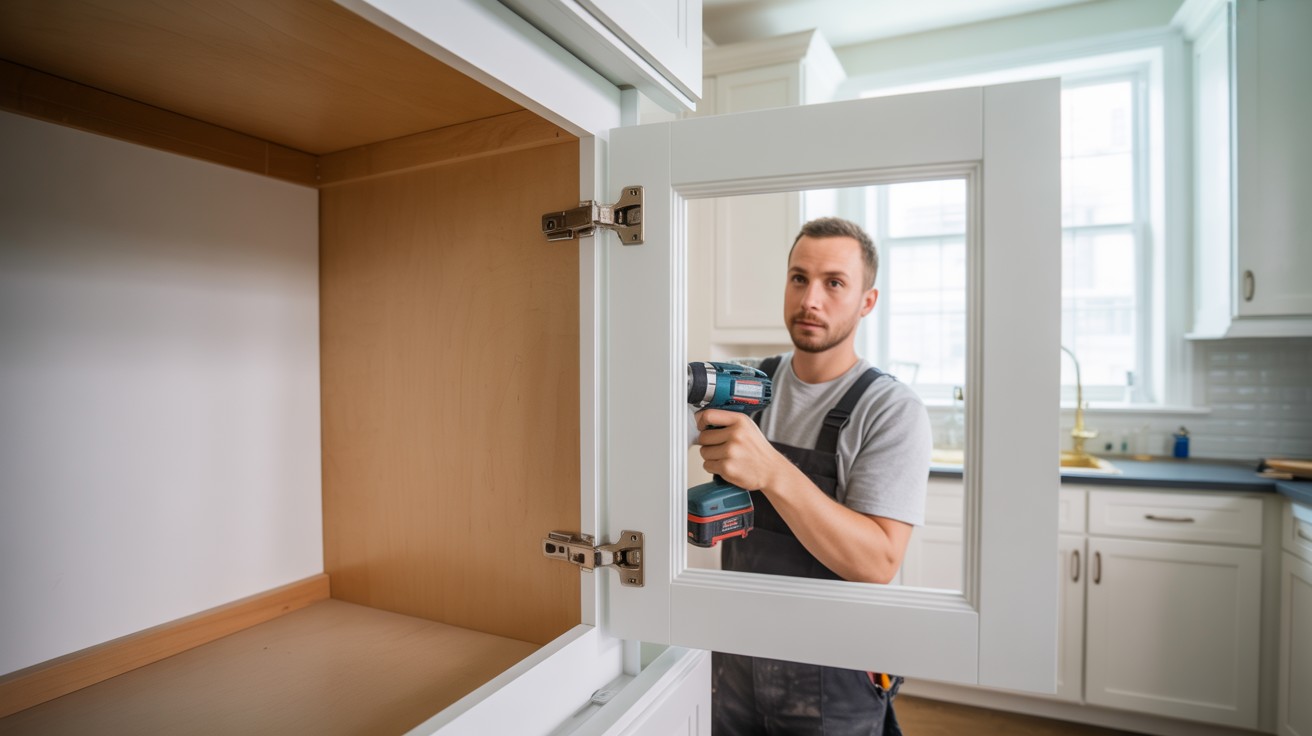
The moment of truth:
- Mark hinge locations on the door and cabinet.
- Drill pilot holes.
- Attach hinges to the door first.
- Then attach the door to the cabinet.
- Adjust as needed for a perfect fit.
Custom Touches
Want to add your spin? Try these:
- Beaded edge on the inside frame
- Slightly raised panel instead of flat
- Milk paint for an authentic look
- Wood species that complements your kitchen
Just remember, true Shaker style embraces simplicity.
Conclusion
You did it! From measuring and cutting to the final installation, you now have all the skills to create beautiful Shaker cabinet doors.
Remember, your first door might not be perfect, and that’s okay. Each one you make will be better than the last. What I love most about Shaker doors is how they never go out of style. The timeless design works in modern farmhouse kitchens, sleek contemporary spaces, and everything in between.
By making these doors yourself, you’ve saved hundreds or even thousands of dollars. But more importantly, you’ve created something that will bring joy every time you walk into your kitchen. Take a step back, admire your work, and enjoy that feeling of satisfaction that comes from building something with your own hands.
What kitchen project will you tackle next?
Frequently Asked Questions
What’s the biggest mistake people make when building Shaker doors?
Rushing the measuring phase and not checking for square corners. Take your time with the initial measurements, and use a carpenter’s square to check every corner during assembly.
Can I make Shaker doors with basic tools if I don’t have a router?
Yes! You can use a table saw to cut shallow rabbets instead of router grooves. Just adjust your technique for the panel installation and be extra careful with your measurements.
How do I fix a door that doesn’t close properly?
Check your hinges first—they’re usually the cause. You can adjust European-style hinges with a screwdriver, or sand down specific areas if the door is catching on the frame.
What’s the best finish for a kitchen that gets heavy use?
Go with a water-based polyurethane for painted doors or an oil-based poly for stained doors. Both provide excellent protection against moisture, heat, and daily wear and tear.
How much should I spend on wood for one standard cabinet door?
For a 24″×30″ door using maple, expect to spend $20-30 for materials. Higher-end woods like cherry or walnut will cost $35-45 per door, still much cheaper than buying pre-made