
Want to add color to plain clothes without spending lots of money? How to make fabric paint at home is easier than you think!
Making your own fabric paint saves money and lets you create the exact colors you want. No more settling for store colors that aren’t quite right!
Whether you’re new to crafting or have been doing it for years, homemade fabric paint gives you freedom to create unique designs.
In this simple guide, we’ll show you step-by-step how to make fabric paint that actually works and lasts. You’ll be painting t-shirts, bags, and more with your own custom colors in no time!
Say goodbye to expensive craft store options and hello to more time doing what you love with colors you’ve made yourself!
Understand Fabric Paint

Fabric paint is a special color that sticks to cloth without washing off. Unlike regular paint, it’s made to bend and move with your clothes or fabric projects. Learning how to make fabric paint at home lets you create custom colors for t-shirts, jeans, canvas bags, and more!
The ingredients are simple and safe, making it perfect for family craft time. Homemade fabric paint saves money and gives you creative freedom for all your DIY fashion and home decoration ideas.
Step-by-Step Guide to Making Fabric Paint
Essential Materials Needed
- White acrylic paint
- Food coloring or acrylic paint colors
- Fabric medium (or white glue mixed with water)
- Small containers for mixing
- Measuring spoons
- Mixing sticks
- Paintbrushes or sponges
- Old clothes or apron
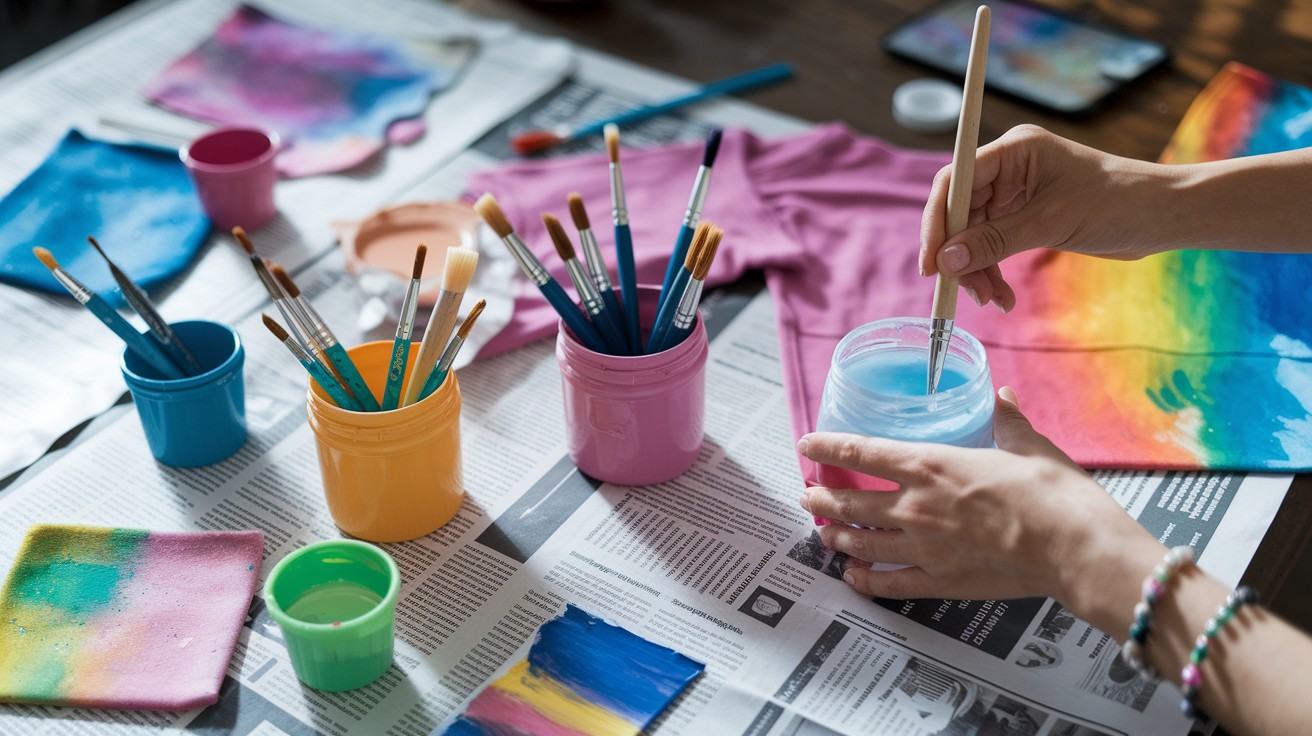
Step 1: Get Your Area Ready
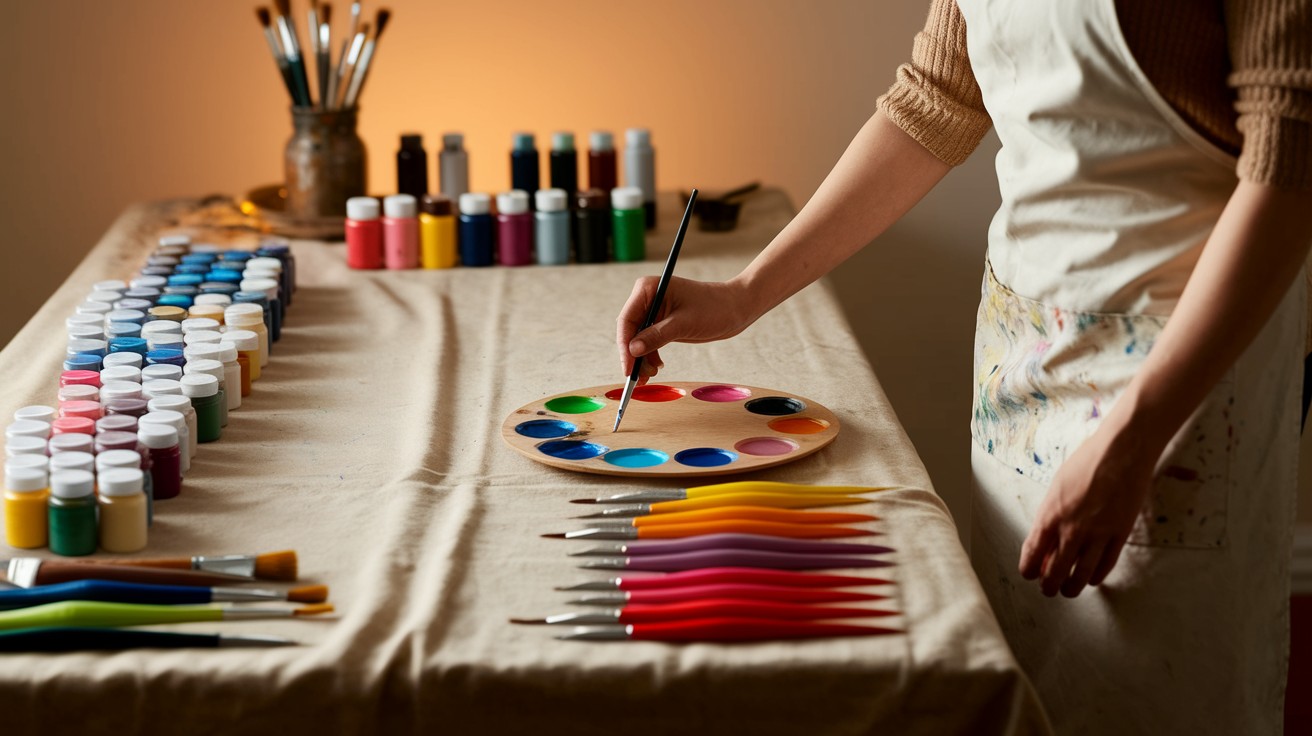
Find a clean table or flat surface to work on. Cover it with newspaper or an old cloth to keep things clean. Put on old clothes or an apron so you don’t worry about stains while painting.
Step 2: Make the Paint Base
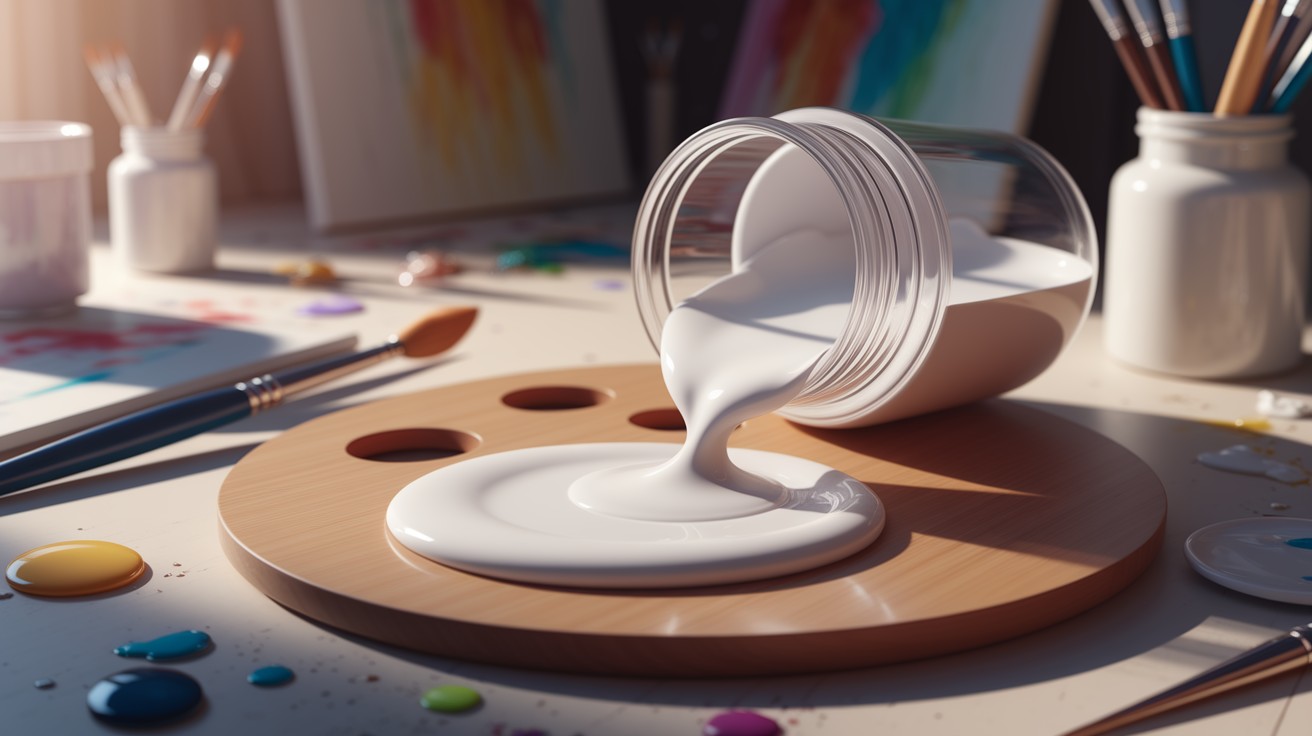
Take a small container and pour in 2 tablespoons of white acrylic paint. This will be the base of your fabric paint.
Step 3: Add the Fabric Medium
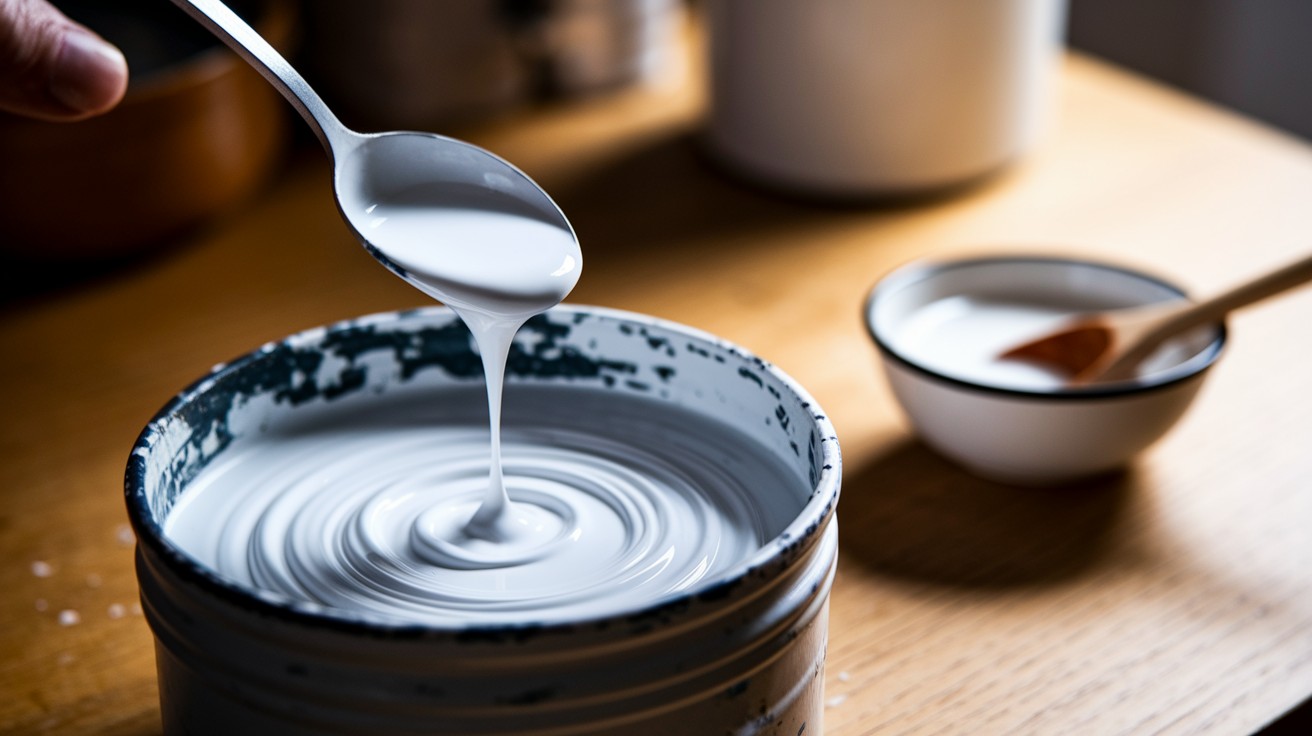
Add 1 tablespoon of fabric medium to the paint and mix well. If you don’t have fabric medium, you can mix 1 tablespoon of white glue with 1 teaspoon of water and use that instead. This helps the paint stick to fabric and stay soft after it dries.
Step 4: Add Color
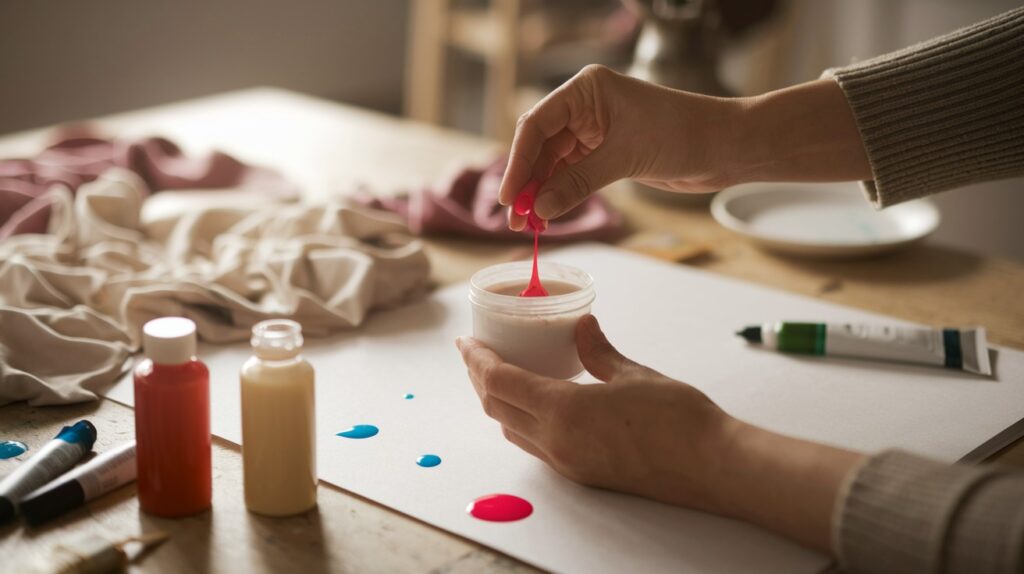
Add a few drops of food coloring or a small amount of colored acrylic paint to your mix. Start with just a little, you can always add more if you want a stronger color.
Step 5: Mix It All Together
Stir the paint really well until the color is smooth and even. Make sure there are no lumps or streaks.
Step 6: Try It Out First

Before painting your final fabric, test the paint on a small scrap of similar material. Let it dry to see how it looks and feels.
Step 7: Paint Your Fabric
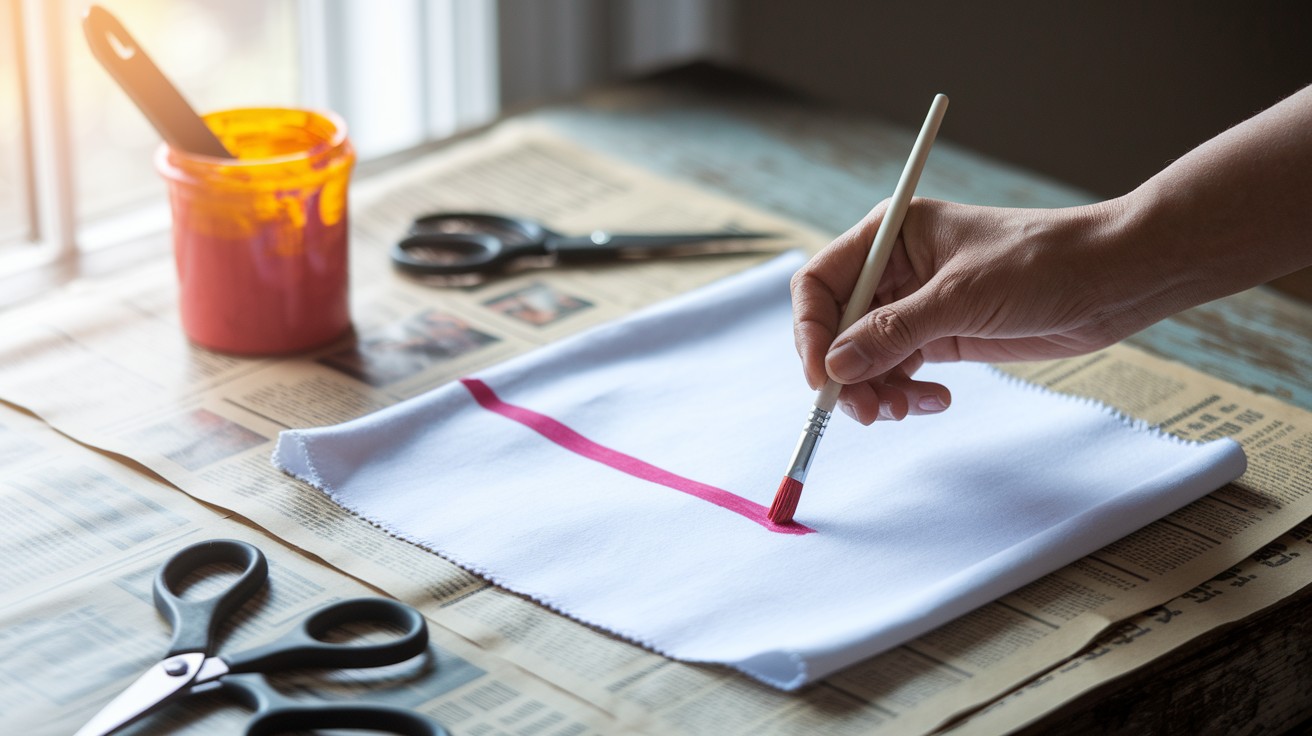
Use a paintbrush, sponge, or stencil to add your design to the fabric. It’s better to paint in thin layers so the paint dries nicely and doesn’t crack.
Step 8: Let It Dry
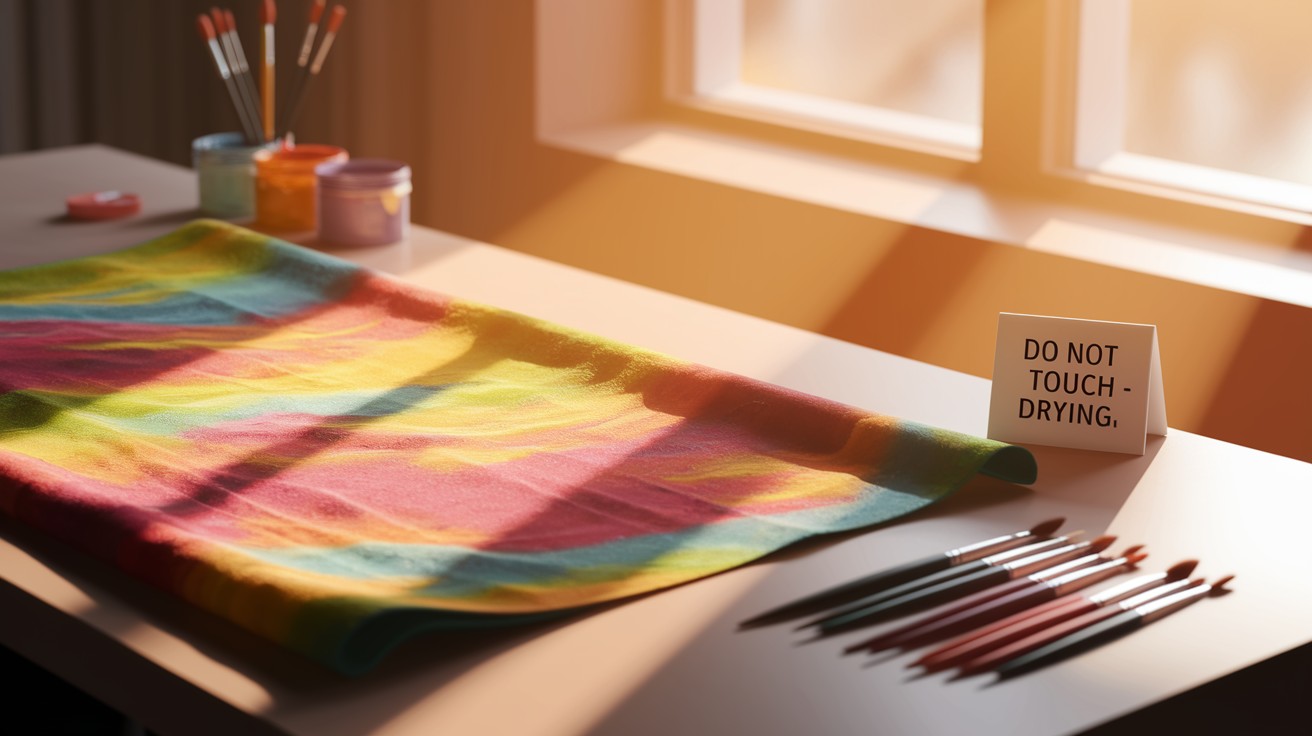
Leave your painted fabric in a safe spot to dry for at least 24 hours. Make sure it’s fully dry before moving to the next step.
Step 9: Set the Paint
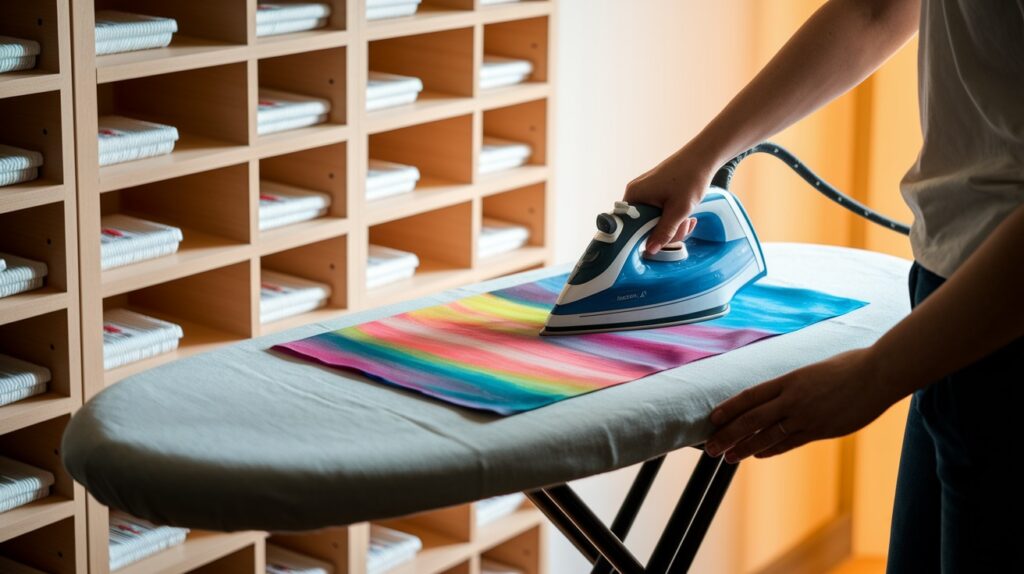
Once it’s dry, you need to set the paint so it stays on the fabric. If you used fabric medium, follow the instructions on the bottle.
If you use glue and water, turn the fabric inside out or place a cloth on top and iron it for 3 to 5 minutes on medium heat.
Step 10: Wash It the Right Way
Wait 72 hours before washing your fabric. After that, wash it inside-out on a gentle cycle using mild soap. This will help keep your design looking great.
How to Make Fabric Paint Work Best
Always test your fabric paint on a scrap piece of similar fabric before your main project. This helps you check the paint’s behavior and make adjustments.
How to Check the Paint:
- Consistency: It should spread smoothly, not too thick or runny. If it’s hard to apply, it may need thinning.
- Smoothness: Once dry, the paint should be even with no lumps or streaks.
- Flexibility: When dry, gently stretch the fabric. The paint should move with it, not crack or peel.
Troubleshooting Tips:
- Cracks or stiffness: Add more fabric medium or a little water.
- Paint soaks through: Use more paint or a thicker base.
- Thin paint: Add more acrylic paint or reduce the medium.
- Thick paint: Thin with fabric medium or water.
Extra Tips:
- Heat-set the paint with an iron after drying for better washability.
- Wash and dry your test fabric to check how it holds up.
- Adjust your recipe based on test results before your final project.
Tips and Variations
- Add a drop of glycerin to your homemade fabric paint mixture for a smoother flow.
- Mix in a pinch of baking powder to create puffy fabric paint that raises when heated.
- Use shimmery eyeshadow powder to make metallic fabric paint at home.
- Add salt while paint is wet to create interesting textures.
- Mix in a drop of fabric softener to keep your fabric paint flexible after drying.
- Create fabric paint markers by filling empty squeeze bottles with your homemade paint.
- For watercolor effects, dilute your homemade fabric paint with more water.
- Experiment with natural dyes like turmeric or beet juice when learning how to make fabric paint for eco-friendly options.
- Store leftover paint in airtight containers for up to one week in the refrigerator.
- Make glow-in-the-dark fabric paint by adding phosphorescent powder to your mixture.
Conclusion
Learning how to make fabric paint at home is easy and saves money. Creating your own fabric paint at home is both fun and practical.
We’ve walked through simple methods using acrylic paint with fabric medium, the household ingredients approach, and how to customize colors to match your vision.
Learning how to make fabric paint not only saves money but gives you complete creative control over your textile projects.
Remember that homemade fabric paint works beautifully on everything from t-shirts to tote bags, and the techniques we’ve shared ensure your designs will last through multiple washes.
Have you tried making your own fabric paint? Share your creations in the comments below!
Don’t forget to subscribe for more DIY craft tutorials, and check out our related article on fabric painting techniques to take your textile art to the next level.
Frequently Asked Questions
How Long does Fabric Paint take to Dry?
Most fabric paint dries to the touch in 1-2 hours, but you should wait a full 24 hours before handling. for best results, always check the paint bottle instructions.
Can I Wash Clothes with Fabric Paint?
Yes! After the paint completely sets (usually 72 hours), wash painted items inside-out on a gentle cycle with cold water and mild detergent.
What Fabrics Work Best with Fabric Paint?
Cotton, cotton blends, and other natural fibers accept fabric paint best. tight-weave fabrics like canvas, denim, and cotton t-shirts give the smoothest results.
How do I Fix Fabric Paint Mistakes?
If the paint is still wet, quickly wipe it with a damp cloth. for dry paint, try fabric paint remover or rubbing alcohol on a cotton swab.