
Are you tired of stepping on those tiny, painful Lego bricks scattered across your living room floor?
Building your own custom Lego play station isn’t just a practical solution for containing the chaos, it’s a fun project that creates a dedicated space where creativity can flourish.
As parents, we all know the joy Legos bring to our children (and sometimes to us too!).
A proper play surface transforms random building sessions into immersive adventures that can last for hours.
The best part? Making your own DIY Lego table is simpler than you might think, and it can be customized perfectly for your space and your child’s needs.
In this guide, you go through everything you need to know to create an awesome Lego play station that will organize your bricks, spark imagination, and maybe even save your feet from those middle-of-the-night Lego encounters!
Why Your Family Needs a DIY Lego Table
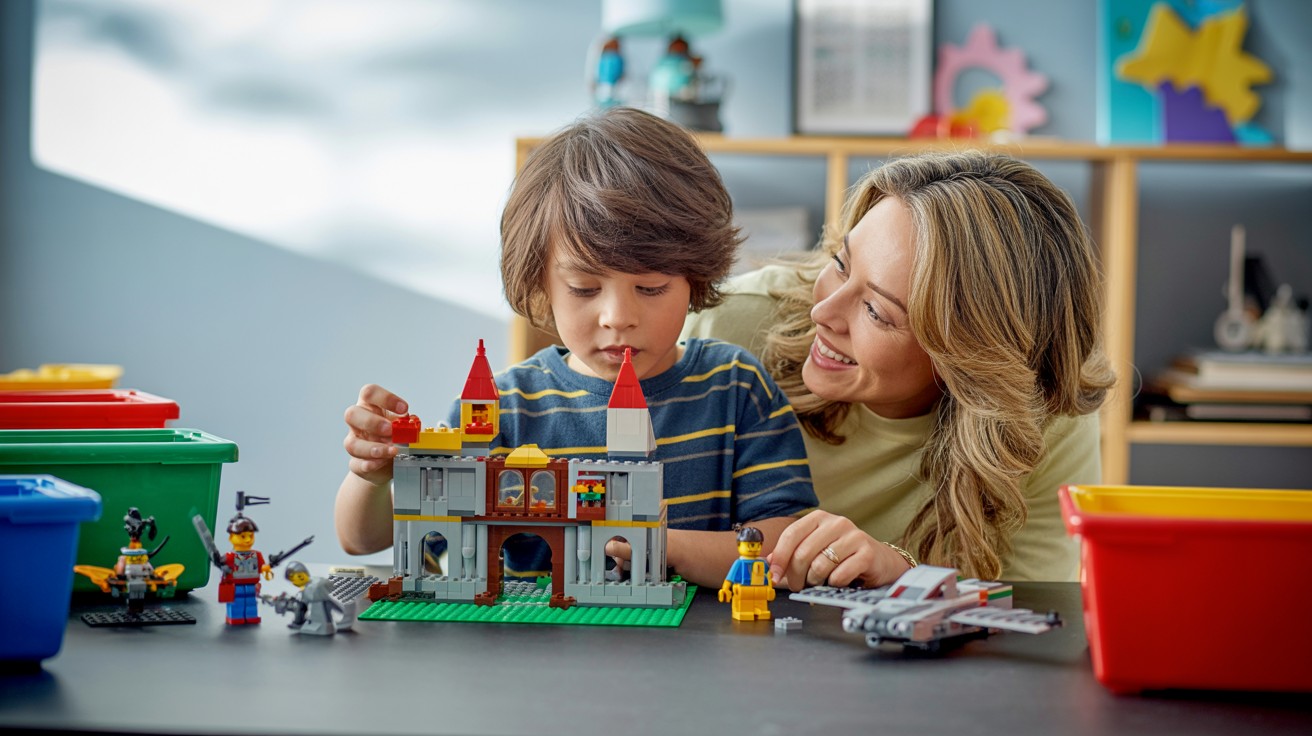
Building a DIY Lego table is one of the smartest moves for any family with Lego-loving kids.
It keeps all those tiny bricks in one place, saving your feet from painful middle-of-the-night encounters and making cleanup time so much faster.
Your children will have a dedicated space where their creations can stay safe until the next play session.
Before diving into the how-to, let’s talk about why a dedicated Lego table is worth your time:
- Organization: Contains those thousands of tiny bricks in one designated area
- Creativity: Provides a stable building surface for more complex creations
- Comfort: Eliminates hunching over the floor during long building sessions
- Preservation: Keeps projects safe from pets, younger siblings, and accidental clean-ups
- Multi-purpose: Can be used for other activities when not in Lego mode
Materials You’ll Need for Your DIY Lego Table
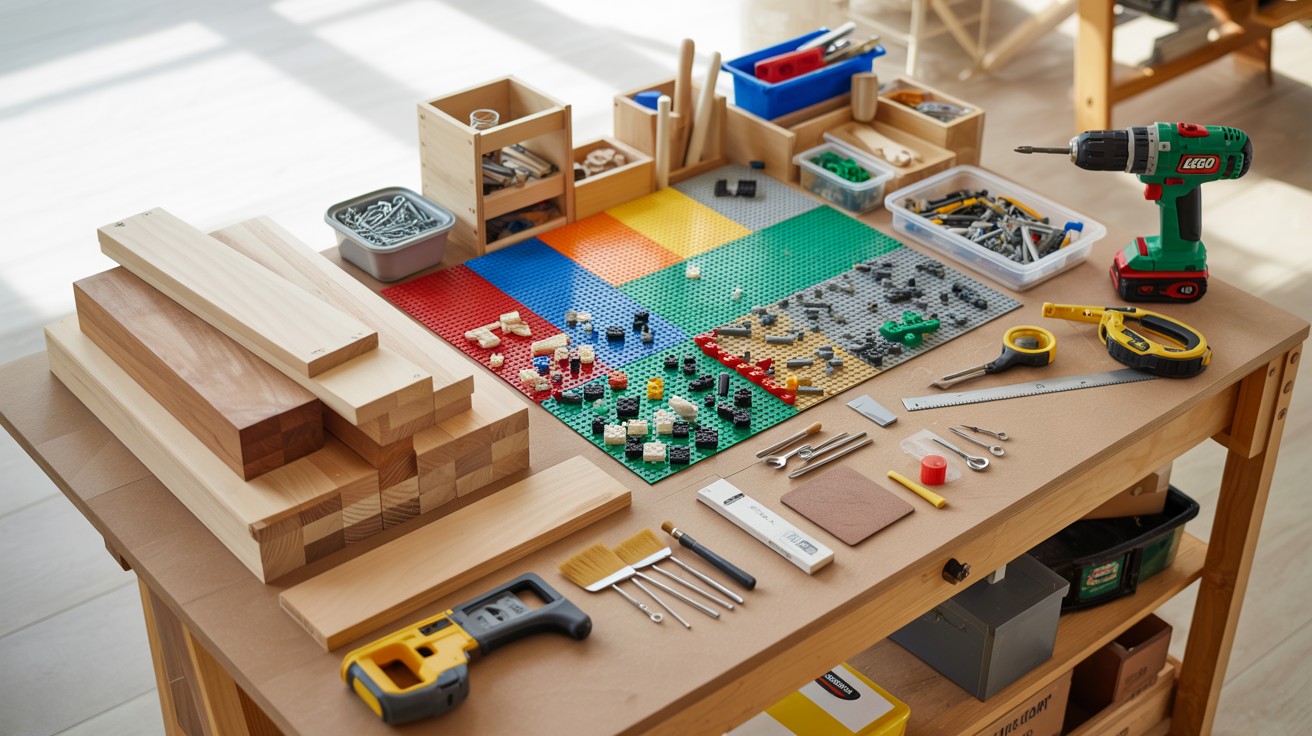
Basic Materials:
- 1 sheet of plywood (3/4″ thickness recommended)
- Lego baseplates
- Edge banding for exposed plywood edges
- Wood glue or CA glue
- Epoxy (for attaching baseplate)
- Wood putty
- White paint or color of choice
- Primer
- Small felt pads
- Dowel pins (if making flip-top version)
Tools:
- Saw (circular saw, table saw, or jigsaw)
- Router (optional but helpful)
- Drill with bits
- Measuring tape and pencil
- Compass (for drawing arcs)
- Sandpaper (medium and fine grit)
- Paintbrushes or spray equipment
- Clamps
- Iron (for edge banding)
Step-by-Step Guide to Building Your DIY Lego Table
https://youtu.be/e_1F0nqOGFo?si=7uI8IZe4fVRerDNK
Follow these simple steps to create a functional and fun Lego table that will keep your space organized and creative.
Step1-Prepare Your Materials
First, gather all your materials and decide on your table design. You can either:
- Use a pre-made table like an IKEA LACK (simplest option)
- Build a custom table from a sheet of plywood (more advanced)
If building from scratch, cut your plywood into:
- Top piece (for the Lego baseplates)
- Side pieces (consider adding decorative arches for feet)
- Shelf and divider pieces for storage
Pro tip: Make sure your table height is comfortable for your children to reach while seated.
Step 2- Shape and Sand Your Pieces
If you’re building a custom table:
- Round the corners of the tabletop with a 1-inch radius for safety
- Sand all pieces smooth to prevent splinters
- If adding decorative arches in the side pieces, draw them with a compass and cut with a jigsaw
Important: Take time to sand thoroughly – this table will be used by small hands!
3. Apply Edge Banding
For a professional finish on plywood edges:
- Iron edge banding onto all exposed plywood edges
- For curves, use a heat gun and press firmly
- Trim excess with a sharp tool
- Fill any gaps with wood putty and sand smooth
4. Assemble the Base
- Connect all pieces using pocket holes or your preferred joinery method
- Make sure the structure is strong and stable
- Check that all edges are smooth and child-safe
Common mistake to avoid: Double-check that your assembly is square before final tightening.
5. Paint and Finish
This step makes your table durable and beautiful:
- Apply primer to all surfaces (two coats recommended)
- Sand lightly between coats
- Paint with your chosen color – spray paint often gives the smoothest finish
- Allow to dry completely according to paint instructions
6. Prepare the Lego Surface
- Measure your table surface carefully
- Calculate how many baseplates you’ll need
- Arrange the baseplates on your table to determine the best layout
- Trim baseplates if necessary to fit your table dimensions
Important: Leave a small gap around the edges to allow for expansion and to prevent warping.
7. Attach the Baseplates
This step is crucial for a sturdy, functional Lego table:
- Clean both the table surface and the underside of the baseplates
- Apply epoxy or strong adhesive in a grid pattern
- Place baseplates carefully, aligning them precisely
- Apply weight or clamps while the adhesive dries
Common mistake to avoid: Don’t use regular craft glue! It won’t hold under the pressure of play.
8. Add Finishing Touches
Complete your project with these final details:
- Add felt pads to the bottom of the table legs
- Create storage solutions underneath or nearby
- Add a small chair or stool at the proper height
- Consider a “creation display” area for finished masterpieces
By following these steps carefully, you create a DIY Lego table that might be exactly what your home needs.
Budget-Friendly Alternatives and Upgrades
|
Option |
Cost |
Difficulty |
Description |
|
Thrifty Table |
$20-30 |
Easy |
Use thrift store table or repurpose train table |
|
IKEA Hack |
$40-50 |
Easy |
LACK table + baseplates + storage bins |
|
Custom Basic |
$60-80 |
Medium |
Plywood construction with simple design |
|
Custom Deluxe |
$80-120 |
Advanced |
With Lego inlays, flip-top, built-in storage |
Maintenance Tips for Your DIY Lego Table
- Clean your DIY Lego table regularly with a soft brush to remove dust from baseplate studs.
- Wipe spills immediately to prevent damage to the wooden parts of your Lego table.
- Check and tighten any loose screws or fasteners every few months.
- Touch up paint chips promptly to maintain the look of your DIY Lego table.
- Apply furniture polish to wooden areas twice a year for protection.
- Remove stuck-on Lego pieces with a plastic Lego separator tool, never metal objects.
- Keep your Lego table away from direct sunlight to prevent color fading.
- Use mild soap and water for deep cleaning; avoid harsh chemicals.
- Inspect felt pads or gliders regularly and replace them when worn.
- Consider adding a clear sealant to high-use areas for extra durability
Conclusion
A DIY Lego table is more than just a play surface, it’s a gift of creativity, organization, and countless hours of focused fun.
With just a weekend of work and around $75-$100 in materials, you can create a special place where imagination thrives and tiny bricks stay off your living room floor!
Ready to tackle this project? Gather your supplies this weekend and surprise your little builders with the ultimate Lego headquarters.
Then share your creation with us in the comments or tag us on social media with #DIYLegoTable. We’d love to see how your project turns out!
Frequently Asked Questions
Can I make a Lego Table for Older Kids/Adults?
Absolutely! Just use a taller table and consider a larger surface area for more complex builds.
How do I Prevent my Younger Child from Eating Lego Pieces?
Consider a table with a cover or one that converts to a regular table when not in use. Always supervise young children around small pieces.
Can I Attach Baseplates to a Carpeted Surface?
It’s not ideal as the surface needs to be completely flat. Consider adding a wood board on top of a carpeted play table first.