
Refreshing your cabinets with a new coat of paint stands as one of the most effective ways to transform your living space without the expense of a complete renovation.
The right application method can make all the difference between an amateur-looking finish and results that rival professional work.
When it comes to achieving that flawless, smooth finish on cabinets, paint sprayers offer significant advantages over traditional brushes and rollers.
Graco’s airless paint sprayers have gained recognition among both professionals and homeowners for their ability to provide exceptional results when painting cabinets.
These tools allow for consistent application, reducing the time spent on your project while increasing the quality of the final product.
Benefits of Using a Paint Sprayer for Cabinets
Paint sprayers offer faster application, smoother finishes, and more durable results than traditional brushes and rollers, making them ideal for cabinet transformation projects.
Time Efficiency
Painting cabinets by hand is a labor-intensive process that can take days or even weeks to complete. A paint sprayer dramatically cuts down this timeframe by allowing you to cover large areas quickly and efficiently. What might take hours with a brush can often be accomplished in minutes with a quality sprayer.
The quick application also means less time spent on the overall project, allowing you to return your kitchen or bathroom to full functionality much sooner. For busy households, this reduction in project time can be invaluable.
Quality Finish
One of the most compelling reasons to use a paint sprayer for cabinets is the superior finish quality. Brushes and rollers inevitably leave marks, lines, or texture on the surface. Paint sprayers distribute paint in a fine mist that settles evenly on the surface, creating a smooth finish that looks factory-produced.
This even application is particularly important for cabinets with detailed edges, crevices, or ornate designs. A sprayer can reach into these complex areas where brushes struggle, ensuring complete coverage without buildup in corners or missed spots.
Durability
Cabinet surfaces face constant use, making durability a critical factor in any paint job. Paint sprayers apply an even coat with consistent thickness, which contributes to a more durable finish. The atomized particles of paint create a strong bond with the surface, resulting in better adhesion and longevity.
This enhanced durability means your cabinets will maintain their fresh appearance for years, resisting chips, scratches, and wear from daily use.
Types of Paint Sprayers for Cabinets
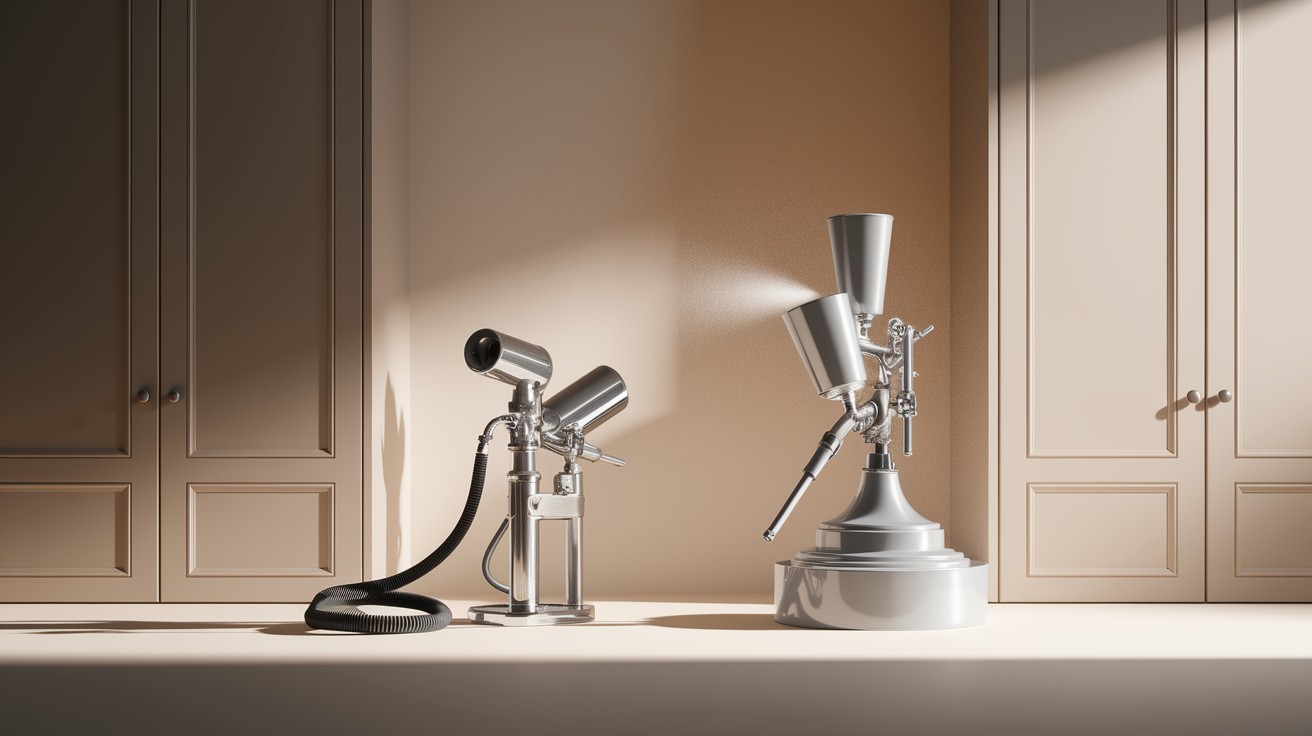
Understanding the differences between airless and HVLP sprayers will help you select the right tool for your cabinet project based on your specific needs, budget, and experience level.
Airless Paint Sprayers
Airless sprayers work by pumping paint at high pressure through a small opening in the spray tip, creating a fan of atomized paint particles. This technology makes them exceptionally efficient for larger projects and provides excellent coverage on cabinet surfaces.
The Graco Magnum X5 and Magnum X7 are standout examples in this category. These models offer robust performance for home users, with enough power to spray unthinned paints and the versatility to handle various project sizes. The X7 provides additional features for more frequent users, including a cart for mobility and a larger pump for higher annual usage.
Airless sprayers excel at:
- Covering large cabinet sets quickly
- Applying thicker paints without extensive thinning
- Creating a consistent finish across multiple surfaces
HVLP (High Volume Low Pressure) Sprayers
HVLP sprayers use a high volume of air at low pressure to break paint into fine particles. This results in less overspray and greater control, making these sprayers ideal for detailed work on cabinet faces and intricate trim.
While they typically require more paint thinning than airless models, HVLP sprayers offer advantages for cabinet work:
- More controlled spray pattern for detailed areas
- Less wasted paint through overspray
- Often more affordable for occasional DIY users
The tradeoff comes in speed, HVLP systems generally take longer to cover large areas compared to airless sprayers. For smaller cabinet jobs or those requiring extra precision, this might be a worthwhile compromise.
Key Features to Look for in a Paint Sprayer for Cabinets

The right combination of pressure control, spray tip options, and user-friendly design will significantly impact your cabinet painting experience and the quality of your results.
Adjustable Pressure Control
The ability to adjust spray pressure is essential when working on cabinets. Too much pressure causes excessive overspray and wasted paint, while too little results in uneven coverage.
Look for sprayers with intuitive controls that let you fine-tune the output based on your paint type, surface area, and cabinet design.
Quality sprayers offer precise adjustment options that help achieve the perfect balance for each stage of your project.
Spray Tip Selection
The spray tip determines the pattern and flow rate of the paint.
For cabinet projects, smaller tips (such as the TrueAirless 311) produce finer finishes ideal for smooth surfaces.
Lower numbers indicate narrower spray patterns for detailed work. Replaceable tips extend your sprayer’s versatility, as different tips work better for primers versus topcoats.
Many professional-grade sprayers come with multiple tips or allow for easy replacement, giving you flexibility for various cabinet components.
Ease of Use and Setup
Paint sprayers range from simple handheld units to complex professional systems. For most homeowners, finding a balance between capability and user-friendliness is key.
Look for clear instructions, intuitive controls, simple cleaning processes, comfortable weight, and quick setup times.
A lightweight design improves maneuverability around cabinet components, reducing fatigue during longer painting sessions and helping maintain consistent technique throughout your project.
Step-by-Step Guide to Paint Cabinets with a Paint Sprayer
Step-1 :Preparing the Cabinets

Thorough preparation is the foundation of a successful cabinet painting project:
- Remove all hardware, including handles, knobs, and hinges
- Clean surfaces thoroughly with a degreaser to remove cooking residue and oils
- Sand all surfaces lightly to create a surface the new paint can bond with
- Fill any holes or cracks with wood filler and sand smooth
- Apply painter’s tape to areas you want to protect
- Label doors and components for easier reassembly
Take your time during this phase, proper preparation significantly impacts your final results.
Step-2 :Preparing the Jobsite
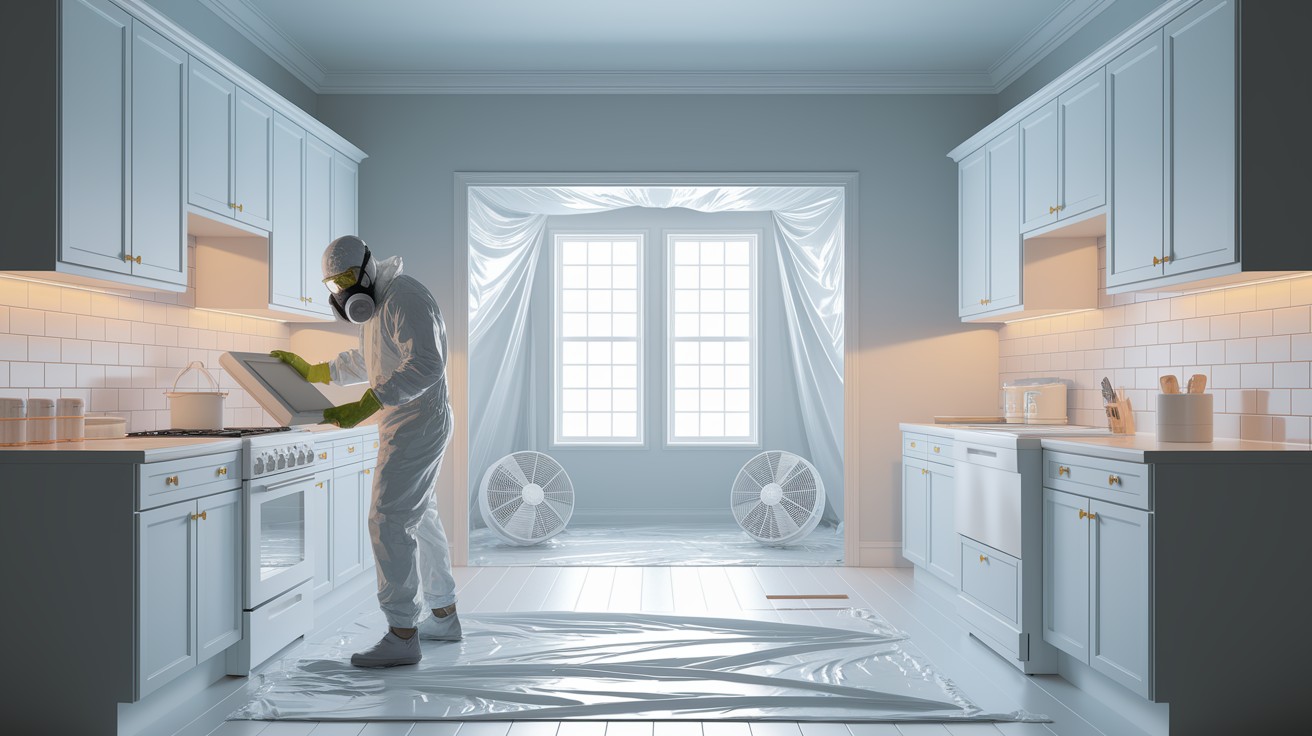
Creating an appropriate spray environment protects surrounding areas and ensures a clean finish:
- Remove cabinet doors and drawers to spray separately
- Cover countertops, appliances, and floors with plastic sheeting
- Create a temporary spray booth for doors using plastic sheeting or in a garage
- Ensure proper ventilation with fans and open windows
- Wear appropriate safety equipment including:
- Respirator mask rated for paint fumes
- Eye protection
- Skin coverage to prevent paint contact
Step-3 :Applying the Primer and Topcoat
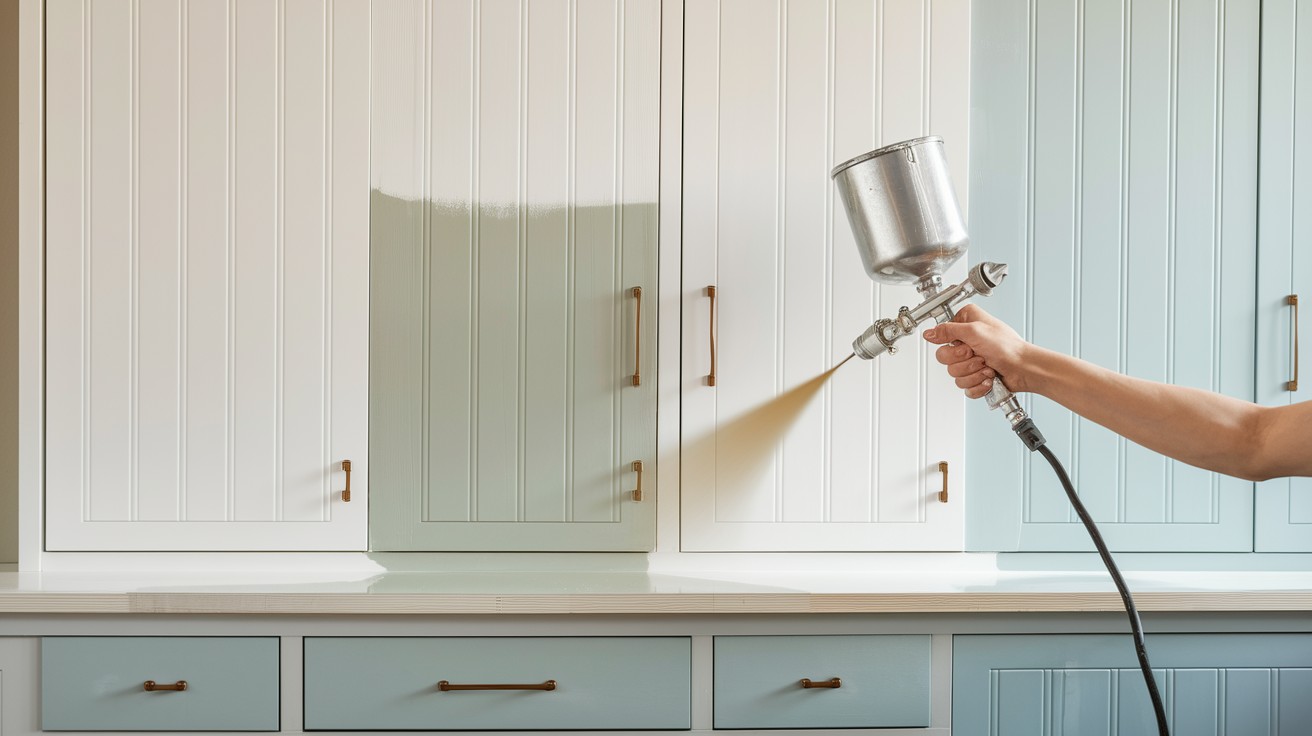
Follow these steps for professional-quality results:
- Start with a quality bonding primer appropriate for cabinets
- Hold the sprayer 6-12 inches from the surface at a consistent distance
- Move in smooth, straight passes, overlapping each pass by about 50%
- Apply thin coats rather than one thick coat to prevent drips
- Allow primer to dry completely according to manufacturer instructions
- Sand lightly between coats with fine-grit sandpaper (220 grit)
- Apply topcoat in the same manner as primer, maintaining consistent technique
- Apply a second topcoat for maximum durability after appropriate drying time
Between coats, keep your sprayer from clogging by following the manufacturer’s instructions for short breaks in spraying.
Top Paint Sprayers for Cabinets

Graco Magnum X5
The Graco Magnum X5 stands out as an excellent option for cabinet projects due to its balance of performance and accessibility for DIY users. Its adjustable pressure control system allows for spraying various materials with precision.
With support for up to 75 feet of paint hose, you’ll gain mobility around your workspace without moving the main unit frequently. The ability to spray unthinned paints directly from the bucket reduces preparation time and mess.
The PowerFlush adapter connects to a standard garden hose for quick cleaning after your project. Rated for annual usage of up to 125 gallons, this model provides enough power for cabinet projects while remaining accessible for first-time sprayer users.
Graco TrueCoat 360
For smaller cabinet projects or touch-ups, the Graco TrueCoat 360 offers handheld convenience with impressive functionality. Its adjustable pressure settings let you customize the spray pattern for your specific cabinet material and paint type.
You can spray in any direction, even upside down, which is valuable when working on installed upper cabinets. The VacuValve technology ensures a consistent spray pattern regardless of direction.
This model is well-sized for small to medium cabinet sets, offering sufficient power without overwhelming first-time users. Its compact design makes it ideal for limited storage spaces and smaller work areas.
Other Notable Options
While Graco offers excellent options, several other manufacturers provide quality alternatives worth considering. The Wagner FLEXiO series strikes a good balance of performance and price for occasional users.
For those on a tighter budget, the HomeRight Finish Max provides a cost-effective entry point into spray painting without sacrificing too much finish quality.
The Titan ControlMax uses HEA (High Efficiency Airless) technology to reduce overspray by up to 55% compared to standard airless sprayers—an advantage when working in confined spaces.
Each option comes with different features and price points to match your specific project requirements and budget.
Conclusion
Using a paint sprayer for your cabinet renovation project can transform both the process and the results. The time savings, superior finish quality, and enhanced durability make sprayers the preferred choice for achieving professional results.
For most home users tackling a cabinet painting project, the Graco Magnum X5 offers an excellent combination of performance, durability, and user-friendliness.
Those with smaller projects might find the TrueCoat 360 more suitable, while users planning multiple projects might benefit from investing in the more robust Magnum X7.
Ready to transform your cabinets? With the right paint sprayer and proper technique, you can achieve results that completely change the look and feel of your space.
Your cabinets can go from dated to fresh and modern with less effort and better results than traditional painting methods could ever provide.
Frequently Asked Questions
What type of paint sprayer works best for cabinet projects?
HVLP (High Volume, Low Pressure) sprayers offer excellent control and a smooth, professional finish with minimal overspray. They work wonderfully for detailed work on cabinet doors and frames.
Do I need to thin paint when using a sprayer on cabinets?
Most consumer-grade sprayers require some paint thinning for optimal results. Check your specific sprayer’s manual for the recommended viscosity, and use a viscosity cup to achieve the proper consistency.
How can I prevent drips when spray painting cabinets?
Apply multiple thin coats rather than one heavy coat, maintain a consistent distance of 8-12 inches from the surface, and keep the sprayer moving in steady, overlapping passes for a smooth finish.
What preparation is needed before spray painting cabinets?
Remove all hardware, clean surfaces with a degreaser, sand lightly, fill any holes, and apply a quality primer. Always mask surrounding areas and work in a well-ventilated space.
How long should I wait between coats when spray painting cabinets?
Most paints require 2-4 hours between coats. For best results, follow the specific drying time on your paint manufacturer’s instructions and allow proper curing before reassembling.