
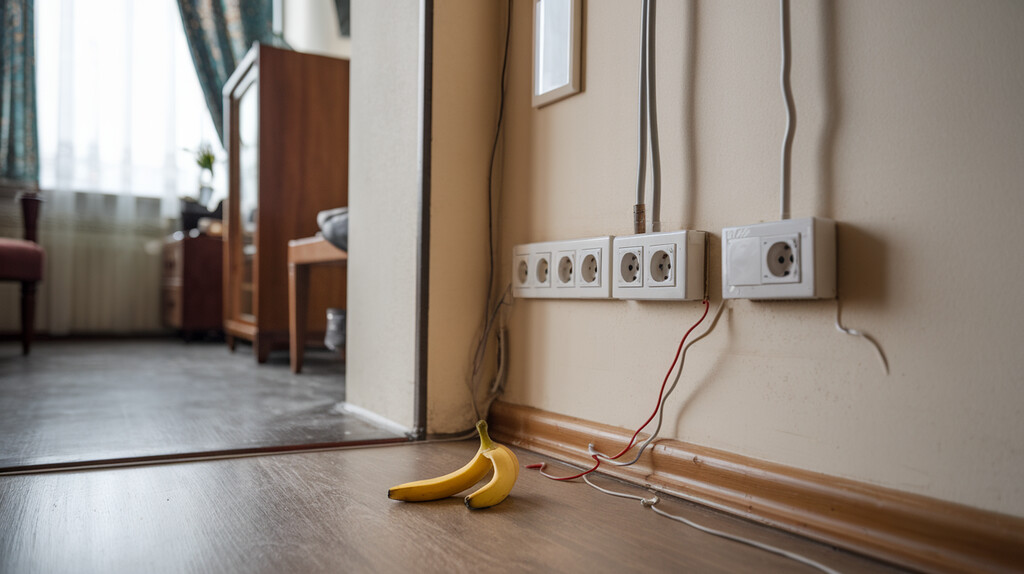
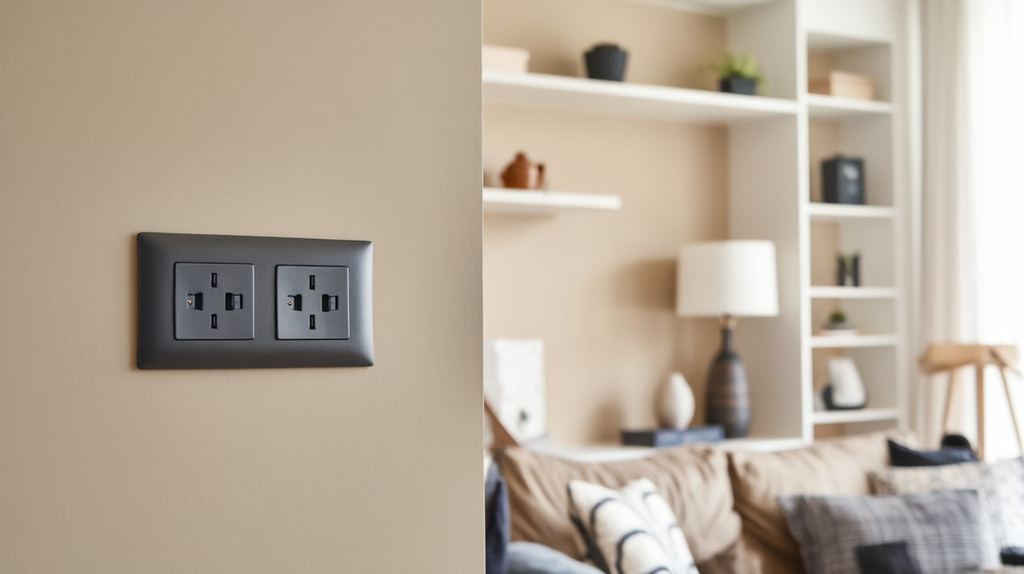
Home electrical systems need to fit your life, not the other way around. Many homeowners face the problem of outlets and switches in awkward spots behind furniture, too high, too low, or simply in the wrong place. Electrical outlet & switch relocation can fix these common issues without major renovations.
This article gives you 5 practical tips to move outlets and switches safely and effectively. You’ll learn how to plan your new layout properly, work with existing wiring, follow safety codes, manage costs, and know when to call professionals.
As a licensed electrician with 15 years of experience, I’ve helped hundreds of homeowners improve their electrical setups. I understand your frustration with poorly placed outlets, and I’ll show you straightforward solutions that work.
With these tips, you can create a more functional home while keeping your family safe.
Understanding Electrical Outlet & Switch Relocation
Moving your outlets and switches means giving them a new home on your walls. It’s that simple. When I talk about electrical outlet & switch relocation, I’m referring to changing where these electrical connection points live in your house.
Why do people want to move these things?
I’ve seen many reasons:
- Furniture blocks access to outlets
- Switches are too far from doorways
- Room layouts change after renovations
- Childproofing requires higher placement
- Kitchen or bathroom updates need new electrical outlets
But wait. Outlets and switches aren’t identical twins. Outlets connect your devices to power. Switches control the flow of electricity to lights and fans.
Moving outlets often requires extending wiring through walls. This can be more complex. Switch relocation might need new wiring between the switch and whatever it controls.
Your home’s existing electrical system matters too. Older homes might need updates to meet current safety standards when you move things around.
I always tell my clients: understanding what you’re getting into makes the whole process smoother.
Smart Tips for a Safe Electrical Outlet & Switch Relocation
Tip 1: Cut the Power First

Always turn off the electricity at your breaker box before touching any wires. I can’t stress this enough. Electrical outlet & switch relocation starts with safety. Test the outlet or switch with a voltage tester to make sure it’s truly dead before you begin work. Your life matters more than any home project.
Tip 2: Gather the Right Gear
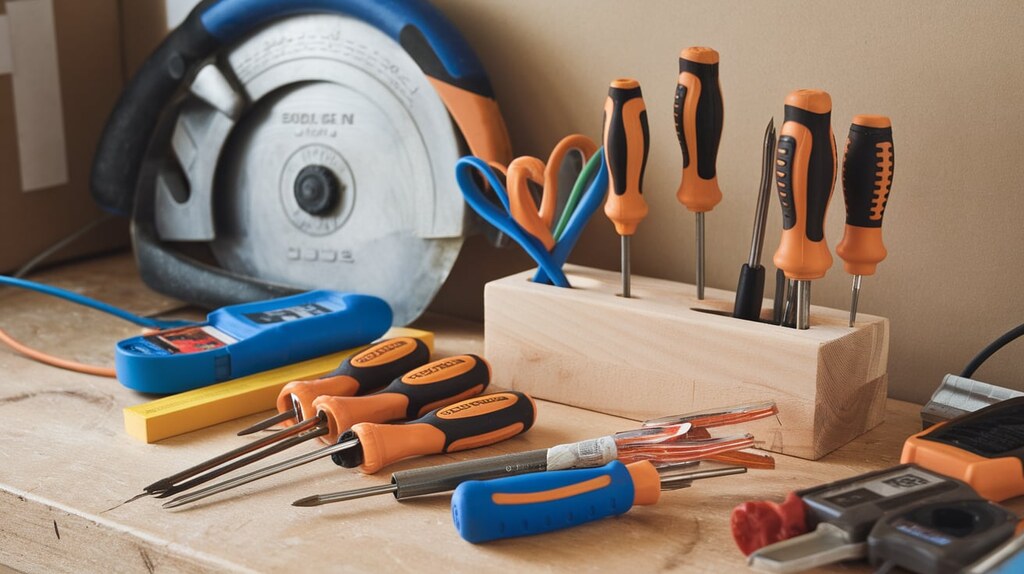
You’ll need:
- Wire strippers
- Screwdrivers (both flat and Phillips)
- Electrical tape
- Wire nuts
- Voltage tester
- Drywall saw
Using the wrong tools can damage your walls or create fire risks. Good materials make the job safer and last longer.
Tip 3: Map your Moves with Care
Temporary workarounds like extension cords aren’t a substitute for proper outlet relocation. If you’re tempted to snake a cord behind furniture or across rooms, review this electrician-backed guide on when not to use extension cord to avoid hazards (under rugs, damp areas, major appliances) and choose a safer, code-compliant fix.
Think about how you use each room. Put outlets where you need them most. Light switches should be easy to reach when entering a room. Draw your plan on paper first. Mark studs and existing wiring on your walls before cutting any holes.
Tip 4: Think about Smart Upgrades
While your walls are open, consider adding USB outlets or programmable switches. Smart outlets can control lamps from your phone. Motion-sensing switches turn lights on automatically. These small changes add big value to your home.
Tip 5: Check your Circuit Limit
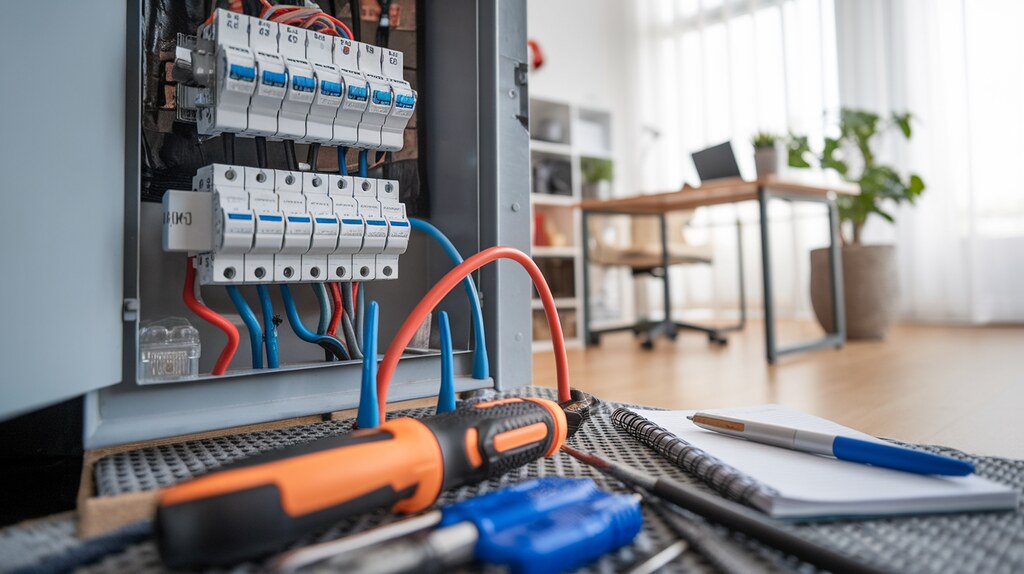
Each circuit in your home can only handle so much power. Adding too many outlets to one circuit creates fire risks. I recommend counting what’s already on each circuit before adding more. When in doubt, create a new circuit or call an electrician for help.
DIY vs. Hiring a Pro for Electrical Outlet & Switch Relocation
Some jobs you can handle yourself. If you’re moving an outlet a short distance along the same wall and can access the existing wiring, you might manage on your own. Simple switch or outlet relocation projects can be DIY-friendly if you follow proper safety steps.
But know your limits.
DIY electrical work comes with real risks:
- Fires from loose connections or incorrect wiring
- Shock hazards that could harm you or your family
- Code violations that could affect home insurance
- Damage to walls or existing electrical systems
I’ve fixed many DIY attempts that ended badly. The money saved often disappears when repairs are needed.
A licensed electrician brings safety and peace of mind. We understand building codes and proper techniques for secure installations. We have special tools to fish wires through walls with minimal damage to your home.
Most pros will:
- Complete the job faster than you could
- Pull proper permits when needed
- Guarantee their work
- Spot potential problems you might miss
The bottom line? Simple relocations might be DIY territory. But if walls need opening, new wiring runs are needed, or you’re not 100% confident, call a pro. Your safety is worth the cost.
Common Mistakes to Avoid in Electrical Outlet & Switch Relocation
Local codes matter more than you think. I’ve seen homeowners rush into projects without checking what their city requires. Each area has specific rules about electrical outlet & switch relocation. Some require permits even for small changes. Skipping this step can lead to failed inspections or insurance problems later.
Wire size isn’t a guess, it’s science. Using wires that are too thin can cause overheating and fires. I recommend checking the amperage rating needed for each circuit. Most standard outlets need 14-gauge wire for 15-amp circuits or 12-gauge for 20-amp circuits. Never use the wrong size to save money.
Water and electricity don’t mix. Keep outlets at least 3 feet from sinks, tubs, and showers unless they’re GFCI-protected. The same goes for heat sources like stoves and heating vents. Safety distances exist for good reasons.
Patchwork reveals amateur jobs. I can always tell when someone forgot to properly fill and finish their old outlet holes. These abandoned openings can:
- Allow drafts into your home
- Create fire pathways inside walls
- Look sloppy and reduce home value
- Attract pests into the wall cavities
Box depth matters too. Electrical boxes need to be the right size for the number of wires they contain. Too small, and your connections might overheat. Too shallow, and switches won’t fit properly.
The most common mistake? Rushing. Take your time with each step. Triple-check connections before restoring power. Your family’s safety depends on careful work.
Conclusion
Moving outlets and switches can make your home work better for you. We’ve covered the essentials of electrical outlet & switch relocation in this guide.
Always put safety first. Plan carefully before starting. Use the right tools and materials. Consider smart upgrades while you’re at it. Know when to call a professional.
Good electrical work blends into your home, making life easier without drawing attention. By following these five tips, you’ll avoid common problems and create a safer, more functional space.
The time you spend doing this job right will benefit you every day for years to come.
FAQs
What is electrical outlet & switch relocation?
It’s the process of moving existing power outlets or light switches to a new location on the wall or in the room for better accessibility, layout optimization, or code compliance.
Can I do the electrical outlet & switch relocation myself?
Yes, minor relocations can be DIY if you understand basic wiring and safety. For major changes or if you’re unsure, it’s best to hire a licensed electrician.
How much does it cost to relocate an outlet or switch?
Costs typically range from $75 to $300, depending on the complexity, materials, and whether you do it yourself or hire a professional.
Do I need a permit to relocate outlets or switches?
In many areas, a permit is required, especially if new wiring is involved. Always check local building codes before starting your project.
Should I upgrade to smart outlets or switches during relocation?
Absolutely! Relocation is a great opportunity to install smart outlets or switches, adding convenience, energy efficiency, and modern functionality to your space.