
Ever looked at your old concrete steps and wished for a fresh, appealing change? Painting concrete steps can completely transform the entrance to your home without breaking the bank.
In this guide, you’ll discover 7 essential tips for painting concrete steps that last. No more peeling, chipping, or fading within months.
I’ve painted dozens of concrete staircases over 15 years and made every mistake possible. Now I’ll help you avoid those same headaches.
You’ll learn everything from properly preparing concrete surfaces to which paints truly work on exterior concrete. We’ll cover simple techniques for beautiful, durable results and how to prevent common failures.
Many homeowners struggle with how to paint concrete steps because nobody taught them the crucial steps. By the end of this article, you’ll have the confidence to tackle this weekend project successfully.
Paint Your Ugly Concrete Steps: Why It’s Worth the Effort
I remember the first time I painted my cracked, stained concrete steps. The difference was stunning.
You might look at your steps every day without really seeing them. But trust me – visitors notice. Your entryway creates that crucial first impression of your home.
Why bother painting concrete steps? Let me tell you.
First, it’s affordable. A quality concrete paint job costs far less than replacing steps or installing new materials.
Second, it’s surprisingly quick. Most projects take a weekend, not weeks.
The transformation can be dramatic. Dull gray becomes warm terracotta. Dirty white turns into elegant slate blue. The possibilities are endless.
Beyond looks, painted concrete steps last longer. The right paint seals tiny cracks and prevents water damage that would otherwise slowly destroy your concrete.
And here’s something many people don’t realize – painted steps are often safer. Adding a bit of texture to the paint reduces slips when it rains.
I’ve seen countless homes transformed by this simple upgrade. Yours could be next.
How to Prepare Concrete for Painting: 7 Critical Steps
Preparation makes or breaks your concrete painting project. I’ve seen beautiful paint jobs fail within months because someone skipped these steps. Don’t make that mistake.
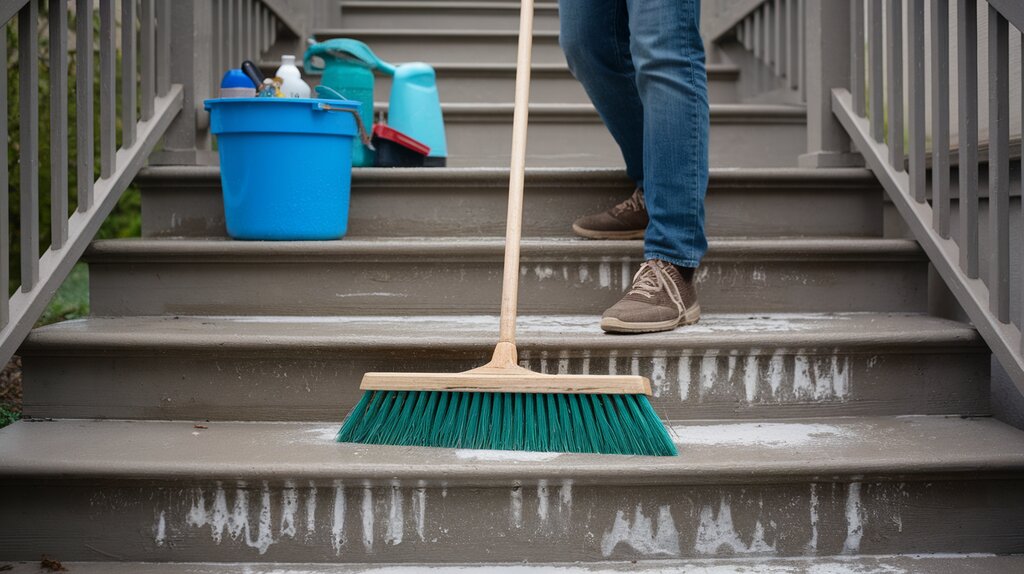
1. Clear the Area Completely
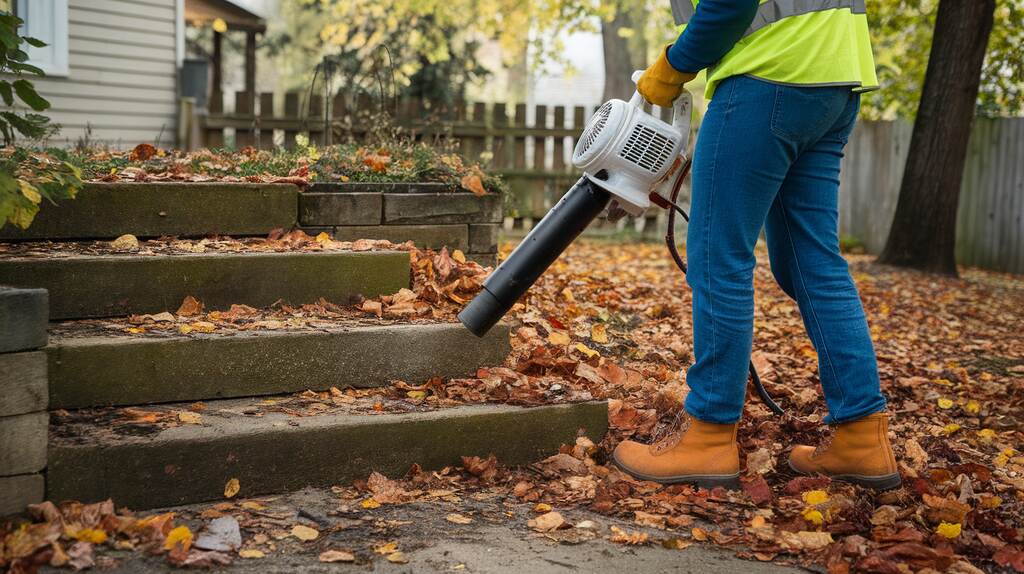
Remove everything from your steps. Potted plants, welcome mats, and decorations must go. You need a clean workspace without obstacles.
Sweep away all loose dirt and debris. Nothing should be between your paint and the concrete.
2. Deep Clean the Surface
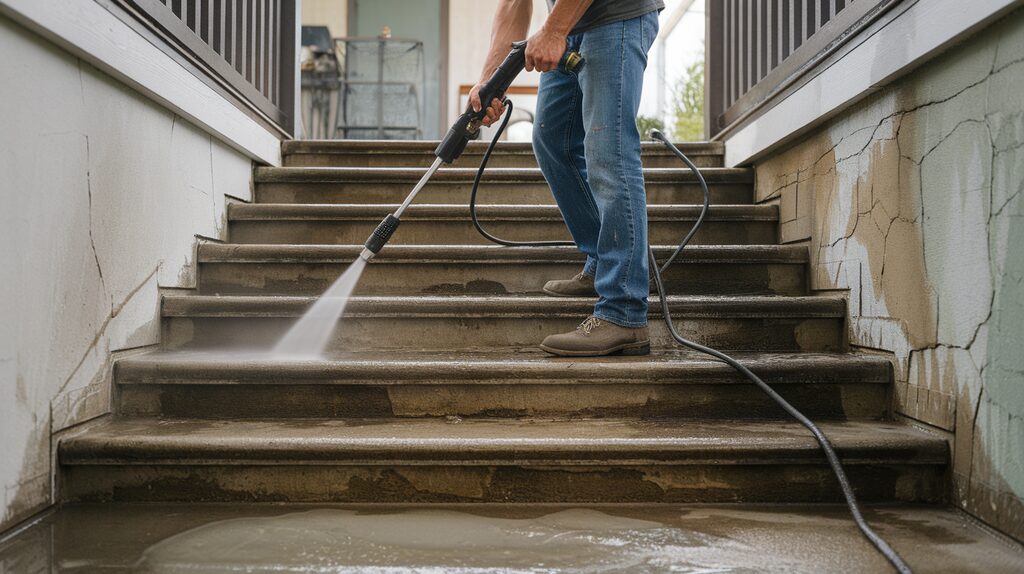
Mix a strong solution of concrete cleaner with water. I prefer using 1 part cleaner to 4 parts water.
Scrub the entire surface with a stiff-bristle brush. Work the cleaner into all cracks and corners.
This step removes invisible oils and dirt that would prevent paint from sticking properly.
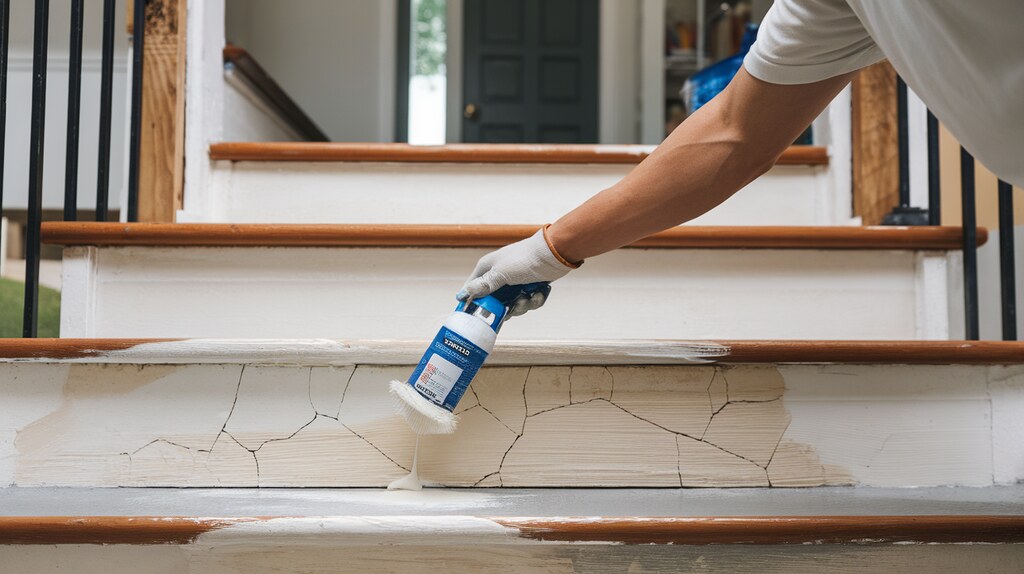
3. Repair Cracks and Damage
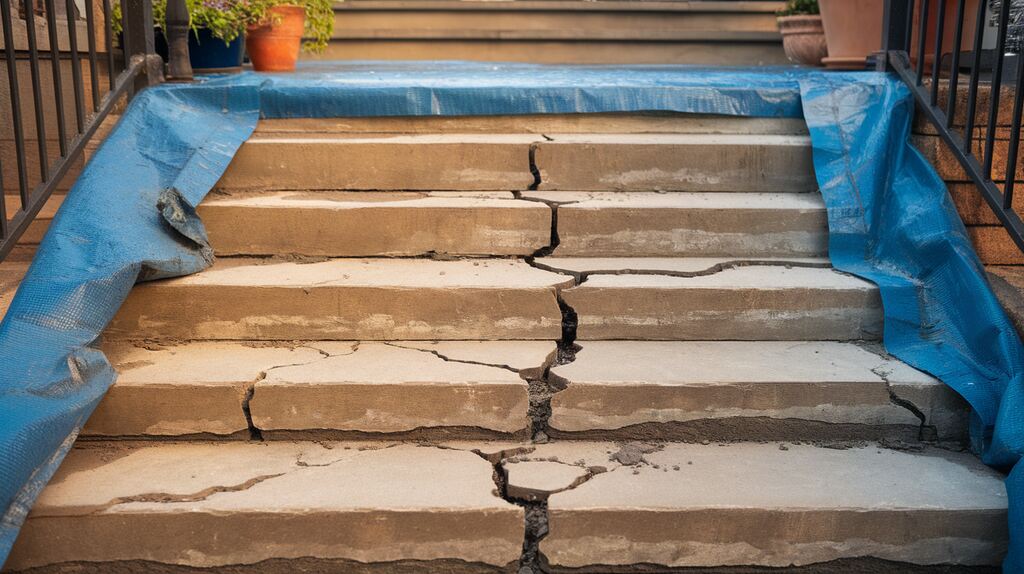
Examine your steps for cracks or chips. Even small ones need fixing before you paint.
Fill any cracks with concrete patching compound. Use a putty knife to push it deep into the crack. Smooth the surface level with the rest of the step.
Let repairs dry completely. This usually takes 24 hours.
4. Remove Old Paint
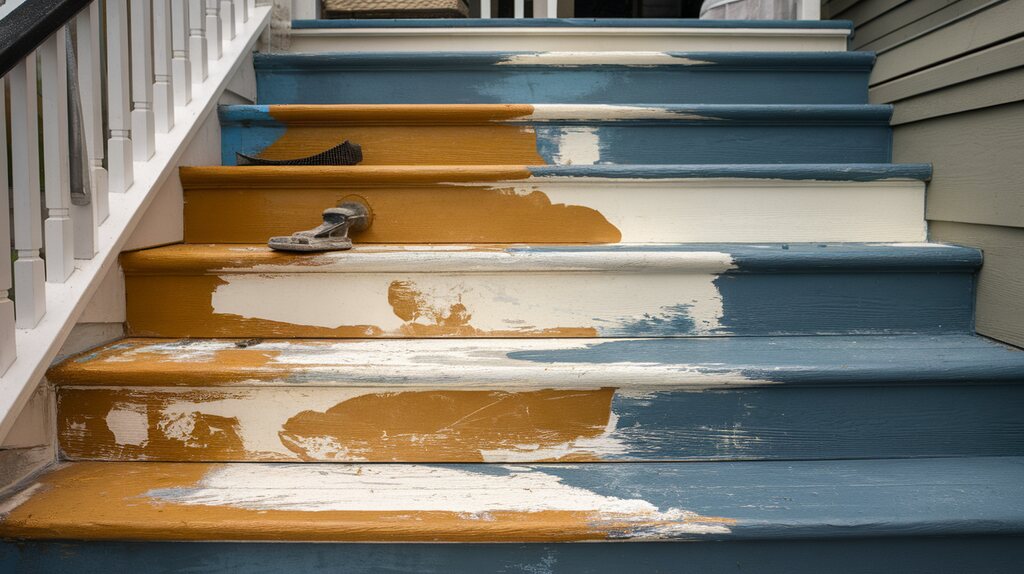
If your steps were painted before, you must remove any loose or peeling paint.
Use a wire brush or paint scraper to get rid of failing areas. Be thorough – new paint won’t stick to old paint that’s already coming off.
5. Etch the Surface
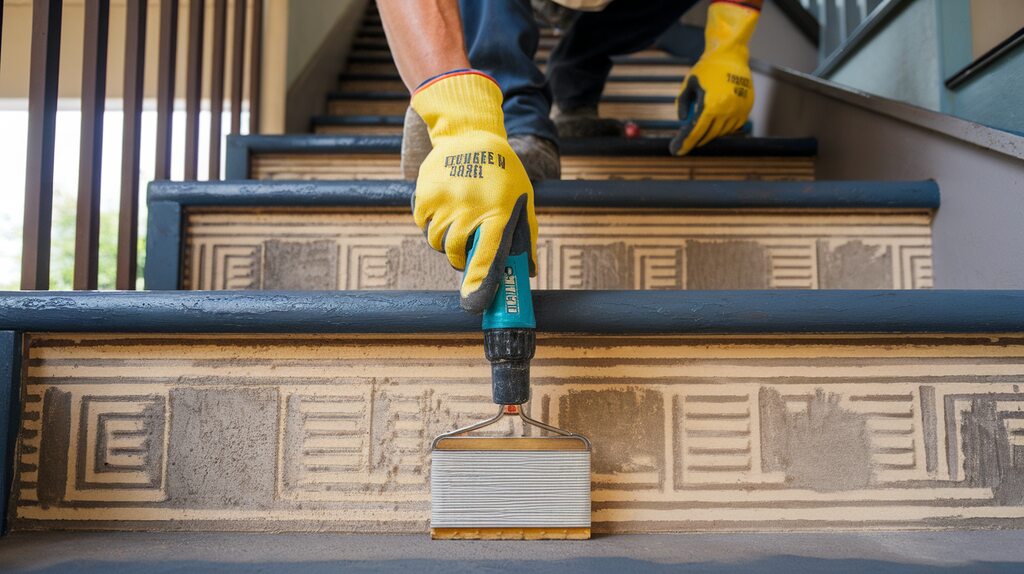
Concrete is naturally smooth. Paint needs something to grip onto.
Apply concrete etching solution according to package directions. This slightly roughens the surface.
Rinse thoroughly with clean water after etching.
6. Apply Primer
Use a concrete-specific primer. This crucial step helps the paint bond properly.
Apply primer with a roller designed for rough surfaces. Use a brush for edges and corners.
Wait until the primer is completely dry before moving to the next step.
7. Final Cleaning
Just before painting, do a last sweep and dust off.
Wipe the surface with a barely damp cloth to catch any final dust particles.
Let the surface dry completely before starting to paint.
These steps might seem like a lot of work, but I promise they’re worth it. Cutting corners now means repainting next year.
Choosing the Right Paint: What Is the Best Brand or Product to Use for a Patio?
The paint you choose can make or break your patio project. I’ve tried dozens of brands over the years, and not all paints are created equal.
Epoxy-Based Paints
These are my top recommendation for concrete patios. Epoxy creates a tough, waterproof seal that stands up to heavy foot traffic.
Brands like Rust-Oleum’s EpoxyShield and KILZ Epoxy Acrylic perform exceptionally well outdoors. Yes, they cost more than regular paint, but they’ll save you money in the long run.
The downside? Epoxy can be tricky to apply and has a strong smell during application.
Acrylic Latex Patio Paints
If epoxy seems too complicated, high-quality acrylic latex paints work well too.
Look for products specifically labeled for exterior concrete patios. Regular house paint won’t cut it.
Behr Premium, Sherwin-Williams SuperDeck, and Benjamin Moore INSL-X are reliable options I’ve had success with.
Concrete Stains
Want a more natural look? Consider concrete stain instead of paint.
Stains soak into the concrete rather than creating a layer on top. This means they never peel or chip.
The color selection is more limited, but the results can be stunning and long-lasting.
What to Avoid
I learned this the hard way: never use interior paint on a patio. It will fail quickly and look terrible.
Also, skip any paint not specifically designed for concrete. Wood or metal paints won’t bond properly.
Features to Look For
When shopping, check that your paint offers:
- UV resistance (prevents fading)
- Water resistance
- Anti-slip properties
- Mildew resistance
Remember that the best paint for your neighbor’s patio might not be right for yours. Consider your climate, how much sun your patio gets, and how you use the space.
I always recommend buying a small test can first. Paint a corner of your patio and see how it holds up for a week before committing to the whole project.
Maintenance Matters: Keep Your Painted Steps Looking Fresh
Even the best paint job needs some care. I’ve seen beautiful concrete steps turn shabby in just a year because owners skipped simple maintenance.
Regular Cleaning
Sweep your steps weekly. Dirt and grit act like sandpaper when people walk across them, slowly wearing away your paint.
I clean my own painted steps monthly with mild soap and water. Avoid harsh chemicals or pressure washers—they’re too aggressive.
Quick tip: Keep a soft brush near your door for quick cleanups after storms bring debris.
Seasonal Inspections
Check your steps twice a year for any signs of trouble. Spring and fall are ideal times.
Look closely at edges and corners where paint tends to fail first. Small chips can turn into big problems if ignored.
Winter is especially hard on painted concrete. Salt and ice-melting chemicals can damage your paint job.
Touch-Up Strategy
Keep your leftover paint stored properly. I write the date on the can and store it in my basement, where temperatures stay moderate.
When you spot a small chip or scratch, don’t wait. Clean the area thoroughly, let it dry completely, and apply a thin touch-up coat.
Matching the color perfectly becomes harder the longer you wait.
Seasonal Protection
In fall, consider applying a clear concrete sealer over your painted steps. This adds an extra barrier against winter’s harsh conditions.
For summer protection, keep potted plants on trays rather than directly on painted surfaces. Water can get trapped beneath pots and damage your paint.
When to Repaint
Even with perfect maintenance, you’ll eventually need to repaint. Most exterior concrete paint jobs last 3-5 years.
Don’t wait until your steps look terrible. When you notice fading or have several repairs, it’s time for a fresh coat.
Remember: maintaining your painted steps takes far less time than redoing them from scratch. These small efforts pay off big in the long run.
Conclusion
I started this guide by promising that your concrete steps could look amazing with a bit of effort. Now you have all the tools to make it happen.
You might be looking at your worn concrete steps right now, wondering if it’s worth the effort. I promise you it is. Few home improvements deliver such dramatic results for so little cost.
Start small if you’re nervous. Maybe just paint the top step this weekend and see how it turns out. Success builds confidence.
I’d love to see your before-and-after photos in the comments below. Did you try a bold color or stick with something classic? Did you encounter any challenges I didn’t mention? Your experience might help another reader tackle their steps.
Remember, beautiful concrete steps aren’t just about curb appeal—they welcome you home every day. You deserve to smile when you walk up to your front door.
FAQs
How long does paint last on concrete steps?
With proper preparation and quality paint, you can expect 3-5 years of good looks. I’ve seen well-done jobs last even longer in mild climates. Regular maintenance extends lifespan.
Can I paint over old paint on concrete steps?
You can paint over existing paint only if it’s firmly attached to the concrete. If you see peeling, bubbling, or flaking, remove the old paint first. Otherwise, you’re just setting yourself up for failure.
What temperature is best for painting concrete steps?
Aim for days when it’s between 50°F and 85°F. Too cold and the paint won’t cure properly. Too hot and it dries too quickly, leaving marks. Early morning often works best.
Do I need to use primer on concrete?
Yes, primer is essential. I skipped it once and regretted it within months. Primer helps the paint stick to the porous concrete surface and prevents moisture issues. Never skip this step.
What’s the difference between concrete stain and concrete paint?
Stain soaks into the concrete, creating a natural, never-peeling finish but with limited color options. Paint sits on top, offering bold colors and better protection, but can eventually peel if not applied correctly.