
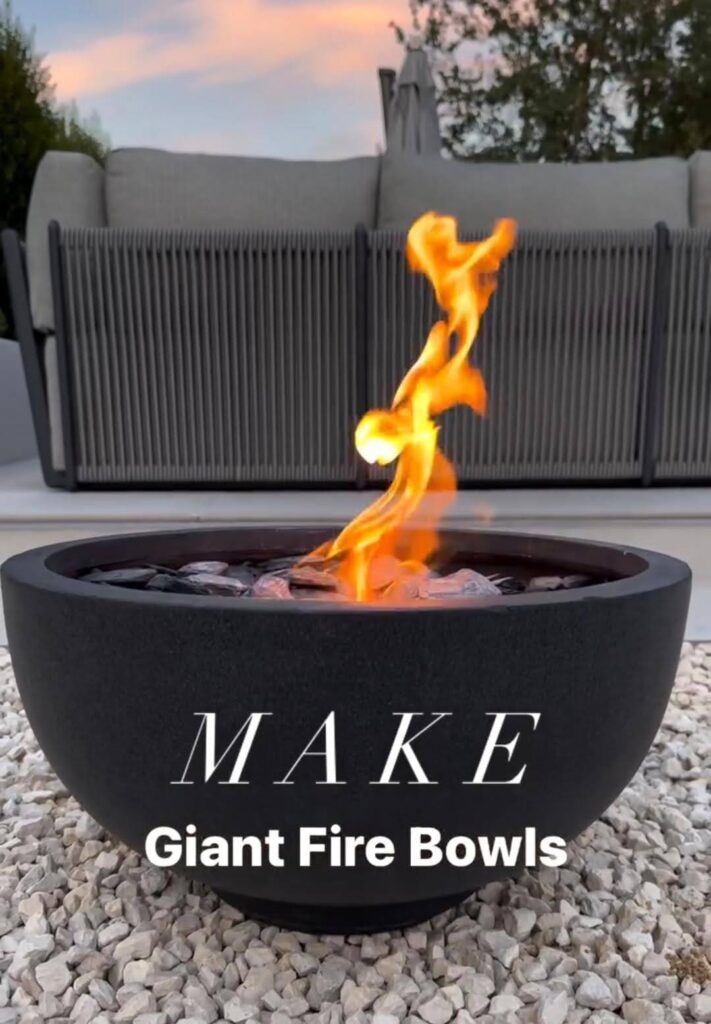
The magic of a crackling fire never gets old. After years of eyeing overpriced store models, I finally crafted my own portable fire pit. This wasn’t just about saving money. It became my personal statement of outdoor freedom. My hands shaped each element with care. Now this creation travels everywhere with me from backyard gatherings to remote campsites.
The journey from scattered materials to finished masterpiece taught me valuable lessons. Metal transformed in my hands. Mistakes became opportunities. Each hole drilled and brick placed represented a small victory. My design evolved naturally to match my specific outdoor lifestyle.
What started as a weekend project now anchors countless memories under starlit skies. Friends gather around it instinctively. Stories flow more easily beside its warm glow. The sense of pride I feel watching flames dance in something I built makes every challenge worthwhile. Let me show you how to create this magic yourself.
Gathering Materials and Tools for DIY Portable Fire Pit
The first step in building a DIY portable fire pit is gathering the right materials and tools. Here’s what I used:
Materials:
- A big metal bowl acts as the foundation to hold the fire and the flames.
- Fire bricks protect the surface below the fire pit from heat damage and retain heat for longer burn times.
- A metal mesh screen covers the fire pit to prevent sparks and debris from flying out.
- Heat-resistant paint coats the exterior of the fire pit for protection against the high temperatures and corrosion.
- A firm stand or base provides the structural foundation to prop up the fire pit and lift it off the ground in case of safety and stability.
Tools:
- A drill is used for drilling holes in order to attach the metal mesh screen or other parts to the unit.
- Metal-cutting shears are used to cut and shape the metal materials, like the bowl or stand.
- Measurement tape ensures precise measurements for cutting and positioning the components correctly.
- Gloves protect your hands from sharp edges, heat, and debris during construction.
- Safety goggles protect your eyes from flying debris or sparks while working with metal tools.
In order to cut costs, I visited some thrift stores and, lucky for me, found a solid metal bowl and an old plant stand.
I just could not believe my eyes the bowl was the right size, and the stand was stable enough. I visited my local hardware store to purchase the fire bricks and mesh.
These materials ensure the fire pits durability and safety, so I made sure to choose high-quality options.
Planning the Design
Before diving into construction, I spent some time sketching out a simple yet functional design. Portability was my main concern, so I chose a medium-sized metal bowl that is light enough to carry but spacious enough to hold a roaring fire.
We wanted it to blend into any outdoor setting, so we used a sleek black finish with heat-resistant paint. Stability was also one of the most important things to consider. Then choose a tripod-style stand with wide, sturdy legs so that it wouldn’t wobble on uneven surfaces.
This extra attention to detail made all the difference when I started using the firepit outdoors.
Step-by-Step Guide to Building a Portable Fire Pit
Prepare the base
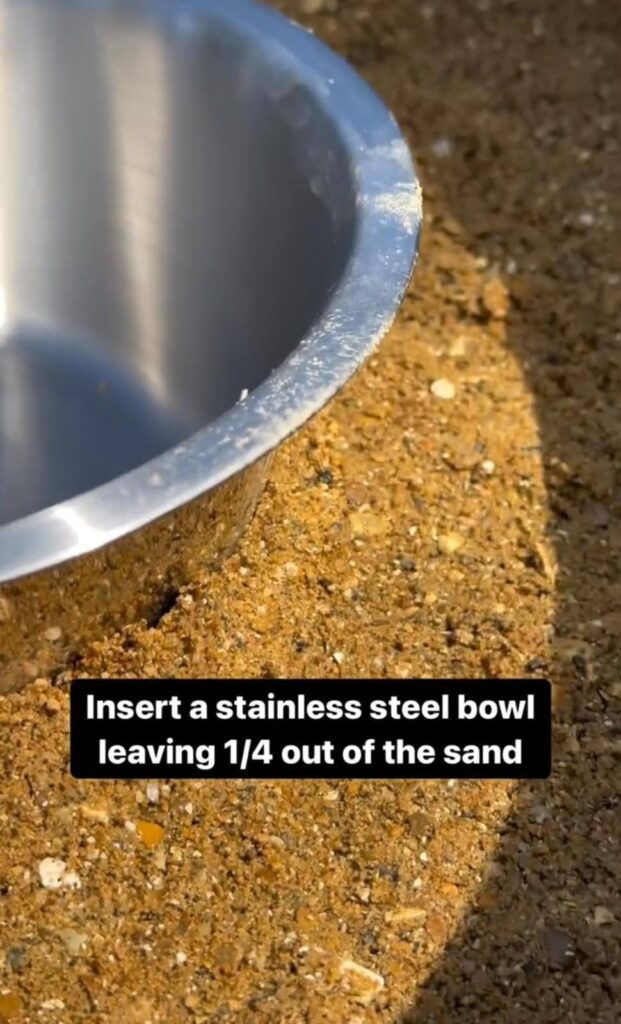
The first step was to clean the metal bowl. I used a wire brush and soap to remove dirt, rust, and residue, and then let it dry completely.
This preparation step is crucial for ensuring the durability and safety of the fire pit. Initially, I underestimated the grime on the bowl, but after some thorough scrubbing, it looked as good as new.
Add ventilation holes
I drilled holes small and evenly distributed around the bowl sides, one inch from the bottom. The holes are vital in ensuring the proper flow of air, allowing the fire to burn well.
A measuring tape was used to mark the spots before drilling, giving it a clean and balanced look. This step, though simple, greatly enhanced the performance of the firepit, especially when used for the first time.
Assemble the Stand
I fastened the bowl to the stand using heat-resistant bolts and clamps. My main concern was stability, so I double-checked every connection to ensure it could hold the weight of the bowl.
At this point, I encountered a wobbly leg on the stand, but adding an extra clamp resolved the issue. Testing the setup on different surfaces confirmed that it was sturdy and reliable.
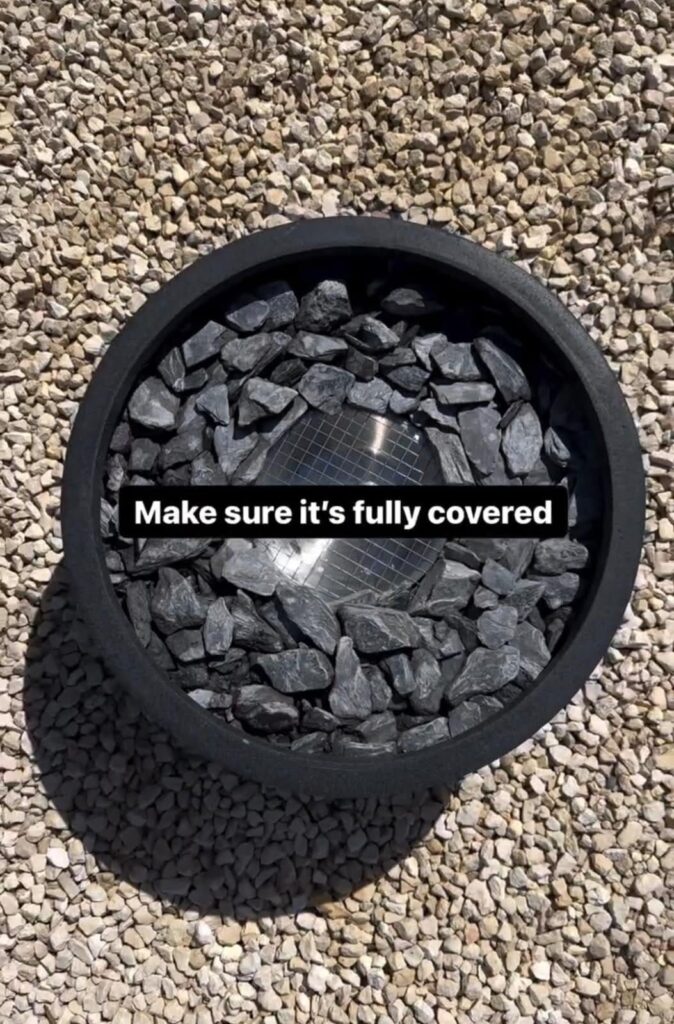
Line with Fire Bricks
To prevent the bottom of the bowl from getting excessively hot, I lined it with fire bricks. This not only prevents overheating but also serves as an extra layer of protection.
The bricks retain heat pretty well, meaning the fire would burn longer. I arranged them tightly without leaving any gaps for even heat distribution, making the fire pit efficient and durable.
Install the Mesh Screen
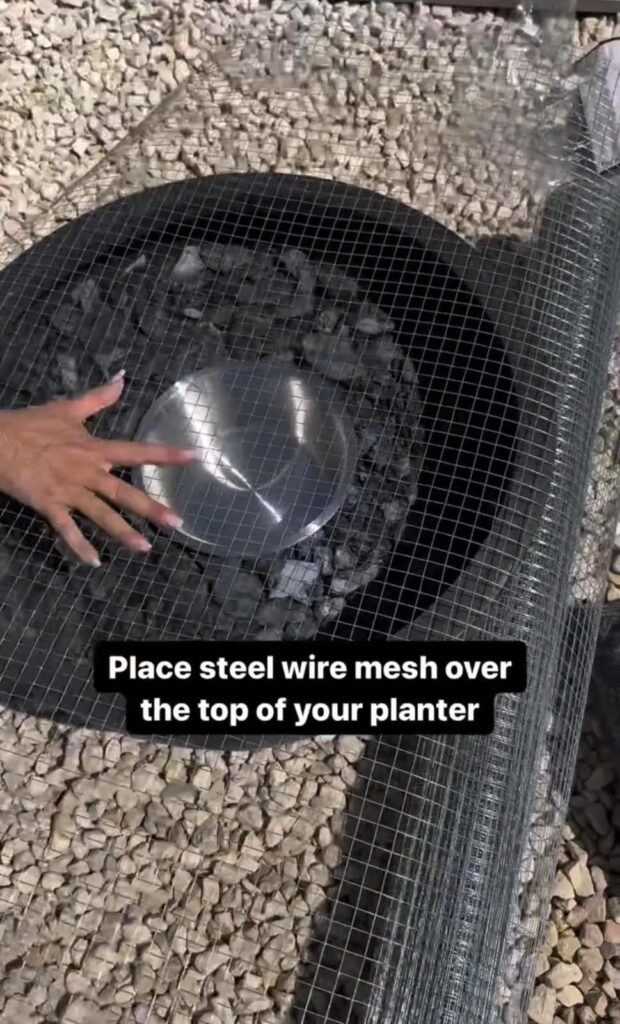
Sparks and embers need to be contained; this is a significant reason to include a metal mesh screen. I measured the mesh, cut it according to the bowl’s diameter, and pushed it snugly into the inside.
The malleability of the screen helped with adjustment and offered a reassuring touch on breezy nights. By testing the sizes of various mesh screens, I was able to select a good balance of strength and accessibility.
Lastly, we painted the entire setup with a coat of heat-resistant paint. The matte black finish gave it a sleek, polished look while protecting the metal from rust and heat damage.
Painting evenly in thin layers made all the difference, ensuring a professional-grade appearance. This final touch brought the whole project together beautifully.
Safety and Maintenance Tips
Using a DIY portable fire pit requires extra caution. Always place it on a non-flammable surface, like concrete or gravel, and keep a fire extinguisher or bucket of water nearby.
I’ve had moments when stray embers landed too close to dry grass, and quick action prevented any mishaps. After each use, allow the fire pit to cool completely before cleaning out the ashes.
Keeping it in a dry area prevents rust, especially since a surprise rainstorm left mine outside once never again. The periodic check of loose bolts and cracks will make the fire pit safe and working for decades.
Personal Experience and Tips
The building of this firepit was an exercise of trial and error, creativity, and satisfaction. In the beginning, I made uneven ventilation holes and a wobbly stand.
Taking the time to measure carefully and adding extra clamps solved these issues. My favorite part of the process was painting the firepit and watching it transform into a sleek and modern centerpiece.
Since completing it, I’ve taken it to beaches, campsites, and friends backyards. Its portability and versatility have made it a cherished addition to my outdoor adventures.
If you’re considering this project, don’t be afraid to experiment and make it your own.
Using the Fire Pit
My DIY portable fire pit has become the highlight of many memorable evenings. Its perfect for roasting marshmallows, staying warm on chilly nights, or even serving as a makeshift grill.
On camping trips, its been a reliable cooking station and a source of cozy warmth. Its compact size allows it to easily fit in the trunk of my car, which makes transportation hassle-free.
Pairing it with eco-friendly fire starters and hardwood logs has enhanced the experience, making sure that the burn is always clean and efficient.
FAQs
What size bowl should I use?
The ideal bowl size really depends upon how big the fire you prefer to have and what space you have. A good starting point for diameter would be 18–24 inches. Bigger bowls allow for bigger fires but may require more space and materials. Consider the scale of your outdoor area and how often you plan on using the fire pit.
Can I cook over the fire pit?
Absolutely! Cooking over a fire pit gives it that special flavor. You can cook with grates, skewers, or even a Dutch oven. Be sure to adjust cooking time and distance from the flames depending on food and your preferred char.
How do I dispose of the ashes?
Allow the ashes to cool down completely before you handle them. Pour them into a metal container with a tight-fitting lid so that they don’t accidentally ignite. Store the container away from flammable materials such as wood, paper, or kindling. Dispose of the ashes responsibly according to your local regulations, which may include specific disposal sites or methods.
Can I use the fire pit in windy conditions?
It is not recommended to use your firepit when there are strong winds blowing. Windy conditions can scatter embers, which are easy to spread to the surrounding structures, vegetation, and even to yourself.
In addition, wind may make it harder to control the fire and raise the chances of getting burned.
Conclusion
My DIY fire pit has evolved from simple project to treasured companion. It’s witnessed starlit conversations, s’more disasters, and impromptu storytelling sessions across campsites and backyard parties. The design adapts perfectly to my nomadic outdoor lifestyle, fitting snugly in my trunk between adventures.
This project offers more than cost savings it provides the rare satisfaction of crafting something uniquely yours. Take these guidelines and make them your own. Add personal touches, experiment with materials, and create something that reflects your style. Your hands deserve to build something that will warm them for years to come.