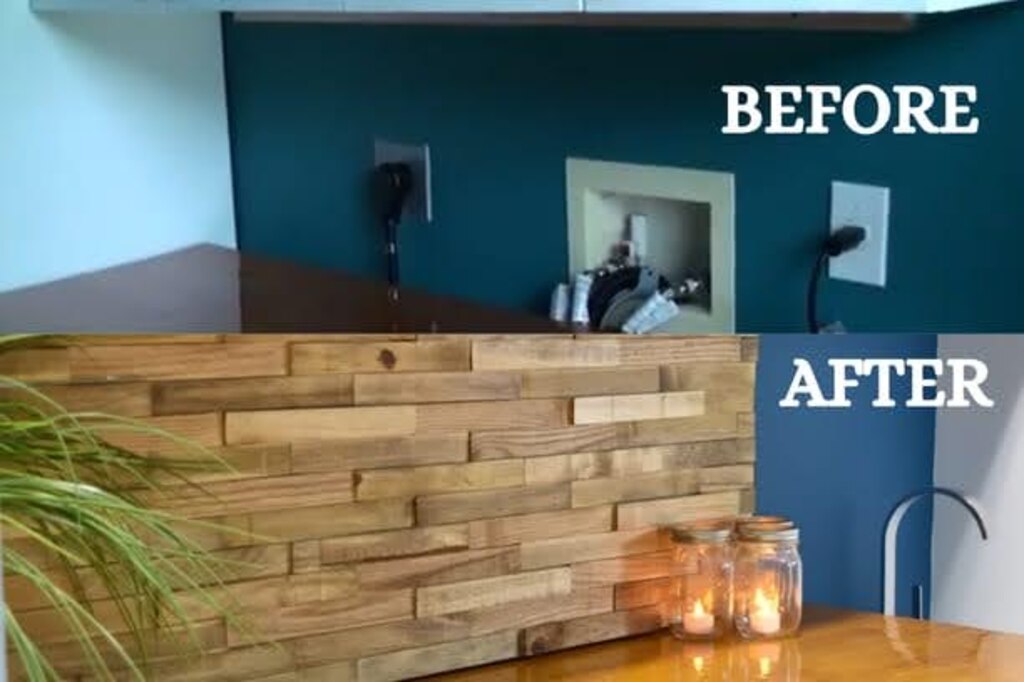
This blog is all about how I did a wood backsplash kitchen DIY to give my kitchen a new and fresh look.
Are you ready to bring warmth and character to your kitchen without breaking the bank? A wood backsplash could be the perfect solution! Not only does it add a cozy, rustic charm, but it’s also surprisingly easy to install yourself. Whether you’re looking to update your space or want to try your hand at a fun, hands-on project, this DIY wood backsplash guide has got you covered.
Let’s dive in and give your kitchen a stylish, custom touch – all by yourself!
How did I Choose my Wood Backsplash?
When I first decided to tackle a wood backsplash in my kitchen, I knew it had to blend well with the rest of my space but still make a bold statement.
After much thought and research, I opted for cedar wood. The decision wasn’t made on a whim—it was a combination of factors like durability, aesthetic appeal, and ease of installation.
Cedar was the perfect choice for a few key reasons. First, its rich, warm tones bring a natural and inviting vibe to any room.
I wanted something that could complement both my light-colored cabinetry and stainless steel appliances, creating a balanced yet eye-catching contrast.
When it came to designing the layout, I knew I wanted something that felt modern and sleek but also embraced the natural beauty of the wood.
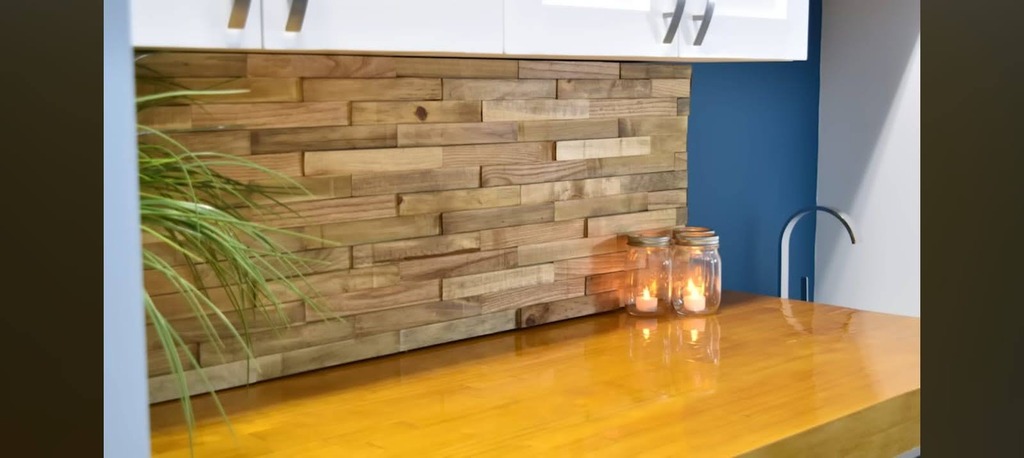
After considering different styles and taking inspiration from Pinterest, I decided to go for a horizontal plank design.
This direction allowed the wood’s grain to stand out in a way that felt spacious and clean, without overwhelming the small space.
Plus, horizontal planks create a sense of wider depth, which makes my kitchen feel larger and more open.
Supply Materials For DIY Wood Backsplash
Here’s a list of the materials I used for my DIY wood backsplash:
- Cedar Wood Planks: $3 to $5 per linear foot
- Measuring Tape: $10
- Miter Saw: $100 – $250, depending on the model
- Clear Wood Finish: $10 – $20 per quart
- Construction Adhesive: $5 – $10 per tube
- Clamps: $10 – $20 each
- Wood Filler: $5 – $10
- Sanding Block: $5 – $50 for a block
- Paintbrush or Cloth: $5 – $10
How to Apply Wood Backsplash?

Here’s how I turned my kitchen wall into a stunning cedar-clad feature, step by step. Grab your tools, and let’s dive in!
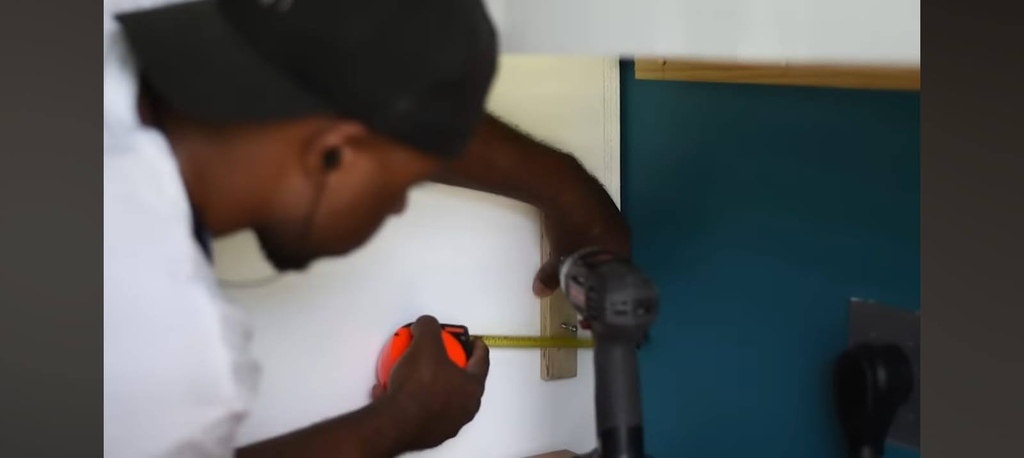
Step 1: Measure and Plan Your Space
First things first, measure the area where you’ll be applying the backsplash.
I had a wall behind my kitchen sink and countertops that measured about 6 feet long and 3 feet high—perfect for a statement wood backsplash without overwhelming the space.
Use your measuring tape to measure the length and height of the area twice. Mistakes happen, and trust me, you want those cuts to be precise.
If you have outlets or any obstructions, measure around them, too, because you’ll need to make custom cuts.
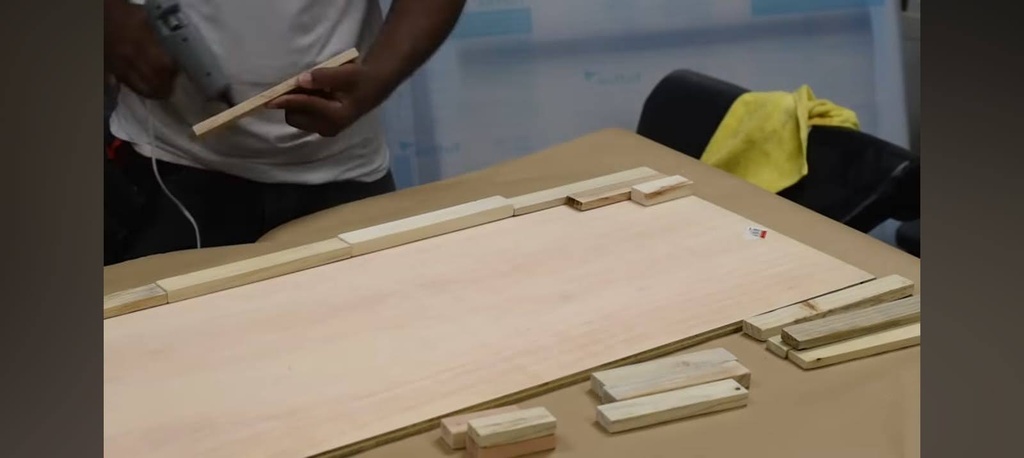
Step 2: Cut Cedar Wood Planks
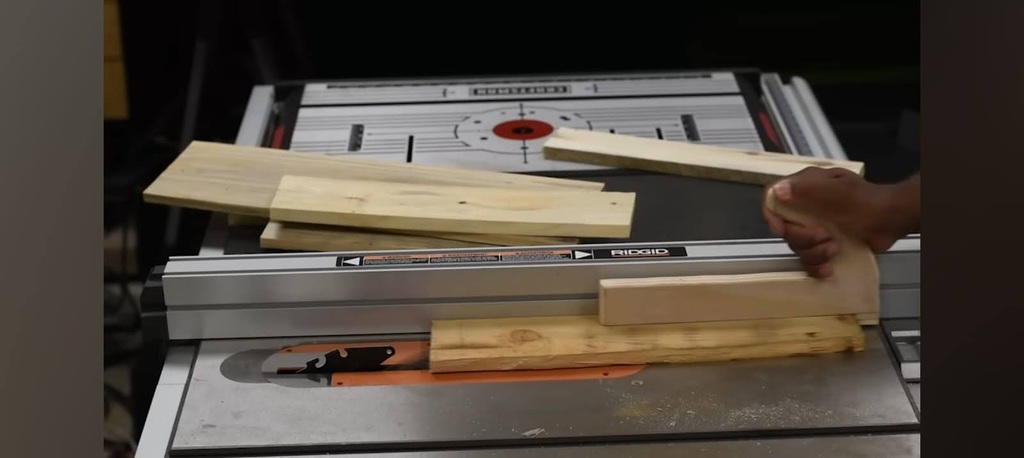
Now that the area is measured, it’s time to cut your cedar planks.
I chose medium-width planks, and I went for about 4 inches wide to keep things sleek and not too bulky.
I used a miter saw for clean, straight cuts. For my 6-foot wall, I cut 12 planks—each around 3 feet long (allowing for a little overage for adjustments).
If you’re working around outlets, use your miter saw to carefully cut around them. A jigsaw might come in handy for tricky corners or curves.
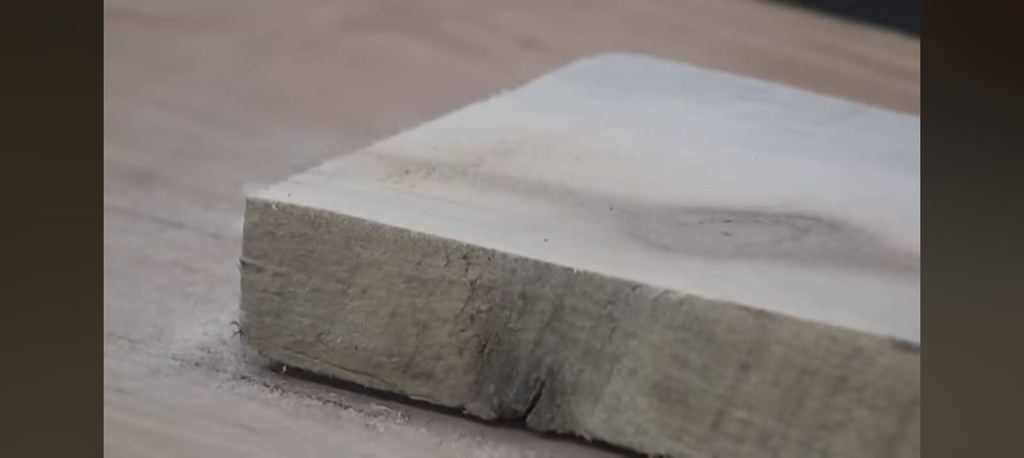
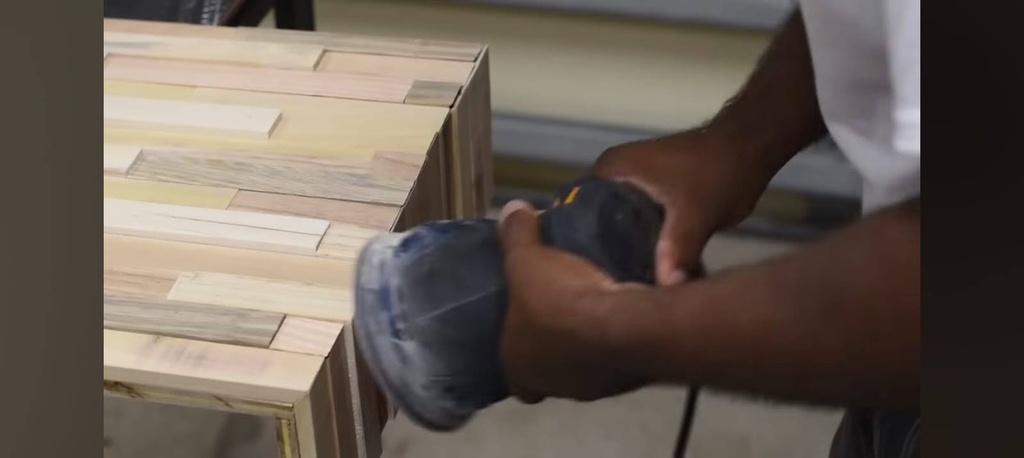
Step 3: Sand and Finish Your Planks
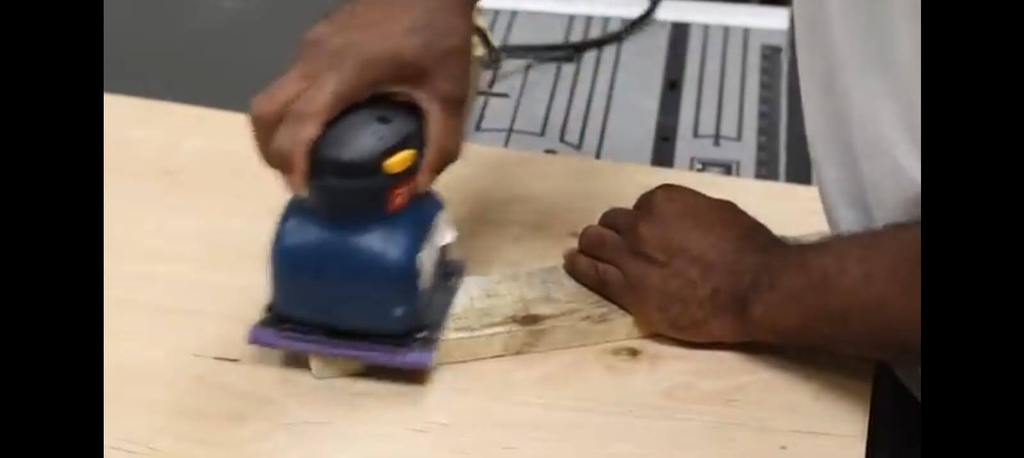
This step is where the magic happens. Before anything gets stuck on the wall, you’ll want to sand your planks down smoothly and apply a clear wood finish.
Sand the edges of each plank, making sure there are no rough spots or splinters. I used medium-grit sandpaper and went over every inch of wood to give it a nice, smooth feel.
After sanding, I used a paintbrush to apply a clear wood finish to each plank. This not only enhanced the natural color of the cedar but also made sure it was protected against moisture.
A quart of finish was more than enough for my entire backsplash, and I made sure to apply at least two coats to get a good protective layer.
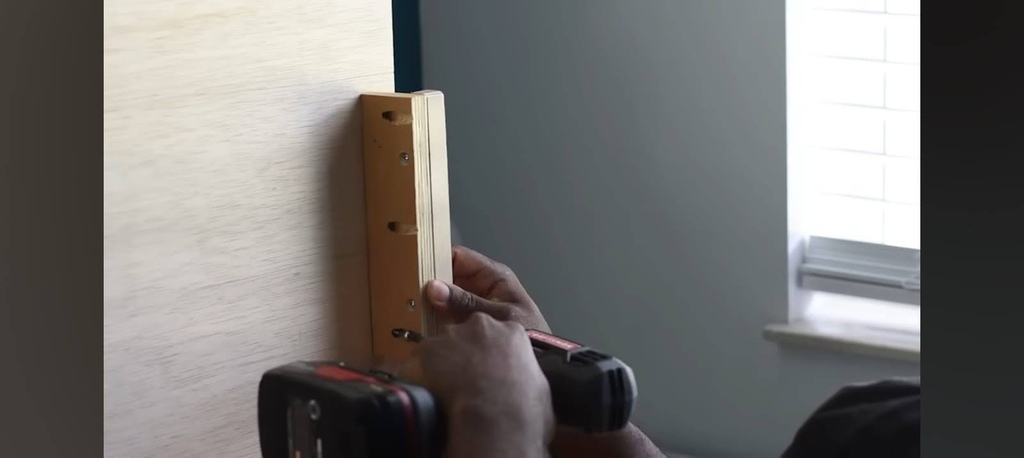
Step 4: Prepare the Wall
While your planks are drying, take a moment to prep your wall. Make sure it’s clean, dry, and smooth—this will help the adhesive stick better.
I gave the wall a quick wipe-down with a damp cloth to remove any dust or grease. You don’t want any obstacles between the adhesive and your wall.
If there are any bumps or imperfections in the drywall, I use Spackle to smooth things out and let it dry before moving forward.
Step 5: Apply the Construction Adhesive
Here’s where things get real. I went with construction adhesive instead of nails or screws for a clean, smooth look. I didn’t want to deal with holes in the wood, and this method worked perfectly.
Start at the bottom of the wall, working your way up. Apply a generous bead of construction adhesive on the back of each plank, making sure it’s even from top to bottom.
Press each plank firmly into place, holding it for about 20 seconds to ensure it sticks. I used clamps to hold the planks in place while the adhesive dried.
I didn’t rush through this part. I placed one plank at a time, making sure everything was level before moving to the next. Check for any gaps and adjust as needed.
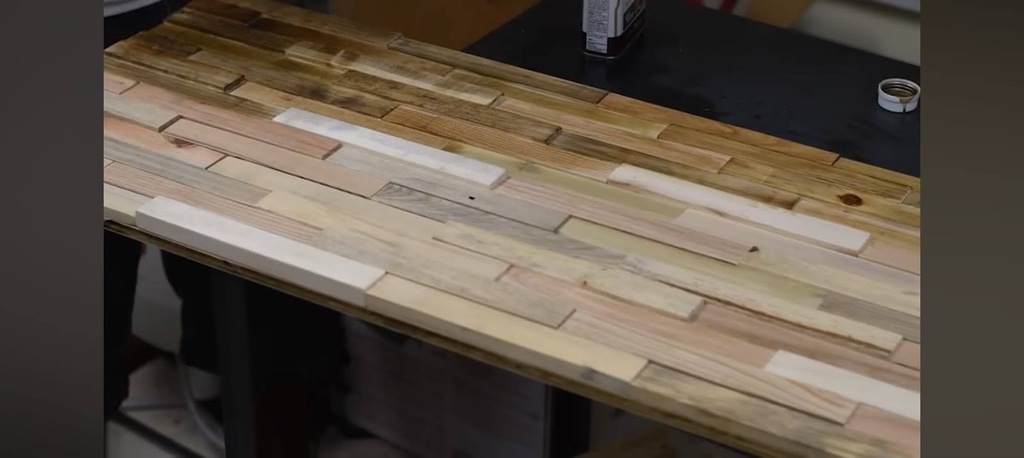
Step 6: Stagger the Planks (for a Natural Look)
To keep the design from looking too “perfect,” I staggered the seams of the planks. This means I didn’t line up the edges exactly, giving it a more natural, flowing feel.
I made sure to cut the planks in a random pattern—some long, some shorter—so that the seams didn’t create a rigid, grid-like appearance.
I also slightly rotated each plank for a more relaxed, organic vibe.
Step 7: Fill in Gaps and Smooth Out Edges
Once all the planks were up, I took a step back and checked for any gaps or uneven edges. Wood filler was my lifesaver here.
I filled in any noticeable gaps between planks and around the edges of the backsplash. After the filler dried, I gave it a quick sand to make everything smooth and even.
Step 8: Final Touches—Caulk & Clean Up
I finished up by sealing any gaps with caulk along the edges where the wood met the wall or countertop.
This gave the backsplash a neat, finished look while preventing any moisture from seeping in.
After caulking, I wiped down the entire backsplash with a soft cloth to remove any excess caulk or dust.
The final touch was a quick polish with a dry cloth to make the cedar shine.
Conclusion
If you’re considering this DIY project, I hope my experience has given you the confidence to take on the challenge. Remember, it’s all about planning, taking your time, and enjoying the process. So go ahead—grab those cedar planks and make your kitchen shine with your custom backsplash!
Whether you’re a seasoned DIYer or just starting, a wood backsplash is an amazing way to personalize your kitchen without breaking the bank. Happy crafting, and don’t forget to take pride in the work you’ve put in—it’s your space, your style, and your masterpiece.
FAQs
What type of wood is best for a backsplash?
Cedar is an excellent choice for its durability, rich color, and rustic appeal, but you can also consider other woods like pine or oak depending on your style.
How long does a DIY wood backsplash take to install?
Expect the project to take about 2 to 3 days—one for preparation and cutting, and the other for installation and finishing.
How can I protect my wood backsplash from moisture in the kitchen?
Apply a clear wood finish or sealant to help protect against moisture. Regular maintenance, like wiping down the backsplash after cooking, also helps.
How do I get a seamless look with wood planks?
Staggering the seams of your planks and ensuring even spacing will give your backsplash a natural, cohesive look.
Can I install a wood backsplash myself, or do I need help?
If you’re comfortable with basic tools, this is a manageable DIY project. It’s always helpful to have an extra pair of hands for the installation.


