
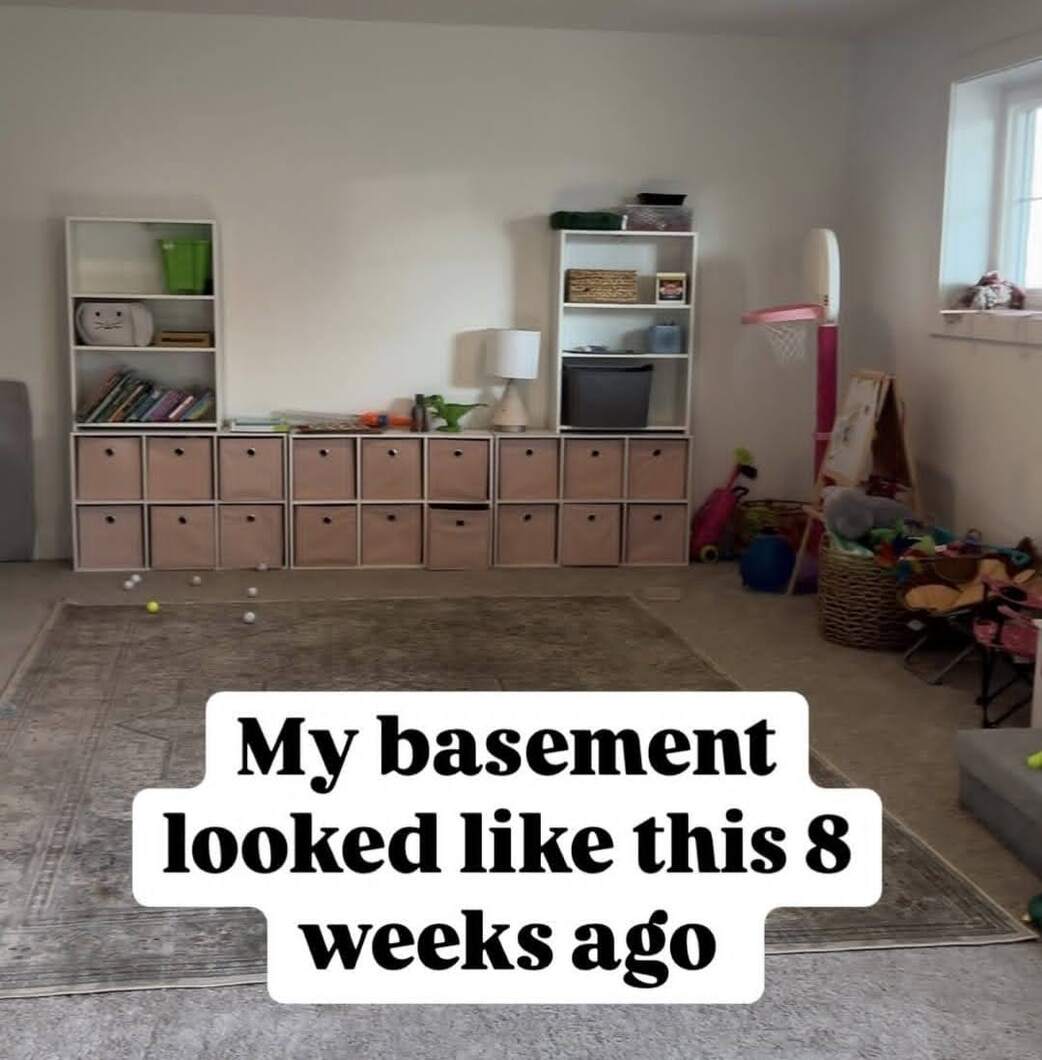
When I first bought my house, the basement was just a cold, unfinished space that seemed just like a storage unit rather than a living area. I always dreamed of creating a cozy retreat out of it, but transforming it seemed an overwhelming task.
It’s when I discovered DIY basement wall panels that the hope of finally realizing my vision began. With only a few basic tools and materials, I was able to completely renovate the space into a functional and stylish area for my family.
In this article, I will walk you through the process of getting into complete DIY basement wall panels—from the choosing of materials to the step-by-step installation.
Do not expect to be inundated with practical advice on how to measure, cut, and install the panels yourself, but also find out some hints on insulation and maintenance.
Be it the addition of warmth, noise reduction, or a fashionable feature wall, this guide will ensure that your basement transformation comes to life.
Why DIY Basement Wall Panels are a Game Changer
A DIY basement wall panel is one of the easiest and most practical ways to change the aesthetic look and functionality of any basement in your home. These panels offer insulation, protect against moisture penetration, and provide sound transmission resistance, all in a visually enhanced space.
Whether you want a basement home theater, a home office, or merely want to make your basement habitable, these DIY basement wall panels are a simple do-it-yourself solution that can save you so much time and money compared with hiring a professional.
The most significant advantage of the panels is that they are versatile. The different materials come in various forms: wood, MDF, vinyl, or foam, with their benefits catering to specific needs.
Using DIY basement wall panels can easily convert a cold, unfriendly space into a useful, comfortable space in the space of a weekend or two.
Materials and Tools Needed
Paneling Options
- Wood Panels: Wood panels are great for adding a warm feel with a rustic or contemporary look. These can become exceptionally cozy and inviting, painted, stained, or left natural to the eye.
- Medium Density Fiberboard (MDF) panels are smooth and simple to paint, and they cost a fraction of what solid wood does while still looking sleek and contemporary. They are durable, but make sure to apply a moisture-resistant finish to protect them in damp basement environments.
- Foam Panels: Foam panels are extremely lightweight, provide excellent insulation, and are rather simple to install. They will be perfect for anyone looking to improve both the soundproofing and the thermal insulation of the basement.
- Vinyl Panels: Vinyl panels are resistant to moisture and extremely durable. They do not absorb much moisture and thus clean quickly. They are excellent for people whose basement is somehow predisposed to humidity or moisture.
Tools Needed
- Measuring Tape: To take proper measurements of the wall and the size of panels.
- Circular Saw or Jigsaw: One will be fine for cutting through wooden or MDF panels; a jigsaw is good for more intricate cuts.
- Level: This makes sure your panels are leveled properly for a professional finish.
- Nails or Adhesive: The type of material will determine if using nails, screws, or adhesive is required to attach the panels to the wall.
- Caulk: For filling gaps or edges between panels, creating a smooth, seamless finish.
Insulation Materials (Optional)
- Foam Boards: Additional thermal and sound insulation. It is especially useful if you plan to use the basement as a living space or home theater.
- Fiberglass Insulation: A more traditional method for adding insulation, especially if you’re working in a colder climate. Pair it with a vapor barrier to keep moisture away from the walls.
Finishing Materials
- Paint or stain: Choose moisture-resistant finishes, particularly for wood or MDF panels. Consider a matte or satin finish for easier maintenance, as high-gloss finishes tend to show fingerprints more easily.
Step-by-Step Guide to Install DIY Basement Wall Panels

Step 1: Preparing the Walls
First is preparation. Take time to scan the basement walls for moisture because basements have a higher possibility of humidity than other parts of the house.
If you happen to find traces of moisture, work on that part first before the installation. Just apply a mold-resistant cleaner first, then finish the process by waterproofing the wall so that such moisture will never happen again in the future.
Clean the wall surface of dirt, dust, and debris that could interfere with the adhesive or nails. Use a level to ensure that the wall is straight and even.
If the wall has large holes or cracks, fill them in with sparkles or a filler to make the surface smooth for your panels.
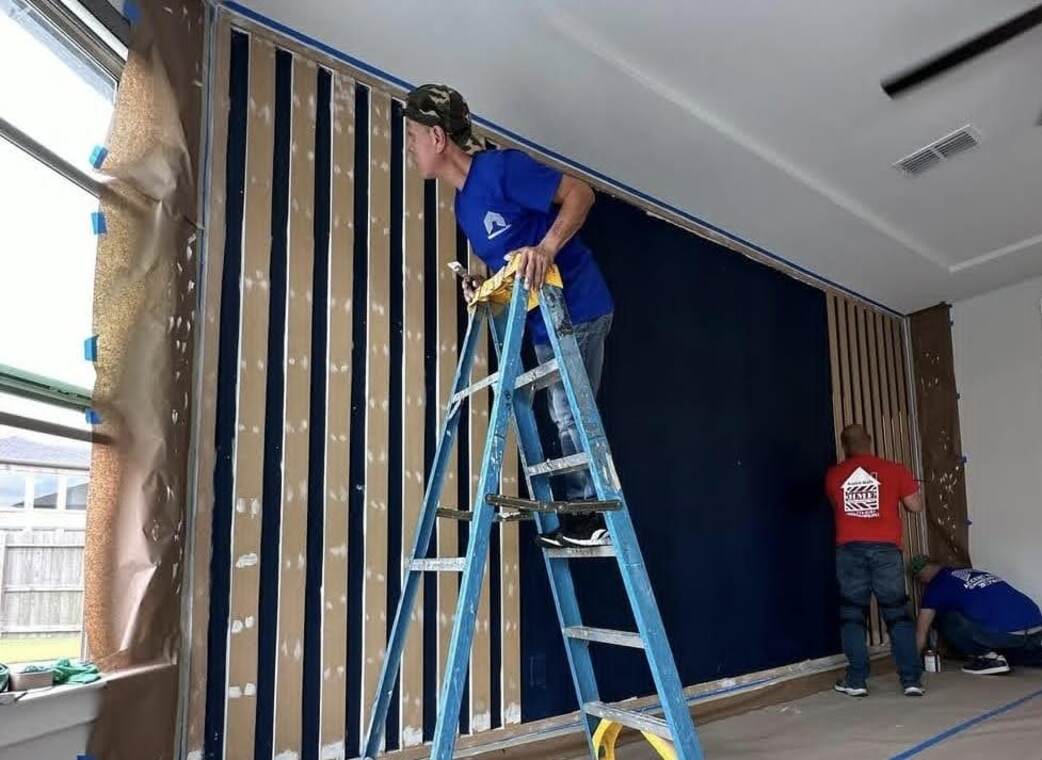
Step 2: Cutting and Preparing the Panels
Accurate measurements are crucial to ensuring your panels fit properly. Measure the length and width of each wall, taking into account any windows, doors, or obstacles that might require custom cuts.
Once you’ve determined the correct size, mark the panels and use a saw to make the cuts. For wood and MDF panels, a circular saw is the most efficient tool for making clean, straight cuts.
For foam or vinyl, a utility knife or jigsaw is good for fine cutting. You should prepare your panels to finish them off prior to installing them.
You need to sand all the edges down, and if you want to paint or stain them, this is a great time to do it. Then you can get a flawless finish and avoid hassle later.
Step 3: Installing Insulation (Optional)
This is a great option if you want to increase energy efficiency and enhance soundproofing. You can install insulation between the studs behind your panes of glazing.
Foam boards and fiberglass insulation can be used to regulate temperature and reduce sound. Cut the insulation according to the space existing between the studs and stick it there using adhesive or staples.
For foam, make sure to cover it with a vapor barrier to prevent moisture from getting inside.
Step 4: Attach the Panels
With everything ready, it is time to install the panels. Start from one corner and use a level to ensure your first panel is perfectly straight.
For the most secure installation, consider using both adhesive and nails. Apply a generous amount of adhesive to the back of the panel, then press it firmly against the wall.
Use nails or screws to hold the panel in place while the adhesive dries. If you want to cut out windows, doors, or pipes, measure carefully and cut the panels to fit.
Continue attaching the panels, but leave small gaps between each one for expansion and contraction.
Step 5: Sealing and Finishing
Once all panels are installed, use caulk to fill any seams or gaps between the panels. This ensures a smooth, seamless finish and helps improve insulation.
Allow the caulk to dry completely before moving on to the next step. For wood or MDF panels, apply a coat of paint or stain to protect the surface and add a finishing touch.
Be sure to use a moisture-resistant finish if your basement tends to be humid.
Installation Locations for DIY Basement Wall Panels
Where you install your DIY basement wall panels depends on your goals for the space. Here are a few ideas:
- Whole Basement Walls: Ideal for turning your basement into a fully functional living space. Insulating and paneling all walls ensures that your basement stays warm in the winter and cool in the summer.
- Feature Walls: If you are building a home theater, gym, or office, you can concentrate on one or two feature walls to add texture and depth. This saves on material costs while still making a bold impact.
- Around the Perimeter: Installing panels along the perimeter of the basement can help prevent drafts and add a clean, finished look without covering the entire space.
Maintenance of DIY Basement Wall Panels
Maintaining your DIY basement wall panels is relatively easy. Check the panels regularly for signs of moisture or mold.
If damage is found, especially to wood or MDF panels, be sure to react quickly to further damage by applying adhesive or re-nailing as needed.
You can clean your panels with a damp cloth for a fresh appearance. If paint or stain was applied, touch it up in spots where wear has begun to show, especially on high-traffic areas.
If your basement is prone to moisture, you can install a dehumidifier to prevent humidity from affecting the panels. You should also check the insulation from time to time to see if it has shifted or become damp.
Conclusion
DIY basement wall installation is a fantastic and cost-efficient method of designing a functional as well as fashion-conscious space inside your basement.
Add to that, installing DIY basement wall panels can accomplish either insulation purposes, soundproofing, or even better looks for this particular space: materials and procedures mentioned in the following guide.
The proper attention and care devoted to your finished basement wall system will yield their full benefits year after year.
FAQs About DIY Basement Wall Panels
How much does it cost to install DIY basement wall panels?
It all depends on the material you decide to use. For example, foam panels are the cheapest; wood or MDF panels might be a little pricier. The average price for the entire project is from $500 to $2,000, depending on the size of your basement and the type of material you want to use.
Should I insulate my basement first before putting wall panels in?
Although not strictly a necessity, applying insulation can go a long way in making the basement energy efficient. It keeps the basement well-insulated against temperature variation and sound; therefore, it is very cozy to dwell in.
How do I stop mold and mildew from coming through the wall behind the panel?
To avoid mold, ensure your basement is dry before starting the project. Use moisture-resistant panels and apply a mold-resistant treatment to the walls. Consider installing a dehumidifier to maintain optimal humidity levels in your basement.


