This project started as an idea in my head about a DIY twin bed frame since my twins have grown up and I no longer could accommodate them in the cribs.
It had to be something strong and safe while staying within a reasonable budget. After exhausting search after exhausting search for products that either don’t fit in the budget or wouldn’t be too durable, I decided to make it on my own.
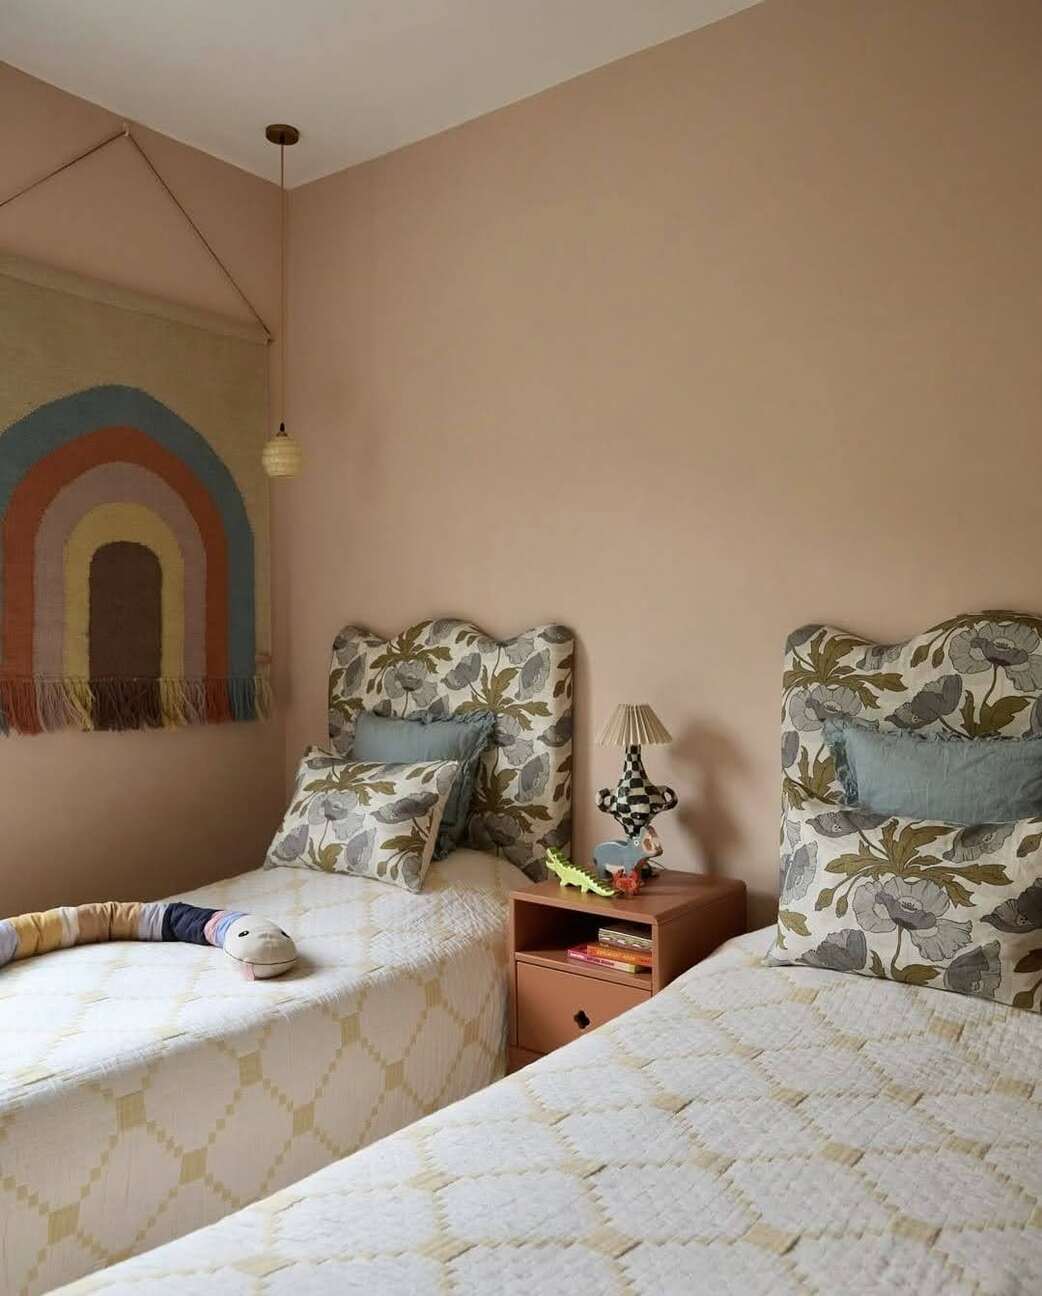
Since their bedroom is small, we required a low-profile, minimalist platform bed that would not take up too much space but still offer sufficient support. I imagined a sleek wooden frame that would complement their playful yet modern room aesthetic.
Armed with a few tools, a clear plan, and a whole lot of determination, I was set to build my DIY twin bed frame from scratch—something personalized, built with love, and strong enough to last through their childhood adventures.
Why I Choose DIY Twin Bed Frame Instead of Buying One
The most prominent reason for doing this project was because I did not find many inexpensive, good-quality bed frames at stores. Almost all of the budget-friendly bed frames I saw on the Internet were mixed about being durable; they squeaked when you turned around, had flimsy slats, and felt cheap.
We wanted a twin bed frame that was steady and could tolerate daily usage without squeaking. Another reason for this project was customization.
I required a bed for a small space with a minimalist look, movable when needed. Bought items usually contain bulky headboards or unnecessary features, and we require something sleek, modern, and simple.
A DIY twin bed frame allowed me to build exactly what I needed while keeping costs low. There’s a sense of pride in creating furniture by your own hands.
In addition to avoiding spending money on mass-produced furniture, I was interested in something unique that I could take pride in.
Planning and Preparation for DIY Twin Bed Frame
Materials Used:
Wood:
- (4) 2x4s (8 feet long) – Frame
- (1) 4×8 sheet of ¾” plywood—Base
- (10) 1x3s (8 feet long) – Support slats
Hardware:
- (1) Box of 2 ½” wood screws
- (1) Tube of wood glue
Finishing:
- (1) Quart of high-quality interior paint (I chose a soft gray)
- (1) Can of wood primer
- (1) Roll of painter’s tape
- (1) Pack of fine-grit sandpaper
Tools List:
- Circular Saw: Cutting the lumber to size
- Drill: For assembly
- Measuring Tape & Level: No room for error
- Clamps: Keeps the pieces steady
- Safety Glasses & Ear Protection: Not a question of using power tools at all
Budget Breakdown:
|
ITEM |
COST |
|
lumber |
$50 |
|
plywood |
$20 |
|
hardware |
$15 |
|
Paint supplies |
$30 |
|
total |
$115 |
Design: Simple and Sturdy DIY Twin Bed Frame
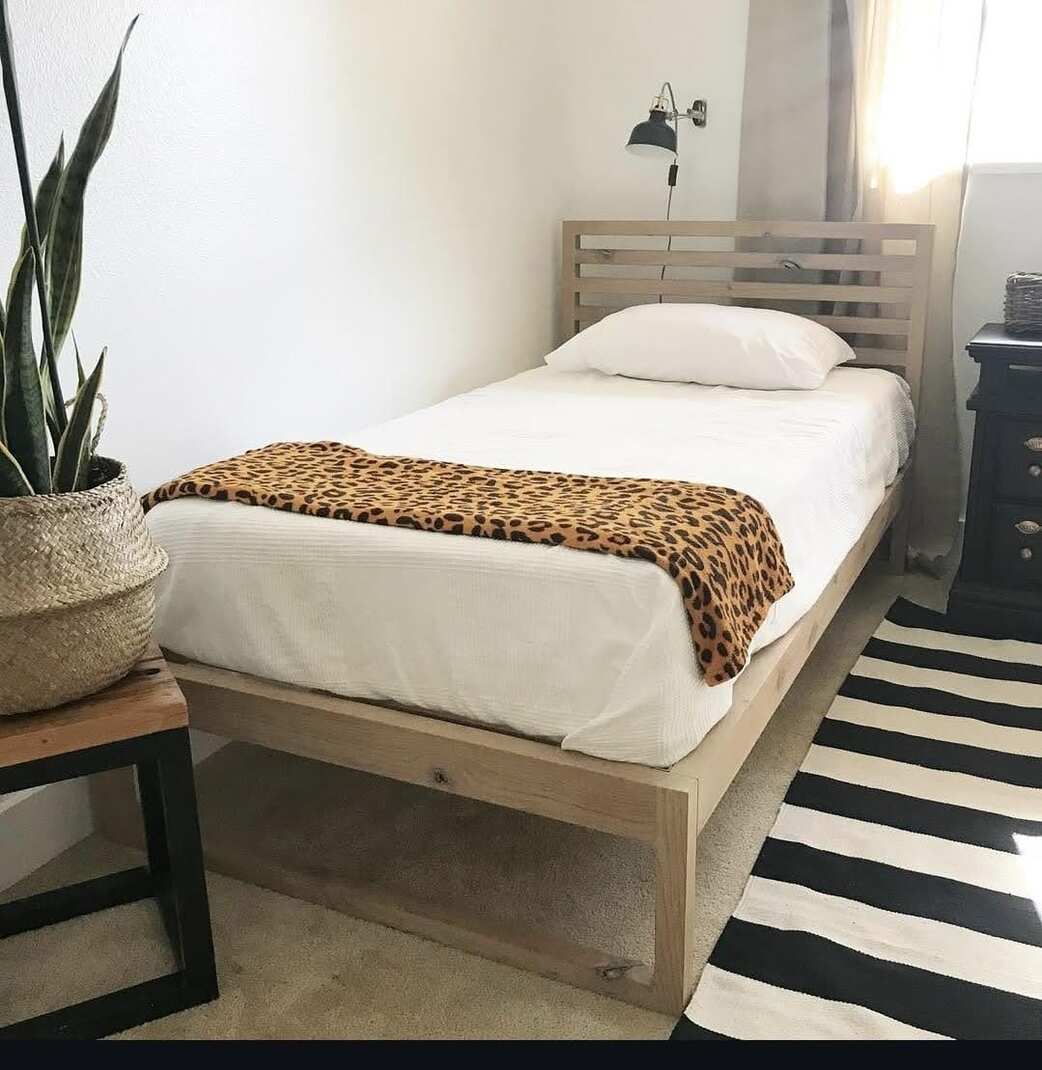
Since platforms do not necessitate a box spring, their space-saving characteristics provide quite a cost-free advantage.
Also, clean-cut lines and complete solid wood create a perfect product that looks modern and works functional. For the size, we made the frame with a standard twin mattress size of 38″ x 75″ with an additional 2 inches border for the bedding to fit in nicely.
Instead of having only slats to support it, I incorporated a sturdy plywood base, making the bed stronger and eliminating the sagging it may experience with time.
We also aimed to make it a low-profile bed frame since this is aesthetically contemporary and minimalist-looking but still would not be the least bit stressful when entering the bed.
Making a DIY Twin Bed Frame : Step-by-step
Cut the wood accurately:
The first activity carried out on constructing my twin-size bed was preparing the sizable wood parts.
We accurately marked and cut pieces using a circular saw, though with great precision as required for different parts, since the size should be proper: two pieces with 42″ for the sides; two more are 79″, and I must not forget an additional part measuring 42″.
For the slats, we cut ten support pieces that were evenly spaced and 38 inches long. Since we cut all the slats from a single piece of lumber, I did not need to buy them pre-cut, thus saving money.
Each cut was double-checked so that the small measurement error could not lead to problems at assembly time.
Assembly of the Frame for Maximal Durability
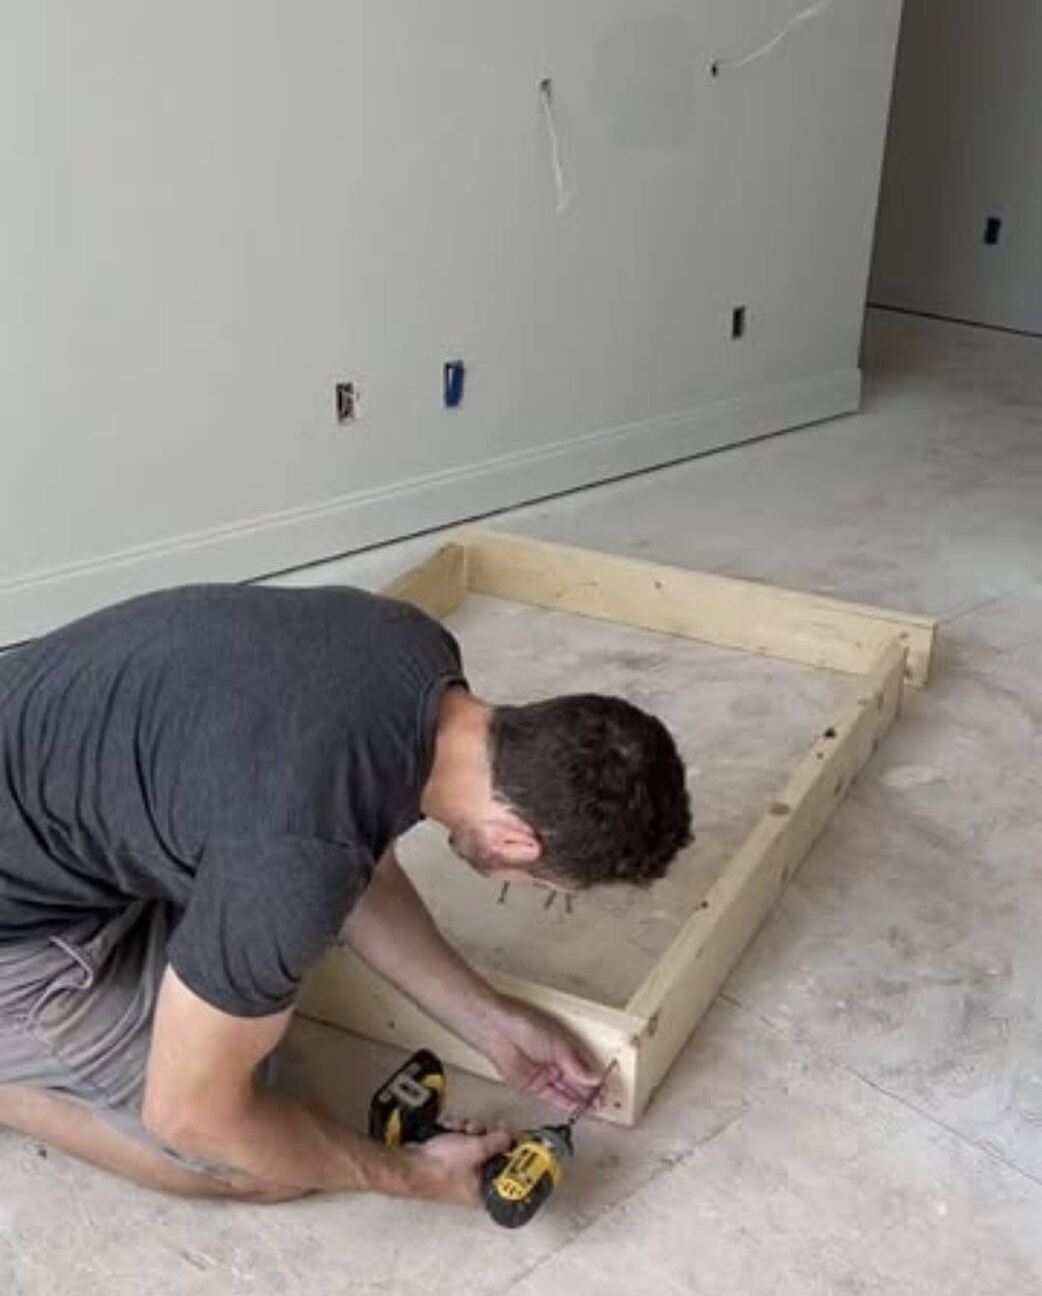
Before putting any screws anywhere, we filled the joints of the wood using wood glue so that the overall structure will become stronger and sturdier rather than wobble over time, with wood glue providing an extra boost of strength.
We connected the side rails to the end boards using 2 ½-inch screws. We also ensured everything was perfectly aligned.
Then predrilled holes before inserting screws to prevent the wood from splitting. I clamped the pieces together as I worked to keep everything steady. Lastly secured the four sides and then attached the center support beam to add more stability to the frame.
Installing the Slats and Plywood Base for Extra Support
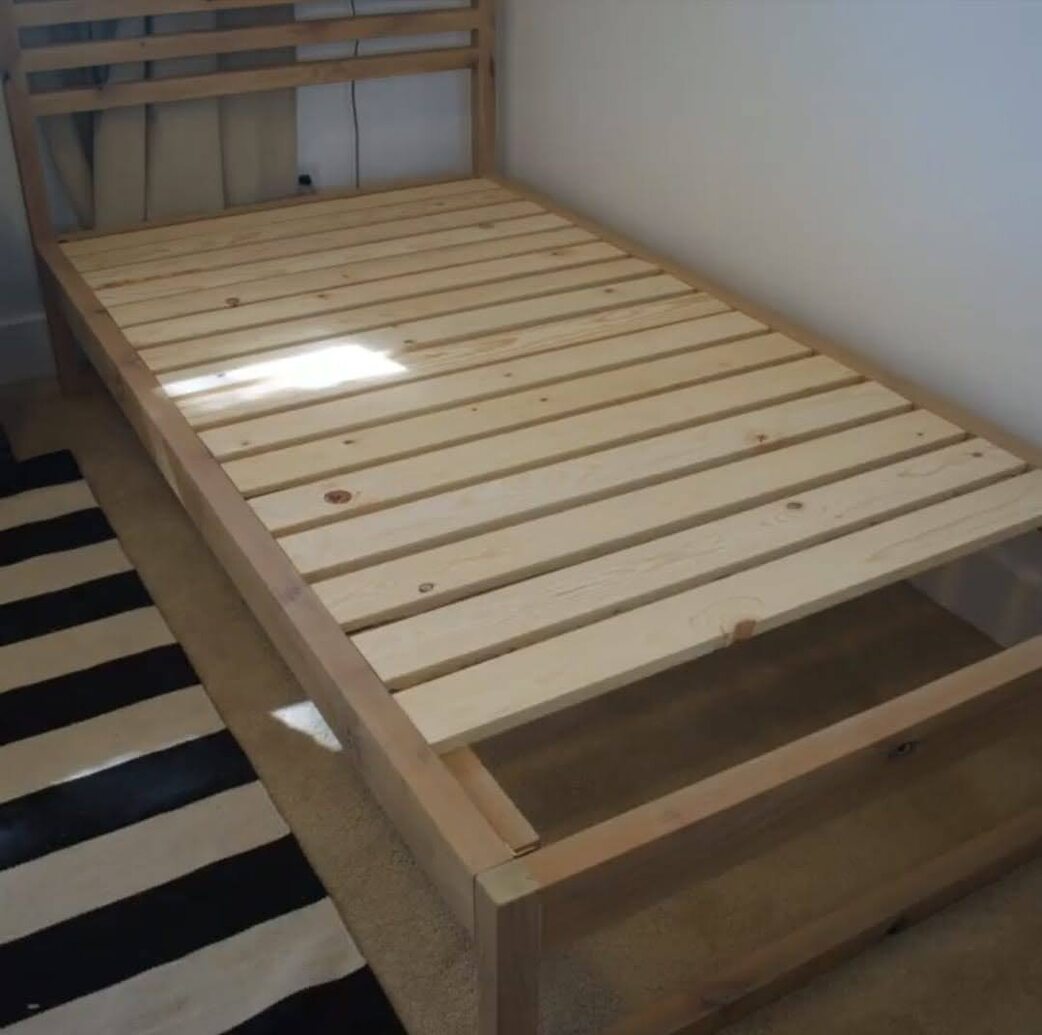
We added a plywood base to my DIY twin bed frame to give it more support. Started by placing the slats across the frame, leaving a 3-inch gap between each one.
I secured them with screws so they wouldn’t shift and used an additional plywood sheet, cutting it to size and placing it over the slats.
It provides more weight distribution and also helps make the bed feel more rigid and does not sag at all on the mattress. However, if you like a softer bed, you may not want the plywood but instead use only slats; for me, it was worth having that little extra durability.
Sanding and Finishing to Look Like a Pro
After the bed frame was completely assembled, it was time to give it a smooth, polished finish. We began by sanding all the rough edges with fine-grit sandpaper.
Sanding is important because it removes splinters and gives the frame a professional look. We paid special attention to the corners and edges, slightly rounding them so that there are no sharp edges.
For the finishing, we put a coat of wood primer on it to ensure that the paint does not penetrate the wood unevenly. Once it dried, applied a soft gray color to match the aesthetic in my room.
We used two coats of paint, allowing the first layer to dry completely before applying the next. If you want a more natural wood appearance, you could use a clear sealant rather than paint.
As an added décor, I put felt pads on the legs so they would not scratch my floors. This detail is quite essential if you plan on moving the bed frame around.
Types Takeaways for a Successful DIY Twin Bed Frame Build
- Measure accurately. Precision is key to a sturdy bed frame.
- Use wood glue and screws; it is likely to be very durable.
- Add a plywood base for the bed. This makes it very supportive and long-lasting.
- Sand and paint carefully. It’s the little finishing details that really make a difference.
If you are looking for a fun and practical DIY project, then a DIY twin bed frame is a great place to start. I hope this guide helps you create a bed frame that is both stylish and sturdy! Let me know if you give it a try—I’d love to hear about your experience.
Conclusion
Absolutely! Building my own DIY twin bed frame was not only cost-effective but also incredibly fulfilling. The total cost came to around $115, which is a fraction of what I would have paid for a store-bought frame of similar quality.
More importantly, I now have a bed that perfectly fits my space, matches my style, and is built to last. I used it for some time and confidently can say it is just as sturdy as any high-end bed frame.
So, if you are considering doing it, I definitely suggest making a DIY twin bed frame. It’s easy, and the final result is rewarding.
FAQs for DIY Twin Bed Frame
1. How much does it cost to build a DIY twin bed frame?
The cost of a DIY twin bed frame varies depending on the materials, but on average, you can expect to spend $100–$150. Affordable wood like pine or repurposing materials can reduce the cost. Buying hardware in bulk and using leftover paint can also help you stay within budget.
2. What type of wood is preferred for a twin bed frame?
You can use a combination of strengths, affordability, and ease to work with using pine, oak, and maple. Pine wood is lightweight and inexpensive, making it very suitable for novice users. Oak is a stronger, longer-lasting wood but more costly. If the rustic look suits you, use cedar.
3. How can I make my DIY twin bed frame extra sturdy?
Durable is best achieved by bonding the frame by using wood glue and screws as well. Place a center beam to prevent drooping. On top of these slats, you can put down plywood. For more reinforcement, add in corner brackets and L-bracing to hold that joint together tight.
4. Do I need a box spring with this DIY twin bed frame?
No, with DIY twin bed frame slats spaced approximately 3 inches apart, that should be quite sufficient to provide support for most mattresses without a box spring. You can add a plywood base for added stability and even weight distribution if you desire a firmer feel.


