
Plywood is a strong and affordable building material, but it has one big weakness: water damage. Without protection, moisture causes warping, rotting, and mold growth.
I’ve seen perfectly good plywood projects fall apart because they weren’t sealed properly.
In this guide, I’ll show you exactly how to make plywood waterproof using six proven methods. You’ll learn which technique works best for your specific project, whether you’re building outdoor furniture, bathroom cabinets, or a boat dock.
I’ve tested these approaches myself, and I’m confident they’ll help you protect your plywood for years to come.
We’ll cover why waterproofing matters, the best sealing methods, step-by-step instructions, and tips for lasting results.
Why Is It Important to Waterproof Plywood?
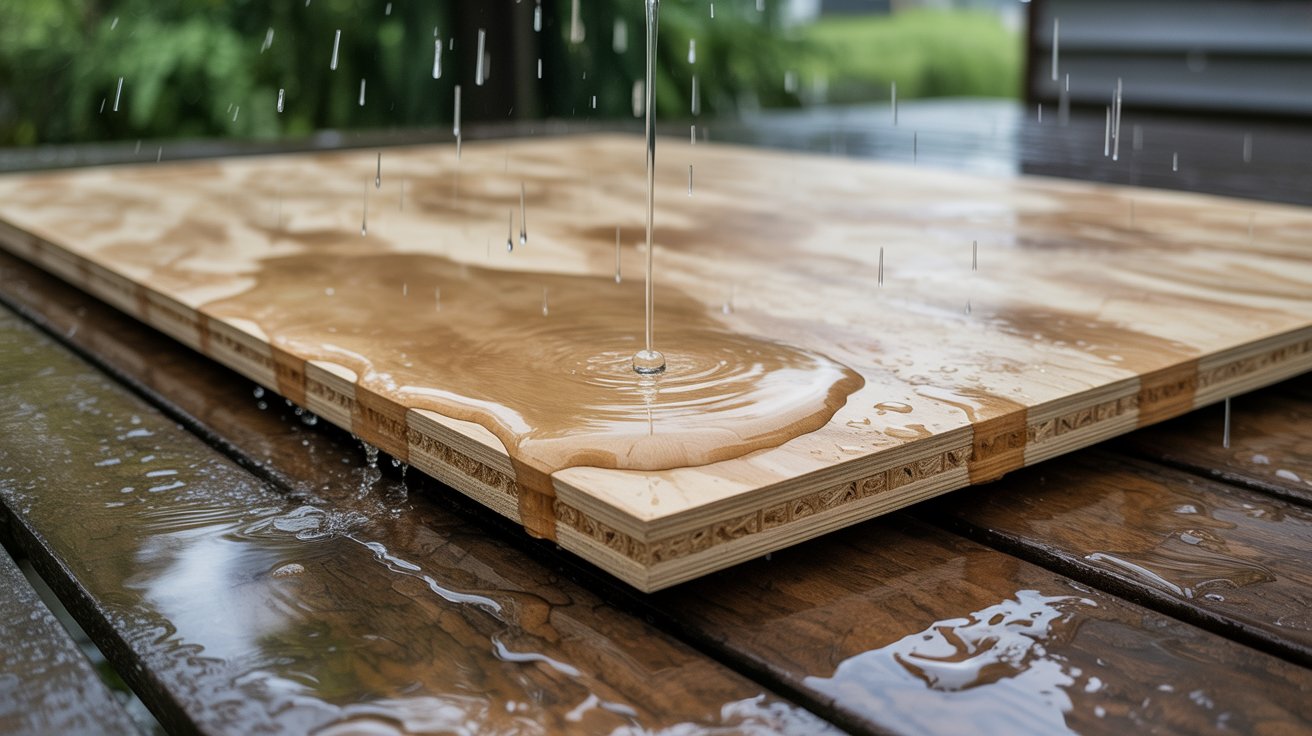
Plywood consists of thin wood layers glued together. When water seeps in, it weakens the glue bonds and causes warping and buckling. Wet plywood becomes a breeding ground for mold. Eventually, it turns soft and crumbly. Rot sets in quickly, and you can’t reverse this damage.
Waterproofing extends plywood’s lifespan significantly. A properly sealed sheet can last decades. Sealed plywood resists swelling and shrinking, so your projects maintain their shape. It also prevents surface stains.
Outdoor projects require waterproofing without exception. Garden sheds, decks, and fences face constant rain and humidity. Bathrooms and kitchens need sealed plywood because steam creates moisture exposure.
Boats demand the strongest waterproofing. Even basements and laundry rooms benefit from protection.
Best Methods to Make Plywood Waterproof
Here are six proven waterproofing methods you can use depending on your project needs, moisture exposure, and desired finish appearance.
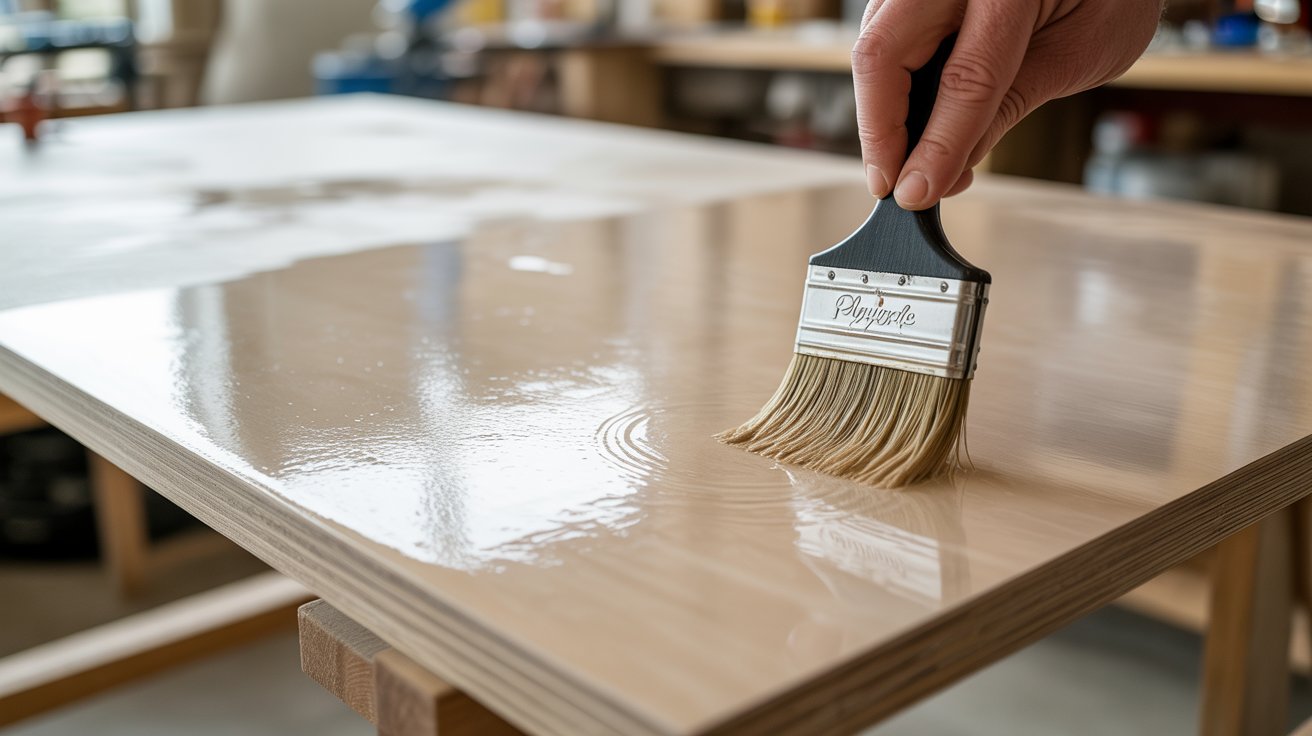
1. Waterproofing Plywood with a Wood Sealant
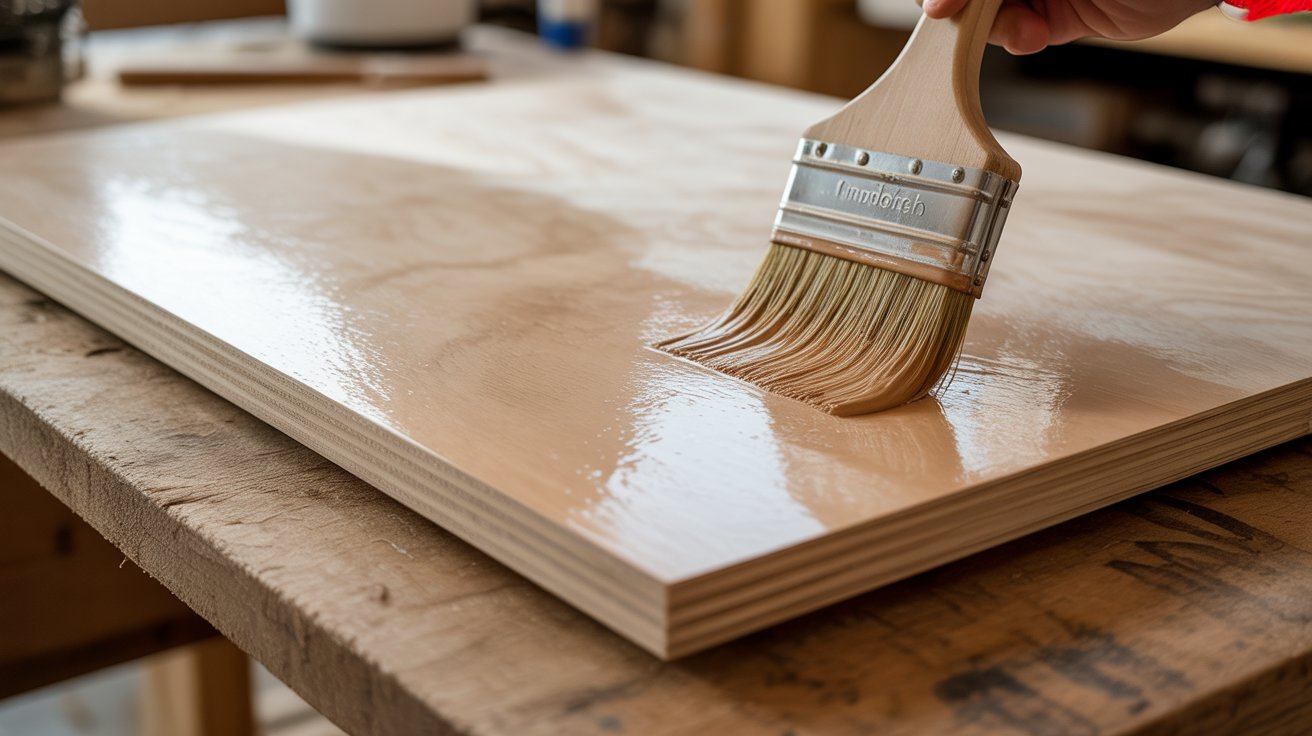
Wood sealant soaks into plywood and creates a moisture barrier while keeping the grain visible and letting the wood breathe naturally.
Wood sealant penetrates the surface and fills tiny pores in the wood fibers. This stops water from going deeper. You can still see the wood grain and texture.
Sand with 120-grit sandpaper and remove all dust. Apply the first coat with a brush or roller. Pay extra attention to edges and corners. Let it dry for 2-4 hours. Sand lightly with 220-grit paper. Apply a second coat. Wait 24-48 hours before using the plywood.
This works great for bathroom vanities and kitchen cabinets. It’s not strong enough for direct water contact or outdoor exposure.
2. Waterproofing Plywood with Waterproofing Paint
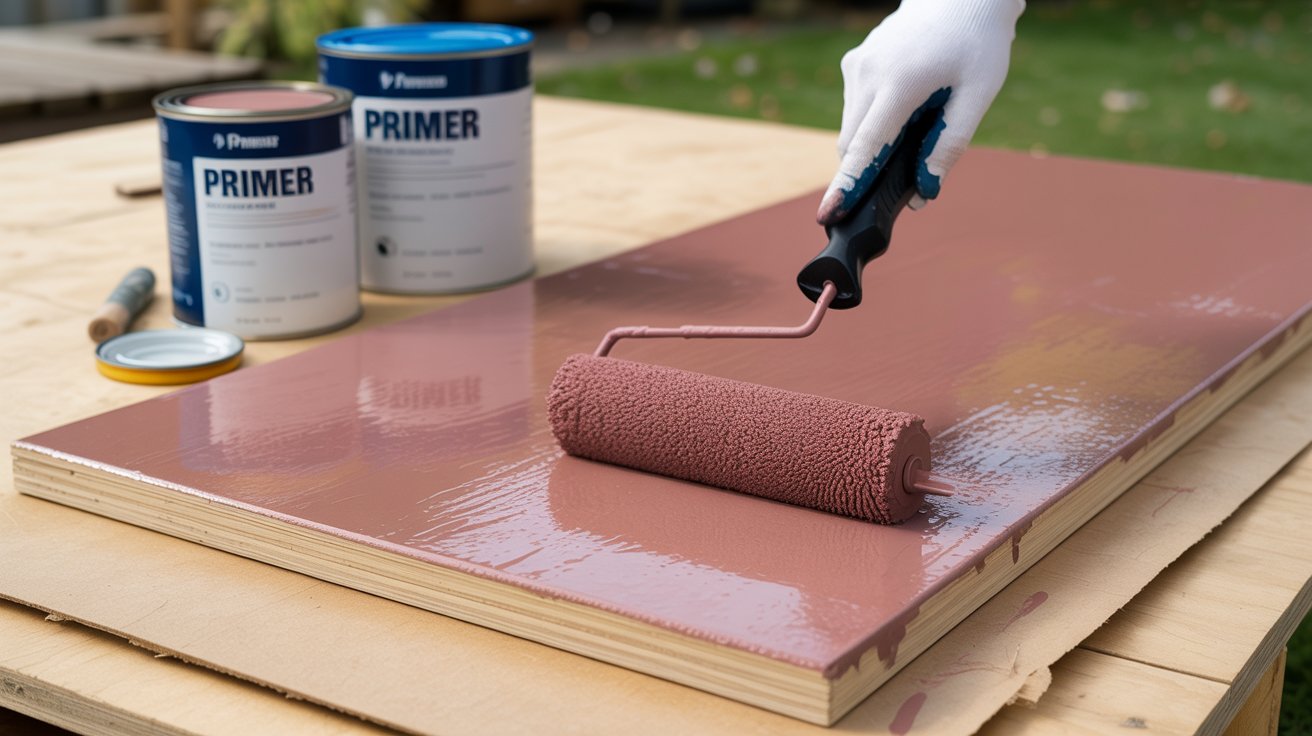
Waterproof paint creates a thick, impermeable coating that completely blocks moisture and resists UV damage from sunlight and weather.
Waterproof paint creates a thick coating that completely blocks moisture. It provides excellent protection for outdoor projects. You get color options that hide surface imperfections too.
Sand with 120-grit sandpaper. Fill holes with wood filler. Apply a primer coat designed for exterior wood. Let it dry for 4-6 hours. Apply the first coat of waterproof paint. Wait 4-8 hours. Apply a second coat. Let the final coat cure for 24-48 hours.
This excels for deck surfaces and outdoor furniture. Garden benches, planter boxes, and storage sheds all benefit.
3. Waterproofing Plywood with Marine Varnish
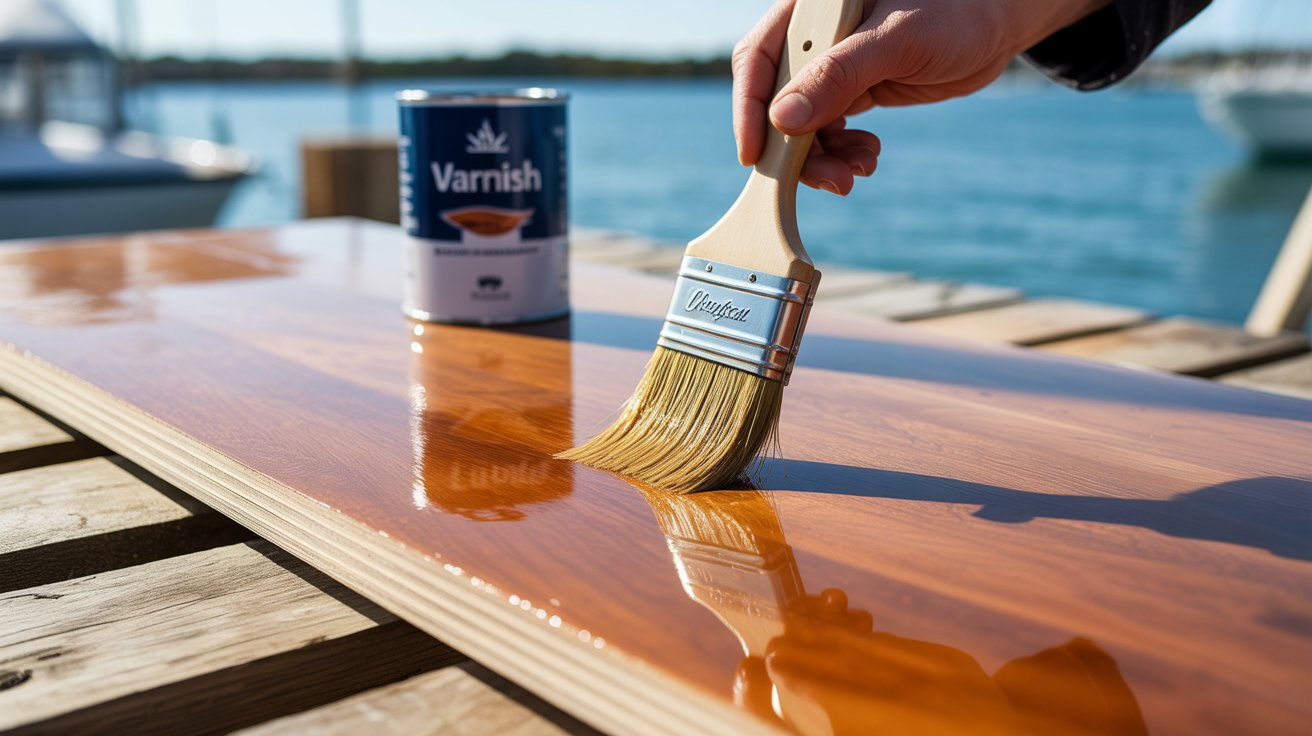
Marine varnish contains special resins designed for harsh water environments and creates an extremely hard, flexible, waterproof coating with UV inhibitors.
Marine varnish contains special resins for harsh water environments. This finish withstands constant moisture, salt water, and temperature swings. It has UV inhibitors and forms a flexible coating that won’t crack.
Sand thoroughly with 120-grit paper. Thin the first coat with mineral spirits. Apply with a high-quality brush. Let it dry overnight. Sand lightly. Apply the second coat at full strength. Marine varnish needs 4-6 coats. Let it cure for several days before water exposure.
This is essential for boat building and repairs. Docks and piers require marine varnish too.
4. Waterproofing Plywood with Polyurethane
Polyurethane creates a hard, durable surface that resists scratches and moisture while maintaining clarity to show the wood grain beneath.
Polyurethane creates a hard surface that resists scratches and dents. This makes it perfect for surfaces that get heavy use. Water beads up and rolls off. You can choose oil-based or water-based formulas.
Sand with 120-grit paper, then 180-grit. Remove all dust. Apply the first coat with a brush. Let it dry for 4-6 hours for water-based or 8-12 hours for oil-based. Sand lightly between coats. Apply two more coats. Let the final coat cure for 24 hours.
This works beautifully on tabletops and countertops. Indoor and outdoor furniture both benefit.
5. Waterproofing Plywood with Oil-Based Treatments
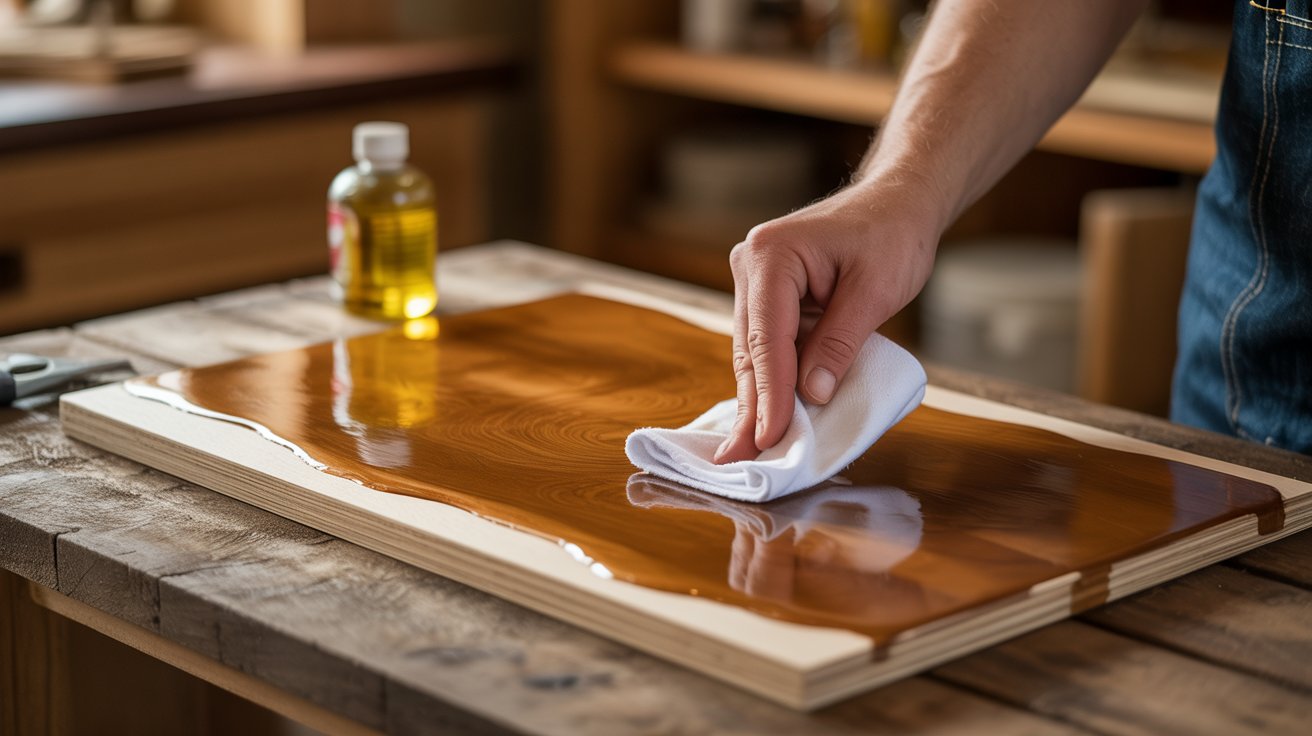
Oil-based treatments like linseed and tung oil penetrate deeply into wood for a natural-looking finish that enhances grain while providing moisture protection.
Linseed oil penetrates deeply and cures faster when boiled. Tung oil provides better water resistance and dries harder. Both create a low-sheen, natural appearance.
Sand smooth with 180-grit paper. Warm the oil slightly. Apply generously with a brush or cloth. Let it soak for 15-20 minutes. Wipe away excess. Let it dry for 24 hours. Apply a second coat. Most projects need 3-4 coats.
This works great for decorative panels and wall coverings. Indoor furniture with light moisture exposure benefits from oil.
6. Waterproofing Plywood with Fiberglass Resin
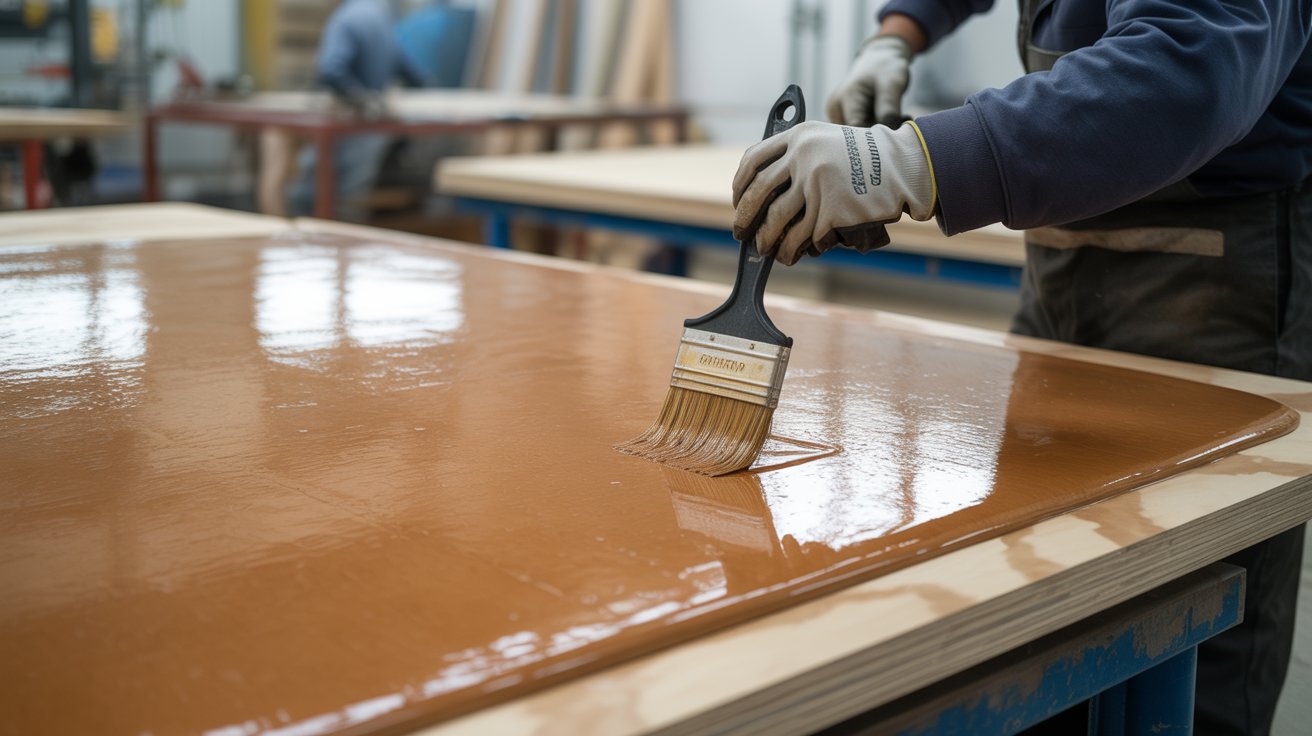
Fiberglass resin creates an extremely durable waterproof shell that fully seals plywood surfaces for heavy-duty and long-term water exposure applications.
Fiberglass resin creates a thick, hard shell over plywood. This provides the strongest waterproof protection available. The resin bonds completely to the wood and forms an impenetrable barrier.
Sand the plywood thoroughly. Mix the fiberglass resin according to instructions. Work quickly since it hardens fast. Apply the first coat with a brush. For extra strength, lay fiberglass cloth over the wet resin. Let it cure for several hours. Sand lightly and apply a second coat. Let it cure for 24-48 hours.
This works best for boat hulls and underwater structures. Pool decks and water features also benefit from this protection.
Tips for Better Waterproofing Results
Follow these essential tips to ensure your waterproofing lasts longer and provides maximum protection against moisture damage.
- Seal all edges and corners thoroughly. Plywood edges absorb moisture faster than faces. Give edges two coats while faces get one. Use a small brush to work sealant into tight spots and corners where water collects.
- Test your sealant on scrap pieces first. This reveals how it looks when dry and prevents mistakes. Test the application technique to learn proper brush strokes and coverage rate before starting your actual project.
- Allow proper drying time between coats. Each layer must cure fully before adding the next. Follow product instructions exactly and add an extra hour to be safe. Work in temperatures above 50°F for best results.
- Reapply sealant every 1-2 years for outdoor projects. Check the finish annually for wear spots. When water stops beading and soaks in slightly, reapply sealant. Clean the surface and lightly sand before applying fresh coats.
- Focus on high-wear areas during maintenance. Edges, corners, and horizontal surfaces wear faster. Touch up these spots more often and keep extra sealant on hand for quick repairs when you notice wear.
Conclusion
Waterproofing plywood doesn’t require special skills or expensive tools. I’ve walked you through six proven methods that protect against moisture damage.
Choose wood sealant for indoor projects, waterproof paint for outdoor structures, marine varnish for boats, polyurethane for heavy-use surfaces, or oil treatments for natural finishes.
The key is picking the right method for your needs and applying it properly. I always seal edges extra carefully and allow full drying time between coats. Your plywood will last years longer with proper protection.
What waterproofing project are you starting? Share your plans in the comments below, and let me know if you have questions about any of these methods.
Frequently Asked Questions
Can you waterproof plywood without changing its appearance?
Yes, clear wood sealants, polyurethane, and oil treatments protect plywood while keeping the wood grain visible. These options maintain the natural look with minimal color change.
How long does waterproofing last on plywood?
Indoor waterproofing lasts 5-10 years with proper application. Outdoor waterproofing needs reapplication every 1-2 years depending on weather exposure.
Can I waterproof plywood that’s already installed?
Yes, you can seal installed plywood. Clean the surface thoroughly first, then apply your chosen sealant carefully to avoid drips on surrounding areas.
What’s the cheapest way to waterproof plywood?
Boiled linseed oil offers the most affordable protection. It costs less than specialized sealants but provides moderate protection best suited for indoor or covered outdoor use.
Do I need to sand between waterproofing coats?
Light sanding between coats improves adhesion and smooths the finish. Use 220-grit sandpaper gently, remove all dust, then apply the next coat.