
Framing a bay window roof scared me the first time I did it. All those angles and calculations seemed impossible.
But here’s what I learned after helping dozens of homeowners with this project. Most started with zero carpentry skills and figured it out.
I’m going to walk you through each step of bay window roof framing. You’ll learn which roof type you have, what materials you need, and how to build it properly without making costly mistakes.
I’ll also show you the common errors that waste time and money. Plus, I’m breaking down the real costs so you can plan your budget correctly.
If I could learn this, you definitely can too. Let’s build your bay window roof together.
Understanding Bay Window Roof Types
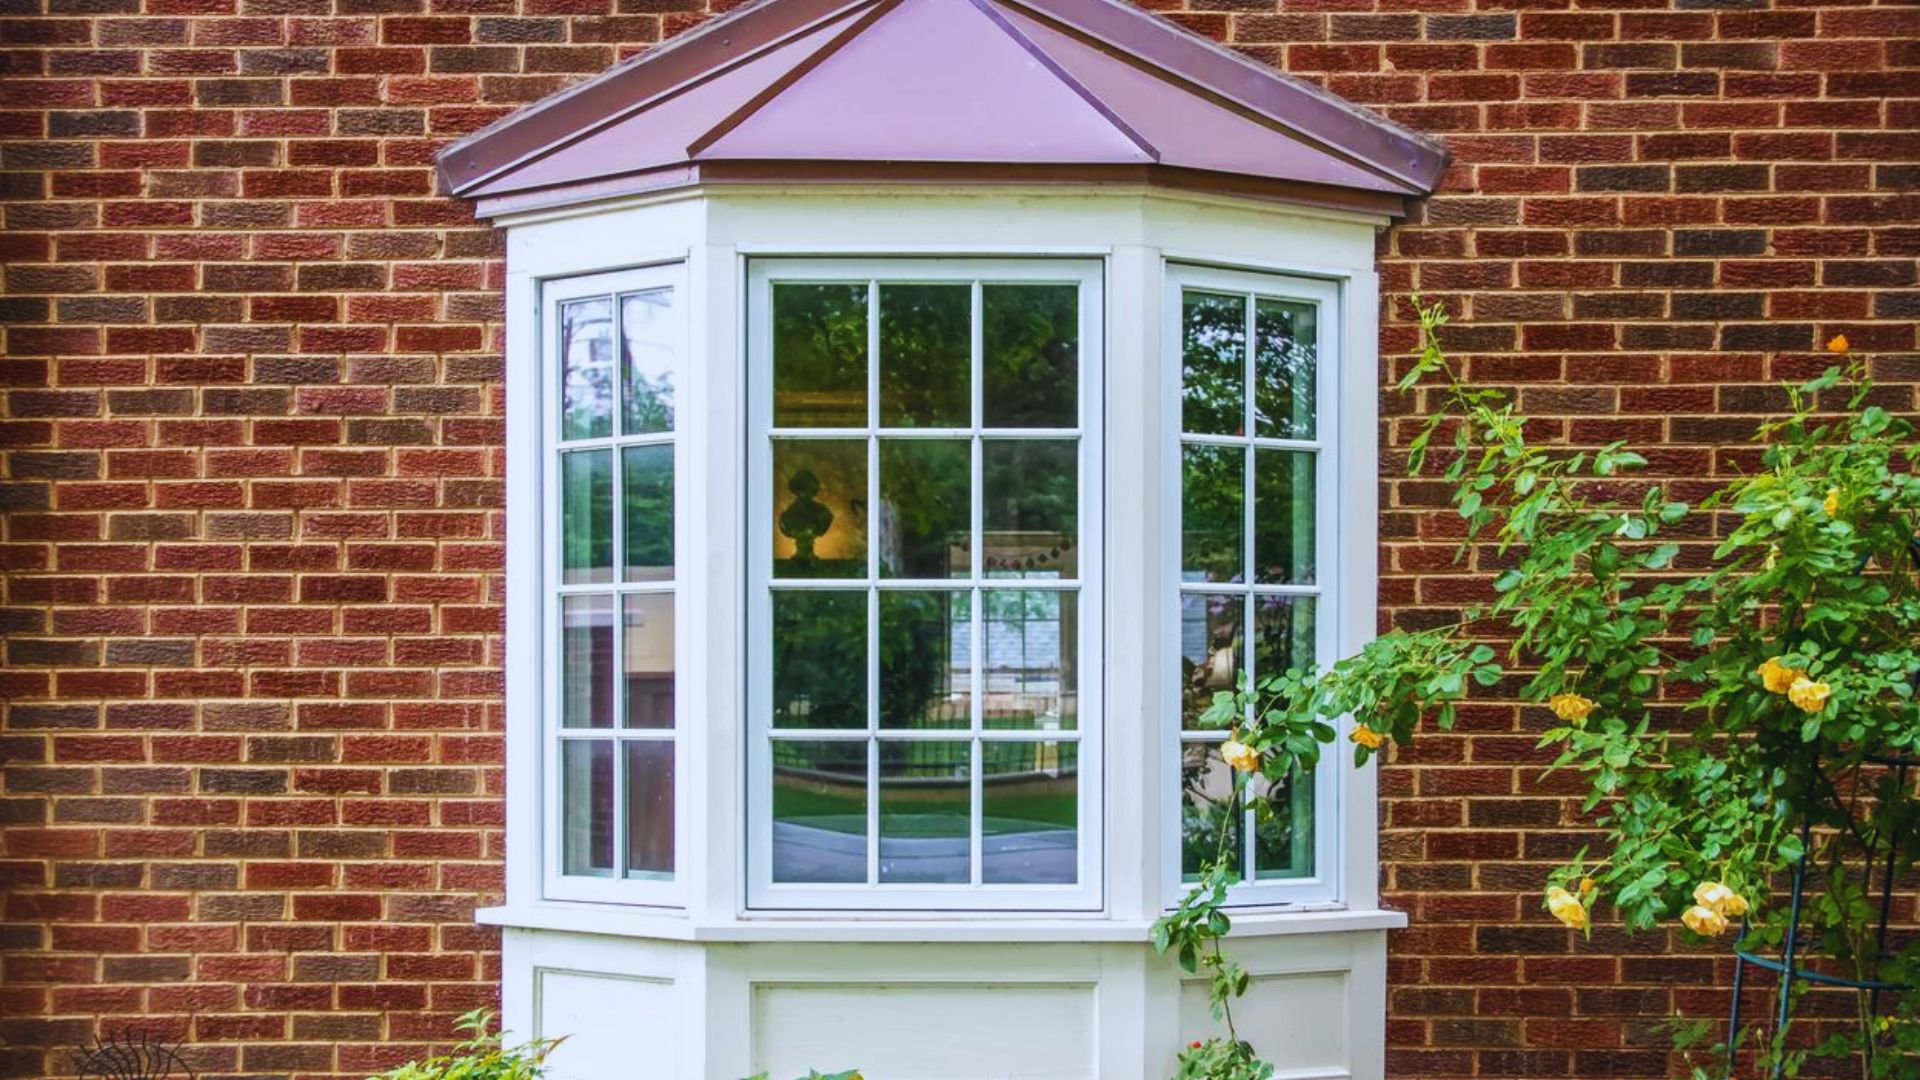
You need to know what kind of bay window roof you have before you start.
Box bay roofs are the simplest. They have a flat top or gentle slope. If you’re new to this, start here.
Angled bay roofs come in 30, 45, or 90-degree setups. The 45-degree style is most common. These need hip rafters at the corners.
Bow window roofs curve outward. These are tough and usually need a professional.
The pitch of your roof controls everything. Most bay window roofs run between 4/12 and 6/12 pitch. That means for every 12 inches across, the roof rises 4 to 6 inches up.
Check your main house roof pitch. Your bay window roof should match it.
Tools, Materials, and Measurements You Need

Let me save you multiple trips to the hardware store.
Tools you’ll need:
- Circular saw or miter saw
- Speed square and framing square
- 4-foot level
- Tape measure
- Drill with bits
- Hammer or framing nailer
Materials to grab:
- 2×6 or 2×8 lumber for rafters
- 2×4 lumber for wall plates
- 1/2-inch plywood sheathing
- Joist hangers
- Deck screws and framing nails
- Roofing felt
- Metal flashing
For spans under 5 feet, use 2×6 rafters. Go with 2×8 for anything larger.
Measure these before buying:
- Width of your bay window opening
- How far the bay sticks out
- Height from window bottom to roof start
- The pitch you want
Write it all down.
Step-by-Step Guide: How to Frame a Bay Window Roof
Let’s build this thing.
Step 1: Prepare the Wall and Install the Header
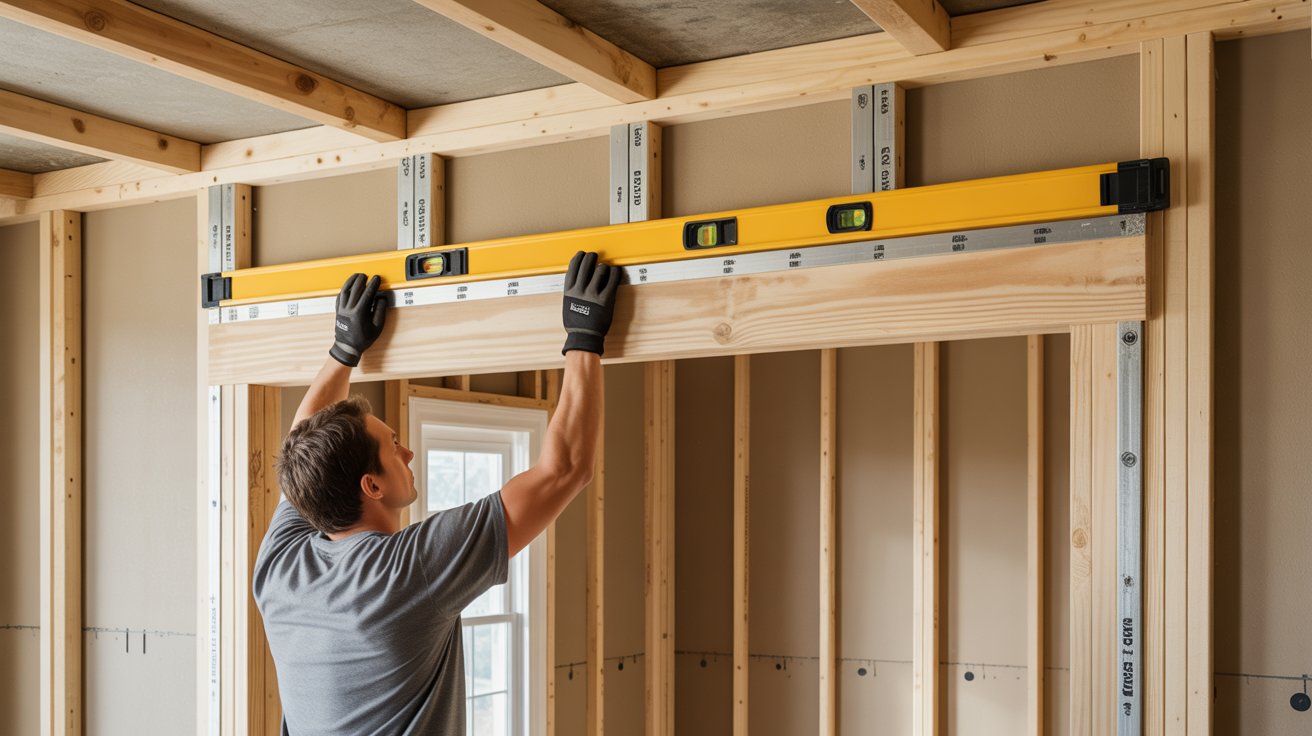
Remove any old trim or siding around the opening. You want to see the wall studs.
Install a doubled 2×8 header across the top. Use two boards with 1/2-inch plywood between them. Attach it to the king studs on each side.
Make sure the header is level. Check it from multiple angles.
Step 2: Build the Roof Base
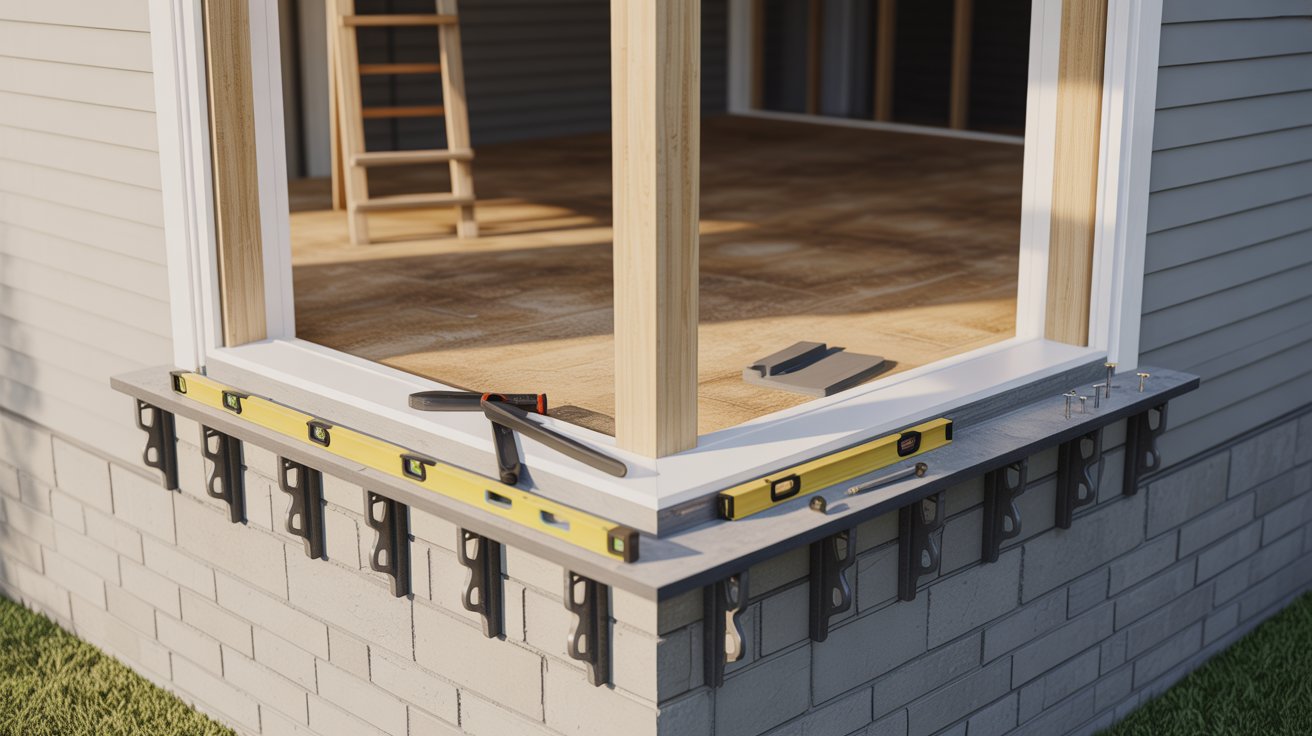
Cut a 2×4 to match your bay window front width. This is your front wall plate.
Attach a ledger board to the house wall. Use lag screws every 16 inches. Hit wall studs, not just siding.
The ledger needs to be level with your front wall plate.
Step 3: Determine Roof Pitch and Rafter Angle
Let’s say you want a 5/12 pitch. That means 5 inches up for every 12 inches across.
Measure the distance from your wall plate to the ledger. If that’s 24 inches, your rise will be 10 inches.
Use your speed square to mark the plumb cut at the top and the bird’s mouth cut where it sits on the wall plate.
The bird’s mouth should be no deeper than one-third of the rafter width.
Cut one rafter first. Test it before cutting the rest.
Step 4: Cut and Install the Common Rafters
Space rafters 16 inches on center. Start with the center rafter first.
Attach the top end to the ledger with joist hangers. The bottom sits in the bird’s mouth notch. Toenail it with three nails.
Check each rafter for plumb. Install the others working outward from center.
Step 5: Add Hip Rafters or Side Rafters
If you have an angled bay, you need hip rafters at the corners. They run diagonally from the corner up to the ridge.
For a 45-degree bay with 5/12 pitch, your hip rafter pitch drops to about 3.5/12.
Cut hip rafters longer than needed. Side rafters connect from the wall plate to the hip rafter.
Step 6: Install Ridge Board and Connect Rafters
If your rafters meet at a peak, you need a ridge board. Use a 1×6 or 2×6.
Support the ridge board with vertical props while you nail rafters to it. Face-nail with three nails per side.
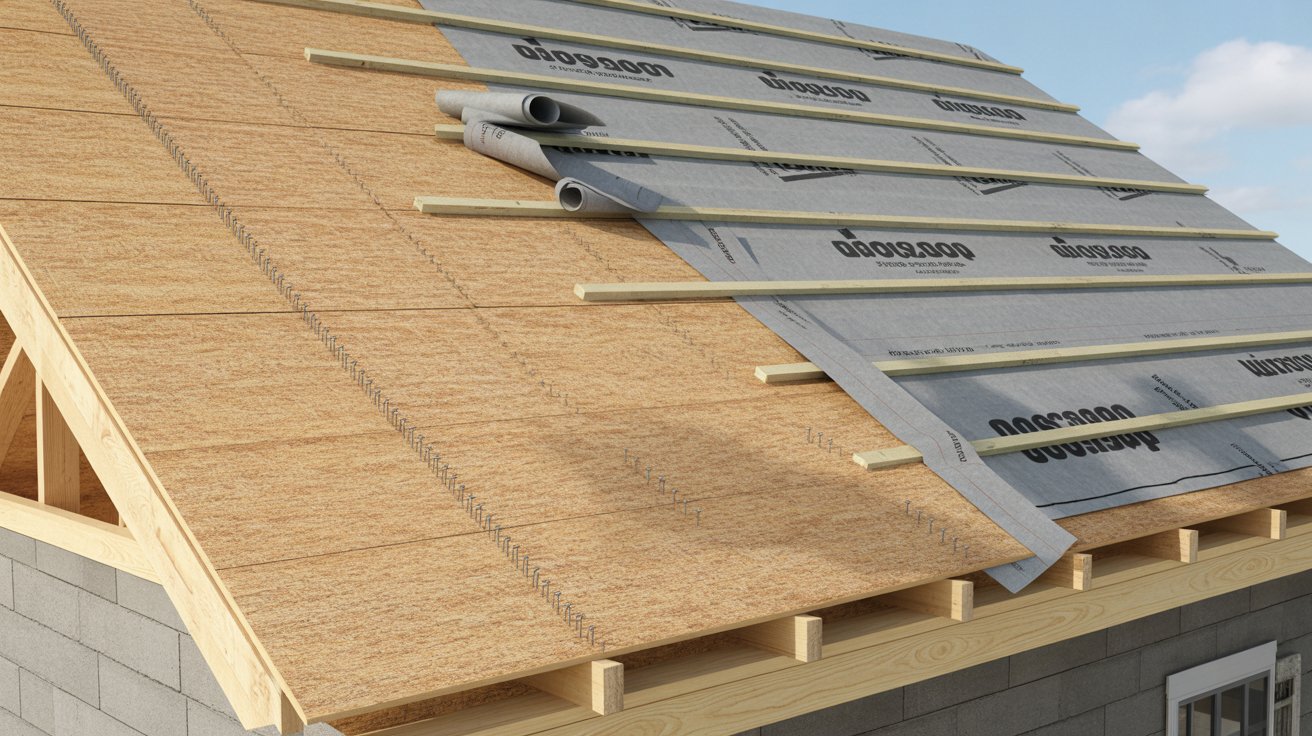
Step 7: Add Sheathing, Underlayment & Weatherproofing
Start with 1/2-inch CDX plywood sheathing. Work from bottom to top. Stagger the seams.
Leave a 1/8-inch gap between sheets. Nail every 6 inches along edges.
Install roofing felt over the sheathing. Overlap each row by 6 inches.
Install step flashing where the bay roof meets your house wall. Each piece overlaps the one below by 3 inches.
Common Mistakes When Framing a Bay Window Roof
I’ve seen these mistakes happen over and over.
- Don’t skip the header or use one that’s too small. A weak header will sag. Always use a doubled header.
- Measure rafter spacing at 16 inches on center every time. Don’t eyeball it.
- Keep the bird’s mouths to one-third of the rafter depth. Deeper cuts weaken the rafter.
- Include plywood thickness in your rafter measurements.
- Take your time with flashing. Water damage ruins more roofs than anything else. Overlap everything and use roofing cement.
- Check local building codes before you start. Some areas need specific rafter sizes or pitch minimums.
Cost Breakdown: Materials & Labor
Materials for a 4-foot by 3-foot bay window roof:
| Item | Cost Range |
| Lumber (rafters, plates, blocking) | $150 – $250 |
| Plywood sheathing | $80 – $120 |
| Joist hangers and hardware | $40 – $60 |
| Underlayment and flashing | $60 – $100 |
| Nails, screws, cement | $30 – $50 |
| Total Materials | $360 – $580 |
Labor costs if you hire someone:
| Service | Rate | Time | Total Cost |
| Professional framing | $50 – $100/hour | 12 – 20 hours | $1,200 – $2,500 |
Additional costs:
| Item | Cost Range |
| Roofing materials (shingles, trim, gutters) | $300 – $800 |
| Surprise expenses (add 15% buffer) | Varies |
Total project costs:
| Project Type | Total Cost |
| DIY (materials + roofing) | $800 – $1,500 |
| Professional installation (complete) | $2,500 – $5,000 |
Conclusion
You now have everything you need to frame a bay window roof properly from start to finish.
Is it tough? Yes. But I’ve watched people with no carpentry background do this successfully when they take their time.
Measure carefully. Don’t rush the header. Make sure your rafters are level before moving forward to the next step.
The difference between a roof that lasts and one that causes trouble comes down to being careful during framing. Those extra minutes you spend checking angles and connections will save you thousands later in repairs.
If you feel stuck at any point, call a professional for help. Sometimes the smartest move is knowing when you need another set of hands.
Now go build that bay window roof.
Frequently Asked Questions
Can I frame a bay window roof by myself or do I need help?
You can definitely do it yourself if you’re comfortable with basic carpentry and have the right tools. However, having a helper makes positioning rafters and holding the ridge board much easier and safer.
What’s the minimum roof pitch I can use for a bay window?
The minimum recommended pitch is 3/12, but I suggest going with at least 4/12 for better water drainage. Anything flatter tends to develop pooling problems and leak over time.
How long does it take to frame a bay window roof?
For a DIYer working alone, expect 2 to 3 full days for a standard bay window roof. Experienced carpenters can knock it out in 12 to 16 hours, but take your time if it’s your first project.
Do I need a building permit to frame a bay window roof?
Most areas require permits for structural work like this since you’re modifying your home’s exterior and roof system. Check with your local building department before starting to avoid fines or having to redo work.
What happens if my rafter measurements are slightly off?
Small errors under 1/4 inch usually aren’t catastrophic and can be shimmed or adjusted during installation. Anything more than that will create visible problems with your roof line and should be recut for proper fit.