
Learn the right ratios and techniques to thin paint for smooth, professional spraying results. Get flawless finishes every time.
How to Thin Paint for Your Sprayer: A Simple Guide
Getting Your Spray Gun Ready? Here’s What You Need to Know
Your spray gun is sitting there. The paint can is open. But wait. Are you about to make the mistake that ruins most DIY paint jobs?
Here’s the thing. Most people skip thinning their paint. Then they wonder why their sprayer clogs every five minutes.
I’ve been there. Thick paint creates streaky finishes. It shortens your sprayer’s life. And it turns a simple project into a frustrating mess.
But when do you think you paint correctly? Magic happens.
You get smooth, professional finishes. Your sprayer runs like a dream. No more constant cleaning breaks.
This guide shows you exactly how to thin any paint type. We’ll cover the right ratios, tools you need, and common mistakes to avoid.
Ready to make your next project actually enjoyable?
Understanding Paint Thinning for Spray Guns

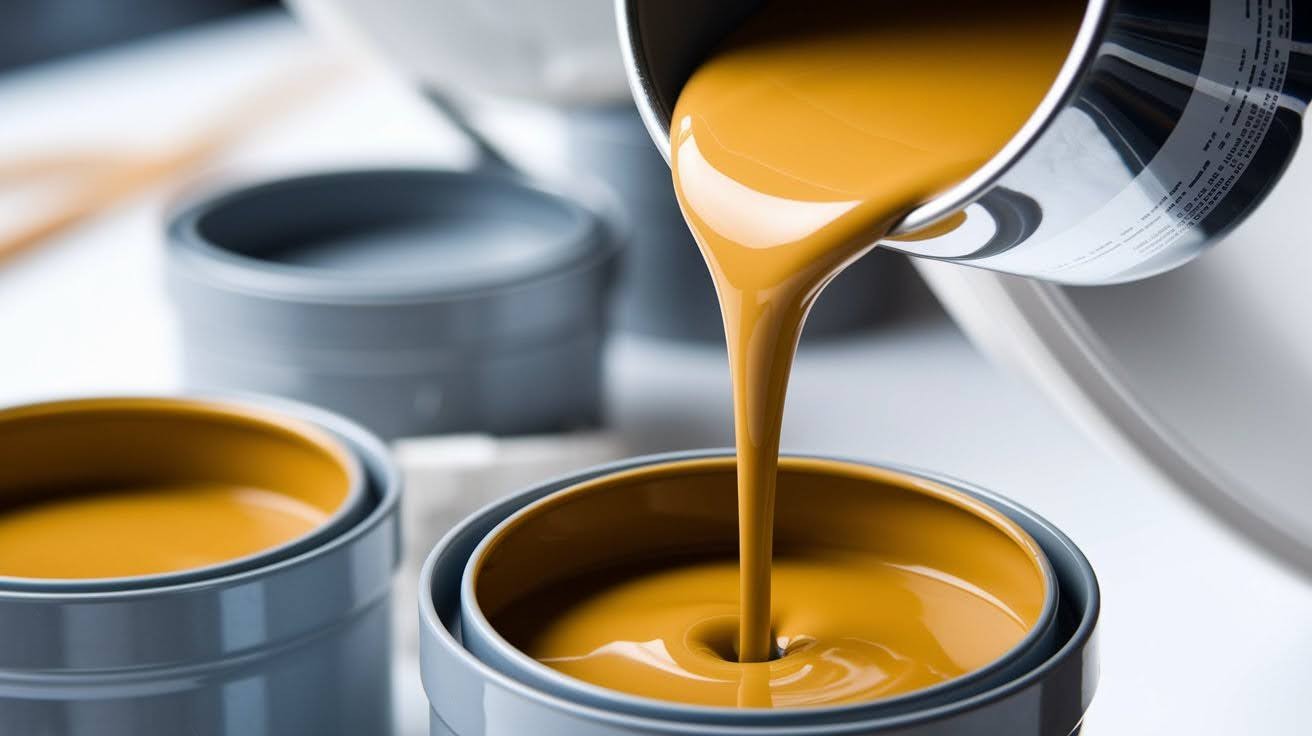
Let’s talk viscosity. It’s how thick your paint flows. Think honey versus water. Your spray gun needs paint that flows just right. Too thick and it won’t spray properly. Too thin and you’ll get drips everywhere.
Latex and acrylic paints straight from the can are usually too thick. They need help flowing through your sprayer’s nozzle. Oil-based paints often spray better without thinning.
Adding too much thinner at once is a big mistake. You can’t take it back. Use water for latex, mineral spirits for oil-based. Always test on a small area first. Check your spray gun manual for the ideal viscosity before you start mixing.
Supplies You’ll Need Before Thinning Paint
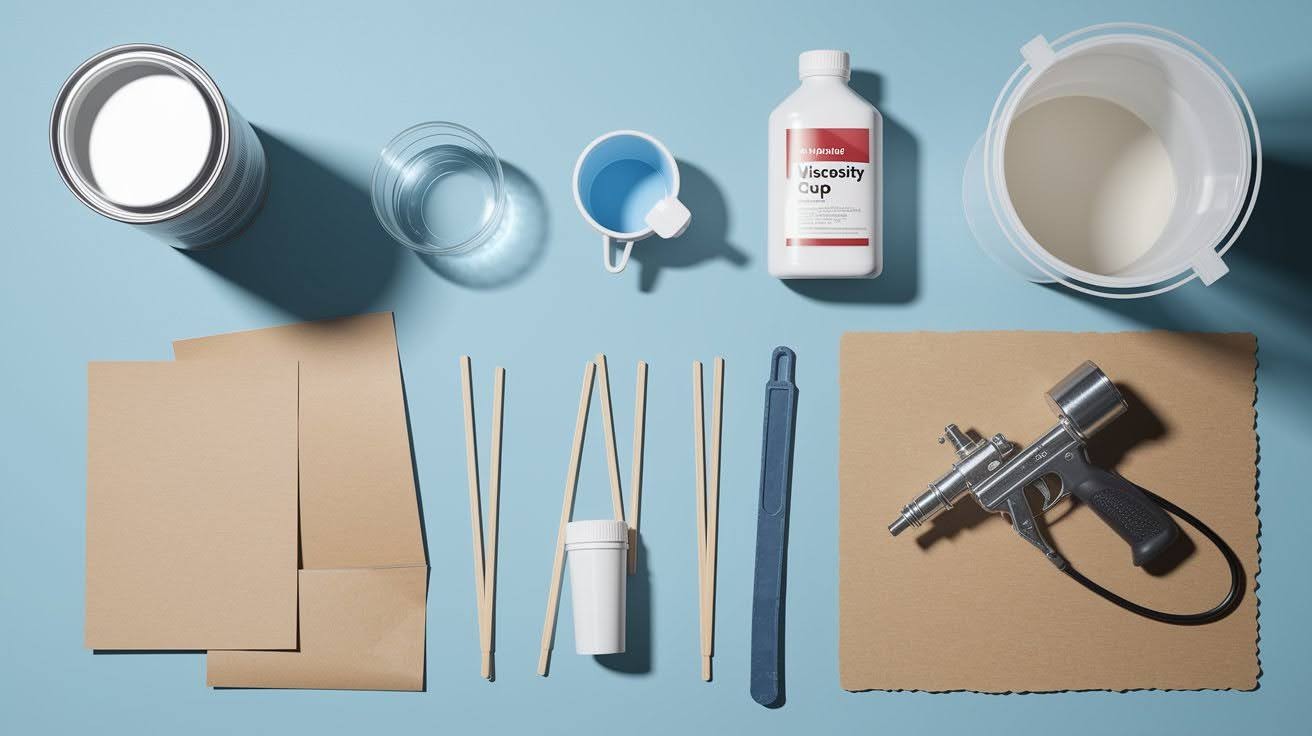
You don’t need fancy equipment to thin paint properly. Just grab these basic supplies and you’re ready to go.
- Paint (latex, acrylic, or enamel)
- Water for latex and acrylic paints
- Paint thinner or mineral spirits for oil-based paints
- Funnel or viscosity cup for mixing
- Stir sticks (wooden work fine)
- Clean bucket for mixing
- Your spray gun
- Test surface (cardboard, scrap drywall, or wood)
Water works for latex and acrylic paints. It’s cheap and easy to clean up. Never mix water with oil-based paint or you’ll create a mess. Use paint thinner or mineral spirits for those instead.
A viscosity cup works better for testing consistency than a regular funnel. But if you don’t have one, a funnel will do the job. Plastic buckets are easier to clean than metal ones.
Keep everything within reach. Once you start mixing, you want to work quickly before the paint starts to settle. Never test directly on your final surface. You might need several test sprays to get the consistency right.
Step-by-Step Guide: How to Thin Paint for a Sprayer
Getting the right paint consistency takes patience. But these five steps make it foolproof.
Step 1: Start with a 10% Water or Thinner Mix
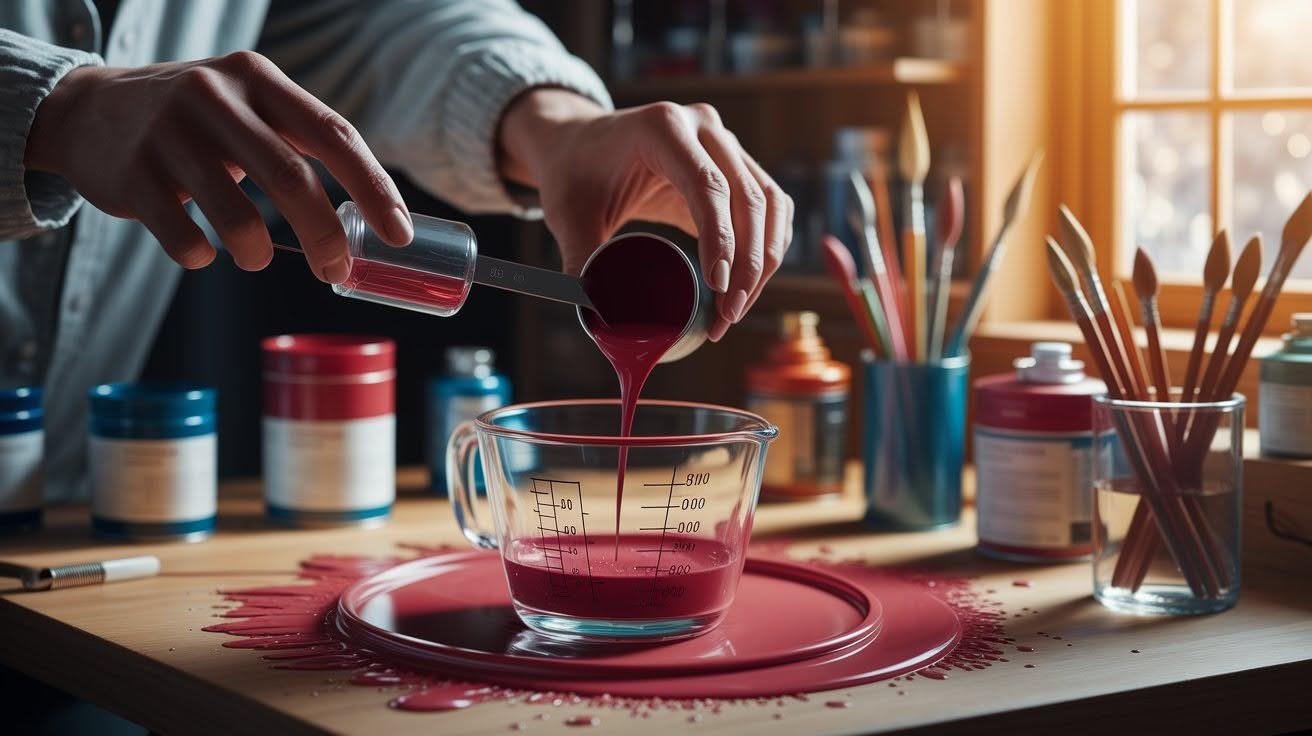
Most paints need about 10% thinner to start. That’s one part thinner to ten parts paint. Use a measuring cup for accuracy. Don’t eyeball it. You can always add more, but you can’t take it back.
Step 2: Use a Funnel or Viscosity Cup to Test Flow
Pour your mixed paint through the funnel. Watch how it flows. Good paint should flow like warm syrup. Too fast means it’s too thin. Too slow means you need more thinner. This test saves you from ruined spray jobs.
Step 3: Adjust the Ratio Gradually
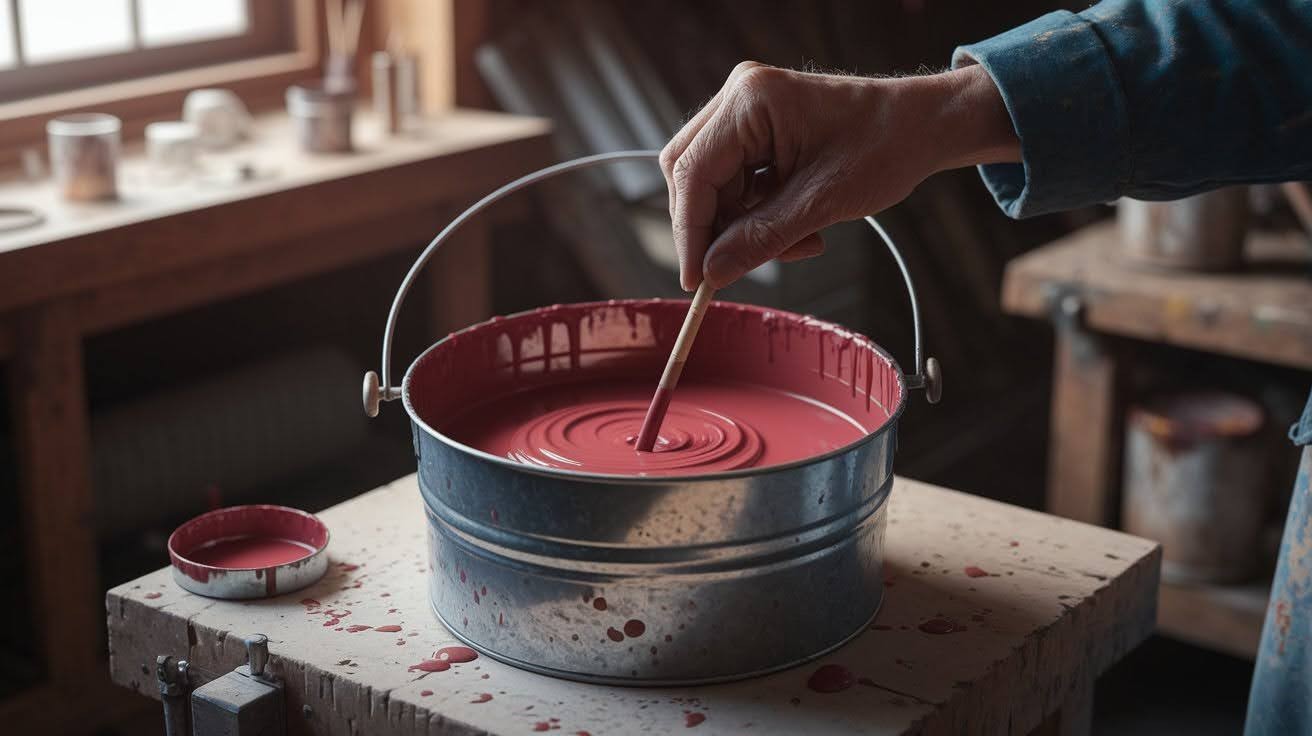
Add thinner in small amounts. Go up by 5% each time. Some paints hit their sweet spot at 15%. Others need 20%. Latex usually needs more than oil-based products. Don’t rush this step. You’re looking for smooth flow without losing color strength.
Step 4: Test Spray on Scrap Material
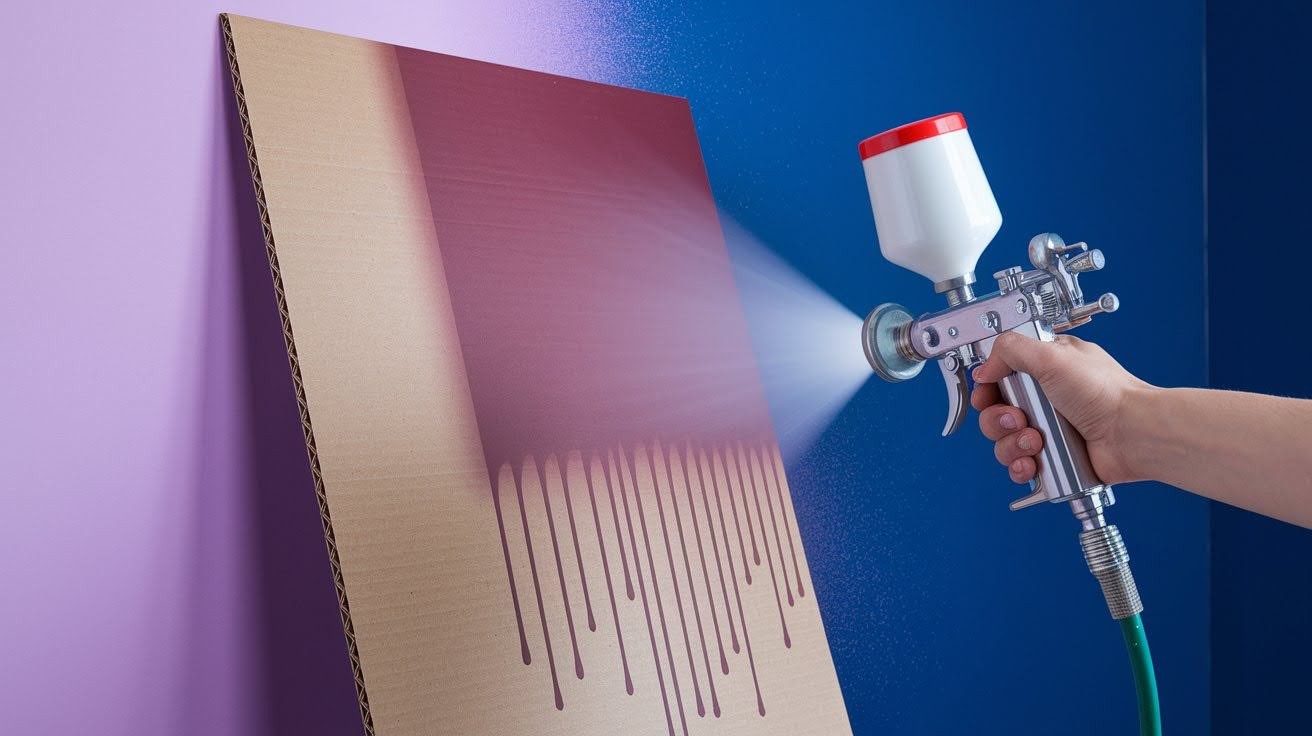
Load your spray gun and test on cardboard. Look for even coverage without drips. Paint too thick creates an orange peel texture. Too thin creates runs and weak color. Keep adjusting until you get smooth, even coverage.
Step 5: Start Spraying Your Surface
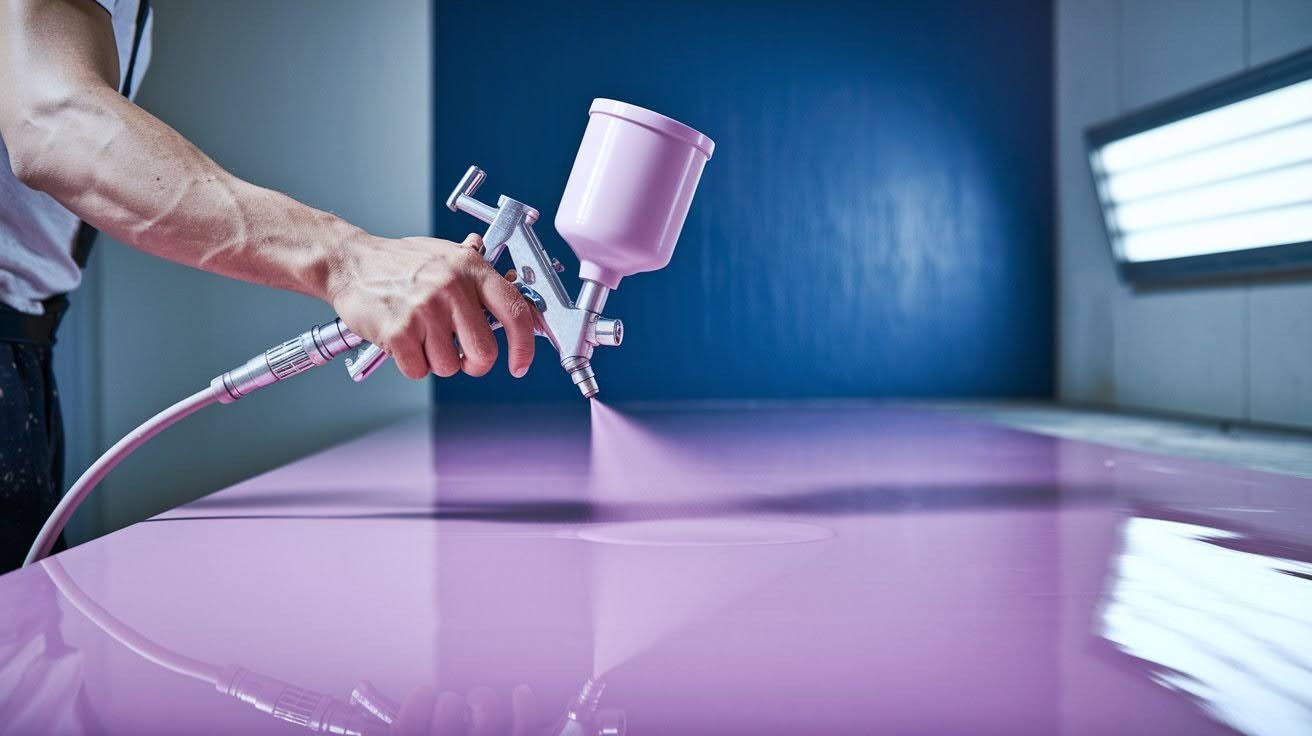
Load your spray gun with the perfected mix. Keep the gun moving in steady, overlapping passes. Maintain the same distance from your surface. Stop if the spray pattern changes. Your paint might be settling and need another stir.
Pro Tips for Best Results
Want professional results every time? These tips make all the difference.
- Always strain your paint first: Old paint has lumps. New paint sometimes has skin on top. Both will clog your sprayer instantly. Run everything through a paint strainer before you start thinning.
- Mix small batches at a time: Don’t thin your entire gallon at once. Start with what you need for one coat. Thinned paint doesn’t store as well as unthinned paint. It can separate or get a weird texture overnight.
- Keep a log of your ratios: Write down what worked. “Sherwin-Williams latex, 15% water, perfect for kitchen cabinets.” You’ll thank yourself next time you tackle a similar project.
- Clean your sprayer right away: This isn’t optional. Paint dries fast inside spray guns. Even water-based paint becomes cement if you leave it overnight. Run clean thinner or water through your gun until it sprays clear.
These simple steps save hours of frustration. Your sprayer will last years longer with proper cleaning. Fresh batches always spray better than day-old mixtures.
Conclusion
You’ve Got This
Thinning paint correctly isn’t rocket science. But it makes the difference between amateur and professional results.
I’ve watched too many people skip this step. They end up with clogged sprayers and streaky finishes. Then they blame their equipment instead of their preparation.
You now know the right ratios. You understand when to thin and when to leave paint alone. You have a system that works.
Practice makes perfect here. Your first project might take longer as you find your rhythm. By the third project, you’ll be mixing paint like a pro.
Ready to put this knowledge to work? Check out our guide to choosing the right spray gun for your next project. Or browse our reviews of paint sprayers under $200.
Your walls are waiting. Go make them look amazing.
Frequently Asked Questions
Can I use water to thin all types of paint?
No, water only works for latex and acrylic paints. Oil-based paints need mineral spirits or paint thinner to thin properly.
How much should I thin my paint?
Start with 10% thinner and test the flow. Most paints need between 10-20% thinning for smooth spraying.
What happens if I thin my paint too much?
Over-thinned paint creates runs, drips, and poor coverage. You’ll need multiple coats, and the color might look weak.
Can I store thinned paint for later use?
It’s better to mix fresh batches each time you spray. Thinned paint can separate and change texture when stored.
Why is my spray gun still clogging after thinning?
You probably didn’t strain the paint first. Always run paint through a strainer to remove lumps and dried bits.