
Getting a new roof is one of the biggest investments you’ll make in your home, and I know how overwhelming it can feel.
You’re probably wondering what actually happens during installation and whether your contractor is doing things right.
I’ve been there too, and I understand that worry about making the wrong choice or getting taken advantage of.
That’s exactly why I wrote this guide for you. I’m going to walk you through every step of the roof installation process, from the initial planning to the final cleanup.
You’ll learn what to expect, what questions to ask, and how to spot quality work. Most importantly, I’ll help you build confidence in your decisions and trust in the process.
By the end of this article, you’ll feel prepared and informed about your roofing project. Ready to get started?
The Roof Installation Process Explained
Here’s what actually happens when contractors replace your roof from start to finish.
Key Factors That Affect Roof Installation
Several important elements can speed up or slow down your roofing project.
Let me tell you about the main things that impact how your roof installation goes. Weather is the biggest factor. Rain, snow, or high winds will stop work completely. I’ve seen projects delayed for weeks because of bad weather.
Your roof’s complexity matters too. A simple ranch house goes fast. But if you have multiple levels, dormers, or skylights? That takes longer.
Material choice affects timing. Asphalt shingles install quickly. Metal roofing or tile work takes more time and skill.
Here’s something most people don’t think about: permit approval. Some areas require inspections that can add days to your project.
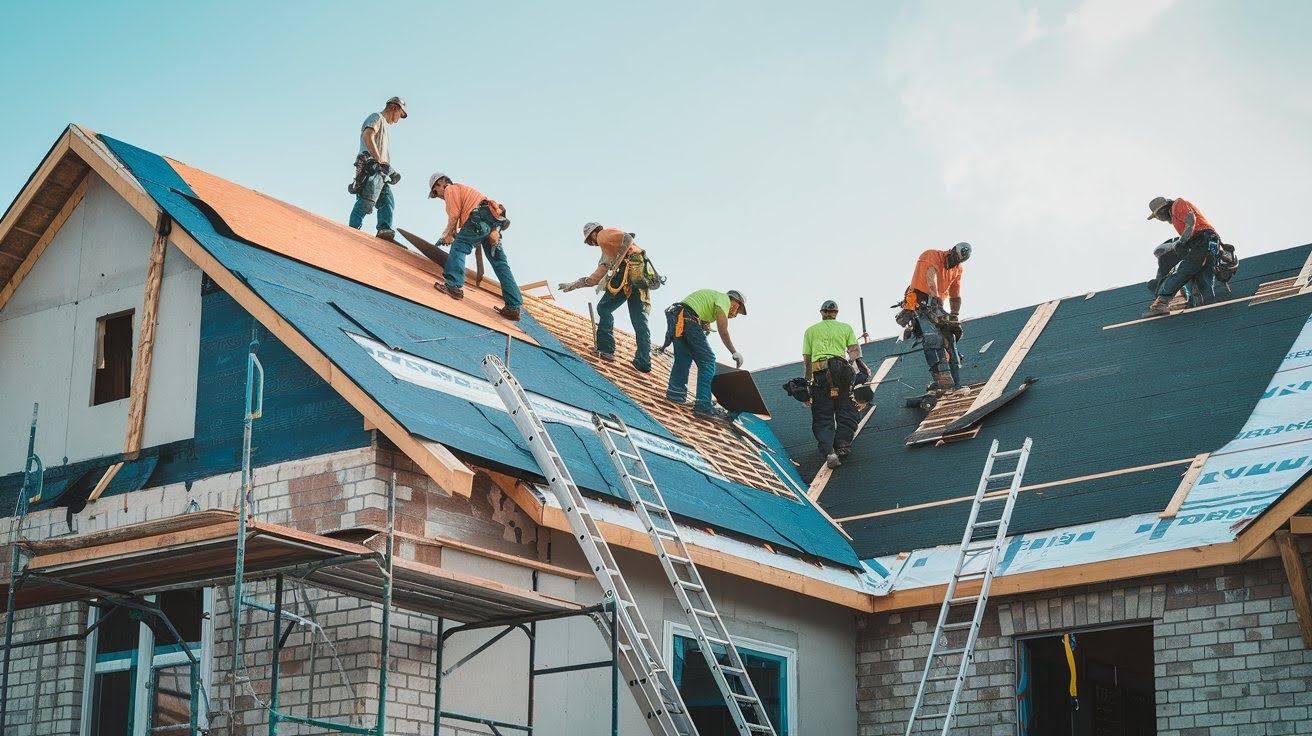
The size of your crew makes a difference. More experienced workers mean faster, better results.
How Long Does Roof Installation Take?
Most residential roof replacements finish within 1-3 days depending on several factors.
I get this question all the time. Most homes take 1-3 days for a complete roof replacement.
A small, simple house might finish in one day with good weather. Think 1,200 square feet with basic shingles.
Medium-sized homes usually need 2-3 days. That’s your typical 2,000-2,500 square foot house.
Large or complex roofs can take a week or more. Multiple stories, steep slopes, or specialty materials slow things down.
Remember this: quality work takes time. If someone promises to finish your big roof in half a day, be worried. Good contractors don’t rush important steps like proper flashing or underlayment installation.
Weather delays happen. Plan for extra time, especially during rainy seasons.
7 Steps Of Roof Installation Process
Professional roofers follow these exact steps to ensure your new roof is installed correctly and safely.
Step 1: Roof Inspection & Preparation
Contractors examine your current roof and prepare the work area before starting any removal.
I always start by checking your existing roof carefully. This inspection shows me what problems need fixing beyond just replacing shingles.
I look for damaged decking, rotted wood, and structural issues. These problems must get fixed first.
Next comes preparation. I order all materials and schedule delivery. Timing matters here. You don’t want shingles sitting in your driveway for weeks.
I also protect your property. Tarps go over plants and outdoor furniture. Your air conditioning unit gets covered too.
Weather planning happens now. I check forecasts and plan around rain or storms.
Step 2: Removing The Old Roof
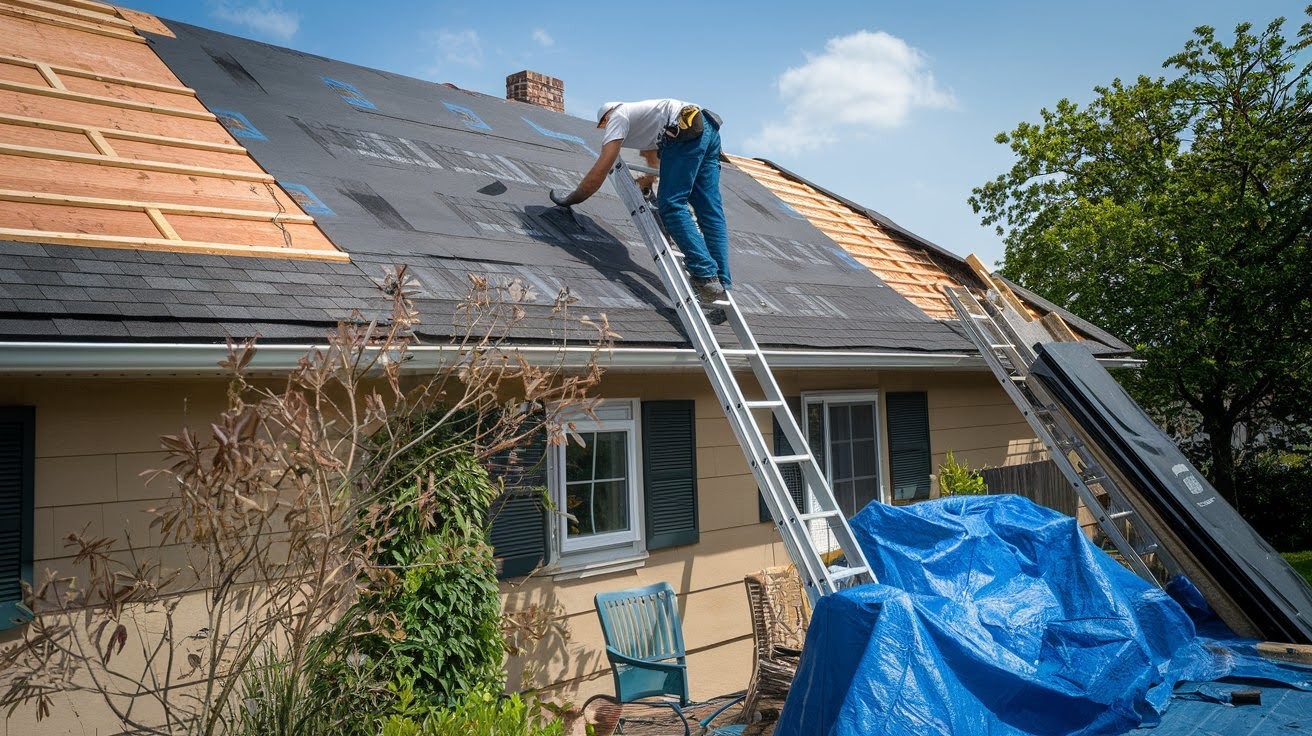
All existing roofing materials get stripped down to the roof deck to start fresh.
This is the messiest part, but it’s necessary. I remove every old shingle, nail, and piece of underlayment.
My crew works systematically from top to bottom. We use special tools to pull up materials without damaging the roof deck underneath.
Here’s what most people don’t expect: the noise. Removing old roofing is loud. Plan accordingly if you work from home.
I inspect the roof deck as we go. Damaged or rotted boards get replaced immediately. This prevents future problems.
All old materials go into a dumpster right away. No debris sits around creating hazards.
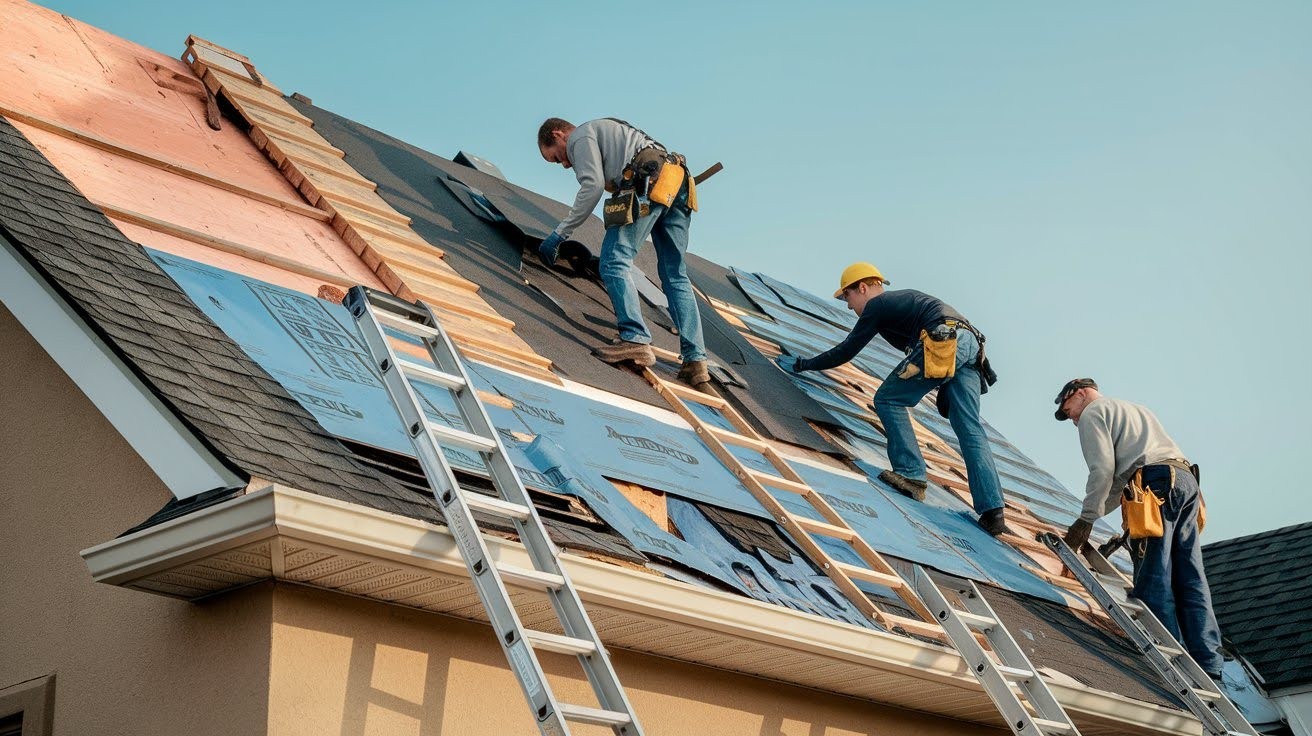
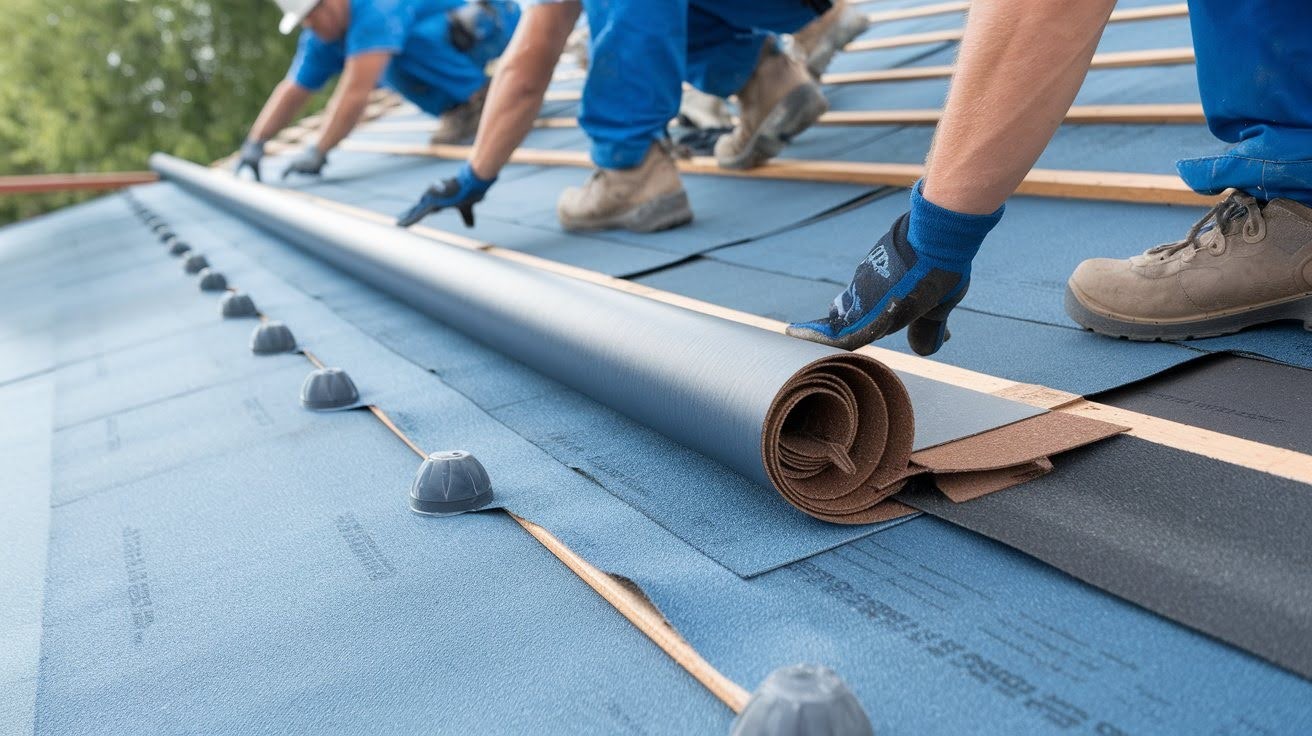
Step 3: Installing Roof Underlayment

A protective barrier goes over the roof deck before any shingles get installed.
Underlayment is your roof’s insurance policy. It protects against water damage if shingles fail.
I roll out synthetic underlayment across your entire roof deck. This material is stronger and lasts longer than old felt paper.
Proper overlap is critical. Each row must overlap the previous one by at least 6 inches. No shortcuts here.
I secure it with plastic cap nails. These hold better than regular nails and don’t create holes that leak.
Special attention goes to problem areas. Valleys, edges, and penetrations get extra protection.
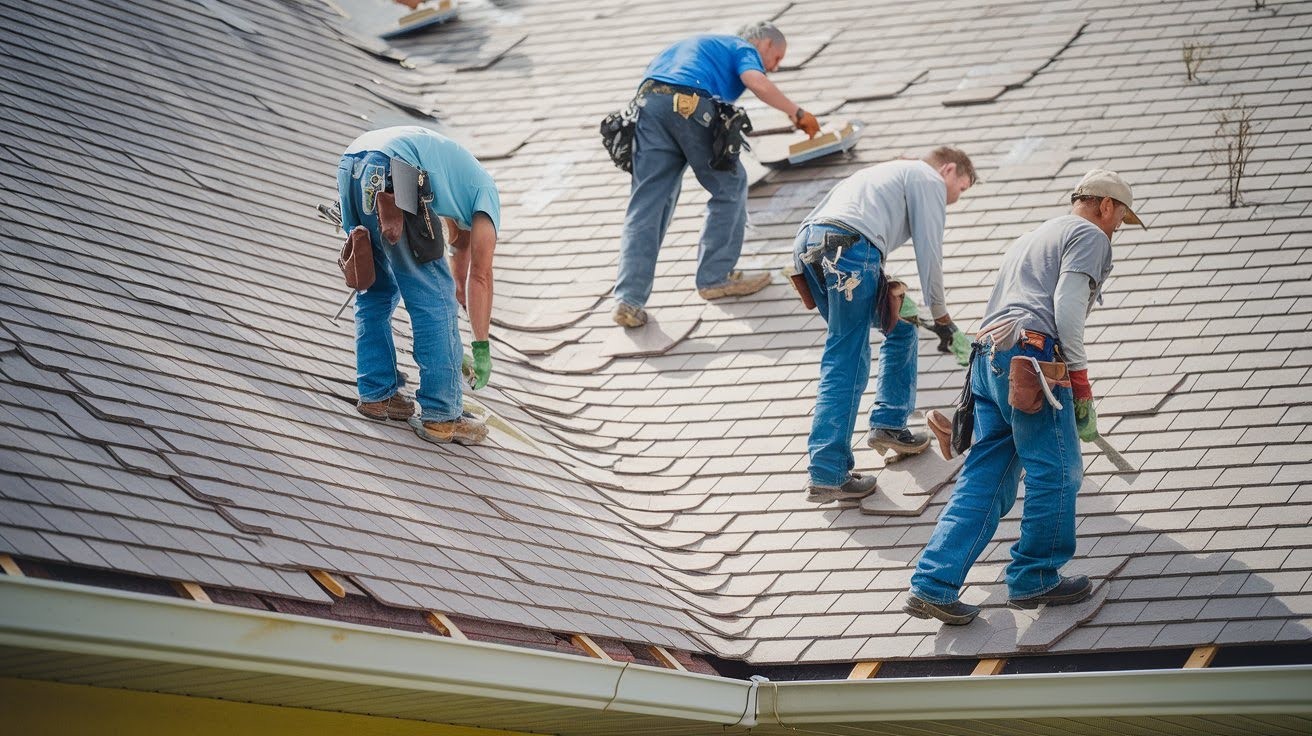
Step 4: Placing New Shingles
Fresh shingles get installed following specific patterns and manufacturer requirements.
Now comes the part you’ll actually see. I start installing shingles from the bottom edge and work my way up.
Each shingle overlaps the one below it. This creates layers that shed water properly. Think of fish scales.
Nail placement matters more than you might think. Too high or too low and shingles blow off in storms.
I follow the manufacturer’s pattern exactly. This ensures your warranty stays valid.
Color variation gets mixed as I go. This prevents obvious patches of different shades.
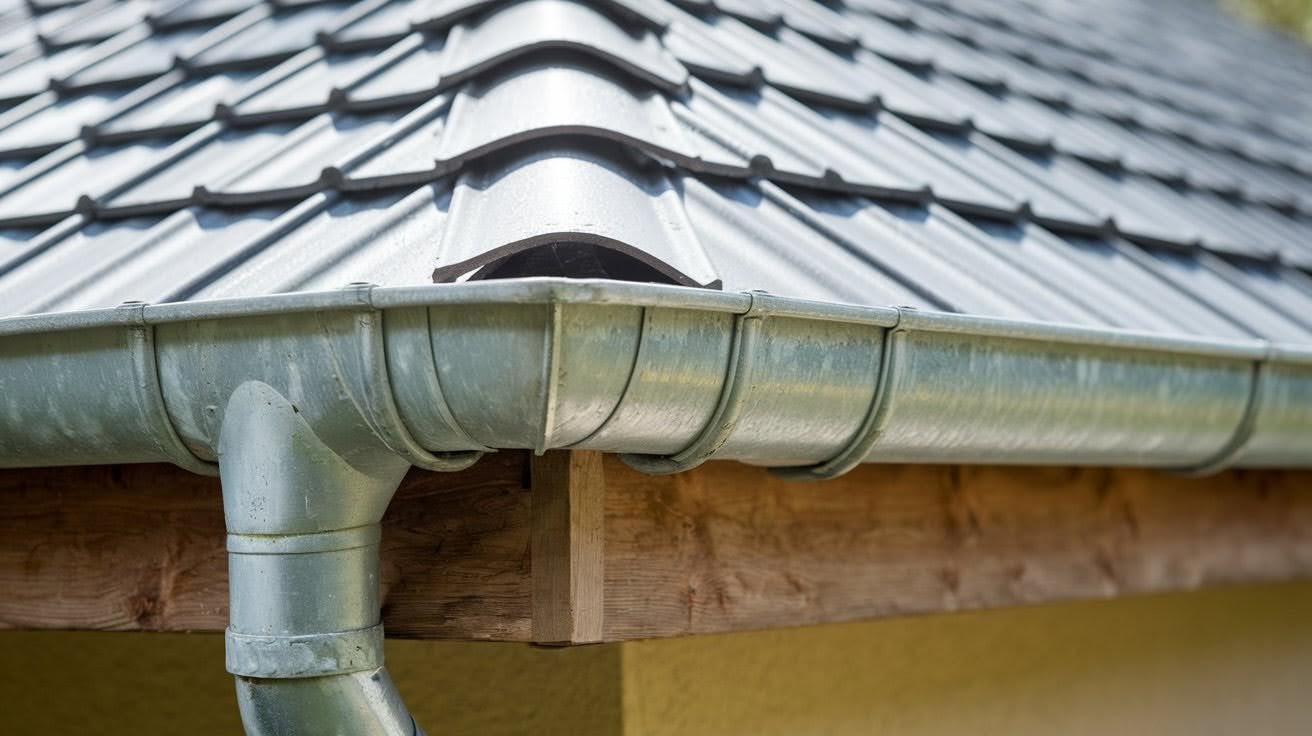
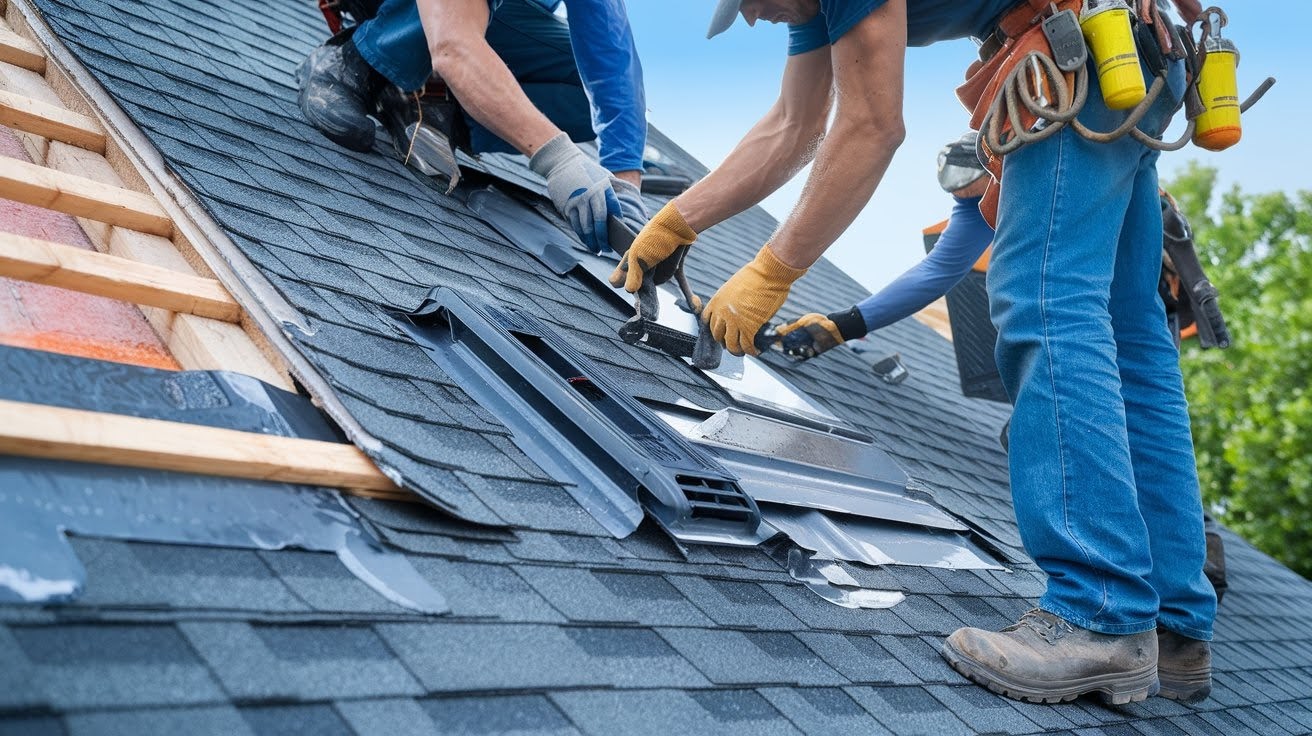
Step 5: Installing & Replacing Vents And Flashing
Critical components that prevent water intrusion get installed around roof penetrations.
Flashing protects the most vulnerable spots on your roof. These include chimneys, vents, and skylights.
I install step flashing along walls and continuous flashing in valleys. Each piece overlaps the next to create a watertight seal.
Vent installation comes next. Old vents usually need replacing because the plastic gets brittle over time.
Ridge vents go on last. These allow hot air to escape from your attic naturally. Proper sealing is everything here. I use high-quality sealants that won’t crack or fail.
Step 6: Property Cleanup After Roof Installation
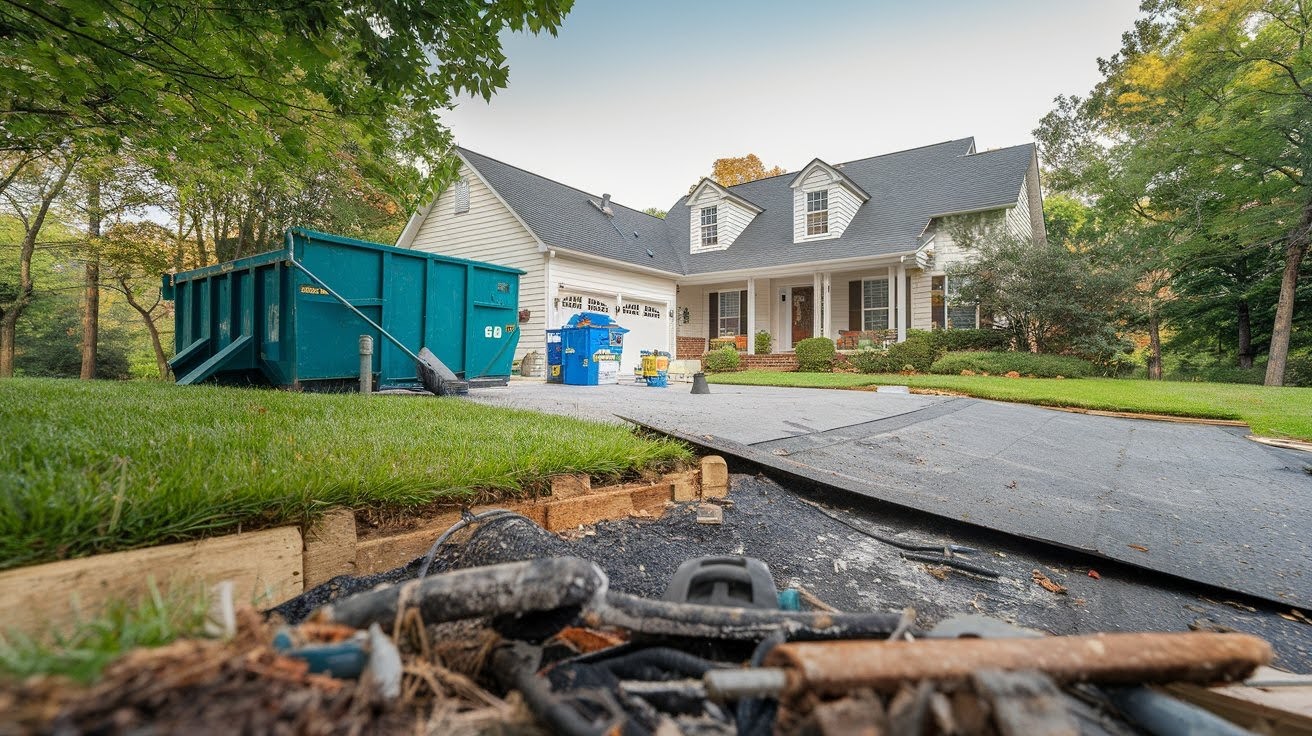
Complete removal of all debris and materials leaves your property clean and safe.
Cleanup starts during the job, not after. My crew picks up debris throughout each day.
I use magnetic tools to collect nails and metal pieces. These can damage tires and hurt people if left behind.
All dumpsters get hauled away. Your driveway and yard return to normal condition.
I will do a final walkthrough with you. This ensures you’re completely satisfied before we leave.
Leftover materials either get returned or left for future repairs if you want them.
Step 7: Final Roof Inspection
A thorough examination ensures all work meets quality standards and local building codes.
This inspection protects both of us. I check that everything was installed correctly.
I examine flashing, shingle alignment, and nail placement. Any issues get fixed immediately before I consider the job complete.
You get a chance to ask questions and raise any concerns. Communication matters at this stage.
I provide you with warranty information and care instructions. Keep these documents safe for future reference.
Many areas require a city inspection too. I handle scheduling and coordinate with inspectors as needed.
Additional Considerations For Roof Replacement
Important factors beyond the basic installation process that affect your roofing project’s success.
Public Records For Roof Replacement & Permits
Most roof replacements require permits that become part of your home’s official record.
You need permits for most roof replacements. I can’t stress this enough. Skipping permits creates problems when you sell your house.
Your local building department handles permit applications. The process usually takes 1-2 weeks depending on your area.
I typically handle permit paperwork for my customers. It’s easier because I know exactly what information they need.
Here’s what surprises people: permits cost money. Expect to pay $100-500 depending on your location and project size.
The permit becomes part of your home’s public record. Future buyers can see that work was done legally with proper inspections.
Some insurance companies require permits for claims. No permit might mean no coverage if something goes wrong.
How To Choose A Professional Roofing Contractor
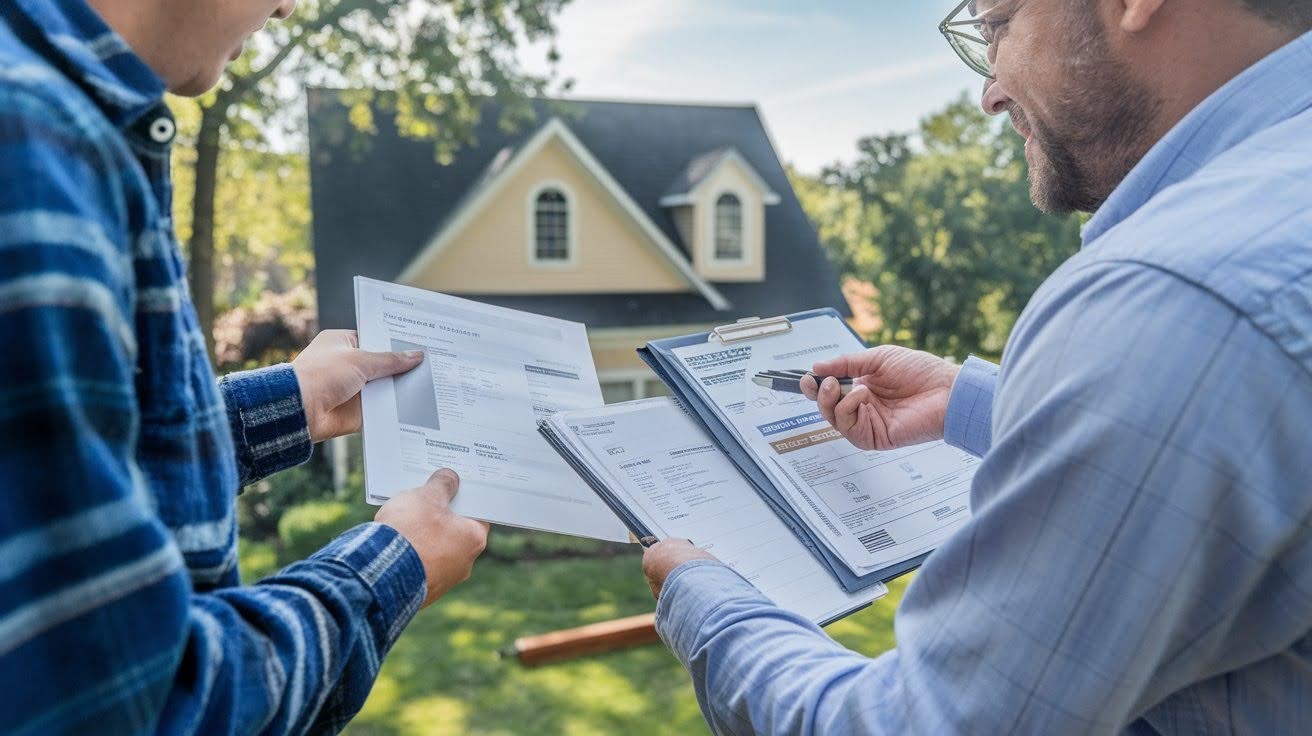
Key factors that separate quality contractors from those who create expensive problems.
Start with licensing and insurance verification. Never take a contractor’s word for it. Call their insurance company directly.
Local contractors usually provide better service than traveling crews. They care about their reputation in the community.
Get multiple detailed estimates. Prices that seem too good to be true usually are. Quality work costs fair market rates.
Check recent references, not just the ones they provide. Drive by houses they’ve worked on if possible.
Avoid door-to-door salespeople after storms. These contractors often disappear once they get paid.
Look for manufacturers’ certifications. Certified contractors get better warranties and know proper installation techniques.
Payment terms matter. Never pay everything upfront. A small deposit is normal, but most payment should come after completion.
Ask about cleanup procedures. Professional contractors handle debris removal as part of their service.
Mistakes To Avoid
Critical errors that can cost you thousands and create long term problems with your roof.
- Hiring the cheapest contractor without checking credentials – Low bids often mean cut corners, unlicensed workers, or hidden costs that appear later
- Skipping the permit process to save time and money – Unpermitted work creates problems when selling your home and may void insurance coverage
- Allowing contractors to start work before signing a detailed contract – Verbal agreements lead to disputes about materials, timeline, and final costs
- Paying large amounts upfront before work begins – Legitimate contractors only ask for small deposits, with most payment due upon completion
- Choosing materials based solely on initial cost – Cheap shingles and underlayment fail faster, requiring expensive repairs within a few years
- Ignoring proper ventilation during installation – Poor attic airflow causes ice dams, moisture damage, and premature shingle failure
- Mixing old roofing materials with new ones – Combining different ages and types of materials creates weak spots and visible patches
- Rushing the installation to meet unrealistic deadlines – Quality roofing takes time, and fast work usually means shortcuts that cause leaks
- Failing to protect landscaping and property during work – Falling debris and heavy equipment can damage plants, vehicles, and outdoor furniture
- Not verifying insurance coverage before work starts – Uninsured contractors leave you liable for injuries and property damage on your property
Conclusion
I’ve walked you through the complete roof installation process, from that initial inspection all the way to final cleanup. These seven steps protect your biggest investment and ensure your new roof lasts for decades.
Remember, proper roof installation involves inspection and preparation, removing old materials, installing quality underlayment, placing new shingles correctly, securing vents and flashing, thorough cleanup, and final inspection. Each step matters.
Hiring a professional roofer isn’t just smart, it’s essential. Licensed contractors have the experience, tools, and insurance to handle complex roofing safely. They follow manufacturer requirements that keep your warranties valid.
Don’t risk your family’s safety or your home’s value with shortcuts. Invest in quality installation from the start. Your roof protects everything you care about most.
Frequently Asked Questions
How Much Does A Complete Roof Replacement Cost?
Most homeowners pay between $8,000 to $20,000 for a full roof replacement depending on size and materials. Factors like roof complexity, local labor costs, and premium materials can increase this range significantly.
Can I Install A New Roof Over My Existing Shingles?
While building codes sometimes allow this, I don’t recommend it for most situations. Adding new shingles over old ones hides potential deck damage and reduces the new roof’s lifespan.
What Time Of Year Is Best For Roof Installation?
Late spring through early fall offers the most predictable weather for roofing projects. However, experienced contractors can work year round except during active storms or extreme weather conditions.
How Do I Know If My Roof Needs Complete Replacement?
If your roof has widespread shingle damage, multiple leaks, or is over 20 years old, replacement usually makes more sense than repairs. A professional inspection can help you make this decision.
Will My Homeowner’s Insurance Cover Roof Replacement?
Insurance typically covers roof replacement if damage results from covered events like storms or hail. Normal wear and tear or maintenance issues usually aren’t covered under standard policies.