Today, I will share my living room transformation with DIY Drop Cloth Curtains. When I decided to give my living room a cozy, farmhouse vibe, it seems that curtains would play a significant role. However, custom curtains were going to blow my budget!
So, I found an affordable and creative solution by making DIY drop cloth curtains. This project was not only saving me money, but it also gave me a sense of accomplishment at being able to craft something so unique for my home.
Plus, I used a free weekend to work with my family on it, so this was truly a special experience. These DIY drop cloth curtains did not only beautify my space but, surprisingly, proved to be quite long-lasting and versatile. So below are the steps. for you.
Why Did I Choose Drop Cloth Curtains?
I was looking for something natural yet robust that wouldn’t hurt the pocket. DIY drop cloth curtains fulfilled all of that. The neutral colors perfectly suited the minimalist, elegant appeal.
In addition, they are very versatile: dye them, stencil on them, or hem them up to any dcor taste. I bought mine at the local hardware store for only $20 apiece.
Another advantage was that they were tough. Many of the thinner drop cloths may get worn out by the sunlight or by daily use. It gives me the privacy needed while letting natural light seep in. These were just exactly what I needed.
The ability to customize is something you don’t usually find when making DIY curtains using a drop cloth.
Measured Drop Cloth Curtains for DIY project
Before buying, I measured the length and width of my windows. I decided that they needed to fall from the ceiling to the floor to add a more dramatic touch to my room.
The drop cloths are 9 by 12 feet. My windows are 6 feet tall. The two drop cloths bought totaled $40. To ensure the curtains were full and not flat when pulled, ensure the width of the drop cloths was at least 1.5 times the width of the windows.
This additional fabric gave a rich gathering effect. Measuring accurately is an important part of DIY drop cloth curtains to get that precise fit and aesthetic appeal.
Selecting the Curtain Style
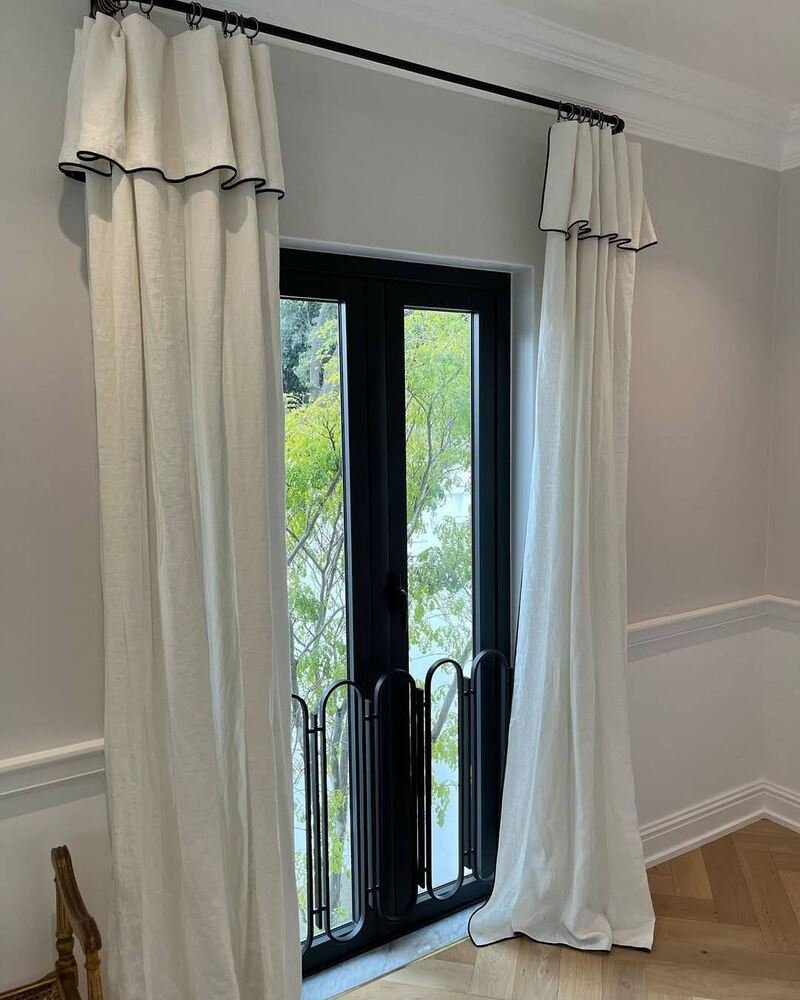
For my DIY drop cloth curtain project, I select white soft heavenly look and opted for a rustic farmhouse style rather than a modern minimalist approach. And leave the edges unhemmed, giving it a more rustic, natural feel, but you can always hem the edges for a sleeker finish.
As for tiebacks, simple twine added the earthy feel, but if you wanted to create a more formal look, then metal or fabric tiebacks could work. An industrial-style black curtain rod paired well with the drop cloth for a more natural texture and to enhance the rustic feel.
Add a decorative finial for some additional style flair on the rod. To make the curtains really my own, I customized the drop cloth by giving it a subtle dye job and stenciling.
Other people bleach their drop cloths to make it look lighter or stencil their patterns on them to enhance the design, but mine was kept simple.
Do-it-yourself drop cloth curtains allow you to add infinite possibilities for making them your own and personalizing them for your decoration preferences.
Equipment Required to Make DIY Drop Cloth Curtains
Here’s everything I used for the project:
- Drop cloths (2 pieces, 9×12 feet each)
- Curtain clips ($12 bought online)
- Curtain rod (industrial style, $25)
- Measuring tape
- Scissors
- Iron and ironing board
- Mild detergent for washing
- White vinegar (optional, for softening)
- Fabric dye (optional)
- Stencils and fabric paint (optional)
Having all the equipment makes the whole process of creating DIY drop cloth curtains smooth and enjoyable.
Washing the Drop Cloths
This is the most important step! Drop cloths are often stiff and have a chemical smell. I washed them in cold water with a mild detergent and added a cup of white vinegar to soften the fabric.
Then, after washing, I ran them through the dryer on low heat. It’s amazing how soft and drapable they became after this step!
Tip: You could, as desired, bleach the drop cloths before washing them. Again, be sure to use caution when using bleach, adhering to all safety procedures. Proper preparation of the fabric is key to creating a successful DIY drop cloth curtain.
Preparing the DIY drop cloth curtains
Once dry, I ironed the drop cloths to remove wrinkles. This made them look polished and professional, transforming the fabric into something that looked store bought. You’d be surprised how much difference this small step makes in the final look.
The act of ironing also gave me the opportunity to inspect the fabric closely for any imperfections or inconsistencies, which is particularly helpful if you want your DIY drop cloth curtains to have a flawless appearance.
After ironing, the loose threads were tidied up, and the edges made even. Drop cloths often come with raw edges that add to their rustic charm.
Some people might prefer a more refined finish. If that’s your style, this is the perfect time to hem the edges. You can use fabric tape for a quick fix or stitch them with a sewing machine for a more sturdy, long-lasting finish.
This prepping of the fabric will ensure that the curtains hang straight and look crisp when installed. One more step I prepared by folding the drop cloths in different ways to test the drape and alignment.
This was a good trial run before hanging them up, giving me an idea of how they will look when done and allowing for any minor adjustments before attaching the curtain rings. Preparation really is the key to having that professional finish and turning your DIY drop cloth curtains into a focal point of the room.
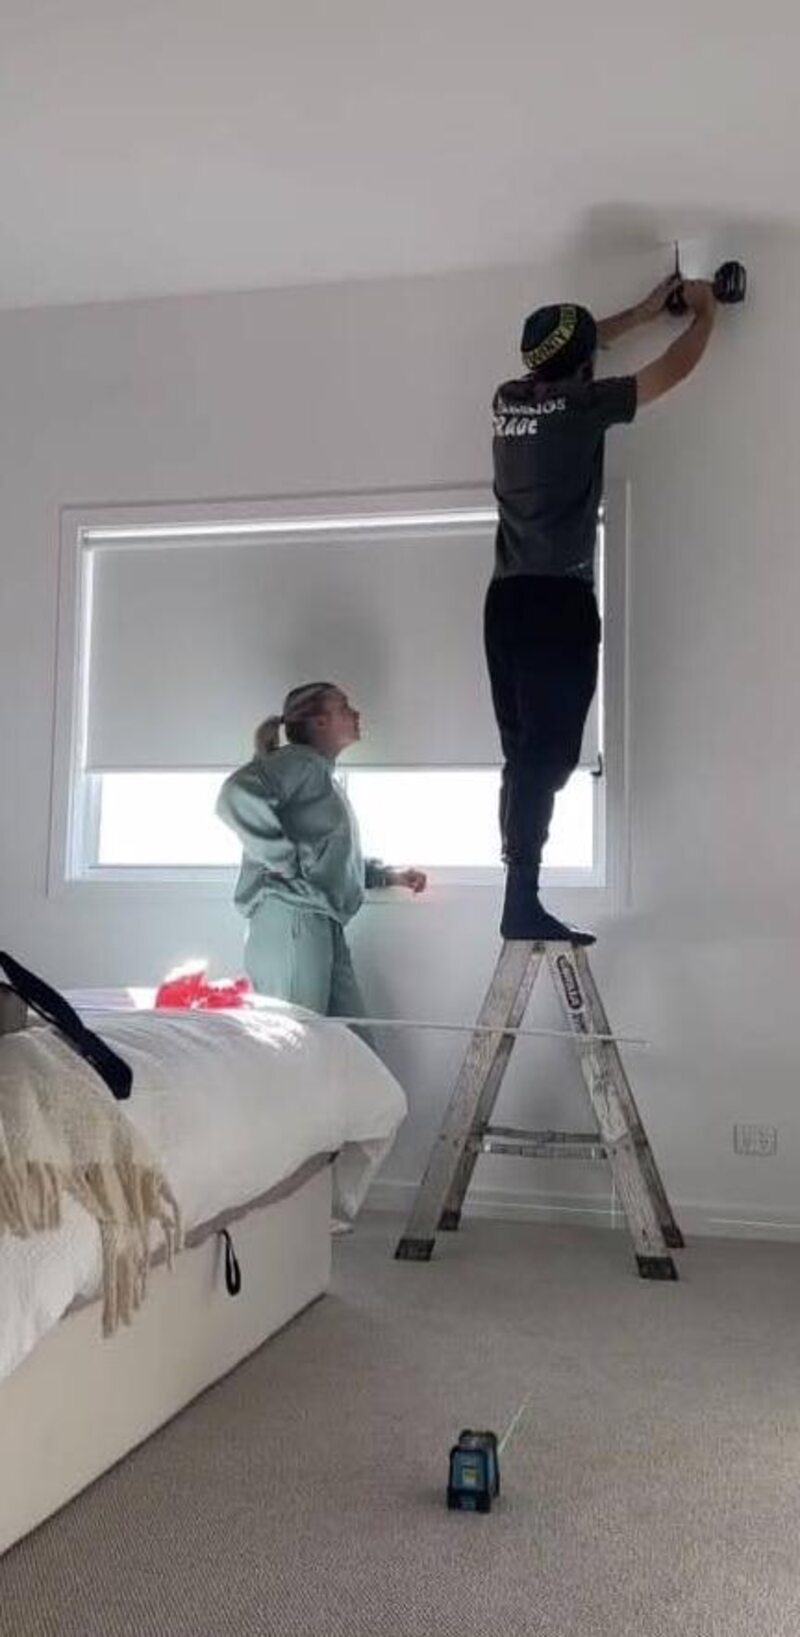
How to Attach Curtain Rings
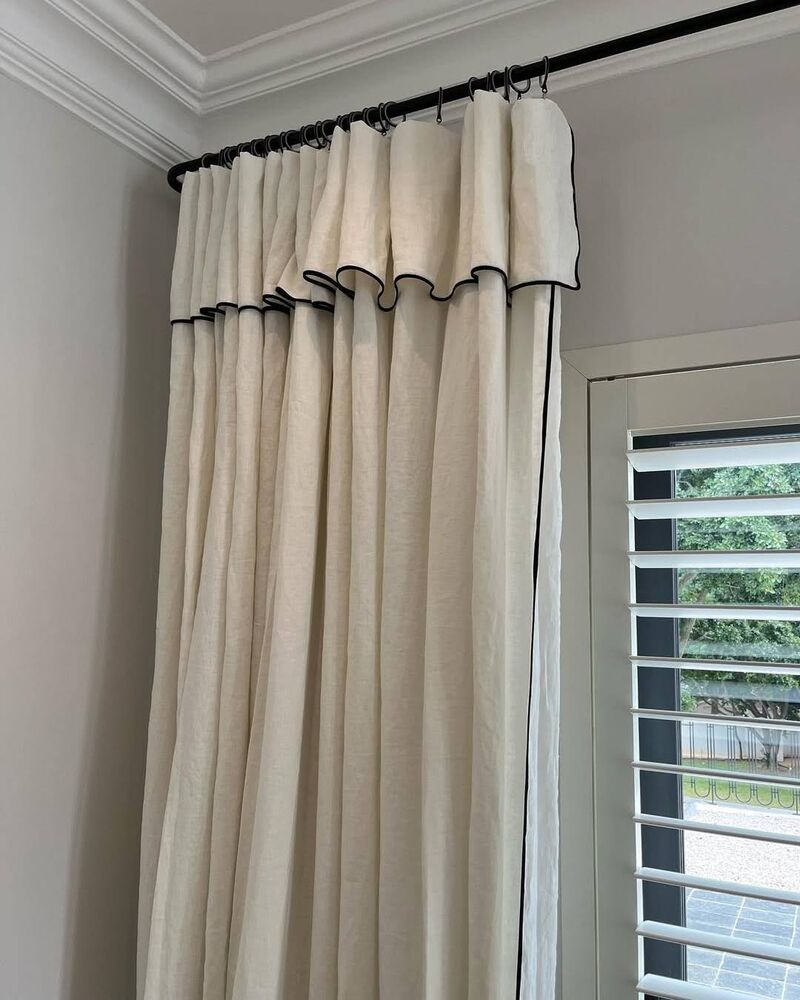
Attaching curtain rings was a piece of cake! I folded the top edge of the drop cloth to create a clean line and evenly spaced the curtain rings along the fold.
I used my measuring tape to mark intervals so that they were approximately 6 inches apart. The clips easily secured the fabric in place without damaging it, so it could be slid along the rod smoothly.
Making use of curtain rings allows making DIY drop cloth curtains flexible and user-friendly with a professional finish.
How to Make Puddling Drapes for DIY Drop Cloth Curtains
This creates a really rich puddled effect; the excess was left at the bottom to puddle for an elegant, designer look in the living room. I made no additional cuts, only raised the height of the curtain rod when installing the rods.
For a cleaner look, the excess fabric can be trimmed or folded neatly under the curtain. Puddling drapes are an excellent way to add sophistication to your DIY drop cloth curtains.
Hanging the Curtains for DIY project
I used curtain clips to attach the drop cloths to the rod. This made it super easy to adjust the length and placement without sewing.
To ensure an even hang, clipped the fabric at equal intervals. The whole process took less than 20 minutes per curtain.
To give it a little flair, I layered the drop cloth curtains with sheer panels. This improved the look and allowed me to have versatile light control.
Installing DIY drop cloth curtains is surprisingly quick. This makes them perfect for a weekend project.
Adding Personal Touches
To match my living room’s color palette, I dyed the bottom edges of the curtains a soft gray. I also added a stenciled pattern of leaves to give them a custom feel.
These small details transformed the curtains into a true statement piece. You can also add fabric trim or tassels to the edges for a boho-inspired look.
You can also try experimenting with ombre dye techniques for a trendy design. Customizing DIY drop cloth curtains is a fun way to show off your personality and style.
Maintenance of the Drop Cloth Curtains
Surprisingly, maintaining these curtains is not so hard. I regularly vacuum them weekly with a handheld to get rid of dust on them.
For deeper washing, the machine washes the drop cloths on a gentle cycle every few months since I had dyed and stenciled them. I always wash my drop cloths using a mild detergent to protect the colors and designs.
Washing them and then ironing gives them a crisp and clean look. DIY drop cloth curtains are durable and easy to care for, making them a practical fit for any home.
Breakdown of Cost
The following is what I used for the entire project.
- Drop cloths: $40
- Curtain clips: $12
- Curtain rod: $25
- Miscellaneous (detergent, dye, etc.): $10
- Total cost: $87
And if you want to personalize it with stenciling and trim, it would not be too expensive because it is still cheaper compared to buying it in a store.
Tips for DIY Drop Cloth Curtains
Pre-wash carefully: Washing softens the fabric but also prevents shrinkage after hanging.
Quality clips: Strong curtain clips keep the drop cloths in place without sagging.
Lengths: Do not be afraid to try floor-length or puddled styles for different effects.
Embracing imperfections: The natural texture and minor imperfections of drop cloths add to their charm.
Conclusion
This DIY drop cloth curtain is inexpensive but also a fun and rewarding project. It’s perfect for people who want to refresh their home on a budget with a personal touch.
In addition, the compliments that I have received from friends and family have been priceless. So if you are looking for a simple weekend project, give this a try. You won’t regret it!
These curtains have completely transformed my living space, giving it a warm and inviting feel. Whether you’re a seasoned DIY enthusiast or a beginner, this project is worth every penny and effort.


