
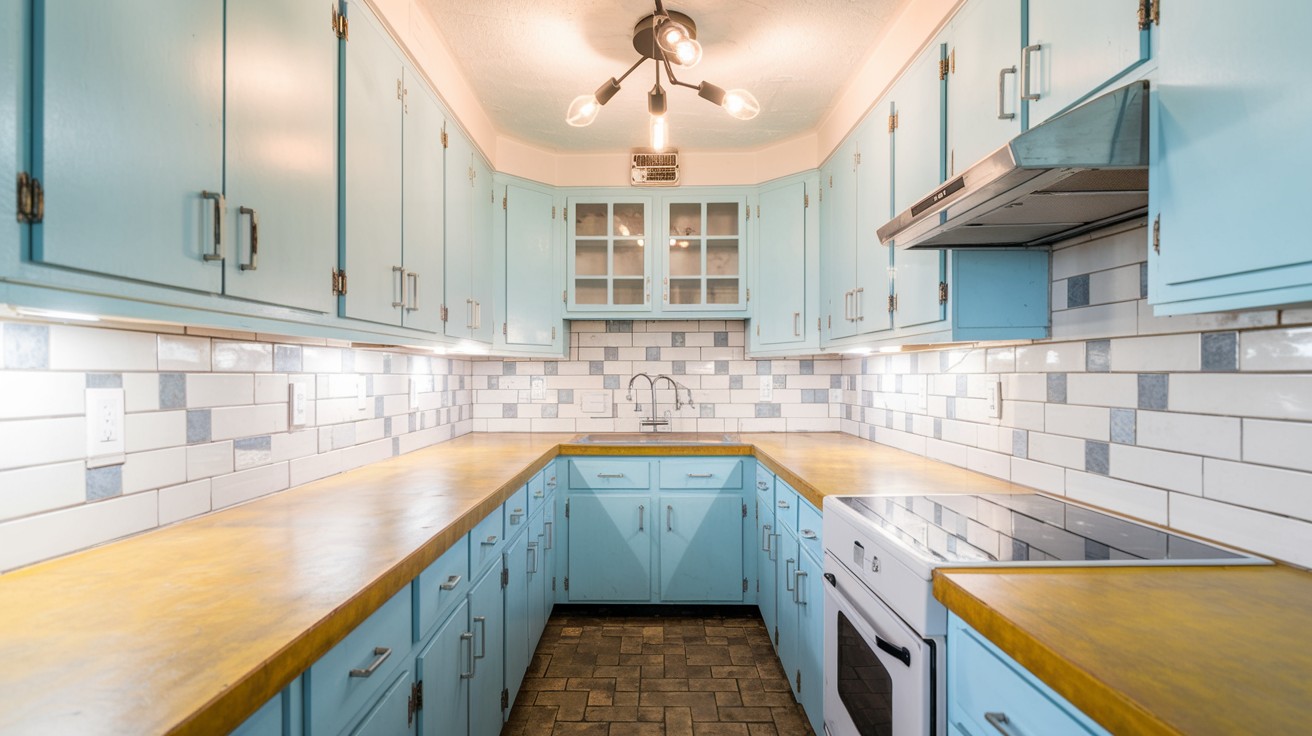
A kitchen facelift involves updating your existing kitchen’s appearance and functionality through strategic improvements rather than completely starting over.
This approach focuses on refreshing key elements like cabinets, countertops, hardware, and paint while keeping the basic layout and major appliances intact.
Choosing a facelift over a full remodel offers significant advantages for homeowners seeking meaningful change without the disruption and expense of complete renovation.
The benefits are compelling: it’s substantially more cost-effective than full remodeling, requires much less time to complete, and allows your kitchen to remain functional throughout most of the process.
Whether you’re working with a limited budget or simply want to update your space efficiently, a kitchen facelift provides an excellent solution for achieving a fresh, modern look.
What Is a Kitchen Facelift?
A kitchen facelift involves cosmetic updates and functional improvements without structural changes, offering affordable alternatives to complete remodeling.
The Difference Between a Facelift and Full Remodel
A kitchen facelift focuses on visual and functional improvements without making any structural changes to your existing layout.
This approach concentrates on cosmetic and functional upgrades that can dramatically change your kitchen’s appearance while working within the current footprint.
Unlike full remodels that may require permits, contractors, and weeks of disruption, facelifts create significantly less disruption to your daily routine and come with substantially lower costs.
The process typically involves updating surfaces, finishes, hardware, and appliances rather than moving walls, changing plumbing, or rewiring electrical systems.
When a Facelift Is the Right Choice
A facelift becomes the ideal solution when your existing cabinets are structurally sound and in good condition, requiring only cosmetic updates rather than complete replacement.
This approach works perfectly for homeowners who want a fresh, updated look without the hassle and expense of gutting their entire space.
Budget or time constraints often make facelifts the most practical choice, allowing you to achieve significant visual impact while staying within reasonable financial limits and completing the project in a fraction of the time required for full renovation.
Steps to a Kitchen Facelift
Seven essential steps including evaluation, style planning, cabinet upgrades, surface refreshing, lighting improvements, finishing touches, and professional consultation.
Step 1: Evaluate Your Current Kitchen
Begin your kitchen facelift by conducting a thorough assessment of your existing space to determine what elements are worth keeping and which areas need attention.
Identify what works well in your current setup, including the basic layout that provides good workflow, structurally sound cabinet boxes, and appliances that still perform adequately.
Focus on spotting problem areas that detract from your kitchen’s appeal, such as dated cabinet doors or finishes, poor lighting that creates shadows, and outdated hardware or backsplashes.
This honest evaluation will help you allocate your budget effectively and create a realistic plan for your facelift project.
Step 2: Define Your Style and Color Palette
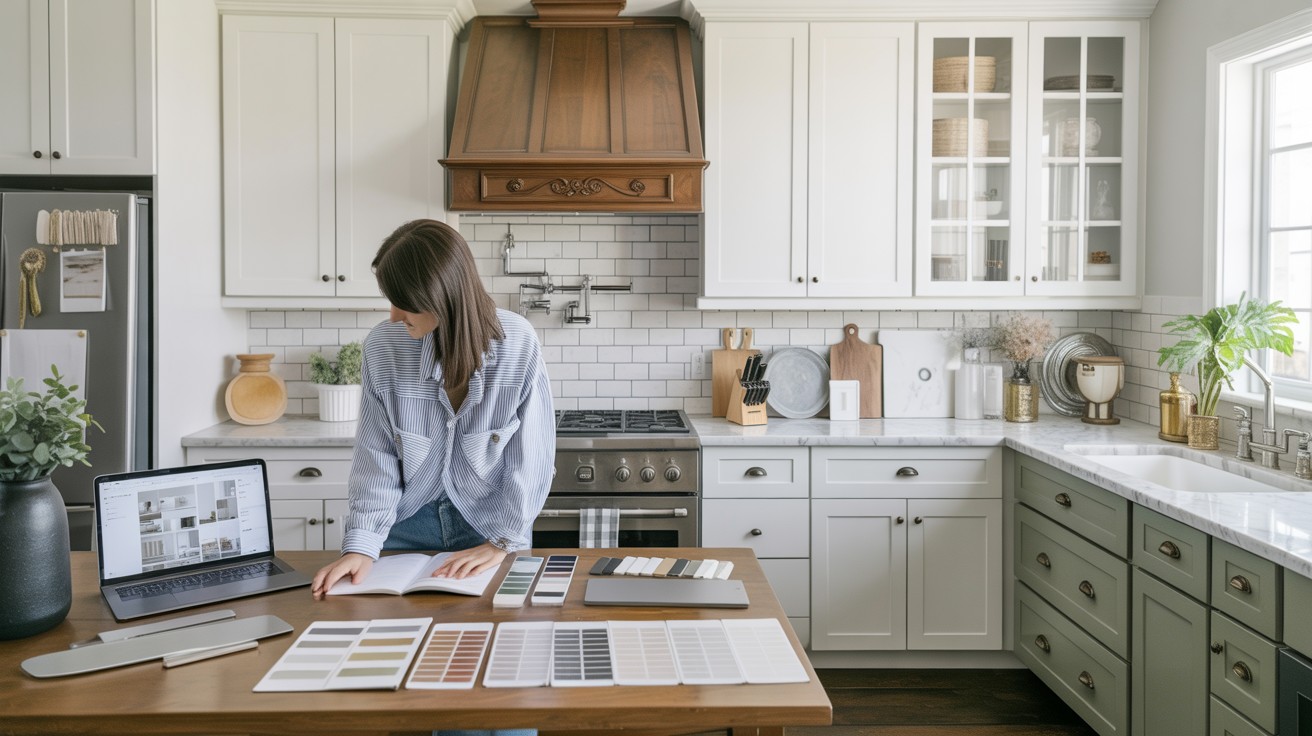
Creating a clear vision for your kitchen’s new look requires careful consideration of your personal style preferences.
Find inspiration through Pinterest, Instagram, design magazines, or mood boards that showcase appealing kitchens.
Save photos that reflect your ideal aesthetic, paying attention to recurring themes in color and style.
Create a cohesive color scheme by choosing 2-3 base colors like whites, grays, or warm neutrals, then add 1-2 accent tones through hardware, textiles, or accessories.
This planned approach ensures your finished kitchen will feel intentional and harmonious.
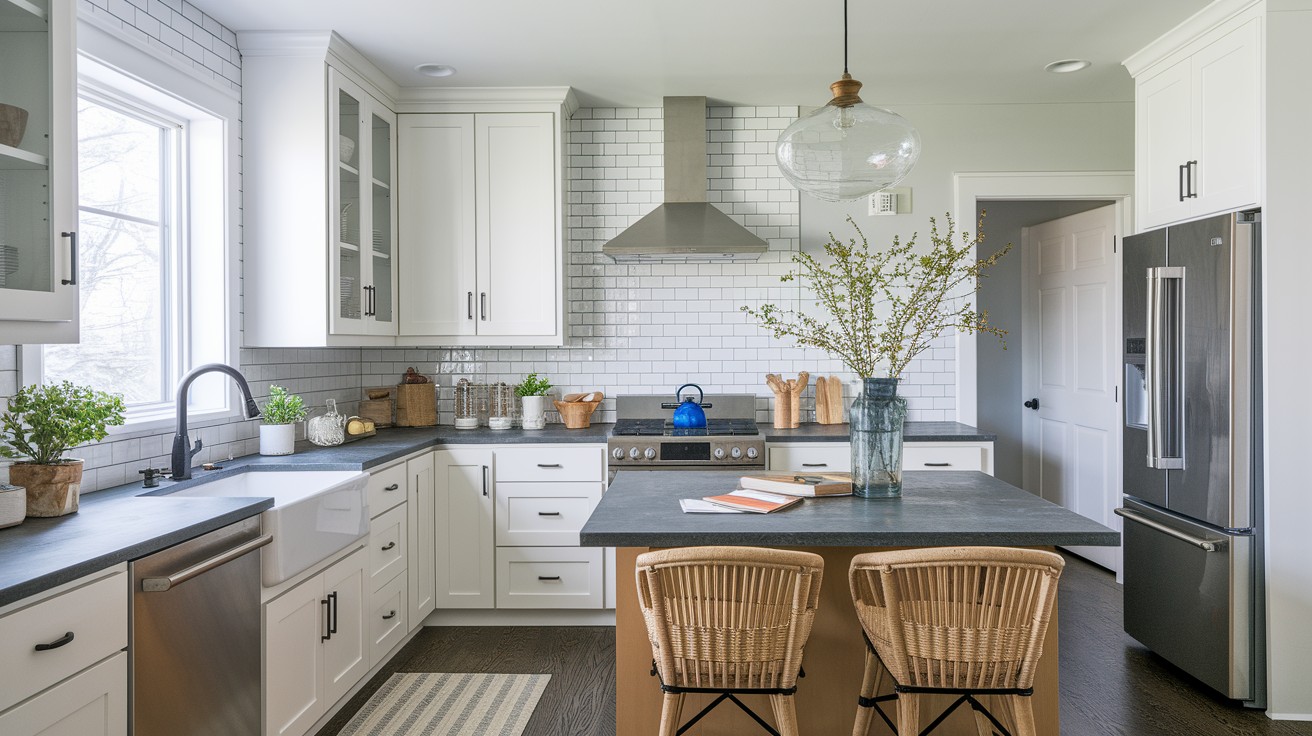
Step 3: Upgrade Cabinet Doors and Hardware
Cabinet updates often provide the most dramatic visual impact in a kitchen facelift.
Keep your existing cabinet boxes while replacing just the fronts with new doors that reflect your style, classic shaker panels, sleek slab designs, or glass-front options.
Consider adding soft-close hinges or drawer slides for improved functionality. Update hardware with knobs, pulls, and hinges in finishes like matte black, brass, or brushed nickel.
Ensure your hardware choices coordinate with lighting fixtures and faucet finishes to create a cohesive look throughout the space.
Step 4: Refresh Surfaces
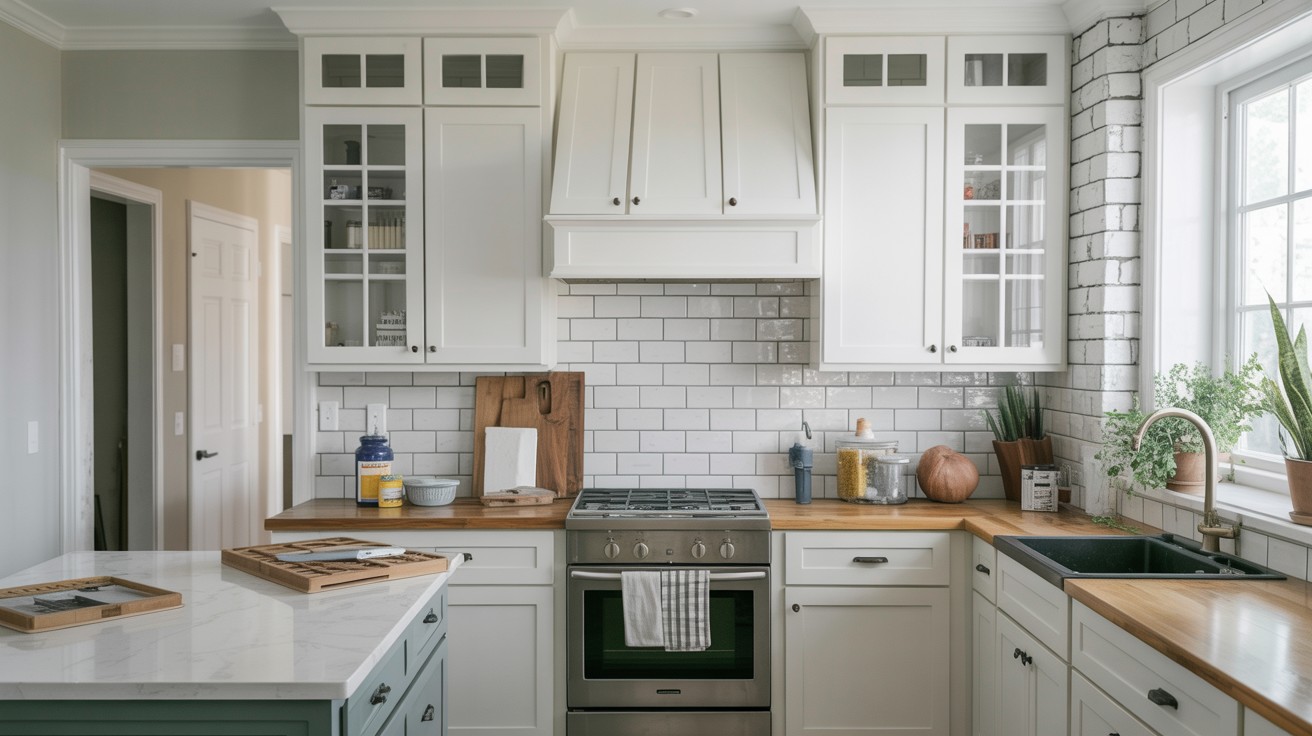
Surface updates can dramatically change your kitchen’s appearance while working within your budget.
Replace countertops with materials like durable quartz, warm butcher block, or updated laminate options based on your lifestyle needs and budget.
Add personality through backsplash updates using tile, shiplap, or peel-and-stick options in patterns like subway, herringbone, or mosaic designs.
Refresh walls and ceilings by repainting in new colors or adding architectural details like wood beams for warmth and character.
Step 5: Focus on Lighting and Fixtures
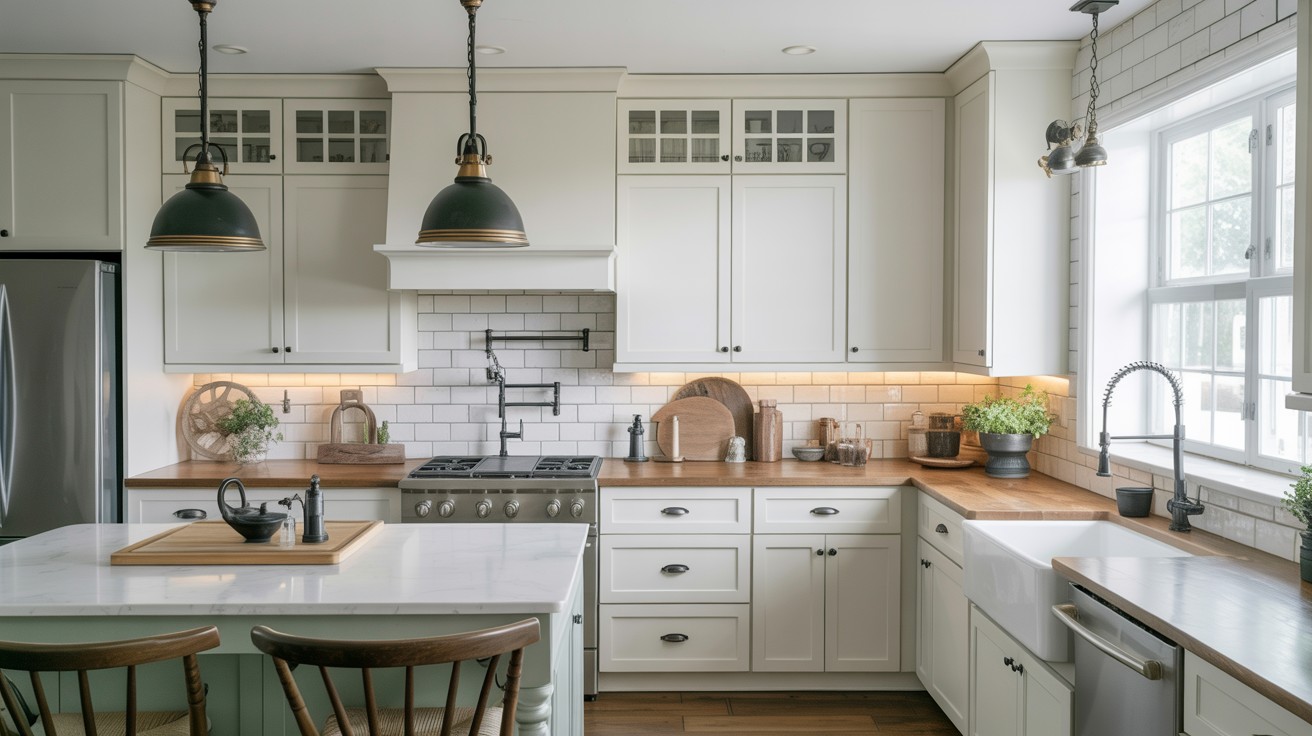
Layer different types of lighting throughout your kitchen, including overhead pendants or recessed lights, task lighting for work areas, and under-cabinet illumination.
Replace outdated fixtures with statement pieces that provide adequate lighting while reflecting your style.
Upgrade plumbing fixtures by installing a modern pull-down faucet and consider updating your sink to an apron-front or deep single-basin design.
Choose finishes that coordinate with cabinet hardware and lighting to maintain visual consistency.
Step 6: Add Finishing Touches
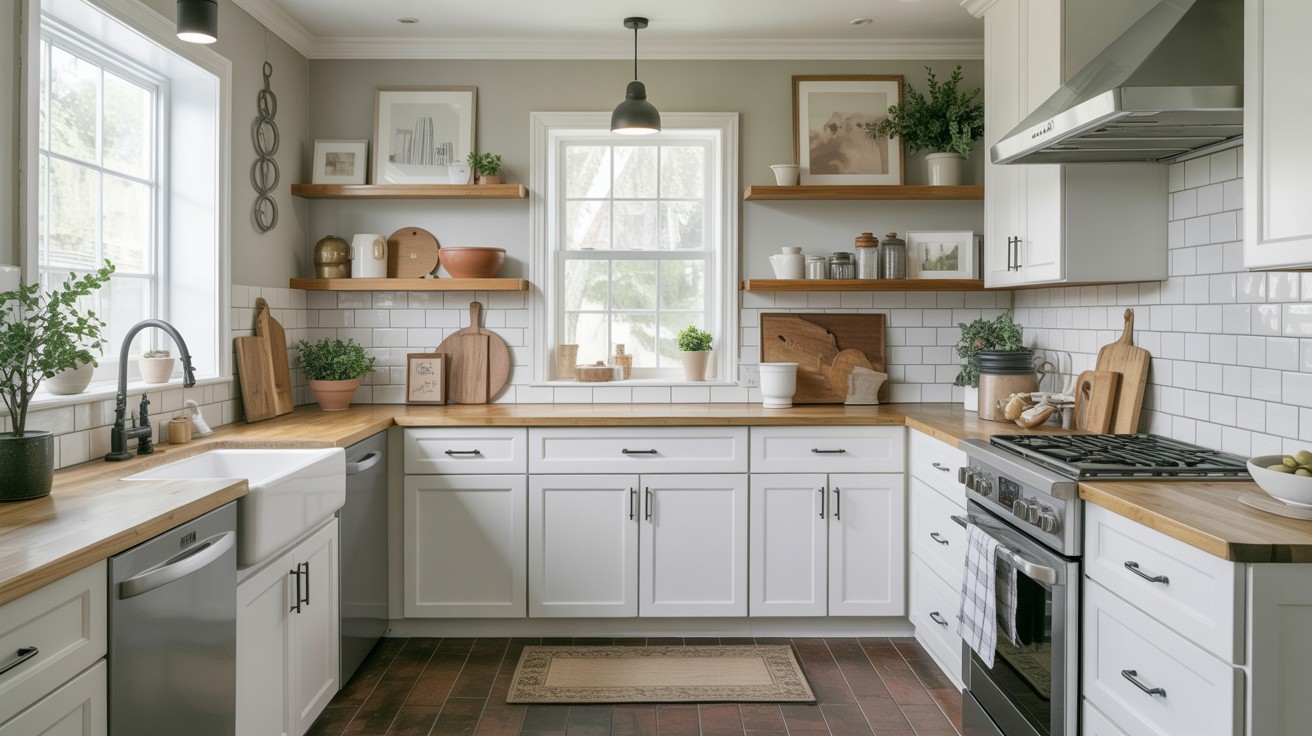
Complete your facelift with elements that enhance both style and functionality.
Update flooring with luxury vinyl planks, tile, or refinished hardwood that can withstand kitchen traffic while complementing your design.
Add textiles and decorative elements like a durable rug for softness and carefully chosen accessories on open shelves.
Display functional items like cutting boards or artwork to create visual interest without clutter.
Step 7: Work With a Professional (If Needed)

Determine when to handle tasks yourself versus hiring professionals to stay within budget while ensuring quality results.
Painting and hardware installation are typically DIY-friendly, while cabinet replacement, countertop installation, or electrical work may require professional expertise.
When selecting contractors, look for specialists with experience in cabinet work and finish installation.
Request portfolios, discuss timelines, and clearly define scope before signing agreements to ensure your facelift meets expectations.
Tips for Your Kitchen Facelift
Ready to refresh your kitchen without breaking the bank? These expert tips will help you achieve maximum impact with minimal investment.
Work with What You Have: Keep quality countertops or flooring and build your new design around them. This saves money while creating a cohesive look.
Go Zone by Zone: Update cabinets first, then tackle backsplashes later. Phased approaches spread costs and reduce disruption.
Test Everything First: View paints swatches and hardware samples in your actual space before making final decisions. Lighting changes how everything looks.
Prioritizing Good Lighting: Quality lighting makes basic finishes look expensive. Layer ambient, task, and accent lighting for best results.
Upgrade Your Hardware: New knobs and pulls instantly modernize old cabinets—it’s the fastest refresh trick in the book.
Conclusion
A kitchen facelift proves you don’t need a complete renovation to achieve dramatic results.
By focusing on high-impact, low-effort changes, you can completely refresh your space while keeping costs manageable and disruption minimal.
The beauty of this approach lies in its flexibility. Start with one simple step—maybe new hardware or fresh paint, then build momentum as your time and budget allow.
Each small improvement adds up, creating a cumulative effect that feels like a brand-new kitchen.
Remember, successful kitchen updates don’t happen overnight. Take your time, make thoughtful choices, and enjoy the process.
Your refreshed kitchen will serve you well for years to come, proving that smart planning beats big spending every time.
Frequently Asked Questions
How long does a kitchen facelift typically take?
Most kitchen facelifts can be completed in 2-4 weeks, depending on the scope of work. Simple updates like painting cabinets and changing hardware can be finished in just a few days.
What’s the most cost-effective change I can make?
Updating cabinet hardware offers the biggest visual impact for the smallest investment. New knobs and pulls can completely change your kitchen’s appearance for under $200.
Should I hire professionals or do it myself?
Many facelift tasks like painting, installing new hardware, and adding peel-and-stick backsplashes are perfect DIY projects. Save professional help for electrical work, plumbing changes, or complex installations.
How do I choose the right paint color for my cabinets?
Test paint samples directly on your cabinet doors and observe them at different times of day. Neutral colors like white, gray, and navy blue offer timeless appeal and broad market acceptance.
Can I update my kitchen in phases?
Absolutely, and it’s often the smartest approach for budget and convenience. Start with the most impactful changes like cabinets, then add backsplashes, lighting, and accessories over time.