
I’ve helped countless homeowners understand the basics of roof construction over the years. Roof joists are one of those components that most people never think about until something goes wrong.
These horizontal structural members do more than you might expect. They support your ceiling and help distribute the weight of your roof evenly across your home’s walls. Without properly installed joists, your roof could sag or even collapse.
This guide is for homeowners who want to understand their roof better. It’s also for DIY enthusiasts planning renovations. Even if you’re hiring contractors, knowing about joists helps you make informed decisions.
I’ll explain different joist types, materials, and installation basics. You’ll learn when to repair versus replace damaged joists. Most importantly, you’ll understand when to call professionals for help.
What Are Roof Joists?
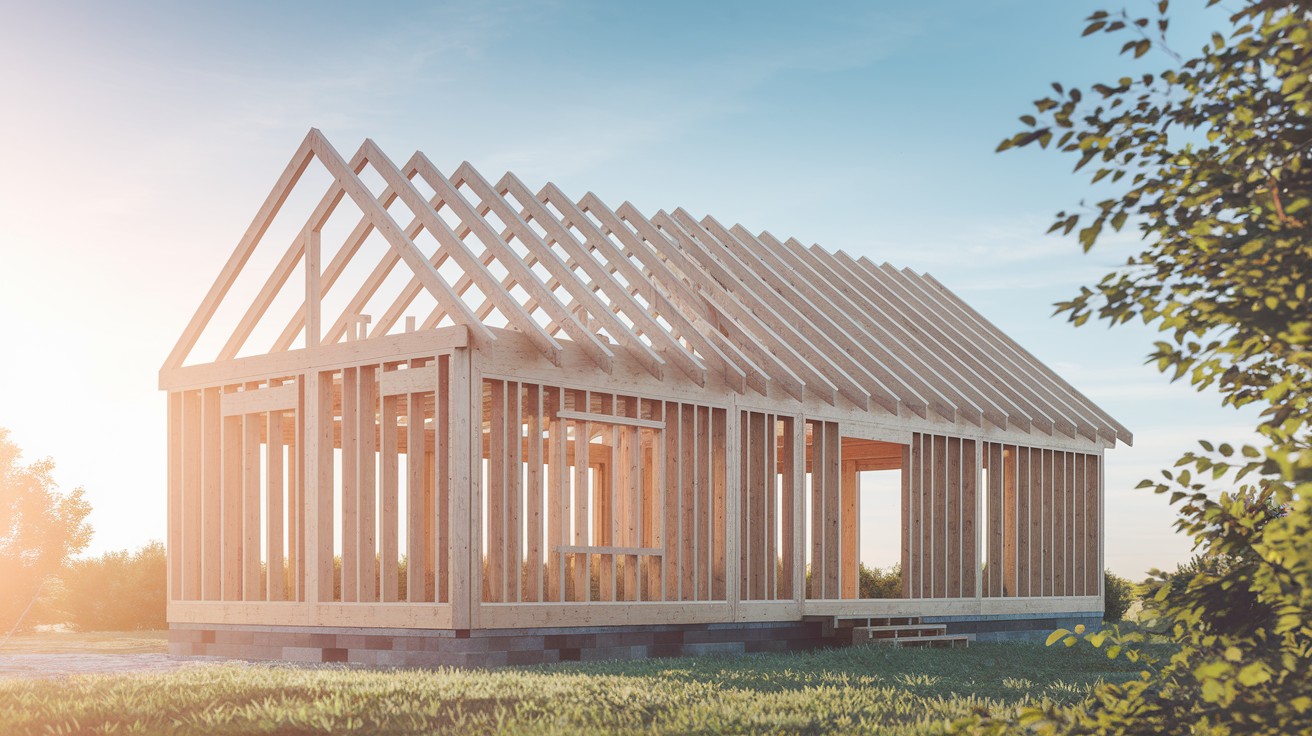
Roof joists are horizontal structural beams that span from wall to wall beneath your roof. Think of them as the skeleton that holds everything together.
Their main job is supporting your ceiling and distributing the roof’s weight. When snow piles up or wind pushes against your roof, joists transfer those forces to your home’s walls. This prevents sagging and structural damage.
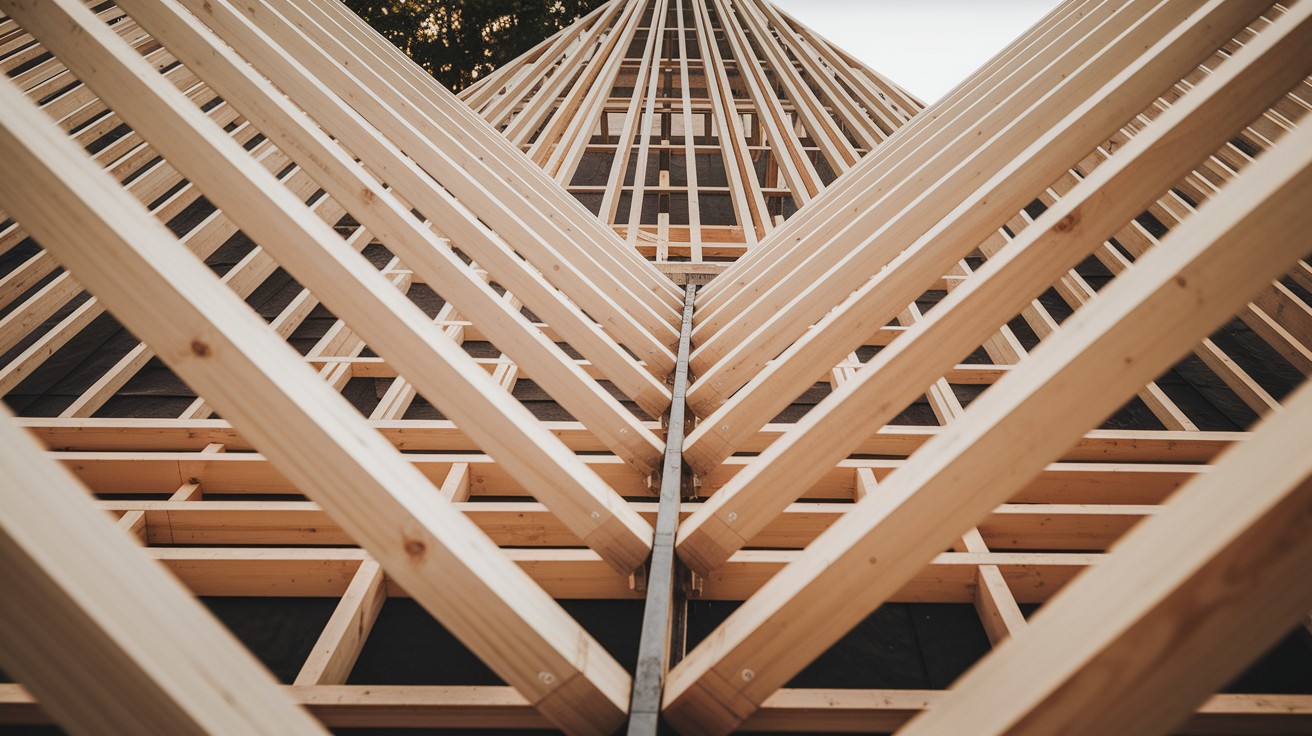
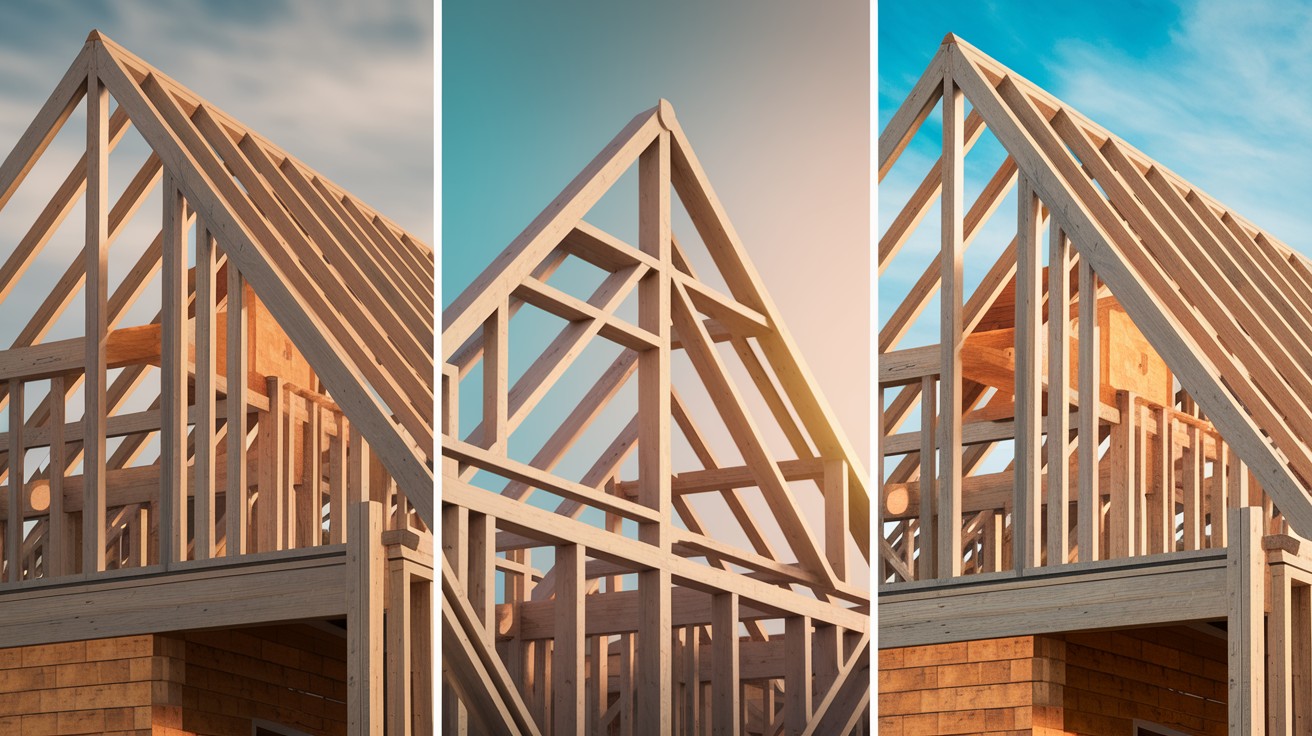
Don’t confuse joists with rafters. Rafters are the sloped beams that follow your roof’s angle. Joists run horizontally and support the ceiling below. Both work together to create a strong roof system.
Joists also provide a place to attach ceiling materials like drywall or plaster. Without them, you’d have no way to finish the underside of your roof.
Types of Roof Joists
1. Solid Lumber Joists
These are traditional wood beams cut from single pieces of lumber. Most older homes use solid lumber joists because they were readily available and easy to work with.
Solid lumber joists are strong and reliable. They can handle heavy loads and last for decades when properly maintained. However, they’re heavier than modern alternatives and can be expensive for longer spans.
2. I-Joists (Engineered Wood)
I-joists look like steel I-beams but are made from wood. They have a solid wood top and bottom with a plywood or oriented strand board (OSB) web in the middle.
These joists are lightweight yet incredibly strong. They resist warping and shrinking better than solid lumber. I-joists also come in longer lengths, reducing the need for joints and splices.
The main downside is cost. I-joists typically cost more upfront than solid lumber, though they can save money on installation.
3. Open-Web Joists
Open-web joists feature a zigzag pattern of metal or wood between the top and bottom chords. This creates open spaces that make running electrical wiring and plumbing much easier.
These joists are prefabricated in factories for specific spans and loads. They’re lightweight and can span longer distances than solid lumber. Installation is often faster because they’re precisely engineered.
The trade-off is less flexibility for modifications. Once installed, cutting or altering open-web joists can compromise their strength.
Roof Joist Materials

1. Wood
Most residential joists use softwood lumber like Douglas fir, southern pine, or hem-fir. These woods offer good strength-to-weight ratios and are relatively affordable.
Hardwoods like oak are stronger but much more expensive. They’re rarely used for joists unless you’re building something special or matching existing construction.
2. Engineered Wood
Engineered products like laminated veneer lumber (LVL) and I-joists offer consistent quality. They’re made by combining wood fibers or layers with adhesives under controlled conditions.
These materials resist warping and splitting better than solid lumber. They also come in longer lengths and can span greater distances.
3. Steel
Steel joists are common in commercial buildings or homes with heavy loads. They’re incredibly strong and won’t rot or warp like wood.
However, steel joists require special fasteners and connections. They’re also more expensive and conduct heat and cold, which can affect energy efficiency.
Roof Joist Sizes and Spacing

1. Common Dimensions
Joists come in standard lumber sizes:
- 2×6 inches
- 2×8 inches
- 2×10 inches
- 2×12 inches
Larger joists can span longer distances and carry heavier loads. Your local building codes will specify minimum sizes based on your roof’s span and expected loads.
2. Standard Spacing
Joists are typically spaced 16 inches or 24 inches on center. This means the distance from the center of one joist to the center of the next is either 16 or 24 inches.
Closer spacing (16 inches) provides more support but uses more materials. Wider spacing (24 inches) is more economical but requires larger joists to maintain strength.
3. How Span and Load Affect Sizing
Longer spans require larger joists. A 2×8 joist might work for a 12-foot span but fail at 20 feet. Building codes include span tables that specify the maximum distance each joist size can span.
Expected loads also matter. Heavy roofing materials like slate or tile require stronger joists than lightweight asphalt shingles. Snow loads in northern climates add additional weight requirements.
Installation Tips
Planning: Start by determining your load requirements. Check local building codes for minimum joist sizes and spacing. Consider future loads like solar panels or heavy snow.
Calculate the total span and choose appropriate joist sizes. Don’t forget to account for bearing points where joists rest on walls or beams.
Measurement & Layout: Use a chalk line to mark joist locations on your top plates. Double-check measurements before cutting or installing anything.
Joist hanger guides help ensure consistent spacing. These simple tools clip onto your chalk line and provide exact positioning for each joist.
Securing Joists: Joist hangers provide the strongest connection for most installations. They wrap around the joist end and nail into the supporting beam or wall.
Short nails or screws can pull out under load. Ensure proper bearing at both ends of each joist. At least 1.5 inches of bearing surface is typically required.
Safety Note: Follow local building codes and regulations. Many areas require permits for structural work. When in doubt, consult a structural engineer or building inspector.
Signs of Damaged or Weak Joists
- Sagging ceilings or visible dips
- Cracks in drywall or plaster below joists
- Creaking or unusual movement when walking above
- Water stains indicating moisture damage
- Visible rot or insect damage on exposed joists
- Doors or windows that stick or won’t close properly
- Gaps between the ceiling and the walls
When to Replace or Reinforce Joists
Minor issues like small cracks or surface damage can often be repaired. More serious problems like rot, insect damage, or significant sagging usually require replacement.
Sistering joists is a common reinforcement technique. This involves attaching a new joist alongside the damaged one. The new joist carries the load while the old one provides backup support.
For major structural issues, hire a structural engineer. They can assess the damage and recommend appropriate repairs. This is especially important if you’re removing walls or making significant changes.
Final Tips and Takeaways
- Choose joist size based on span and load requirements
- Follow local building codes and get permits when required
- Use proper fasteners and joist hangers for connections
- Check for signs of damage during regular home inspections
- Consider engineered lumber for longer spans or special applications
- Don’t modify joists without engineering approval
- Hire professionals for major structural work
- Keep span tables handy for reference during planning
Conclusion
Understanding roof joists helps you make better decisions about your home’s structure. These horizontal beams do critical work supporting your ceiling and distributing roof loads safely.
I’ve covered the main joist types, materials, and installation basics. Solid lumber works well for most homes, while engineered options offer advantages for longer spans. Steel joists suit commercial applications or heavy-load situations.
Proper sizing and spacing are crucial for safety and code compliance. When installing joists, careful planning and quality fasteners make all the difference.
Watch for warning signs like sagging or cracks that indicate joist problems. Minor issues can often be repaired, but major damage requires professional help.
Remember that structural work affects your home’s safety. When in doubt, consult engineers or experienced contractors. Your roof joists are too important to leave to chance.
Frequently Asked Questions
Can I install roof joists myself?
Simple joist repairs or replacements in small areas might be DIY-friendly if you have construction experience. However, major structural work should be left to professionals. Local building codes often require permits and inspections for joist installation.
How much weight can roof joists hold?
This depends on joist size, spacing, span, and wood grade. A 2×8 joist spaced 16 inches on center might support 40-50 pounds per square foot, but always check span tables and local codes for specific requirements.
Are roof joists load-bearing?
Yes, roof joists are load-bearing members. They support the ceiling below and help distribute roof loads to the walls. Removing or modifying joists without proper engineering can cause structural problems.
What’s the difference between joists and rafters?
Joists run horizontally and support the ceiling, while rafters are angled beams that follow the roof slope. Both are structural members, but they serve different functions in the roof system.
How do I know if my joists need replacement?
Look for sagging, cracks, water damage, or rot. If you notice ceiling problems, creaking sounds, or visible damage to exposed joists, have a professional inspect them. Early detection prevents more expensive repairs later.