
Painting stands out as one of the most accessible DIY skills for newcomers to home improvement.
Unlike complex renovations that require specialized tools or professional expertise, painting offers immediate satisfaction with minimal investment.
The right approach can mean the difference between a frustrating experience and a rewarding project that builds confidence for future tasks.
What makes painting particularly appealing is its ability to create quick wins for your living space.
A fresh coat of paint can completely change a room’s atmosphere without breaking the bank.
For budget-conscious homeowners, painting provides maximum impact at minimal cost, making it an ideal starting point for those looking to refresh their home’s style and add personal touches to their space.
Steps to Easy Painting Steps for Beginners
Master the fundamentals of painting with this comprehensive guide covering essential supplies, surface preparation, priming techniques, paint selection, application methods, and finishing touches for professional results.
Step 1: Gather Your Painting Supplies
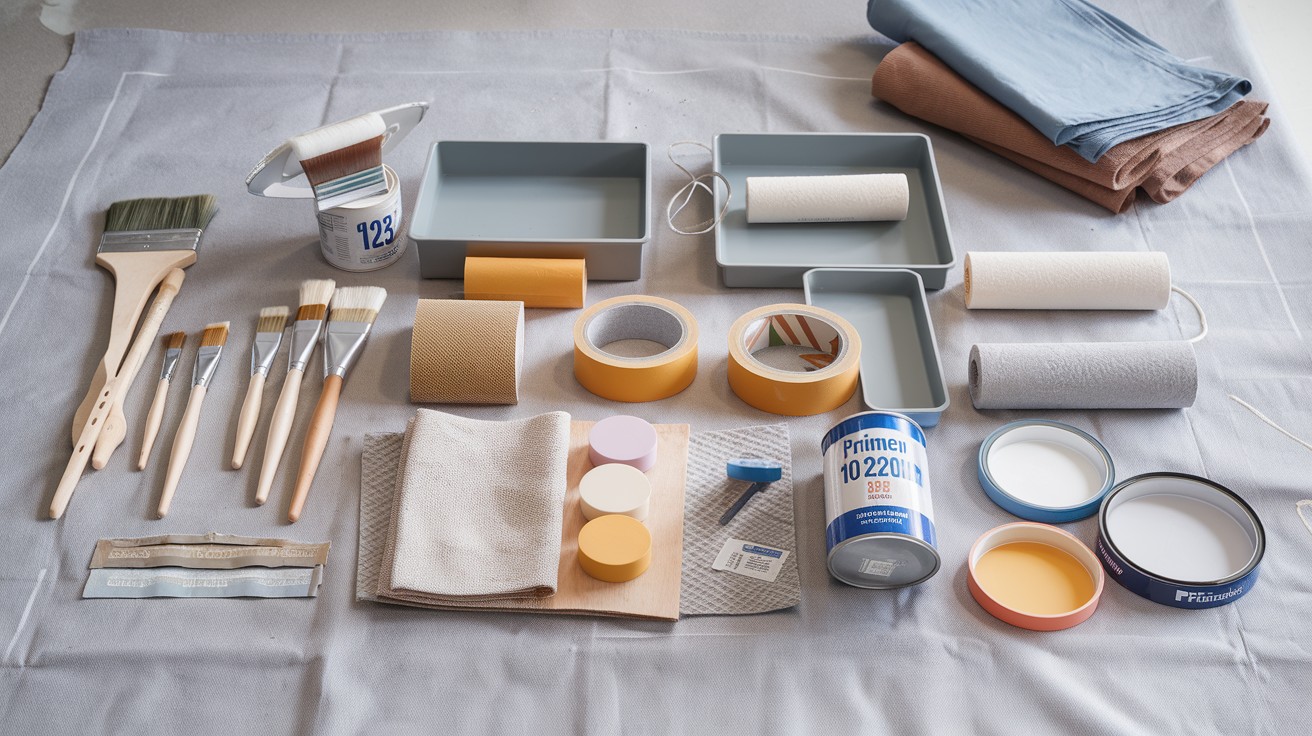
Before starting any painting project, having the right tools makes all the difference between a smooth process and a frustrating experience.
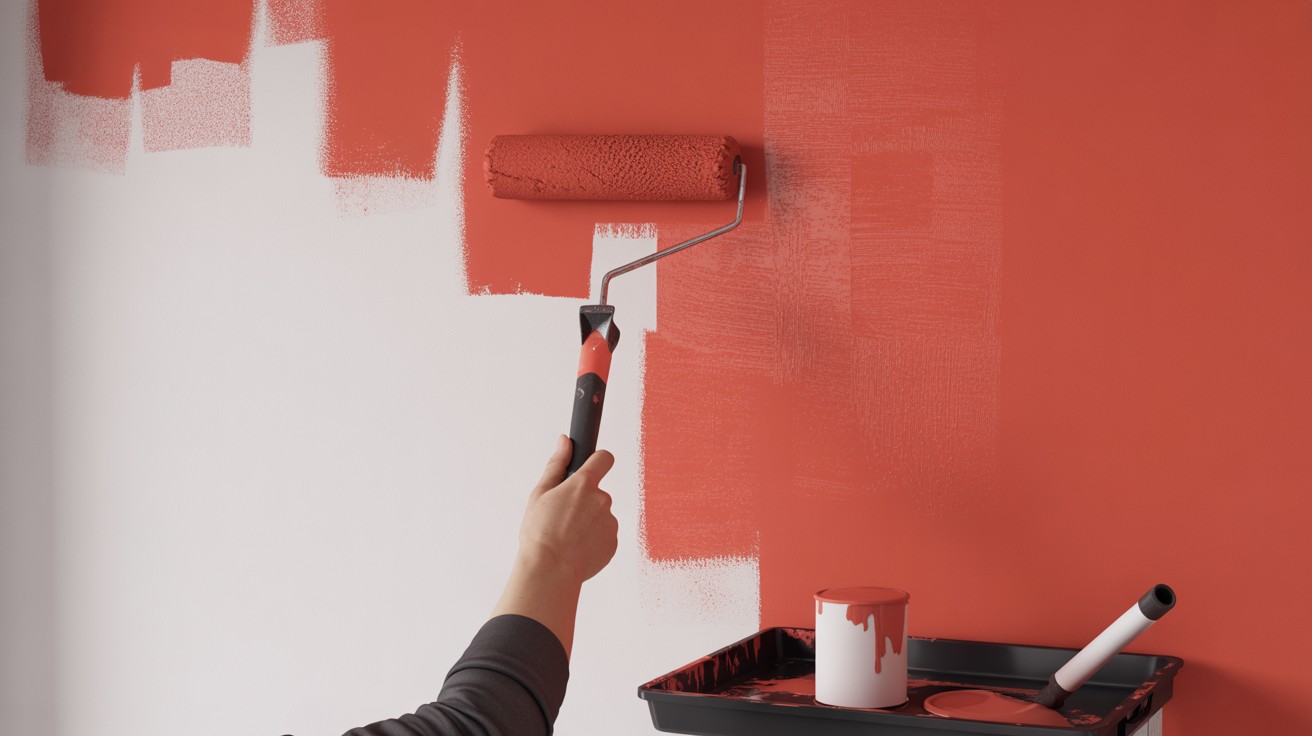
Start with quality paintbrushes in both angled and flat varieties, as angled brushes work well for cutting in around edges while flat brushes handle broad strokes effectively.
Rollers with appropriate covers are crucial for covering large surfaces quickly and evenly, and paint trays provide a place to load your roller properly. Protect your floors and furniture with drop cloths or old sheets to avoid accidents.
Quality painter’s tape comes in regular and delicate versions, so choose based on your surface sensitivity.
Keep sandpaper in 100-220 grit range handy to smooth rough spots, and have cleaning rags or microfiber cloths available for wiping down surfaces.
A good primer like Zinsser 123 creates the foundation for lasting results, while interior paint works for walls and specialized floor/porch paint handles high-traffic areas. Consider purchasing test pots to sample colors before committing to full gallons.
Step 2: Prep the Surface
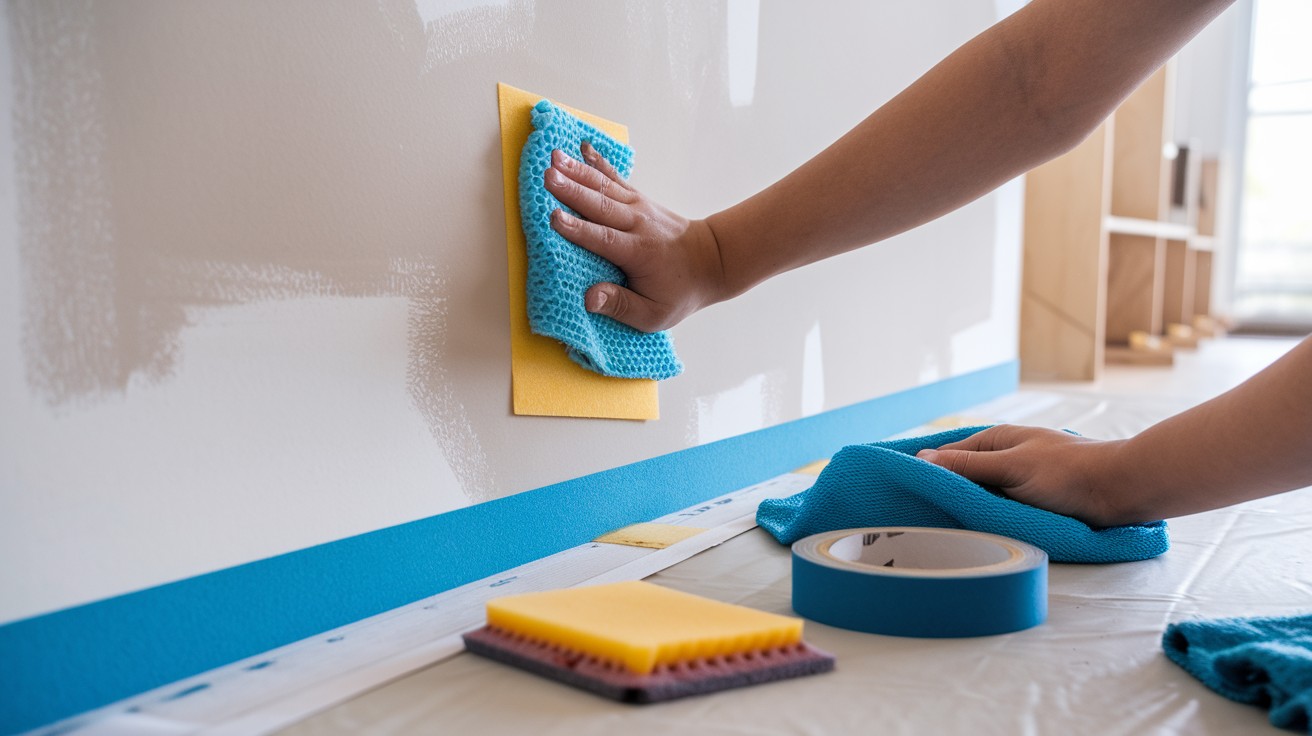
Proper preparation determines the final quality of your paint job, and rushing this step often leads to disappointing results.
Remove dust, grease, and grime with a damp cloth, as clean surfaces allow paint to adhere properly and prevent contamination of your fresh coat.
Light sanding improves paint adhesion, especially on shiny, grimy, or chipped areas, creating texture that helps new paint bond effectively.
Apply quality painter’s tape around trim, edges, and areas you want to protect, pressing down firmly to prevent paint bleed-through.
Step 3: Prime the Surface
Many beginners skip priming, but this step significantly impacts your final results.
Primer helps paint adhere better and extends its lifespan while covering dark stains, wood tones, and creating a uniform base for your topcoat.
Use a roller for large areas and a brush for edges and detailed work, then allow primer to dry completely before proceeding, as rushing this step compromises the entire project.
Step 4: Choose the Right Paint
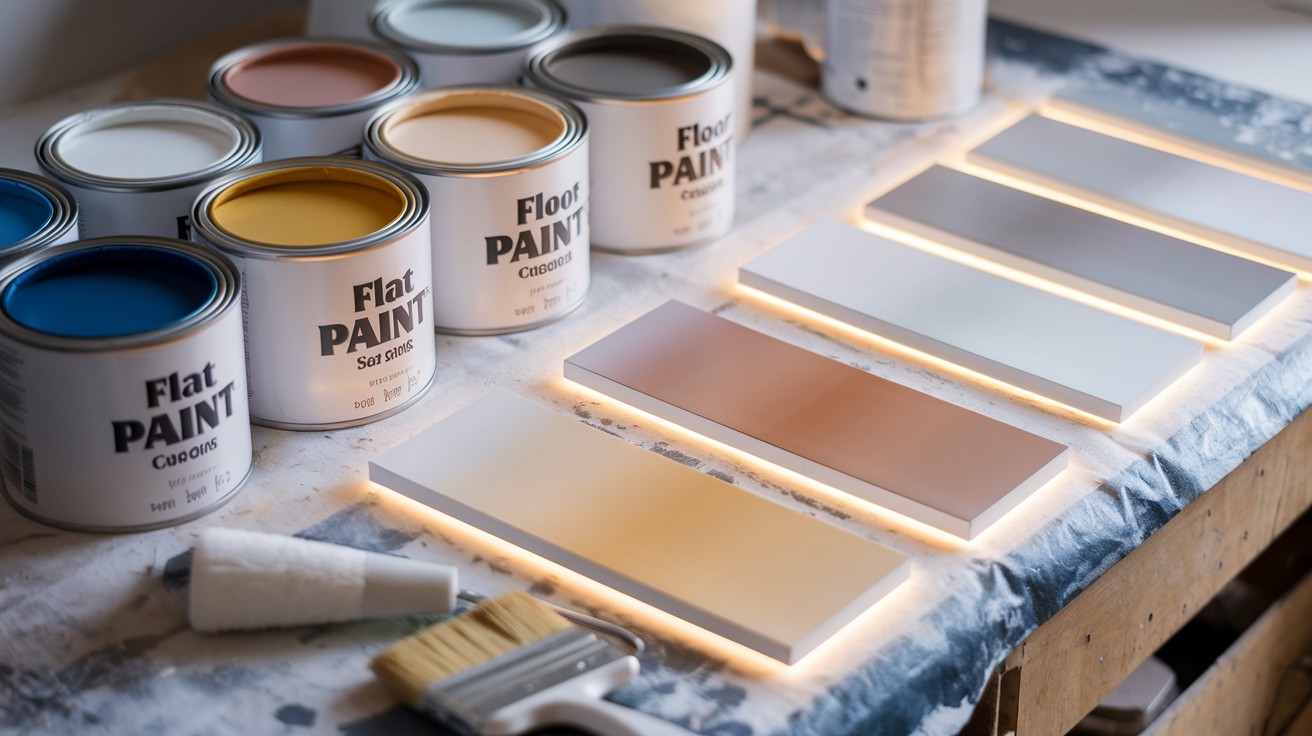
Understanding paint types and finishes helps you select the best option for your specific project.
Latex paint works well for walls and interior surfaces due to its easy cleanup and low odor, while specialized porch and floor paints handle high-traffic areas where regular paint would wear quickly.
Flat paint hides surface flaws but offers limited durability, while satin and eggshell finishes balance appearance with cleanability, making them ideal for walls.
Semi-gloss and gloss finishes resist moisture and clean easily, perfect for trim, but they highlight surface imperfections.
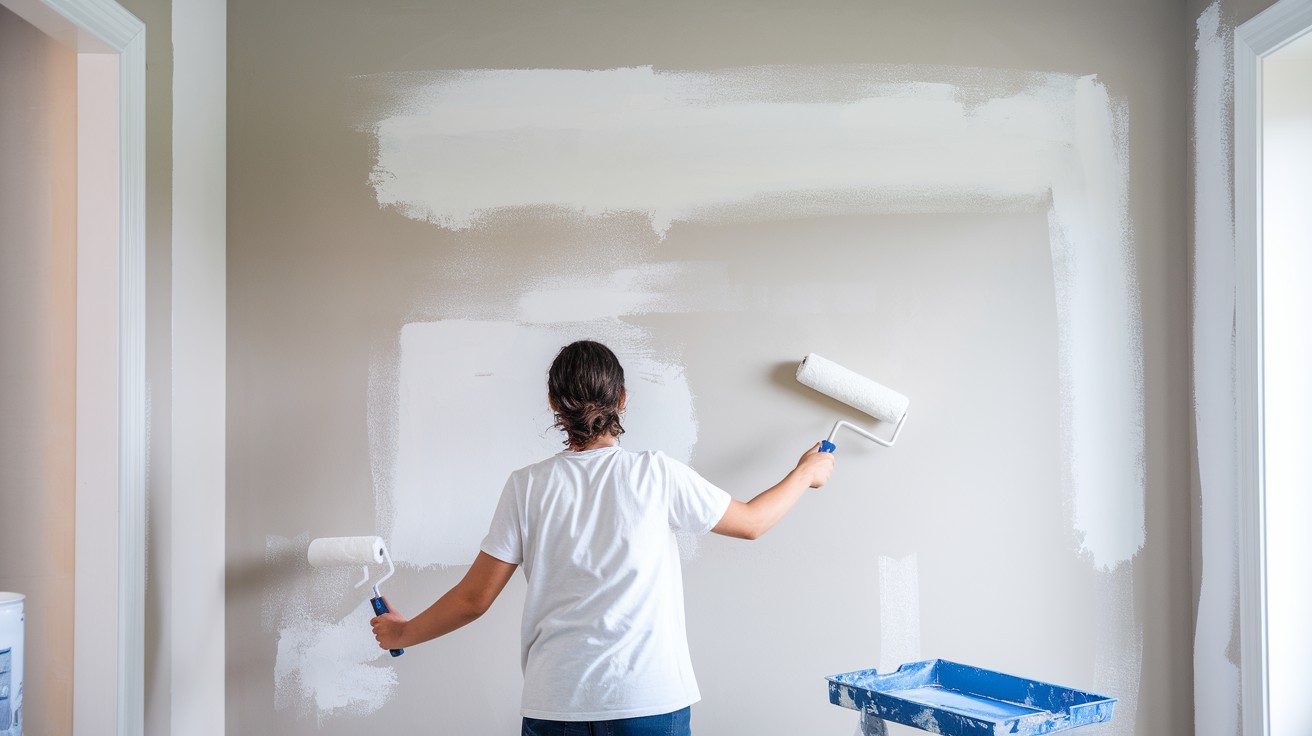
Step 5: Paint in the Right Order

Following the correct sequence prevents drips and ensures professional-looking results.
Start with ceilings, then move to walls, and finish with trim and doors, as this approach lets gravity work in your favor and prevents drips on completed surfaces.
Cut in edges with a brush before rolling large areas, and work in manageable sections to maintain a wet edge and avoid lap marks.
Step 6: Apply Second Coat (If Needed)
Most surfaces benefit from two coats, but proper technique matters more than quantity.
Wait for the recommended dry time between coats and apply the second coat in thin, even layers.
Only apply additional coats if needed for complete coverage, as more isn’t always better and can lead to drips or uneven texture.
Step 7: Clean Up and Inspect
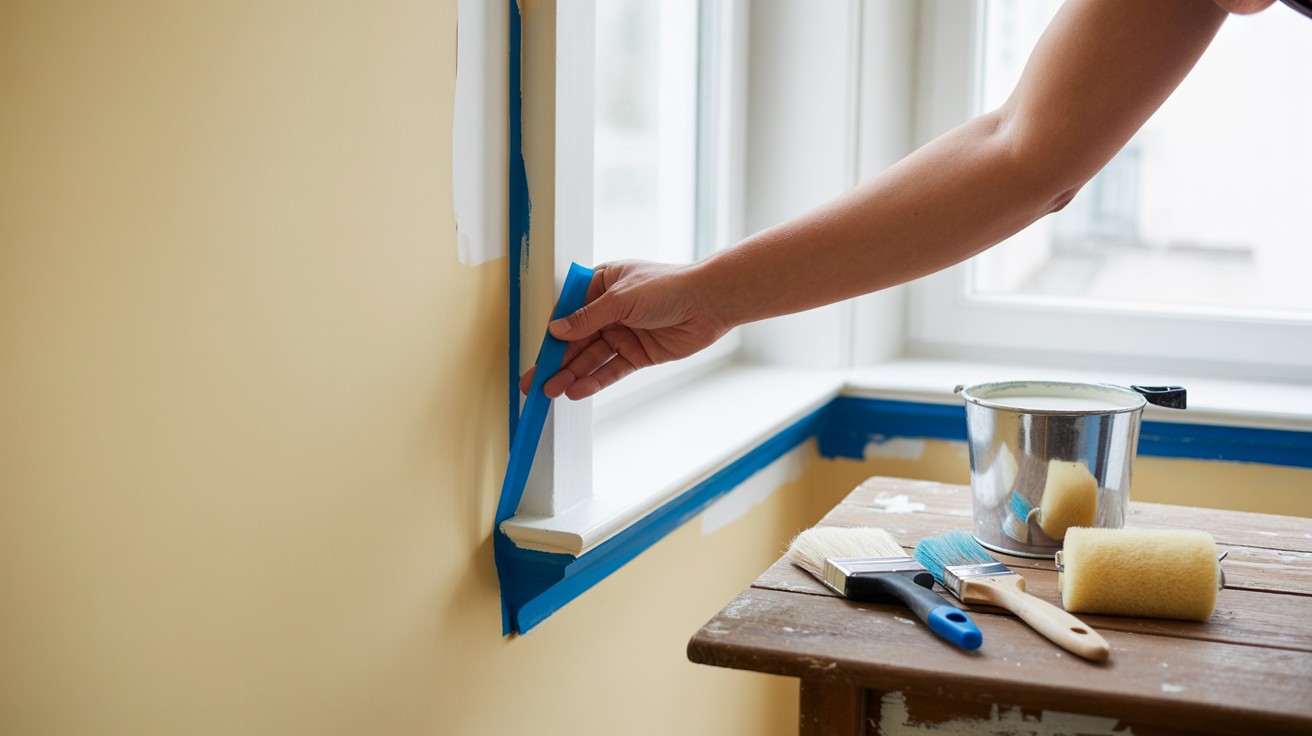
Finishing touches separate amateur work from professional-looking results. Pull painter’s tape at a 45-degree angle while the paint is still slightly tacky for the cleanest lines.
Wash tools with soap and water for latex paint, or follow manufacturer instructions for oil-based products, as proper cleaning extends tool life significantly.
Use a small artist brush or sponge brush for precise touch-ups and address any imperfections while you still have matching paint available.
Bonus Beginner Tips
Starting your first painting project can feel overwhelming, but these additional tips will help ensure success and build your confidence for future endeavors.
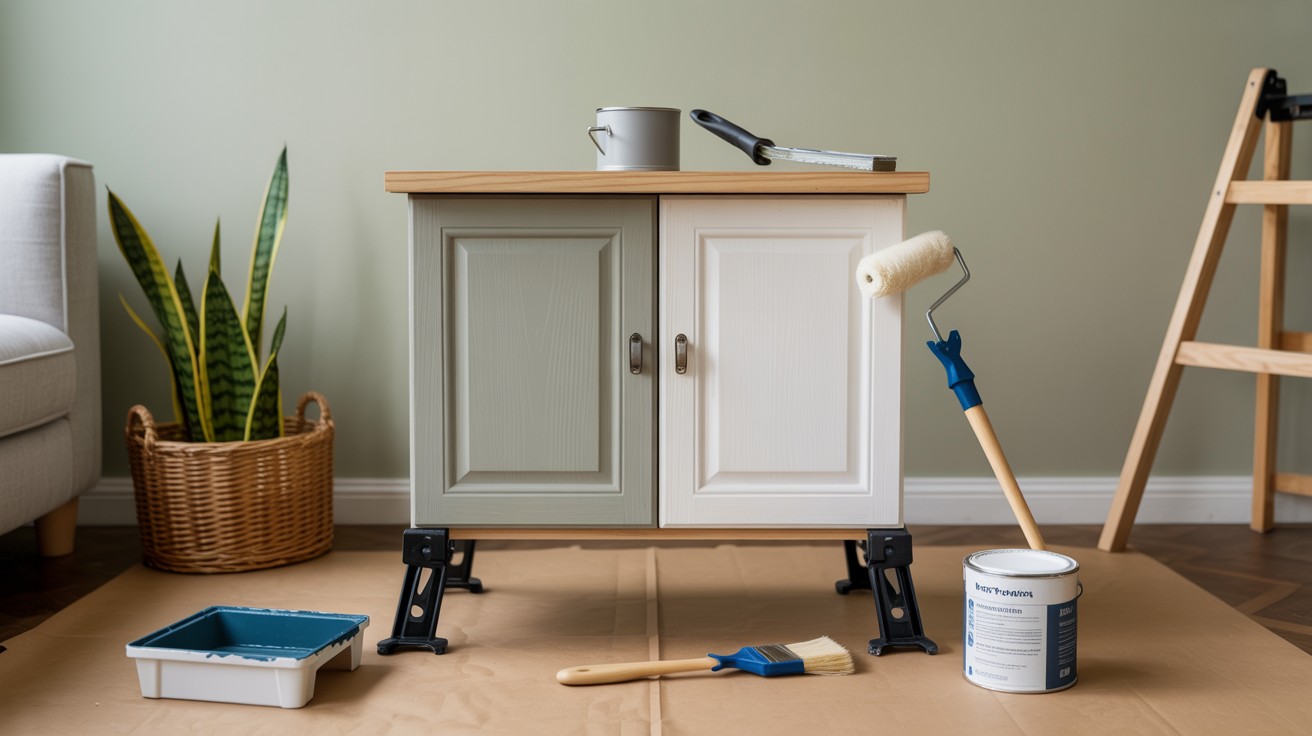
Begin with smaller projects like a piece of furniture, a single door, or just one accent wall rather than attempting an entire room.
These manageable projects allow you to practice technique without the pressure of a large-scale commitment.
Preparation truly is the foundation of any successful paint job, so resist the temptation to rush through cleaning, sanding, and priming steps.
While these tasks might seem tedious, they directly impact how your final coat looks and how long it lasts.
Patience with drying times makes a significant difference in your final results, as rushing to apply additional coats often leads to peeling or uneven coverage.
Always test your chosen colors in both natural daylight and artificial lighting before committing to the full project.
Colors can look dramatically different under various lighting conditions. For smaller items like cabinet doors, consider using painter’s pyramids or paint stands to lift your project off the work surface, allowing complete coverage without waiting between sides.
Conclusion
Painting stands as one of the most effective and accessible ways to refresh your living space without requiring extensive skills or expensive equipment.
With just a few basic tools and by following these straightforward steps, anyone can achieve professional-looking results that completely change the feel of a room.
The key to success lies in taking your time throughout each phase of the process. From proper preparation to allowing adequate drying time, patience pays off in the final appearance and longevity of your work.
Remember that painting should be an enjoyable experience rather than a stressful task.
When you step back to admire your freshly painted space, take a moment to appreciate the transformation you’ve created with your own hands.
Your effort and attention to detail have given new life to your home.
Frequently Asked Questions
What supplies do I need to start my first painting project?
You’ll need basic tools including paintbrushes (angled and flat), rollers with covers, paint trays, and drop cloths for protection. Add painter’s tape, sandpaper, cleaning cloths, primer, and your chosen paint to complete your supply list.
How long should I wait between primer and paint coats?
Most primers need 2-4 hours to dry completely before applying paint, but check the manufacturer’s instructions for specific timing. Rushing this step can cause poor adhesion and uneven coverage that affects your final results.
Do I really need to use primer before painting?
Yes, primer is essential for proper paint adhesion and helps your topcoat last longer while providing better coverage. It’s especially important when painting over dark colors, stains, or raw wood surfaces.
What’s the best order for painting a room?
Start with the ceiling first, then move to the walls, and finish with trim and doors last. This sequence prevents drips from landing on completed surfaces and gives you the most professional-looking results.
How do I know if I need a second coat of paint?
Apply one coat and let it dry completely, then check for even coverage and color consistency in good lighting. If you can see the previous color showing through or notice patchy areas, a second coat will provide the smooth, uniform finish you want.